
“ 阅读本文大约需要 4 分钟。
”
前言:
PyCharm 是一种 Python IDE ,带有一整套可以帮助用户在使用 Python 语言开发时提高其效率的工具,比如调试、语法高亮、Project 管理、代码跳转、智能提示、自动完成、单元测试、版本控制。此外,该 IDE 提供了一些高级功能,以用于支持 Django 框架下的专业 Web 开发。
到官网下载安装包
Pycharm 官网链接
https://www.jetbrains.com/pycharm/
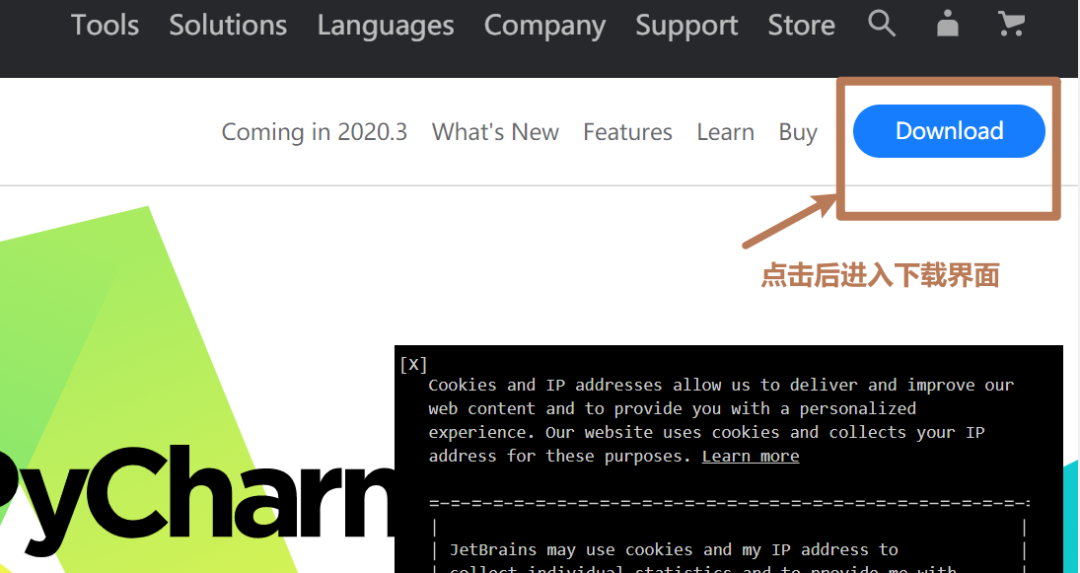
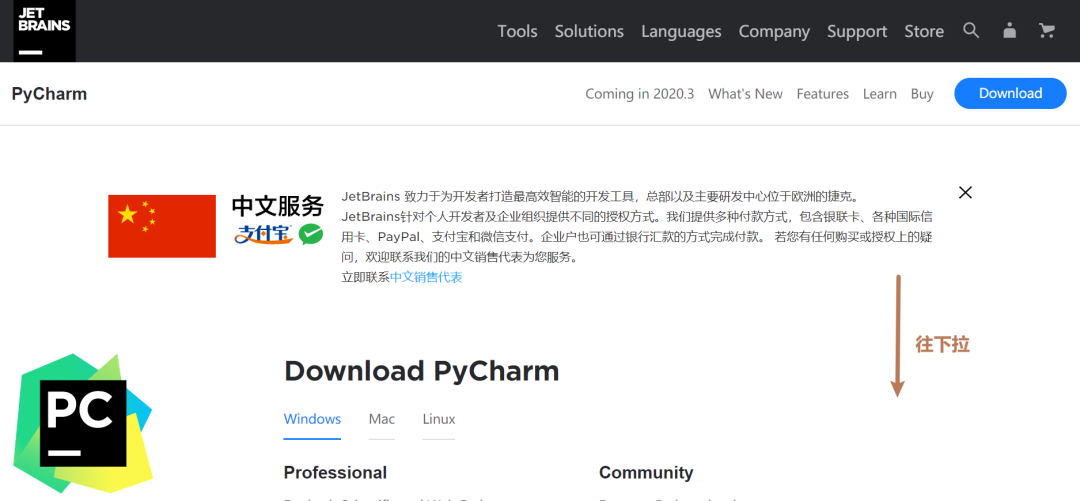
点击下载进入下载选择界面:
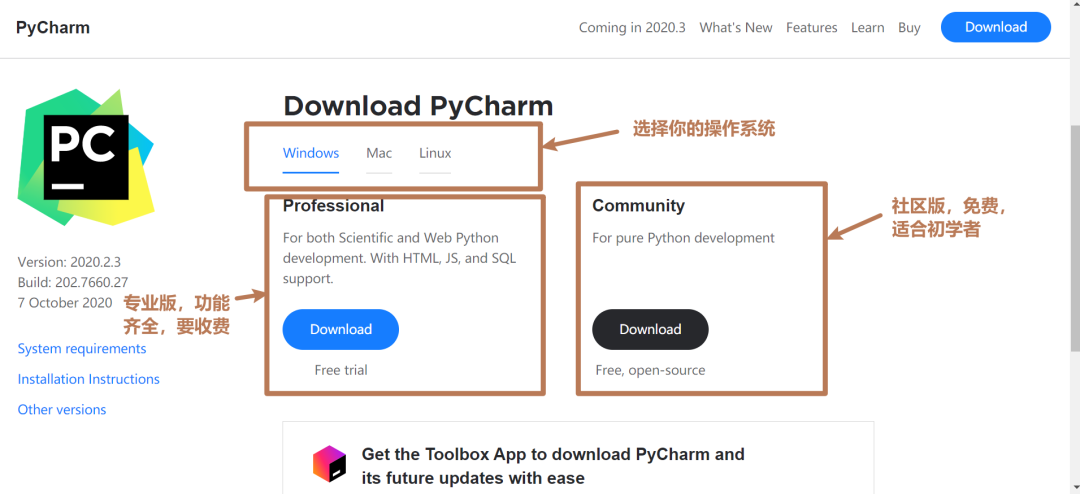
在系统选择中选择你的操作系统( Windows 或 Mac 或 Linux )
版本选择:
专业版是
收费的
,社区版是
免费的
。
PyCharm 专业版是功能最丰富的,与社区版相比,PyCharm 专业版增加了
Web 开发、Python We 框架、Python 分析器、远程开发、支持数据库与 SQL
等更多高级功能
社区版就是功能不全的专业版,是用来解决工作问题的。除了一些功能没有以外(例如:Web 开发,Python Web 框架,Python 的探查,远程开发能力,数据库和 SQL支持),其他的功能和专业版是一样的,对于初学者来说,已经足够了。
选择适合自己的版本,点击 Download 后开始下载:
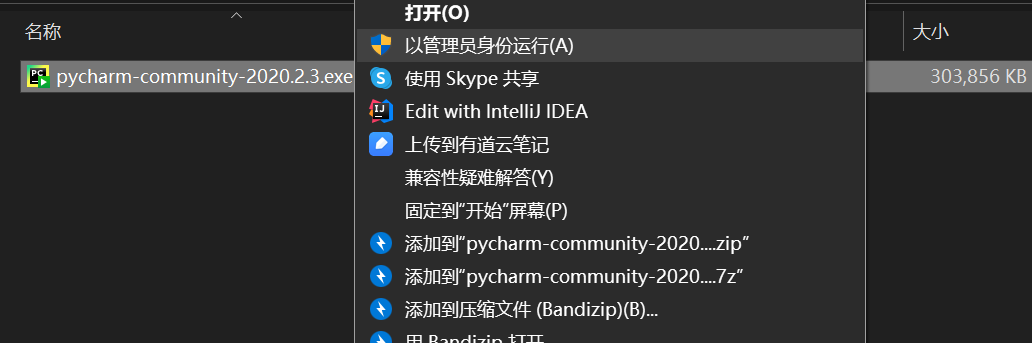
开始安装
找到下载安装包的保存位置,右键以管理员身份运行。
开始安装,点击 Next,执行下一步。

选择安装位置。
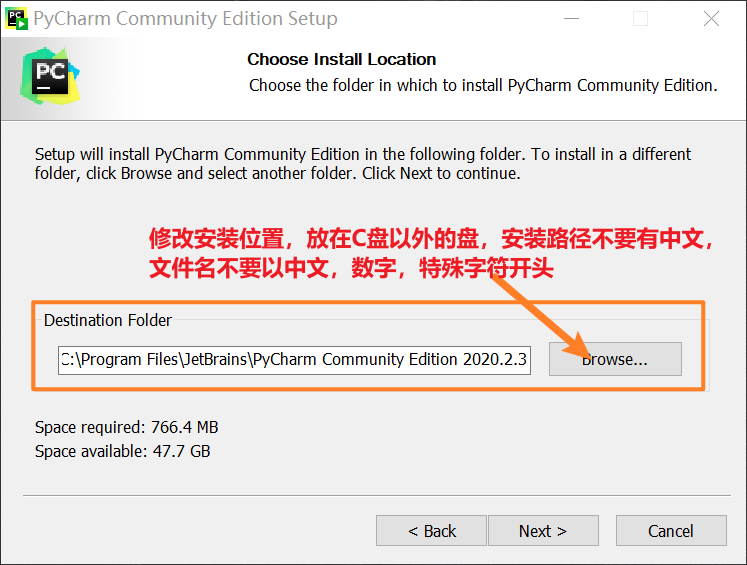
根据电脑配置和你的个人需求,选择合适的选项、
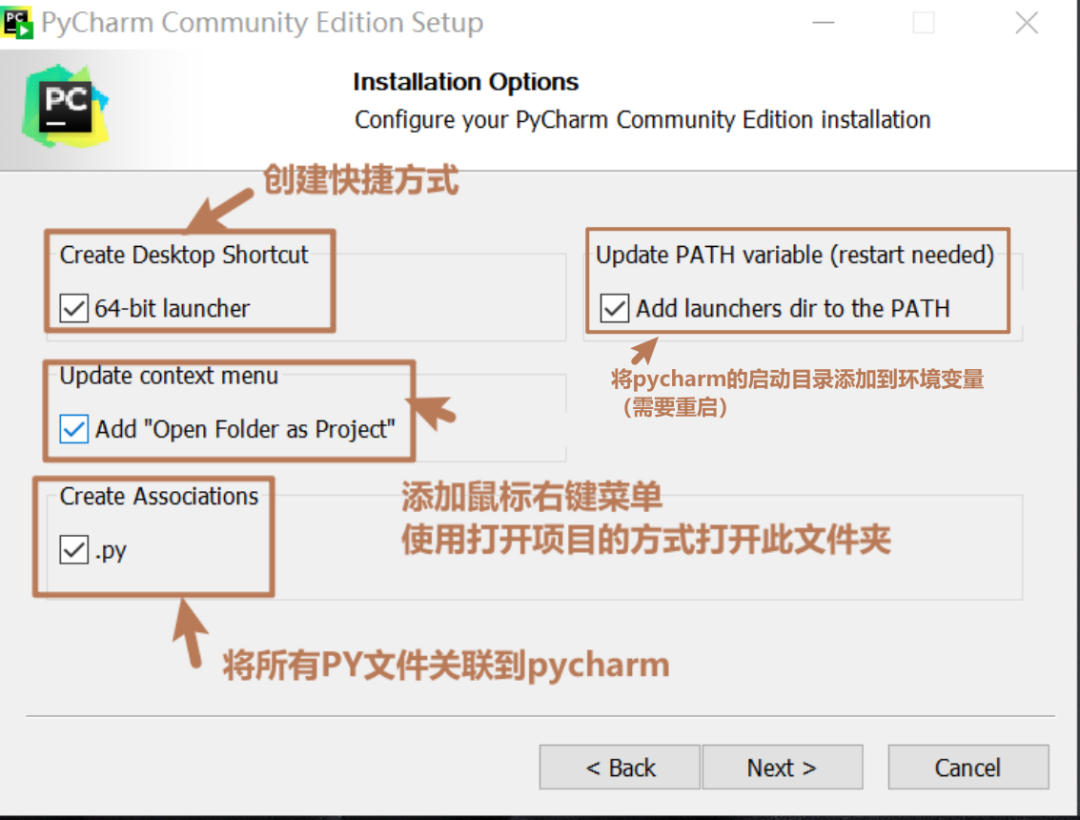
默认下一步:
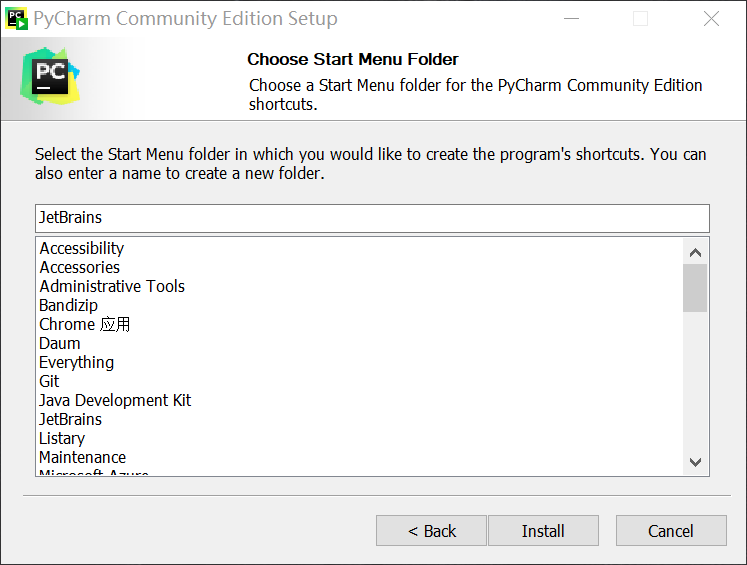
开始安装:
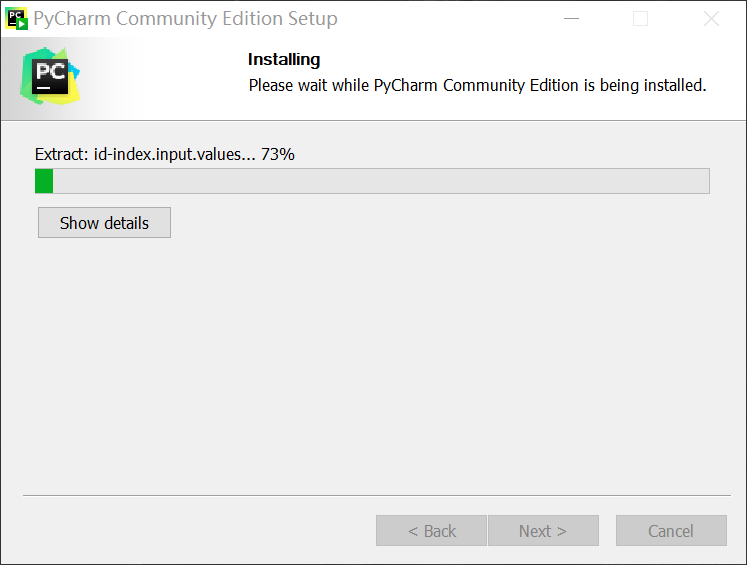
安装完成,根据情况选择是否重启:
 启动软件
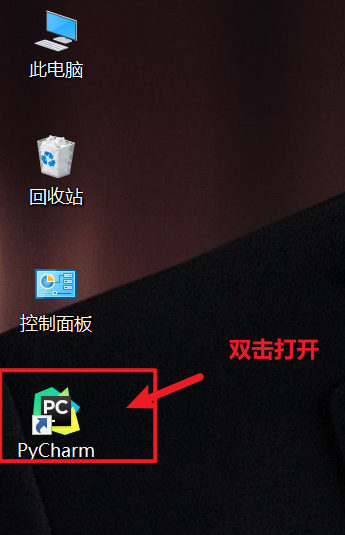
启动软件
桌面上会有这个图标,双击打开
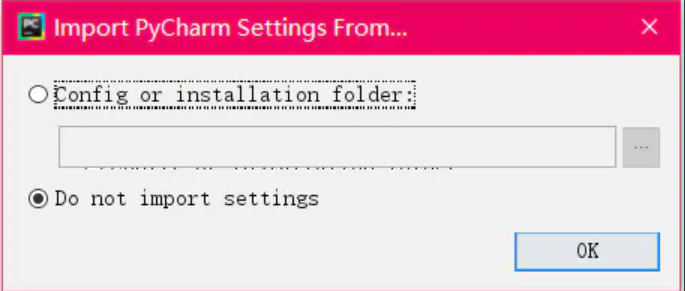
注意:有时会出现下面这个窗口:
如果你之前使用过 PyCharm 并有相关的配置文件,则点击第一个选择;如果没有,默认即可
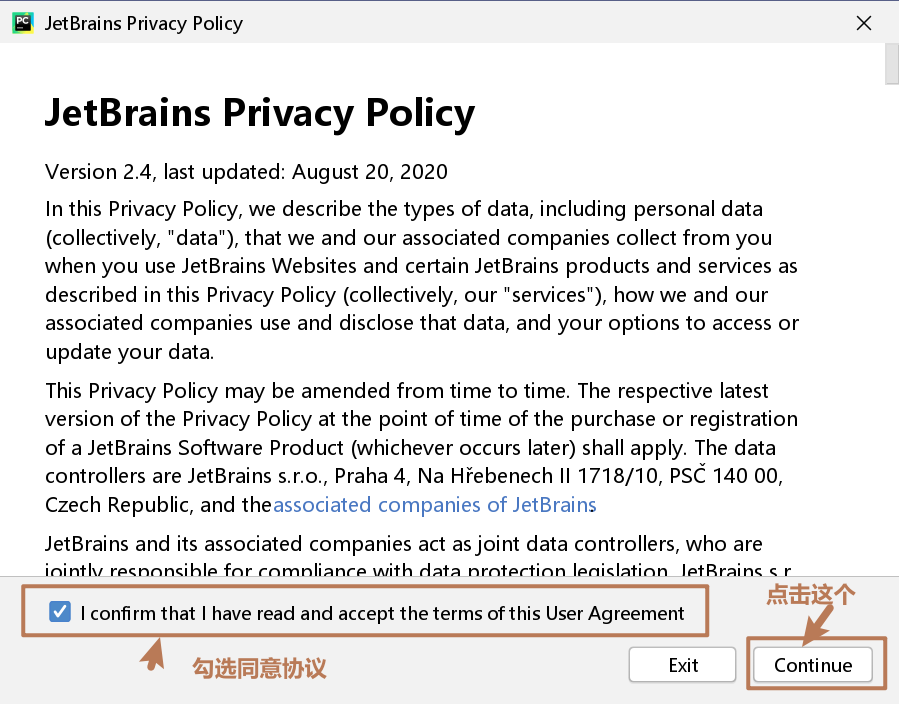
勾选同意协议,然后下一步
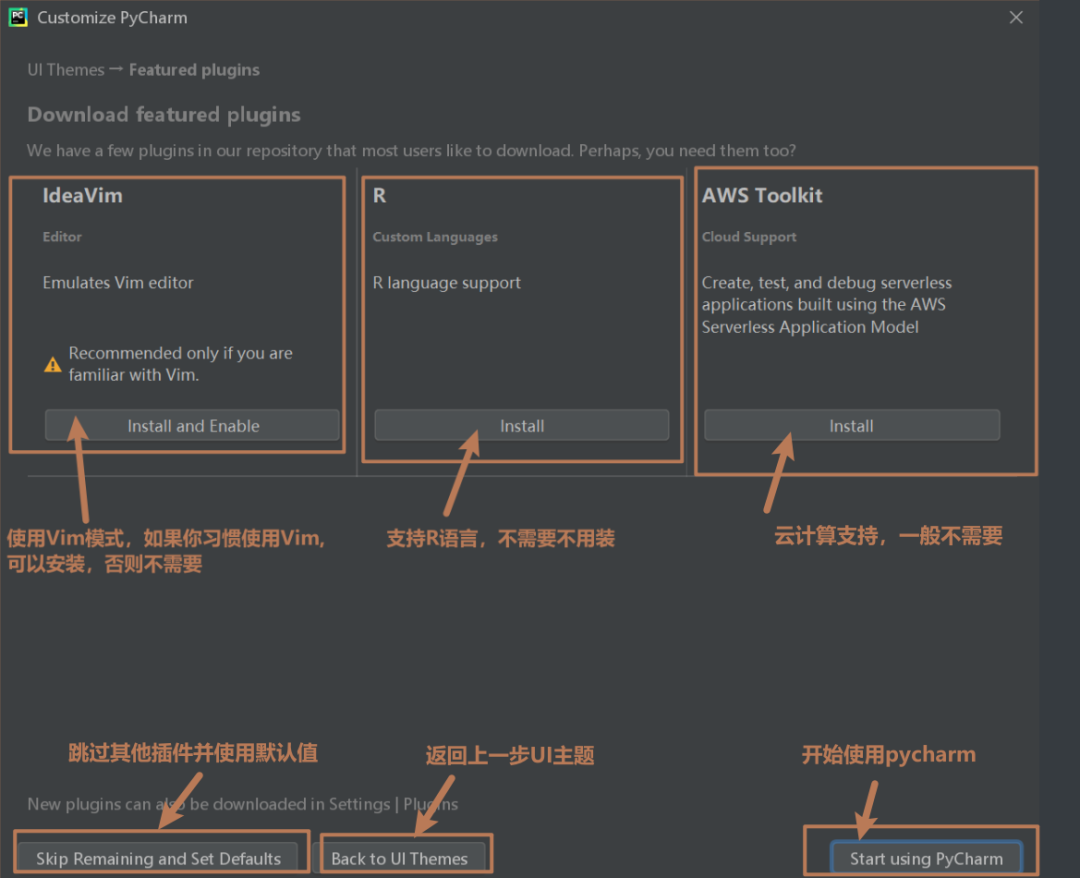
根据自身喜好选择合适的主题,以及是否需要跳过其他插件的安装
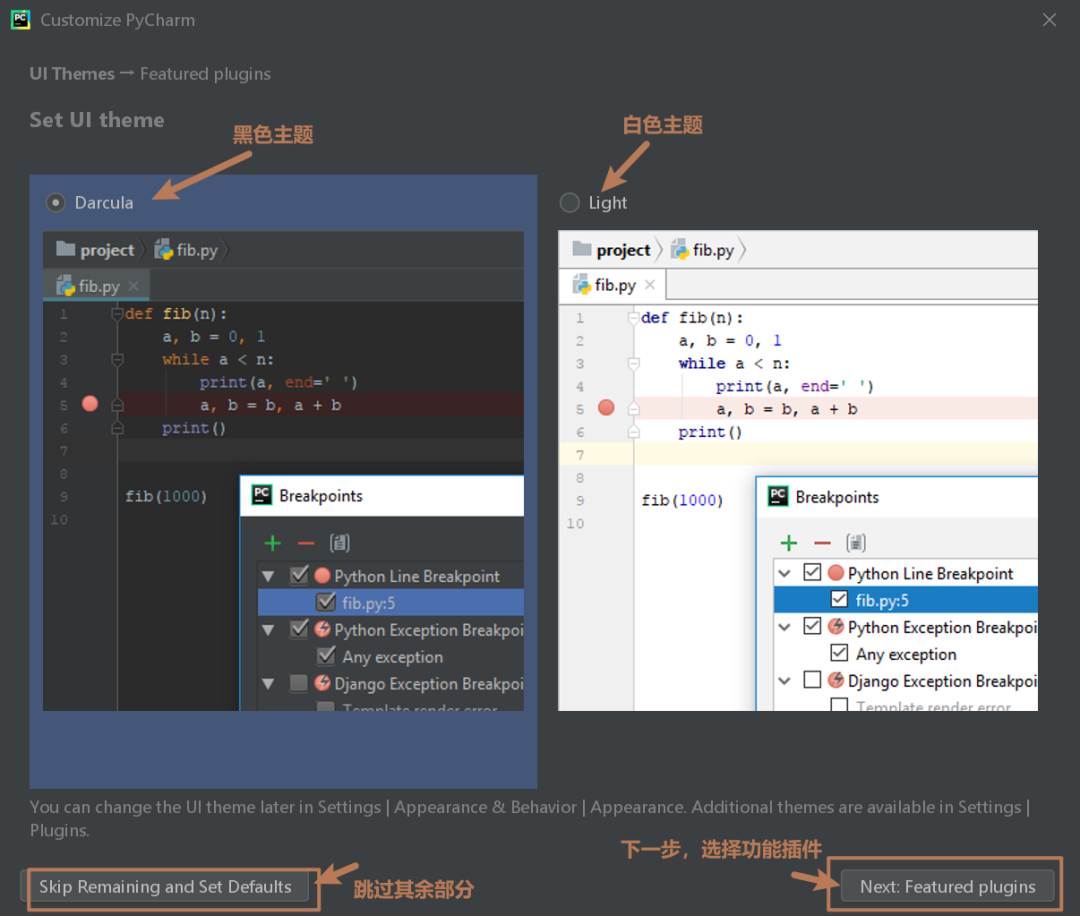
根据插件特色,选择适合自己的插件
开始配置:

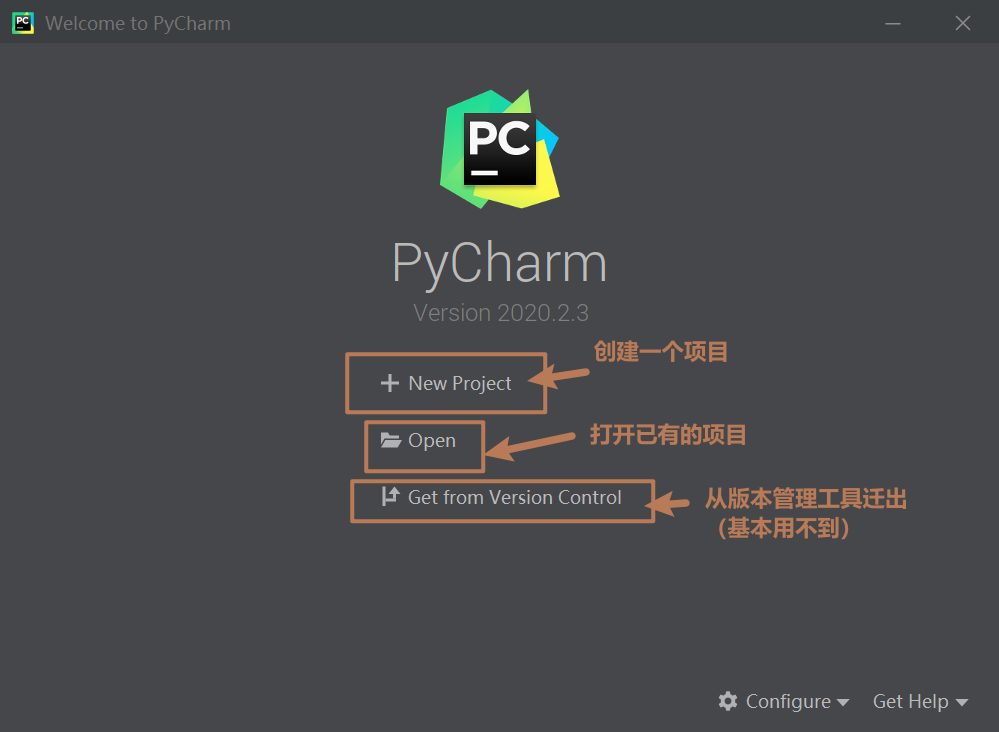
初始界面:点击 New Project ,创建一个项目。
修改项目的创建位置,找到解释器
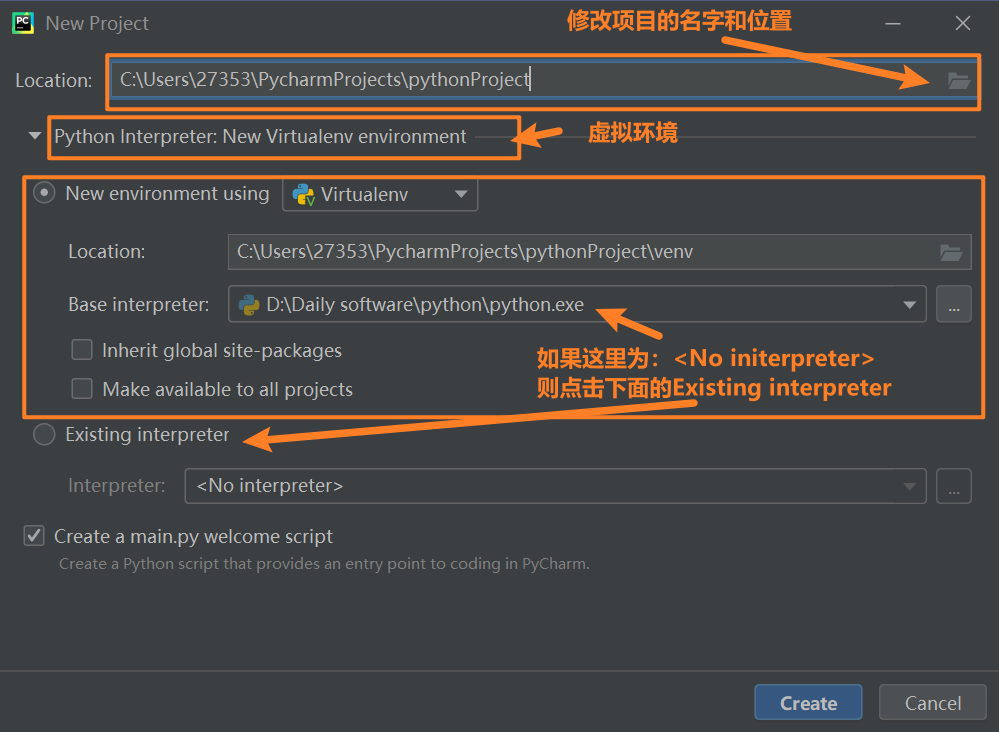
若 New environment using 选项里 Base interpreter 内容为:,则点击 Existing interpreter ,执行下图操作
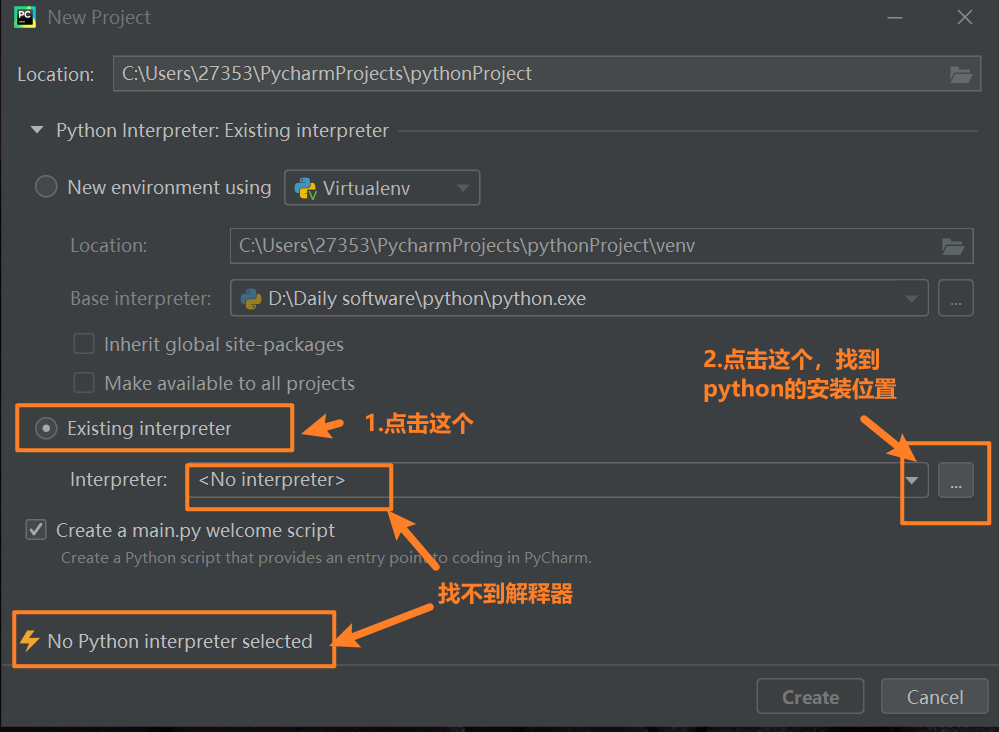
在 Python 的安装位置里找到 Python.exe 这个文件
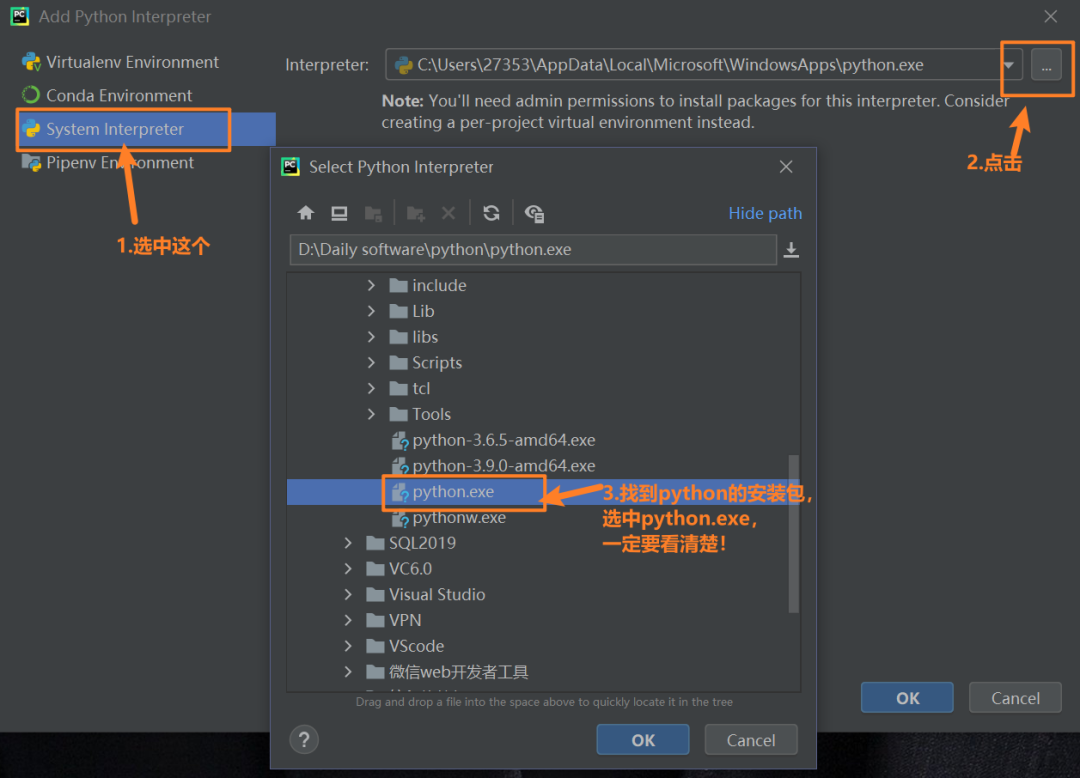
找到解释器,开始创建项目

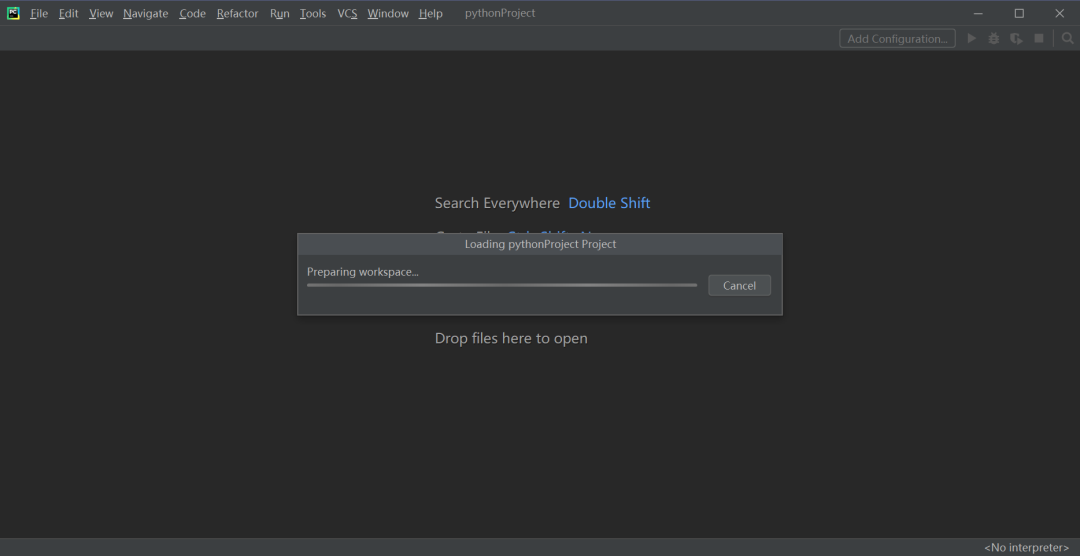
开始创建:
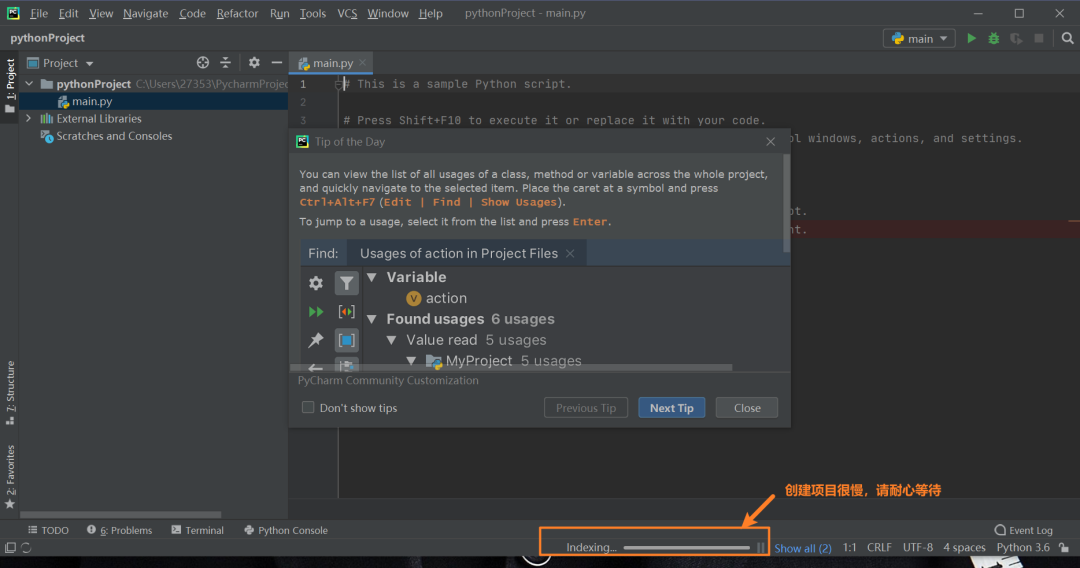
创建成功!
第一次运行 Python
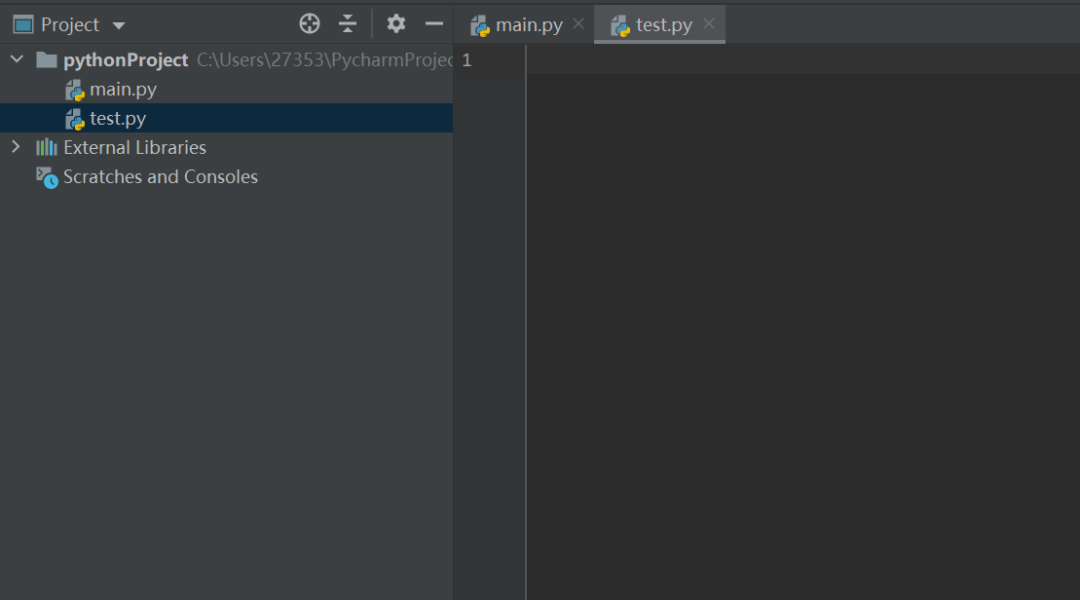
新建一个 Python 文件
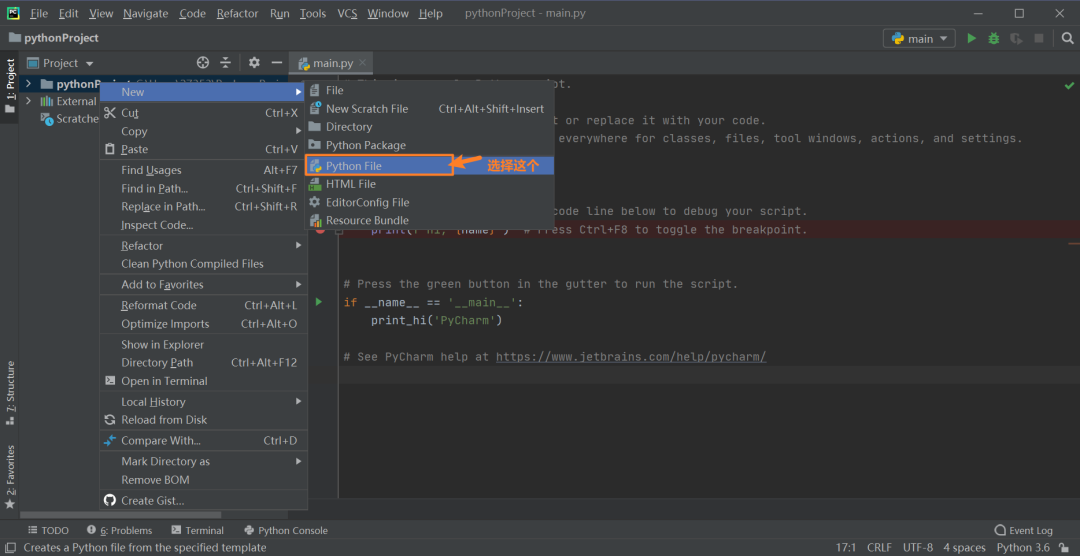
输入文件名:
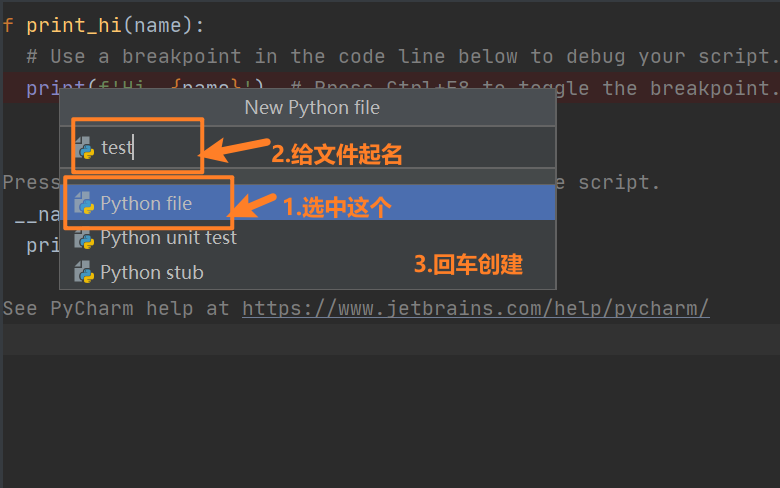
输入你的第一行代码,并右键运行
print("hello world")
在控制台看到 hello world,则代码正确运行
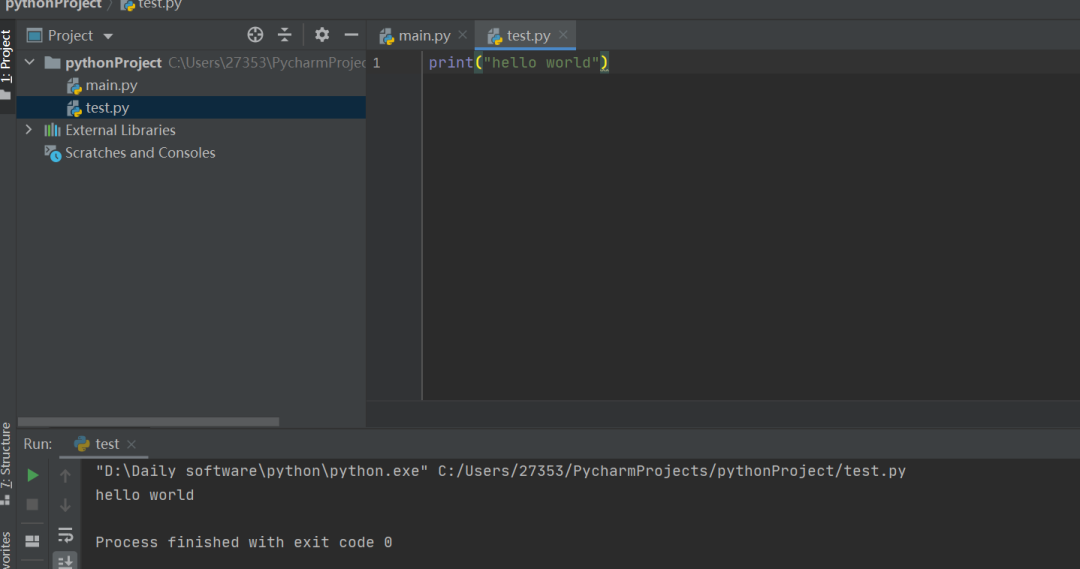
至此,Pycharm 安装完成!


 2万+
2万+

 被折叠的 条评论
为什么被折叠?
被折叠的 条评论
为什么被折叠?
 到【灌水乐园】发言


