


 face_recognition是一个简单易用的Python人脸识别库,基于dlib的深度学习技术,准确率高达99.38%。它可以识别照片中的人脸、定位面部特征,并在命令行中操作。该库提供了face_recognition命令行工具,用于识别和检测照片中的人脸。安装要求包括Python 3.3+或2.7,以及dlib。通过pip3安装,然后通过命令行工具进行人脸检测和识别。
Face Recognition
Recognize and manipulate faces from Python or from the command line with
the world's simplest face recognition library.
Built using dlib's state-of-the-art face recognition
built with deep learning. The model has an accuracy of 99.38% on the
Labeled Faces in the Wild benchmark.
This also provides a simple face_recognition command line tool that lets
you do face recognition on a folder of images from the command line!


Features
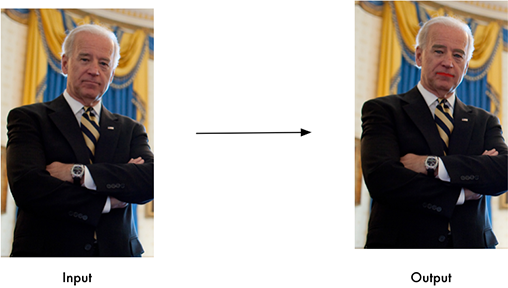
Find faces in pictures
Find all the faces that appear in a picture:

import face_recognition
image = face_recognition.load_image_file("your_file.jpg")
face_locations = face_recognition.face_locations(image)
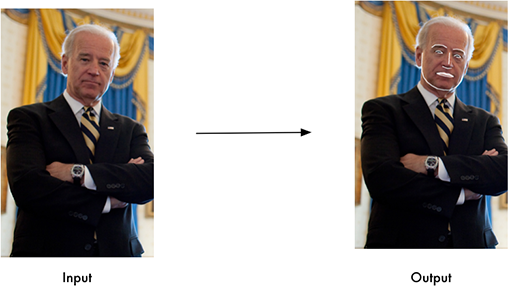
Find and manipulate facial features in pictures
Get the locations and outlines of each person's eyes, nose, mouth and chin.
import face_recognition
image = face_recognition.load_image_file("your_file.jpg")
face_landmarks_list = face_recognition.face_landmarks(image)
Finding facial features is super useful for lots of important stuff. But you can also use for really stupid stuff
like applying digital make-up (think 'Meitu'):
Identify faces in pictures
Recognize who appears in each photo.
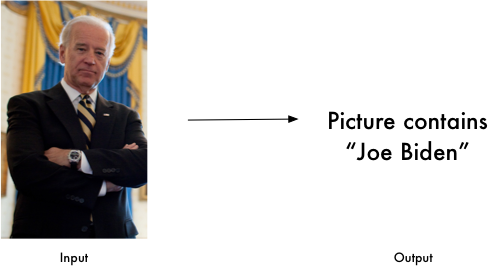
import face_recognition
known_image = face_recognition.load_image_file("biden.jpg")
unknown_image = face_recognition.load_image_file("unknown.jpg")
biden_encoding = face_recognition.face_encodings(known_image)
 最低0.47元/天 解锁文章


 475
475

 被折叠的 条评论
为什么被折叠?
被折叠的 条评论
为什么被折叠?
 到【灌水乐园】发言


