


简单的讲一下springboot整合webservice接口以及在整合时碰到的一些问题。
1.首先,需要导入cxf的jar,可以通过maven来管理:
        <dependency>
            <groupId>org.apache.cxf</groupId>
            <artifactId>cxf-rt-transports-http-jetty</artifactId>
            <version>3.1.6</version>
        </dependency>
        <dependency>
            <groupId>org.apache.cxf</groupId>
            <artifactId>cxf-spring-boot-starter-jaxws</artifactId>
            <version>3.2.5</version>
        </dependency>
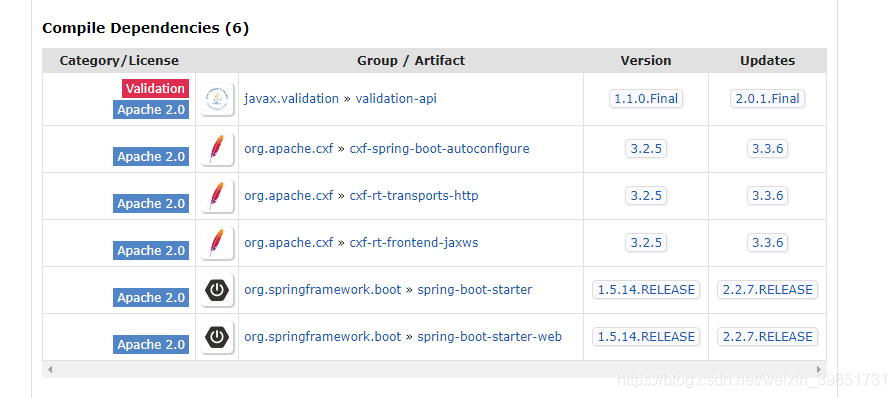
加入依赖后,要看cxf的版本是否适合springboot的版本,我这的springboot版本是1.5.3.RELEASE,可以在maven仓库查看版本的对应(官网地址 https://mvnrepository.com/),找到合适的cxf版本:
2.创建接口类,主要是暴露出去的方法
import javax.jws.WebMethod;
import javax.jws.WebParam;
import javax.jws.WebResult;
import javax.jws.WebService;

@WebService(name = "PayService", targetNamespace = "http://service.selfServiceSystem.modules.jeesite.tyky.com")
//targetNamespace一般为包名的倒叙
public interface PayService {
	//exclude为true的话 就是取消暴露
    @WebMethod(operationName="test",exclude=false)
    public @WebResult String test(@WebParam(name="param") String param);
}
3.接口实现类,主要编写接口方法的业务处理
import com.tyky.jeesite.modules.selfServiceSystem.service.PayService;
import net.sf.json.JSONObject;
import org.springframework.stereotype.Component;

import javax.jws.WebService;

@WebService(serviceName ="PayService",targetNamespace="http://service.selfServiceSystem.modules.jeesite.tyky.com",
        endpointInterface="com.tyky.jeesite.modules.selfServiceSystem.service.PayService")
//serviceName为接口的类名
//endpointInterface为包名
//targetNamespace为包名的倒叙
@Component
public class PayServiceImpl implements PayService{
    @Override
    public String test(String param) {
        JSONObject json = new JSONObject();
        json.put("webservice",param);
        json.put("demo",param);
        json.put("get",param);
        json.put("param",param);
        //String xmlResutl = XMLUtil.JsonToXml(json);
        return json.toString();
    }
}
4.编写配置文件类:
import com.tyky.jeesite.modules.selfServiceSystem.service.PayService;
import com.tyky.jeesite.modules.selfServiceSystem.service.pay.impl.PayServiceImpl;
import com.tyky.jeesite.modules.selfServiceSystem.service.pay.util.WsInterceptor;
import org.apache.cxf.Bus;
import org.apache.cxf.bus.spring.SpringBus;
import org.apache.cxf.transport.servlet.CXFServlet;
import org.springframework.boot.web.servlet.ServletRegistrationBean;
import org.springframework.context.annotation.Bean;
import org.springframework.context.annotation.Configuration;
import org.apache.cxf.jaxws.EndpointImpl;
import javax.xml.ws.Endpoint;

@Configuration
public class CxfConfig {

    @Bean(name = "cxfServlet")//名字重复报错的话 重新命名
    public ServletRegistrationBean cxfServlet() {
        ServletRegistrationBean servletRegistrationBean = new ServletRegistrationBean(new CXFServlet(), "/webService/*");
        return servletRegistrationBean;
    }

    @Bean(name = Bus.DEFAULT_BUS_ID)
    public SpringBus springBus() {
        return new SpringBus();
    }

    @Bean
    public PayService payJsonService(){
        return new PayServiceImpl();
    }

    @Bean
    public Endpoint endpoint() {
        EndpointImpl endpoint = new EndpointImpl(springBus(), payJsonService());
        //要发布的服务名
        endpoint.publish("/payService");
        return endpoint;
    }
}
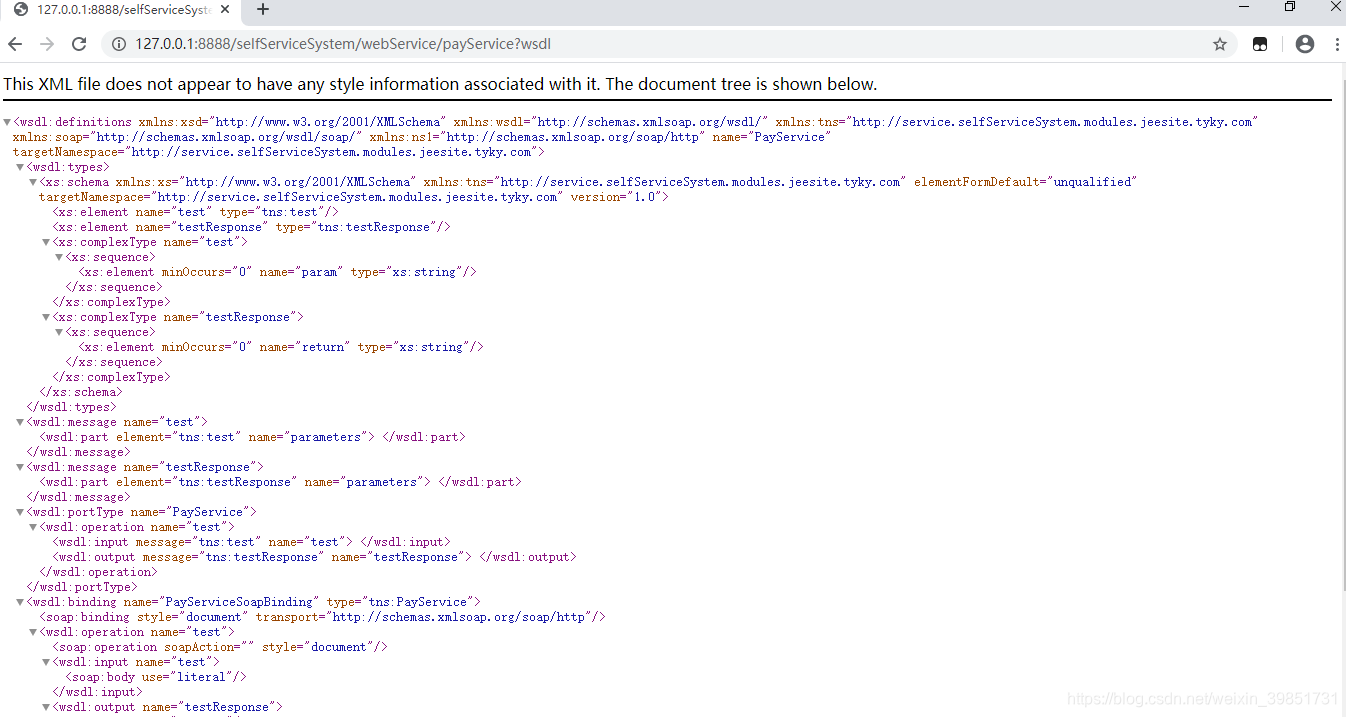
5.项目运行后,就可以在这个地址上看到发布的服务:http://127.0.0.1:8888/webService/payService?wsdl ,端口根据项目具体配置,如果在配置文件中加了服务的端口和服务名,例如我这
server.port=8888
server.context-path=/selfServiceSystem
需要把访问路径改成http://127.0.0.1:8888/selfServiceSystem/webService/payService?wsdl 即可。用浏览器访问后:
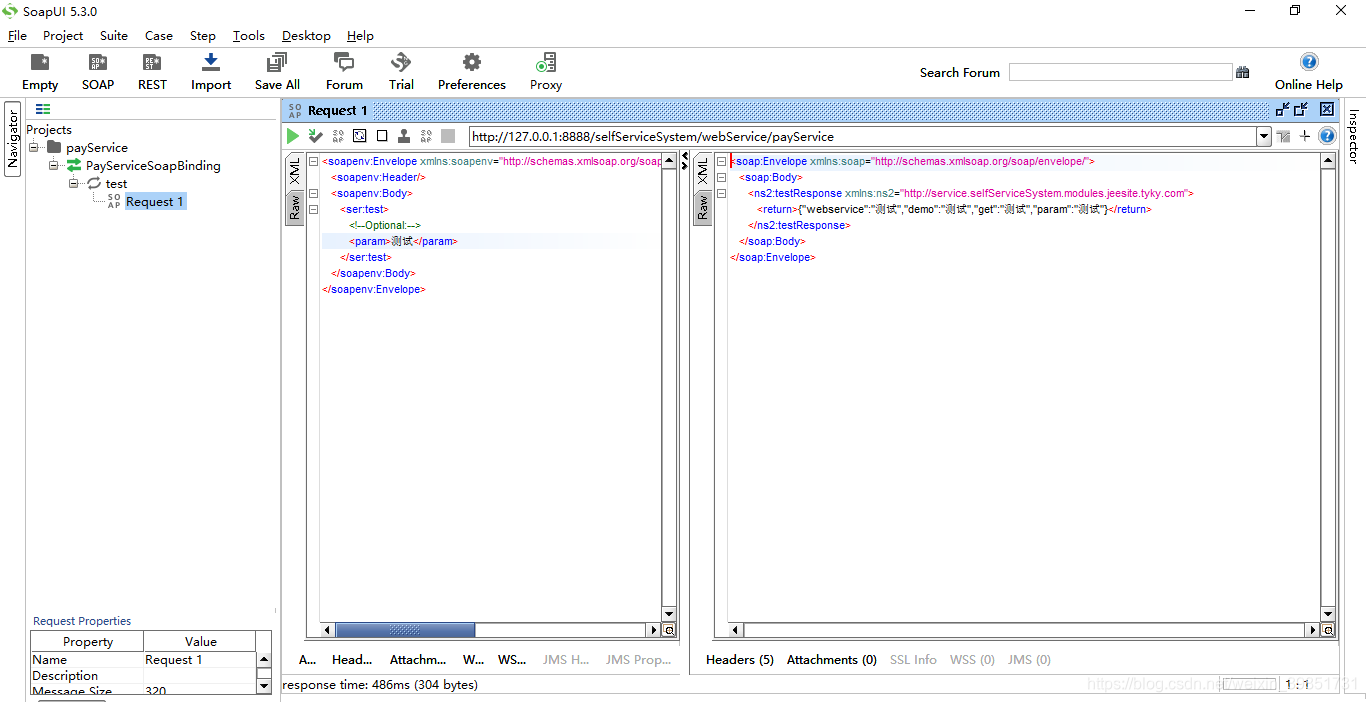
6.也可以使用SoapUI进行测试,接口返回信息是否正确:
7.这样springboot整合webservice接口就完成了,我在整合的时候只要碰到的问题如下:
(1)cxf的jar包和springboot版本不匹配,导致无法访问。
(2)webservice接口类定义时,targetNamespace配置不正确,需要包名的倒叙。
(3)服务启动时,没有注意自己项目的端口和路径名,以为只要以http://127.0.0.1:8888/webService/payService?wsdl这个地址就能访问,其实还要加上 /selfServiceSystem 的项目服务,以http://127.0.0.1:8888/selfServiceSystem/webService/payService?wsdl 这个地址访问。


 822
822


 被折叠的 条评论
为什么被折叠?
被折叠的 条评论
为什么被折叠?
 到【灌水乐园】发言


