


TL;DR
文章篇幅有点长 ,可以先收藏再看 。要是想直接看看怎么写一个扩展,直接去第二部分 ,或者直接去github看源码 。
第一部分 --- Extension 知识点
一、扩展的启动
- 如何保证性能 --- 扩展激活(Extension Activation) 我们会往VS Code中安装非常多的扩展,VS Code是如何保证性能的呢? 在VS Code中有一个扩展激活(Extension Activation)的概念:VS Code会尽可能晚的加载扩展(懒加载),并且不会加载会话期间未使用的扩展,因此不会占用内存。为了完成扩展的延迟加载,VS Code定义了所谓的激活事件(
activation events)。 VS Code根据特定活动触发激活事件,并且扩展可以定义需要针对哪些事件进行激活。例如,仅当用户打开Markdown文件时,才需要激活用于编辑Markdown的扩展名。 - 如何保证稳定性 --- 扩展隔离(Extension Isolation) 很多扩展都写得很棒 ,但是有的扩展有可能会影响启动性能或VS Code本身的整体稳定性。作为一个编辑器用户可以随时打开,键入或保存文件,确保响应性UI不受扩展程序在做什么的影响是非常重要的。 为了避免扩展可能带来的这些负面问题,VS Code在单独的Node.js进程(扩展宿主进程
extension host process)中加载和运行扩展,以提供始终可用的,响应迅速的编辑器。行为不当的扩展程序不会影响VS Code,尤其不会影响其启动时间 。
四、Activation Events --- package.json
既然扩展是延迟加载(懒加载)的,我们就需要向VS Code提供有关何时应该激活什么扩展程序的上下文,其中比较重要的几个: - onLanguage:${language} - onCommand:${command} - workspaceContains:${toplevelfilename} - *
activationEvents.onLanguage
根据编程语言确定时候激活。比如我们可以这样:
"activationEvents": [
    "onLanguage:javascript"
]
当检测到是js的文件时,就会激活该扩展。
activationEvents.onCommand
使用命令激活。比如我们可以这样:
"activationEvents": [
    "onCommand:extension.sayHello"
]
activationEvents.workspaceContains
文件夹打开后,且文件夹中至少包含一个符合glob模式的文件时激活。比如我们可以这样:
"activationEvents": [
    "workspaceContains:.editorconfig"
]
当打开的文件夹含有.editorconfig文件时,就会激活该扩展。
activationEvents.*
每当VS Code启动,就会激活。比如我们可以这样:
"activationEvents": [
    "*"
]
五、Contribution Points --- package.json
其中配置的内容会暴露给用户,我们扩展大部分的配置都会写在这里: - configuration - commands - menus - keybindings - languages - debuggers - breakpoints - grammars - themes - snippets - jsonValidation - views - problemMatchers - problemPatterns - taskDefinitions - colors
contributes.configuration
在configuration中配置的内容会暴露给用户,用户可以从“用户设置”和“工作区设置”中修改你暴露的选项。 configuration是JSON格式的键值对,VS Code为用户提供了良好的设置支持。 你可以用vscode.workspace.getConfiguration('myExtension')读取配置值。
contributes.commands
设置命令标题和命令,随后这个命令会显示在命令面板中。你也可以加上category前缀,在命令面板中会以分类显示。
注意:当调用命令时(通过组合键或者在命令面板中调用),VS Code会触发激活事件onCommand:${command}。
六、package.json其他比较特殊的字段
engines:说明扩展程序将支持哪些版本的VS CodedisplayName:在左侧显示的扩展名icon:扩展的图标categories:扩展所属的分类。可以是:Languages, Snippets, Linters, Themes, Debuggers, Formatters, Keymaps, Other
第二部分 --- 自己写个扩展玩玩
我们经常使用console.log来打印日志进行调试,我们就写一个用来美化、简化console.log的扩展玩玩。最终实现的效果:
special-console-log
实现这个扩展,需要注意以下几点: 1. console.log使用css样式 2. VS Code插入内容 3. VS Code光标和选区 4. VS Code删除内容 5. VS Code读取用户配置
下面火速实操(p≧w≦q)。
如何开始
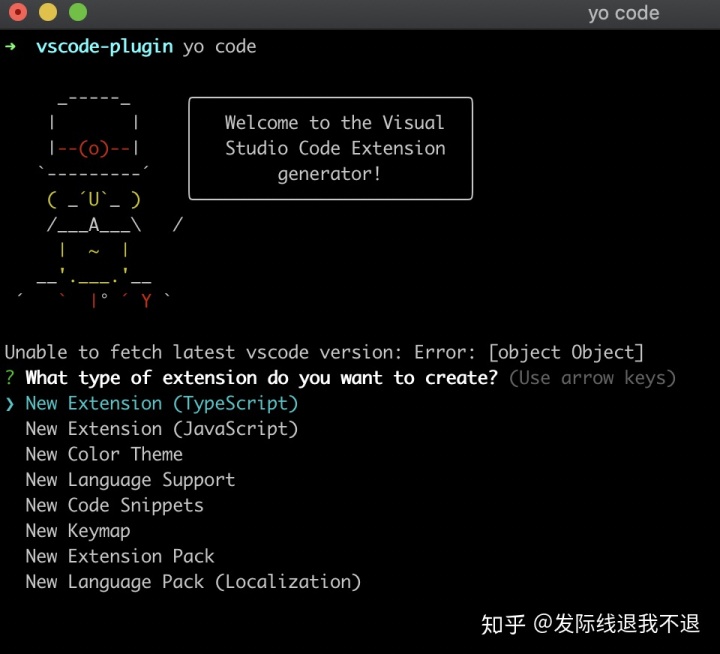
要开始写VS Code扩展,需要两个工具:
- yeoman:有助于启动新项目
- vscode-generator-code:由VS Code团队使用
yeoman构建的生成器 可以使用yarn或npm安装这两个工具,安装完成之后执行yo code,等一会之后它会帮我们生成起始项目,并会询问几个问题:
确认信息之后,会帮我们初始化好整个项目,此时的目录结构是这样的:
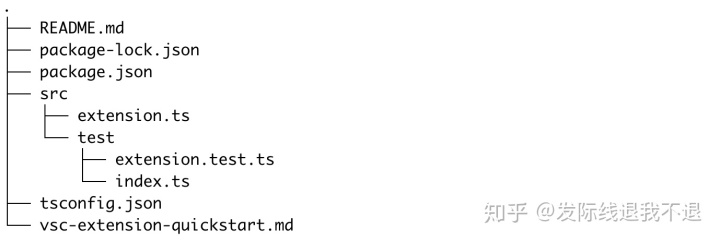
我们只需要关注src/extension.ts和package.json即可,其中package.json里面的内容之前已经介绍过。
console.log使用css样式
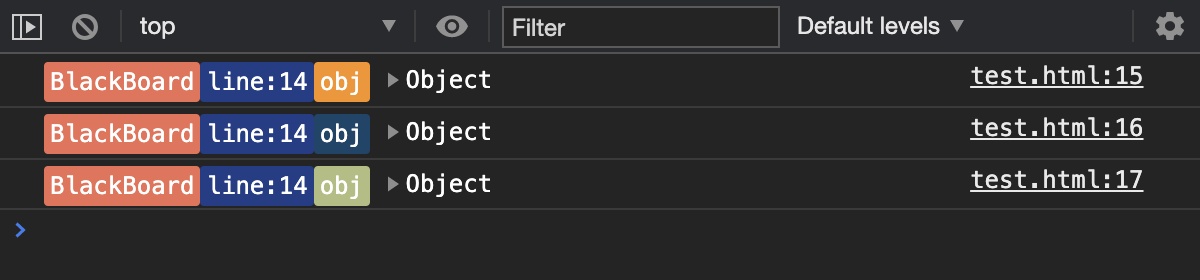
这里有一篇比较完整的文章:https://www.telerik.com/blogs/how-to-style-console-log-contents-in-chrome-devtools 简单的说,这句代码执行之后打印的是下面图片那样console.log("%cThis is a green text", "color:green");:

后面的样式会应用在%c后面的内容上
vscode扩展读取用户配置
上文提到过,我们可以在contributes里面定义用户配置:
"contributes": {
    "configuration": {
      "type": "object",
      "title": "Special-console.log",
      "properties": {
        "special-console.log.projectName": {
          "type": "string",
          "default": "MyProject",
          "description": "Project name"
            },
        "special-console.log.showLine": {
          "type": "boolean",
          "default": true,
          "description": "Show line number"
         },
        "special-console.log.deleteAll": {
          "type": "boolean",
          "default": false,
          "description": "delete all logs or delete the log containing [color] and [background]"
        }
    }
  }
},
然后使用vscode.workspace.getConfiguration()读取用户配置
激活扩展
前面提到扩展是延迟加载(懒加载)的,我们只需要向VS Code提供有关何时应该激活什么扩展程序的上下文即可。我们在package.json中定义两个激活的事件:
"activationEvents": [
  "onCommand:extension.insertLog",
  "onCommand:extension.deleteLogs"
],
接着在contributes中添加快捷键:
"keybindings": [
  {
    "command": "extension.insertLog",
    "key": "shift+ctrl+l",
    "mac": "shift+cmd+l",
    "when": "editorTextFocus"
  },
  {
    "command": "extension.deleteLogs",
    "key": "shift+ctrl+d",
    "mac": "shift+cmd+d"
  }
],
还可以将命令添加到命令面板里面,也就是按Ctrl +Shift+P弹出来的面板:
"commands": [
  {
    "command": "extension.insertLog",
    "title": "Insert Log"
  },
  {
    "command": "extension.deleteLogs",
    "title": "Delete console.log"
  }
],
insertLog表示往内容中插入console.log,deleteLogs则表示删除。具体的实现我们放到src/extension.ts的activate中:
export function activate(context: vscode.ExtensionContext) {
    const insertLog = vscode.commands.registerCommand('extension.insertLog', () => {})
    context.subscriptions.push(insertLog)

    const deleteLogs = vscode.commands.registerCommand('extension.deleteLogs', () => {})
    context.subscriptions.push(deleteLogs)
}
插入console.log
- 插入
console.log大概的过程是获取当前选区的内容,获取用户配置,根据用户配置和当前选区的内容填充console.log,最后插入到选区的下一行。
const insertLog = vscode.commands.registerCommand('extension.insertLog', () => {
        const editor = vscode.window.activeTextEditor
        if (!editor) { return }

        const selection = editor.selection
        const text = editor.document.getText(selection) // 当前选区内容

        // 用户配置
        if (userConfig) {
            projectName = userConfig.projectName || projectName
            showLine = userConfig.showLine || showLine
            line = showLine?`%cline:${lineNumber}`:'%c'
        }
        // 设置console.log
    ...
    // 在下一行插入
        vscode.commands.executeCommand('editor.action.insertLineAfter')
            .then(() => {
                insertText(logToInsert, !text, noTextStr.length)
            })
    })
插入内容:
const insertText = (val: string, cursorMove: boolean, textLen: number) => {
    const editor = vscode.window.activeTextEditor
    if (!editor) {
        vscode.window.showErrorMessage('Can't insert log because no document is open')
        return
    }
    editor.edit((editBuilder) => {
        editBuilder.replace(range, val) // 插入内容
    }).then(() => {
        // 修改选区
    })
}
删除console.log
删除的时候只需要遍历找一下console.log在判断一下是不是我们加入的内容,是就删除
const deleteLogs =      vscode.commands.registerCommand('extension.deleteLogs', () => {
        const editor = vscode.window.activeTextEditor
        if (!editor) { return }

        const document = editor.document
        const documentText = editor.document.getText()

        let workspaceEdit = new vscode.WorkspaceEdit()

        // 获取log
        const logStatements = getAllLogs(document, documentText)
        // 删除
        deleteFoundLogs(workspaceEdit, document.uri, logStatements)
    })
删除的时候可以使用workspaceEdit.delete(docUri, log),当然,删除之后我们可以右下角搞个弹窗提示一下用户删除了几个console.log:
vscode.workspace.applyEdit(workspaceEdit).then(() => {
    vscode.window.showInformationMessage(`${logs.length} console.log deleted`)
})
具体的代码可以看看github
发布
这个就注册一下账号然后发布就行


 486
486


 被折叠的 条评论
为什么被折叠?
被折叠的 条评论
为什么被折叠?
 到【灌水乐园】发言


