


准备工作:
1、MySQL正常安装并启动
2、nacos正常部署并启动
3、下载 Seata-1.4.2 源码包和 seata-server-1.4.2 服务端源码包(版本根据自己的需要选择,我这里选择1.4.2)
下载地址:
Seata:https://gitee.com/mirrors/Seata/tree/1.4.2/
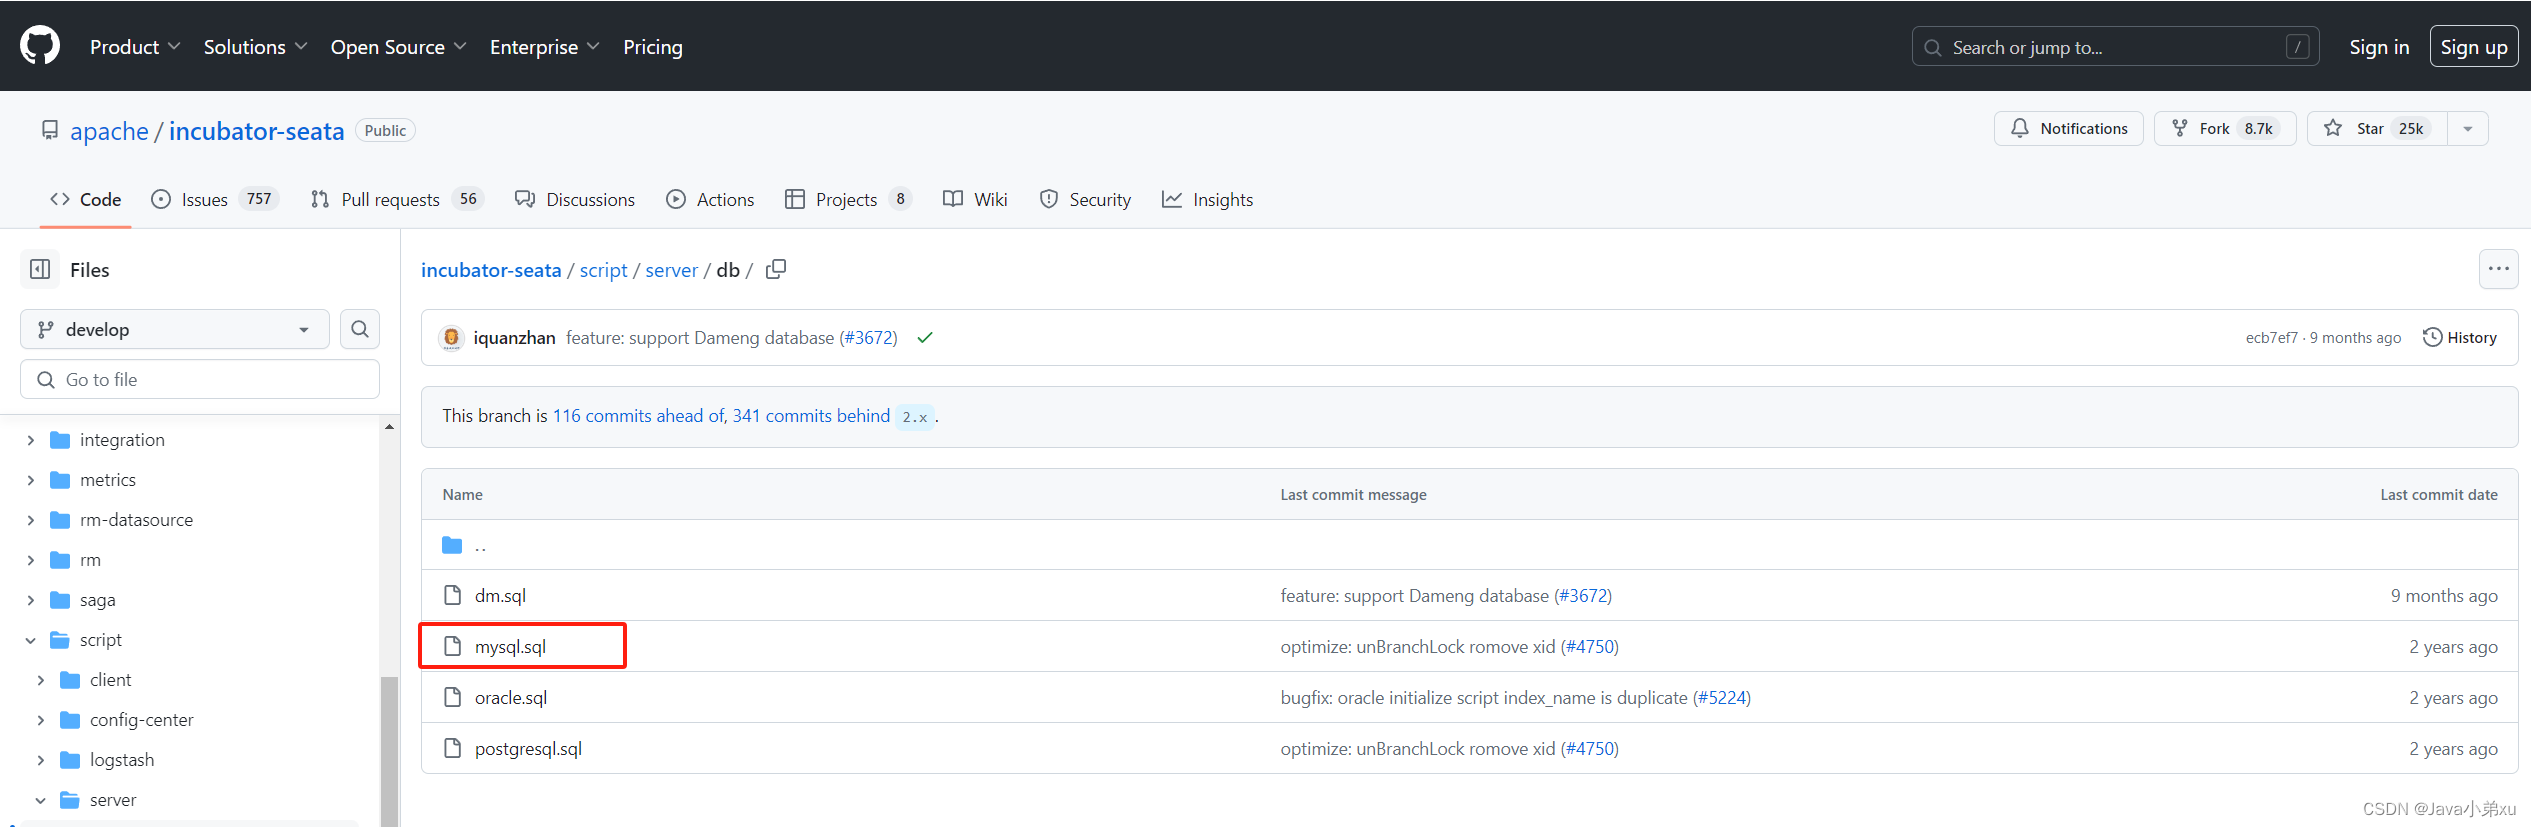
seata-server:https://github.com/apache/incubator-seata/releases/tag/v1.4.2

整合步骤:
1、修改registry.conf
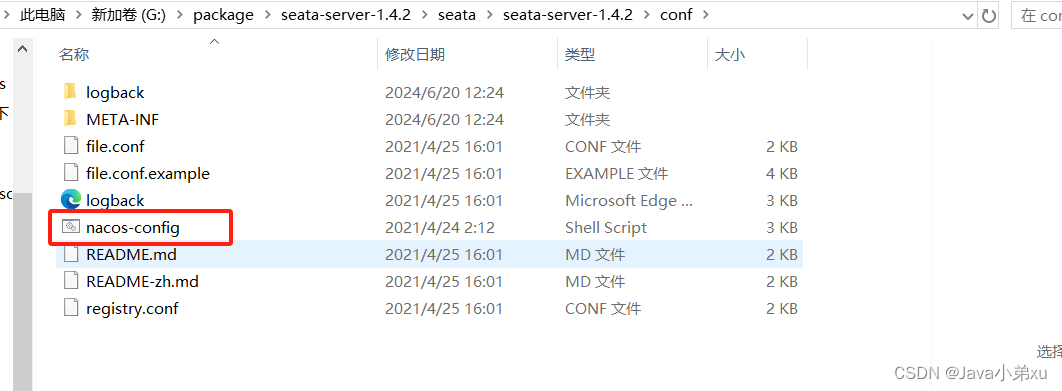
解压seata-server-1.4.2.jar,打开目录seata-server-1.4.2\seata\seata-server-1.4.2\conf\,编辑registry.conf文件

注册中心:

修改type为nacos,编辑nacos信息,与nacos部署信息一致
配置中心:

修改type为nacos,编辑nacos信息,与nacos部署信息一致
2、编辑config.text文件
解压Seata-1.4.2.zip,打开目录Seata-1.4.2\script\config-center\,编辑config.text文件

修改数据库相关配置

具体配置如下:
store.mode=db
store.db.datasource=druid
store.db.dbType=mysql
store.db.driverClassName=com.mysql.cj.jdbc.Driver
store.db.url=jdbc:mysql://192.168.1.3:3306/seata?useUnicode=true
store.db.user=root
store.db.password=root
store.db.minConn=5
store.db.maxConn=30
store.db.globalTable=global_table
store.db.branchTable=branch_table
store.db.queryLimit=100
store.db.lockTable=lock_table
store.db.maxWait=5000
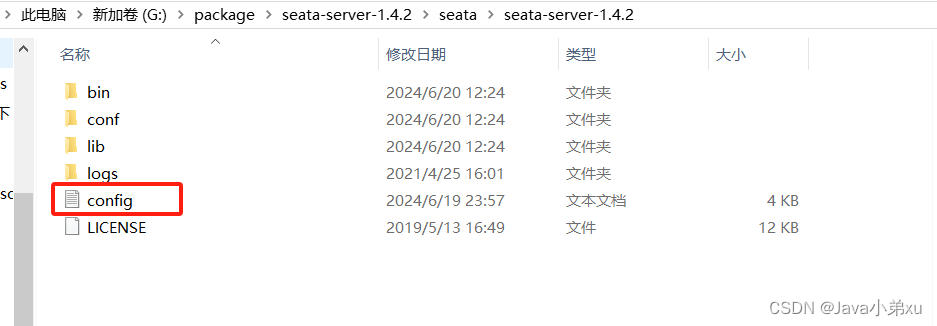
编辑完成后,将该文件(config.text文件)放入seata-server的目录下:seata-server-1.4.2\seata\seata-server-1.4.2\
sh nacos-config.sh -h 127.0.0.1 -t a7de83cd-ffae-4d5c-be7a-b16c18772af4-h:主机ip地址 -p:端口 -t:namespace -g:group -u:username -w:password
执行成功后,如下显示:
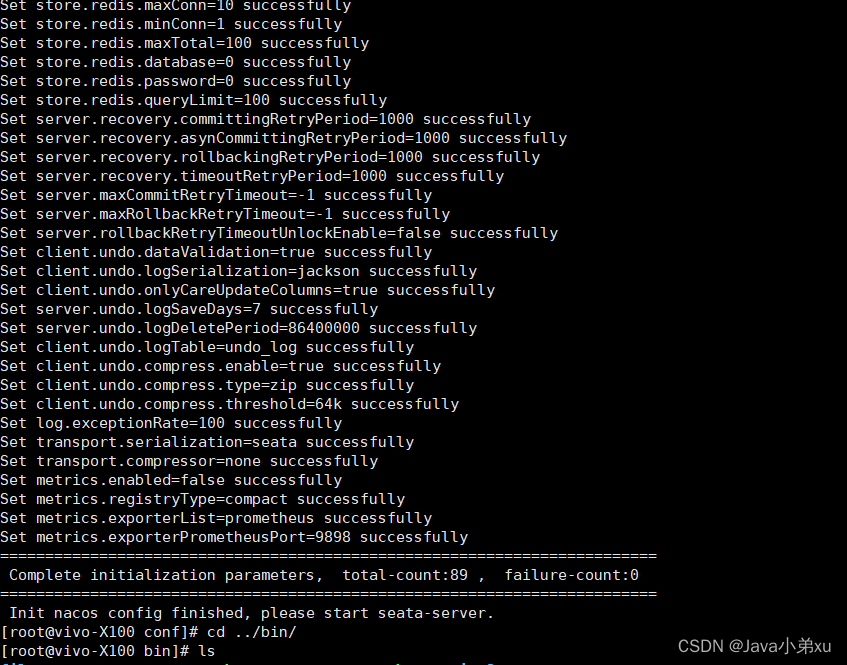
如果失败了,检查一下是不是有空值,config.text文件默认有4个属性没有配置值,随便给个值配置上
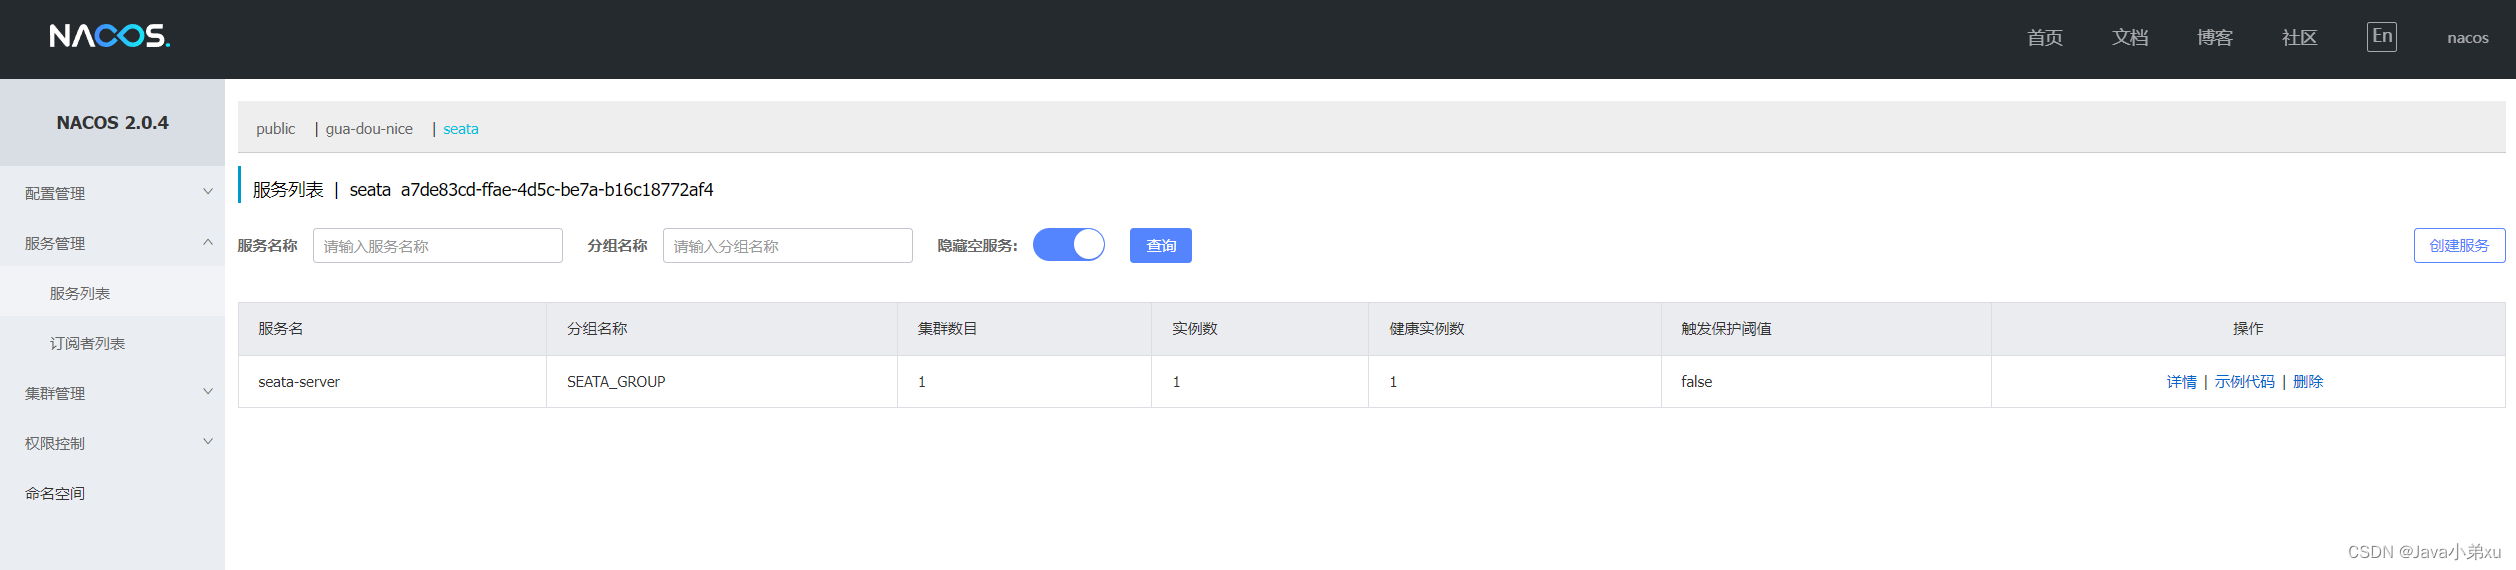
登录nacos查看配置信息

4、启动seata-server
进入目录seata-server-1.4.2\seata\seata-server-1.4.2\bin\
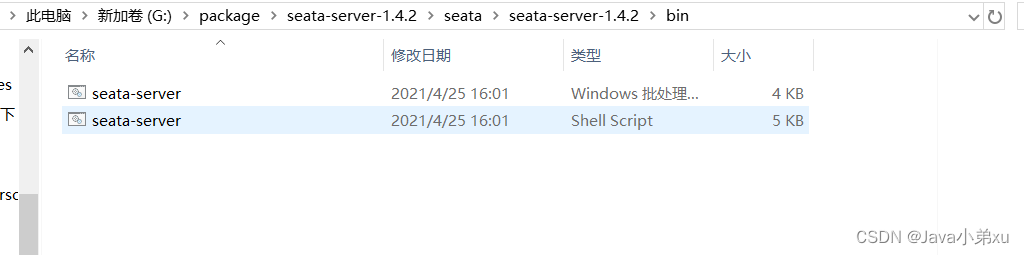
本地双击seata-server.bat启动,服务器上输入如下命令启动:
sh seata-server.sh启动成功显示:

CREATE TABLE `undo_log` (
 `id` bigint(20) NOT NULL AUTO_INCREMENT,
 `branch_id` bigint(20) NOT NULL,
 `xid` varchar(100) NOT NULL,
 `context` varchar(128) NOT NULL,
 `rollback_info` longblob NOT NULL,
 `log_status` int(11) NOT NULL,
 `log_created` datetime NOT NULL,
 `log_modified` datetime NOT NULL,
 `ext` varchar(100) DEFAULT NULL,
 PRIMARY KEY (`id`),
 UNIQUE KEY `ux_undo_log` (`xid`,`branch_id`)
) ENGINE=InnoDB AUTO_INCREMENT=1 DEFAULT CHARSET=utf8;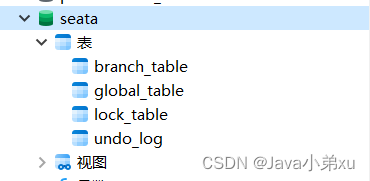
<!--seata依赖-->
        <dependency>
            <groupId>com.alibaba.cloud</groupId>
            <artifactId>spring-cloud-starter-alibaba-seata</artifactId>
            <exclusions>
                <exclusion>
                    <groupId>io.seata</groupId>
                    <artifactId>seata-spring-boot-starter</artifactId>
                </exclusion>
                <exclusion>
                    <groupId>io.seata</groupId>
                    <artifactId>seata-all</artifactId>
                </exclusion>
            </exclusions>
        </dependency>

        <dependency>
            <groupId>io.seata</groupId>
            <artifactId>seata-spring-boot-starter</artifactId>
        </dependency>
配置bootstrap.yml文件(如果使用了nacos的配置中心,则需要将application.yml改为bootstrap.yml,没有则使用application.yml):
spring:
  cloud:
    alibaba:
      seata:
        tx-service-group: my_test_tx_group

seata:
  #事务组,根据这个获取tc的五福的cluster名称
  tx-service-group: my_test_tx_group
  service:
    vgroup-mapping:
      my_test_tx_group: default
  #事物模式
  data-source-proxy-mode: AT
  #注册中心
  registry:
    type: nacos
    nacos:
      application: seata-server #tc服务在nacos的服务名称
      server-addr: 127.0.0.1:8848
      username: nacos
      password: nacos
      group: SEATA_GROUP
      namespace: a7de83cd-ffae-4d5c-be7a-b16c18772af4
  #配置中心
  config:
    type: nacos
    nacos:
      server-addr: 127.0.0.1:8848
      username: nacos
      password: nacos
      group: SEATA_GROUP   #nacos配置中心的Group
      # data-id: seataServer.properties #nacos配置中心的data-id
      namespace: a7de83cd-ffae-4d5c-be7a-b16c18772af4
spring.cloud和seata的tx-service-group的值对应config.txt里的service.vgroupMapping.my_test_tx_group=default配置的属性:my_test_tx_group seata.service.vgroupMapping.my_test_tx_group:default配置与config.text的配置service.vgroupMapping.my_test_tx_group=default一致
配置完后启动项目,观察seata服务端:

显示客户端以注册上来
7、使用@GlobalTransactional 注解使方法加入分布式事务

seata整合完成!!


 648
648


 被折叠的 条评论
为什么被折叠?
被折叠的 条评论
为什么被折叠?
 到【灌水乐园】发言


