


说明:本文只介绍使用http的方式访问Harbor镜像库,https访问的方式请自行查询。
一、安装harbor
前提条件:已安装好docker。
-
1.1、安装docker-compose
sudo apt install docker-compose -
1.2、下载Harbor
从Harbor的官方github,下载最新的版本。注意最好下载离线版本harbor-offline-installer-vx.xx.x.tgz。在线安装对网络要求高,一般国内由于某些原因无法在线安装。 -
1.3、安装Harbor
我这里以harbor-offline-installer-v2.11.0.tgz这个版本为例。- 1.3.1、解压
tar -vxzf harbor-offline-installer-v2.11.0.tgz解压后会得到一个harbor文件夹。
- 1.3.2、配置文件
cd harbor cp harbor.yml.tmpl harbor.yml- 1.3.3、修改harbor.yml
vim harbor.yml配置主机和端口:
# The IP address or hostname to access admin UI and registry service.
# DO NOT use localhost or 127.0.0.1, because Harbor needs to be accessed by external clients.
hostname: 改为自己的主机名(通过命令 cat /etc/hostname 获取)

# http related config
http:
# port for http, default is 80. If https enabled, this port will redirect to https port
	port: 8180 #这里默认是80,如果80端口已占用改为其他端口
屏蔽https相关的配置,以后需要再配置:
# https related config
# https:
	# https port for harbor, default is 443
	# port: 443
	# The path of cert and key files for nginx
	# certificate: /your/certificate/path
	# private_key: /your/private/key/path
	# enable strong ssl ciphers (default: false)
	# strong_ssl_ciphers: false
配置harbor的存储位置:
# The default data volume
data_volume: /home/zhangge/data/harbor_data  # 默认是/data,改为自己想存放的位置
配置harbor的log存储位置:
# Log configurations log: # options are debug, info, warning, error, fatal level: info # configs for logs in local storage local: # Log files are rotated log_rotate_count times before being removed. If count is 0, old versions are removed rather than rotated. rotate_count: 50 # Log files are rotated only if they grow bigger than log_rotate_size bytes. If size is followed by k, the size is assumed to be in kilobytes. # If the M is used, the size is in megabytes, and if G is used, the size is in gigabytes. So size 100, size 100k, size 100M and size 100G # are all valid. rotate_size: 200M # The directory on your host that store log location: /home/zhangge/data/harbor_data/log/harbor #改为自己想存放的路径- 1.3.4、导入使用到的docker镜像
# 在harbor文件夹中会有harbor.v2.11.0.tar.gz这个文件 docker load -i harbor.v2.11.0.tar.gz- 1.3.5、开始安装
./prepare sudo ./install.sh- 1.3.6、需要重新更改配置时
停止harbor启动的容器:
cd harbor
sudo docker-compose down -v

# 修改完配置后进行重新安装
开机后如果服务没起来:
cd harbor
sudo docker-compose up -d
二、harbo的web界面
在浏览器输入http://127.0.0.1:8180,端口改为配置的端口。可以进入web访问界面:
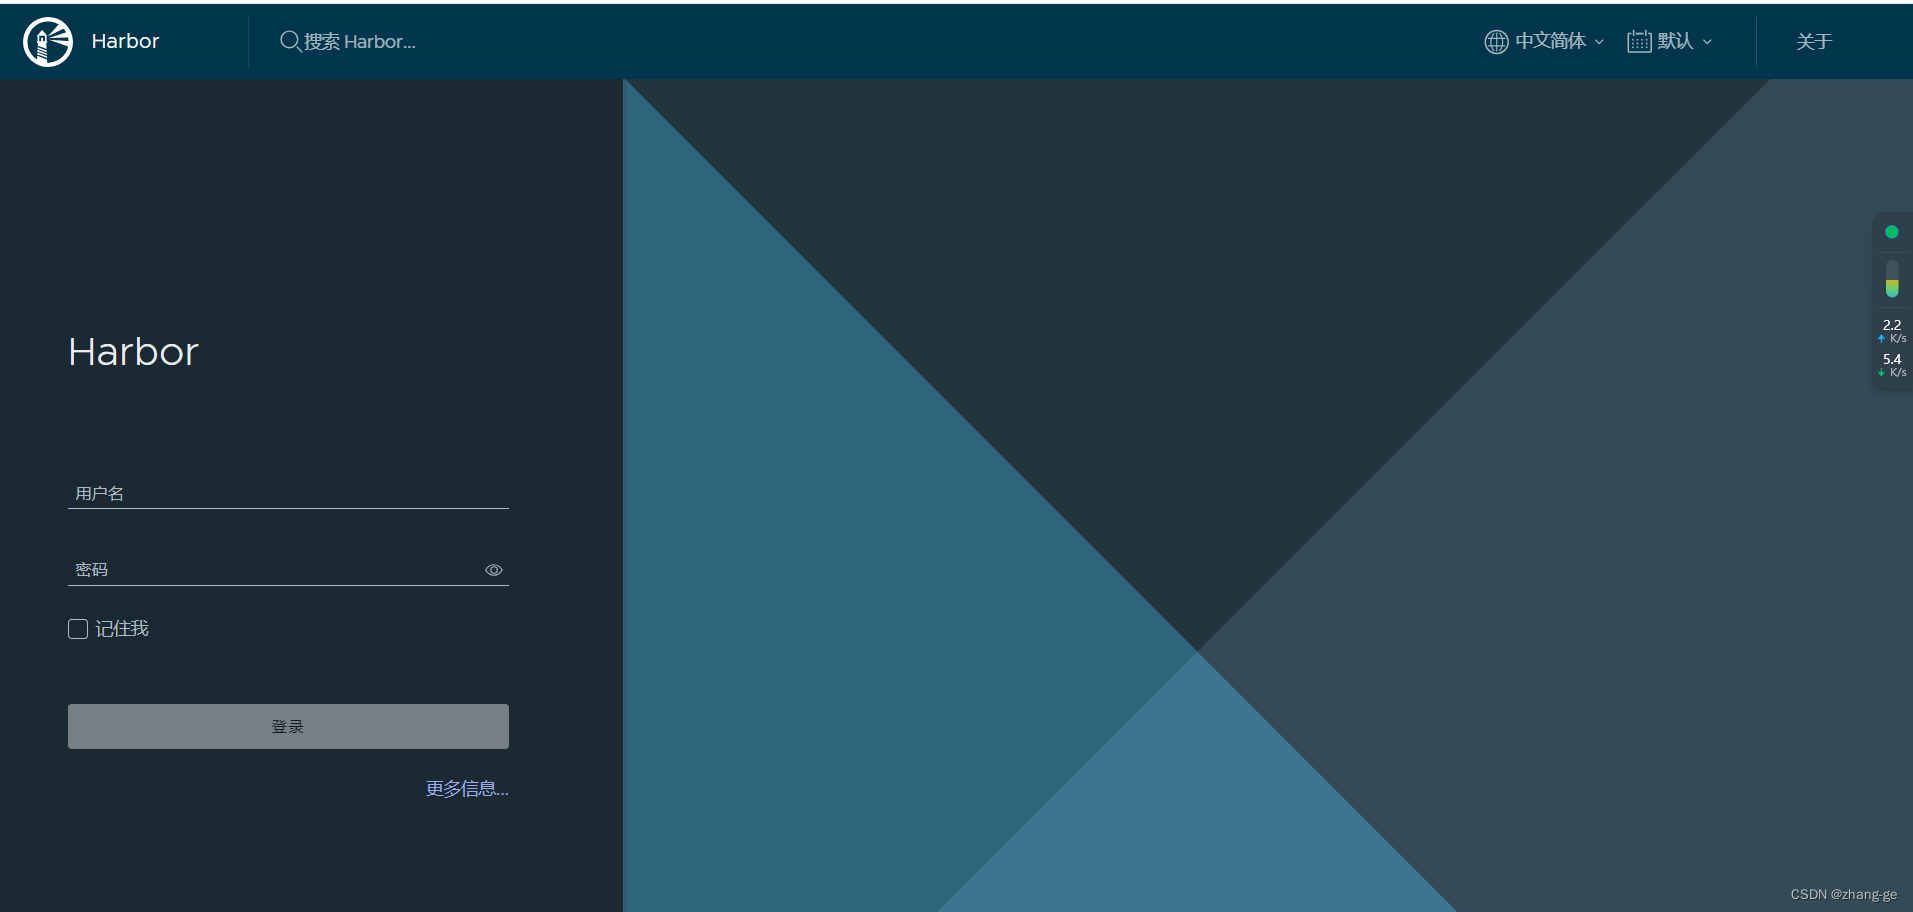
默认用户名:admin,密码:Harbor12345。输入后可访问管理页面。
三、docker配置http访问
docker默认是https访问,需要配置为支持http访问。
sudo vim /etc/docker/daemon.json
添加以下内容:
{
        "insecure-registries": ["10.0.3.152:8180"]
}
其中,需要把ip和端口改为自己的主机ip和配置的端口。
重启docker守护进程:
sudo systemctl daemon-reload
sudo systemctl restart docker
四、docker使用Harbor
Harbor默认创建了library这个项目,以向library项目推送、拉取为例:
我这里的主机ip为: 10.0.3.152,配置的端口为8180。
-
4.1、登录Harbor
docker login http://10.0.3.152:8180 # 然后输入Harbor的用户名和密码 -
4.2、推送仓库
# 将从docker-hub拉取的ubuntu:20.04仓库打个tag:
docker tag ubuntu:20.04 10.0.3.152:8180/library/ubuntu:20.04

# 推送到Harbor仓库
docker push 10.0.3.152:8180/library/ubuntu:20.04
推送完后,也可以登录管理界面进行查看。
-
4.3、拉取仓库
# 本机或局域网内其他主机
docker pull 10.0.3.152:8180/library/ubuntu:20.04
五、WSL下使用Harbor
WSL中使用docker harbor私服拉取镜像时,报如下错误:
root@node02 ~]# docker login http://10.0.3.152:8180
Username: admin
Password:
Error response from daemon: Get https://10.0.3.152:8180/v2/: Get https://zhangge-OptiPlex-3080/service/token?account=admin&client_id=docker&offline_token=true&service=harbor-registry: dial tcp: lookup harbor on 10.0.3.152:53: no such host
因为在拉取镜像时会调用harbor服务接口,这里因找不到zhangge-OptiPlex-3080域名报错,在hosts文件中增加域名映射即可:
sudo vi /etc/hosts
添加如下内容:
10.0.3.152 zhangge-OptiPlex-3080
将ip改为自己的主机ip,后面的主机名改为实际的主机名,接下来就正常了。
六、使用skopeo同步外网镜像到Harbor
-
6.1、skopeo的安装
skopeo的参考这里参考两篇博客即可:
ubuntu20.04安装指定版本的Go环境。
ubuntu20.04安装skopeo。也可直接使用我编译好的docker镜像同步工具skopeo。
-
6.2、使用skopeo同步镜像
- 6.2.1、同步其他仓库镜像
命令如下:
skopeo copy --dest-tls-verify=false 'docker://myregistry.com/myimage:mytag' 'docker://myotherregistry.com/myimage:mytag' --src-creds=myusername:mypassword --dest-creds=myusername:mypassword以同步ubuntu:latest为例:
skopeo sync --src docker --dest docker docker.io/library/ubuntu:latest 10.0.3.152:8180/library/ --src-tls-verify=false --dest-tls-verify=false --dest-creds=admin:Harbor12345根据实际需要修改镜像库即可。
- 6.2.2、同步本地镜像:
命令如下:
skopeo copy docker-daemon:<LOCAL_IMAGE_NAME>:<TAG docker://<HARBOR_REGISTRY_ADDR>/<PROJECT>/<IMAGE_NAME>:<TAG> --dest-creds=<HARBOR_USERNAME>:<HARBOR_PASSWORD> --dest-tls-verify=false示例:
skopeo copy docker-daemon:registry:latest docker://10.0.3.152:8180/library/registry:latest --dest-creds=admin:Harbor12345 --dest-tls-verify=false
七、使用阿里云镜像同步工具image-syncer 同步镜像到Harbor
- 7.1、到github下载image-syncer
# 解压后,执行 sudo cp image-syncer /usr/local/bin/ - 7.2、编写
config.json:{ "auth": { "10.0.3.152:8180/library": { "username": "admin", "password": "Harbor12345", "insecure": true } }, "images": { "docker.io/library/nginx:latest": "10.0.3.152:8180/library/nginx:latest" } } - 7.3、开始同步
image-syncer --proc=8 --config=./config.json
八、Harbor仓库迁移到其他主机
- 8.1、迁移的准备工作
- 备份harbor的安装目录:
# 进入到harbor目录。也即安装harbor时,执行sudo ./install.sh的目录 cd .. tar -vcjf harbor.tar.bz2 harbor/- 备份数据和日志目录,即harbor_data目录
tar -vcjf harbor_data.tar.bz2 harbor_data/ - 8.2、开始迁移
- 先恢复harbor_data的位置:
# 将harbor_data.tar.bz2放到指定的位置 tar -vxjf harbor_data.tar.bz2- 安装harbor:
# 解压
tar -vxjf harbor_data.tar.bz2

# 修改配置文件中harbor_data的新路径
cd harbor
vim harbor.yml

# 开始安装
docker load -i harbor.v2.11.0.tar.gz
./prepare
sudo ./install.sh


 3072
3072

 被折叠的 条评论
为什么被折叠?
被折叠的 条评论
为什么被折叠?
 到【灌水乐园】发言


