


springboot 整合minio client 简单使用 视频流展示demo
不好意思 本人没有强迫症 代码随便造 知识来源于百度,感谢百度合作伙伴以及各位网友demo的帮助
源码:https://gitee.com/yangqinglinzp/test/tree/master/minio-test
minio 中文手册 https://gitee.com/yangqinglinzp/test/tree/master/minio-test
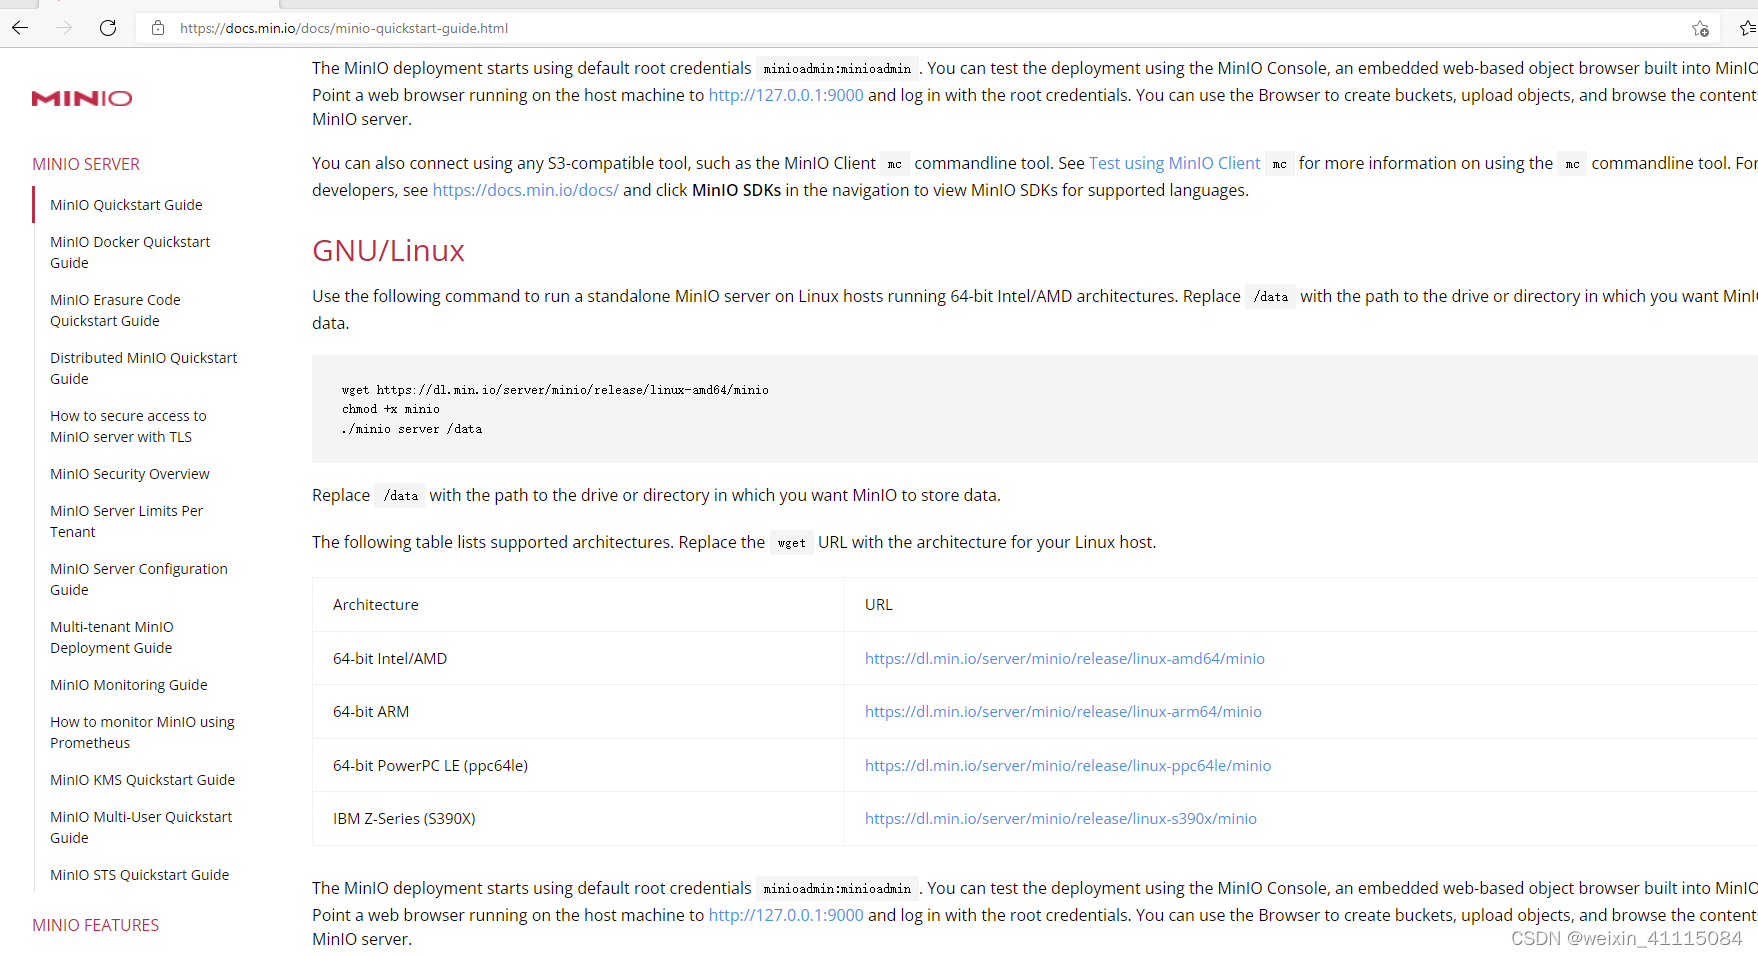
英文网 : https://docs.min.io/
linux 安装就三句 比较简单
wget https://dl.min.io/server/minio/release/linux-amd64/minio
chmod +x minio
./minio server /data
这里的/data 是指所有的文件放在/data 下面 /data作为所有文件的根目录 data这个文件夹需要自己去mkdir ,请建好
``
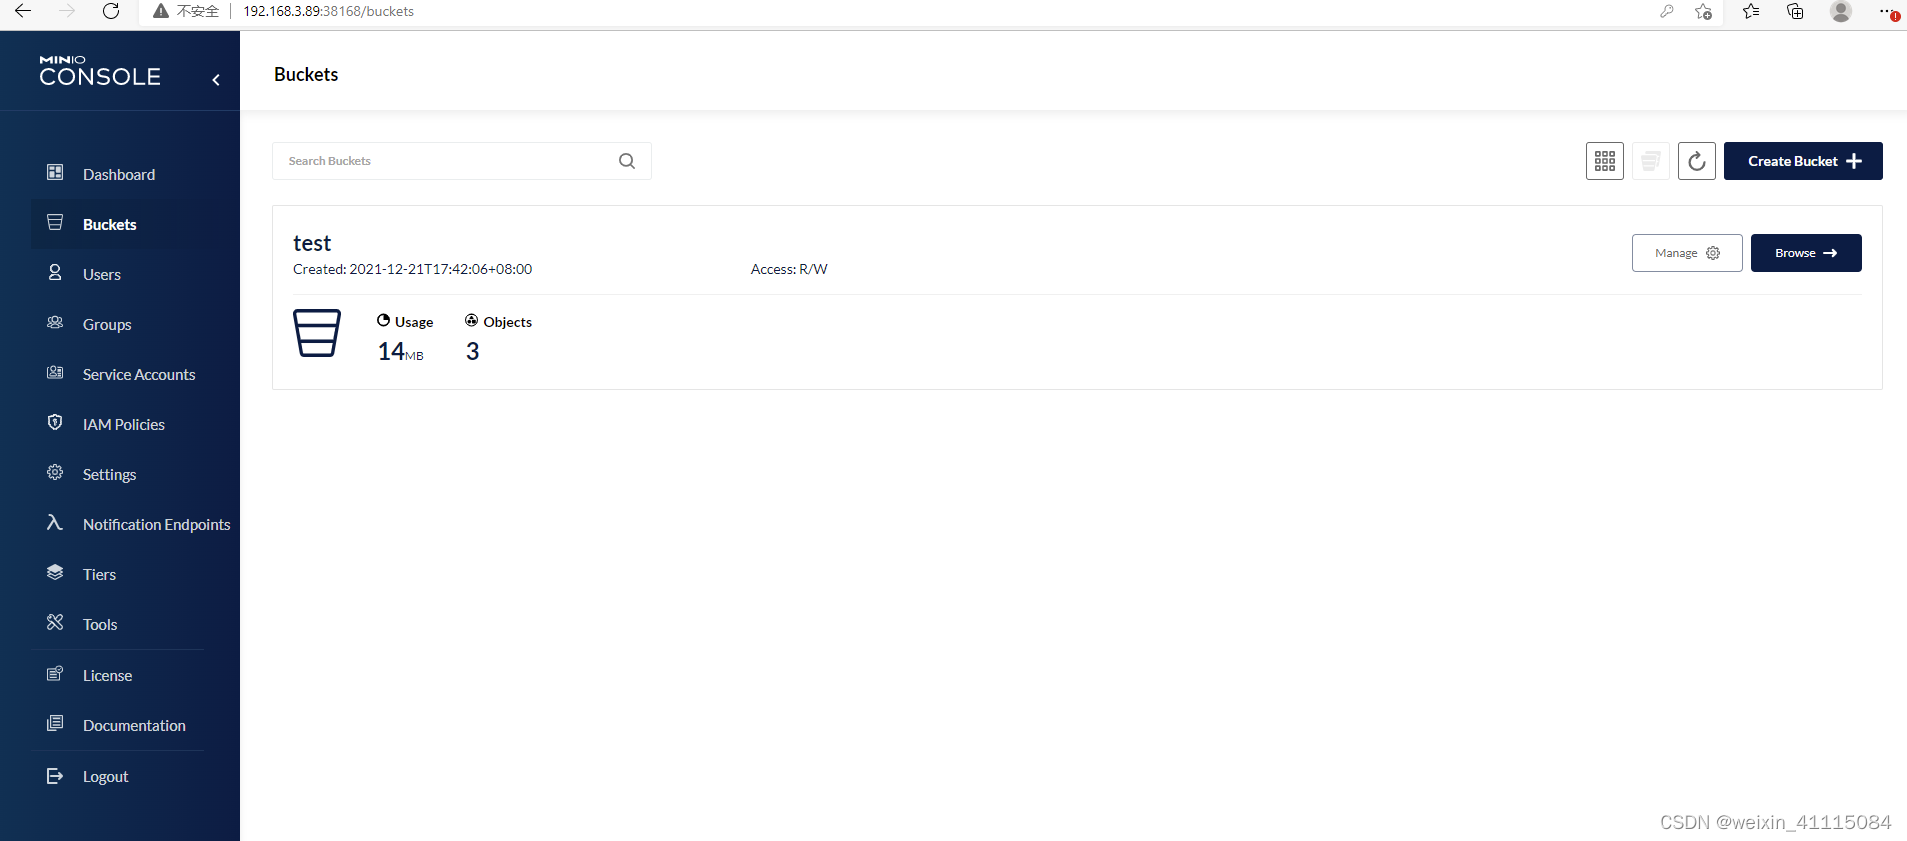
minio 有使用到桶的概念 可以理解为一个文件夹
关于启动 我用的是下面这个后台启动
nohup ./minio server /usr/software/minio/data> …/log/minio.log 2>&1 &
默认端口是9000 http://ip:9000 我的是在linux上启动的
http://192.168.3.89:9000 用户名和密码都是默认: minioadmin
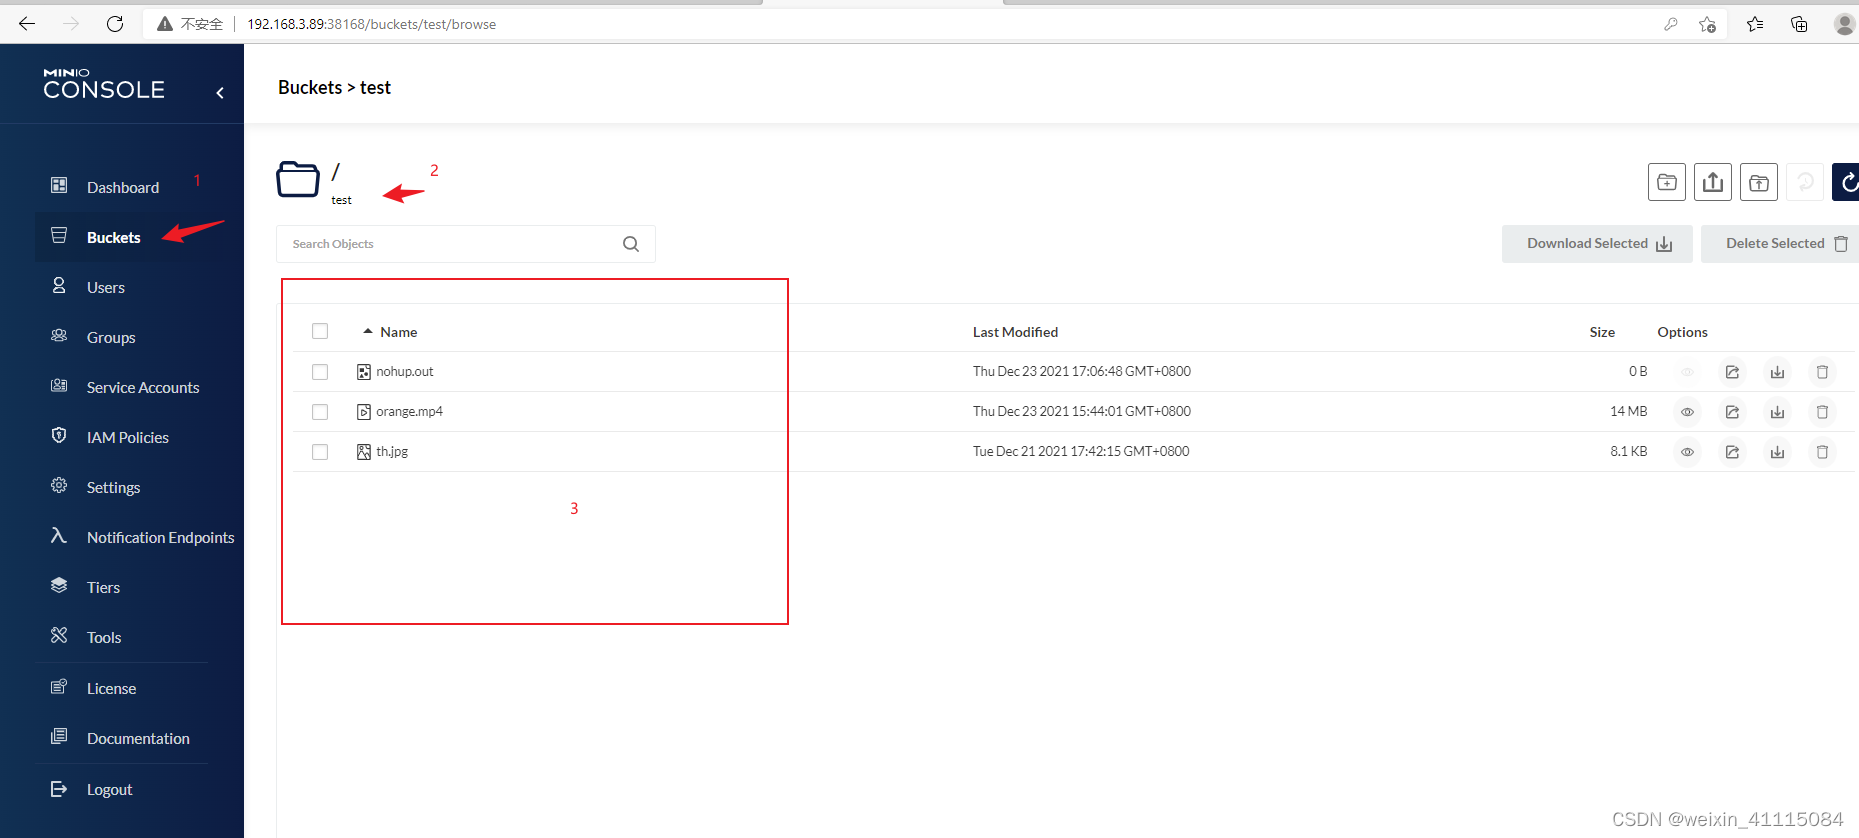
进入buckets 里面我建立了一个文件夹test 上传一些文件比如视频和图片
环境算是搭建好了 现在看一下官网的文档开始撸代码
官网有案例: https://docs.min.io/docs/java-client-api-reference.html
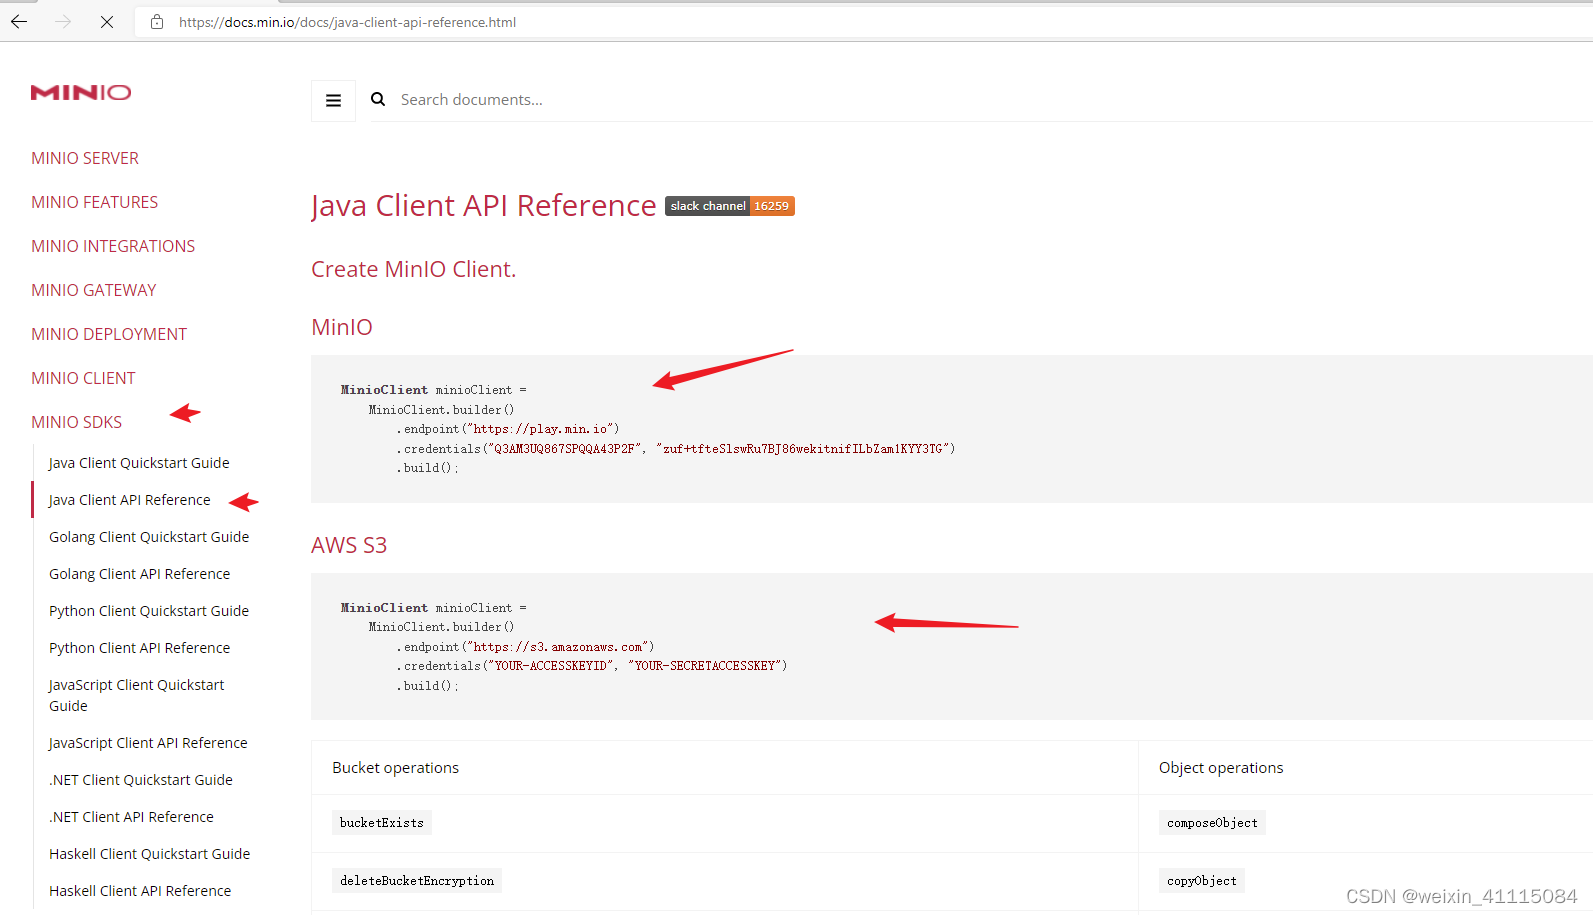
目前的代码是2021-12-23日的具体代码写法看自己的版本使用。
配置文件pom依赖:在这里插入代码片
    <!--minio服务--    这个版本的okhttp3有点问题需要去掉重新引入--->
    <dependency>
        <groupId>io.minio</groupId>
        <artifactId>minio</artifactId>
        <version>8.3.3</version>
        <exclusions>
            <exclusion>
                <artifactId>okhttp</artifactId>
                <groupId>com.squareup.okhttp3</groupId>
            </exclusion>
        </exclusions>
    </dependency>

    <dependency>
        <groupId>com.squareup.okhttp3</groupId>
        <artifactId>okhttp</artifactId>
        <version>4.9.0</version>
    </dependency>

    <dependency>
        <groupId>org.springframework.boot</groupId>
        <artifactId>spring-boot-starter-web</artifactId>
    </dependency>
    <dependency>
        <groupId>org.projectlombok</groupId>
        <artifactId>lombok</artifactId>
        <optional>true</optional>
    </dependency>

</dependencies>
yml配置
# 密码和用户名都是默认  没改   官网还有严格的加密  需要的去看官网
minio:
  endpoint: http://192.168.3.89:9000
  accessKey: minioadmin
  secretKey: minioadmin


server:
  port: 9005

spring:
  # 配置文件上传大小限制
  servlet:
    multipart:
      max-file-size: 100MB
      max-request-size: 100MB
简单的minio 的配置类
import org.springframework.boot.context.properties.ConfigurationProperties;
import org.springframework.stereotype.Component;

/**
 * description: minio配置类
 *
 * @author: weirx
 * @time: 2021/8/25 9:47
 */

@Component
@ConfigurationProperties(prefix = "minio")
public class MinioPropertiesConfig {

    /**
     * 端点
     */
    private String endpoint;
    /**
     * 用户名
     */
    private String accessKey;
    /**
     * 密码
     */
    private String secretKey;

    /**
     * 桶名称
     */
    private String bucketName;

    public String getEndpoint() {
        return endpoint;
    }

    public void setEndpoint(String endpoint) {
        this.endpoint = endpoint;
    }

    public String getAccessKey() {
        return accessKey;
    }

    public void setAccessKey(String accessKey) {
        this.accessKey = accessKey;
    }

    public String getSecretKey() {
        return secretKey;
    }

    public void setSecretKey(String secretKey) {
        this.secretKey = secretKey;
    }

    public String getBucketName() {
        return bucketName;
    }

    public void setBucketName(String bucketName) {
        this.bucketName = bucketName;
    }


}
minio 做成bean
import io.minio.MinioClient;
import org.springframework.boot.context.properties.EnableConfigurationProperties;
import org.springframework.context.annotation.Bean;
import org.springframework.context.annotation.Configuration;

import javax.annotation.Resource;


/**
 * description: 获取配置文件信息
 *
 * @author: weirx
 * @time: 2021/8/25 9:50
 */
@Configuration
@EnableConfigurationProperties(MinioPropertiesConfig.class)
public class MinioConfig {

    @Resource
    private MinioPropertiesConfig minioPropertiesConfig;


    /**
     * 初始化 MinIO 客户端
     */
    @Bean
    public MinioClient minioClient() {
        MinioClient minioClient = MinioClient.builder()
                .endpoint(minioPropertiesConfig.getEndpoint())
                .credentials(minioPropertiesConfig.getAccessKey(), minioPropertiesConfig.getSecretKey())
                .build();
        return minioClient;
    }
}
package com.qq.minio.controller;

import io.minio.*;
import io.minio.errors.*;
import io.minio.messages.Bucket;
import io.minio.messages.Item;
import org.apache.tomcat.util.http.fileupload.IOUtils;
import org.springframework.beans.factory.annotation.Autowired;
import org.springframework.web.bind.annotation.RequestMapping;
import org.springframework.web.bind.annotation.RequestParam;
import org.springframework.web.bind.annotation.RestController;

import javax.servlet.ServletOutputStream;
import javax.servlet.http.HttpServletRequest;
import javax.servlet.http.HttpServletResponse;
import java.io.*;
import java.security.InvalidKeyException;
import java.security.NoSuchAlgorithmException;
import java.util.Iterator;
import java.util.List;

@RestController
public class TestMinioController {


    @Autowired
    private MinioClient minioClient;

    @RequestMapping("/upload")
    public String test(@RequestParam String  name) {

        try {
            boolean found =
                    minioClient.bucketExists(BucketExistsArgs.builder().bucket("test").build());
            if (!found) {
                // Make a new bucket called 'asiatrip'.
                minioClient.makeBucket(MakeBucketArgs.builder().bucket("test").build());
            } else {
                System.out.println("Bucket 'test' already exists.");
            }


            minioClient.uploadObject(
                    UploadObjectArgs.builder()
                            .bucket("test")
                            .object(name)
                            .filename("E:/video/"+name)
                            .build());

        } catch (Exception e) {
            System.out.println("Error occurred: " + e);

        }
        return "success";
    }

    //返回桶列表

    @RequestMapping("/test2")
    public String  test2(){

        try {
            // 列出所有存储桶
            List<Bucket> bucketList = null;
            try {
                bucketList = minioClient.listBuckets();
            } catch (InvalidKeyException e) {
                e.printStackTrace();
            } catch (IOException e) {
                e.printStackTrace();
            } catch (NoSuchAlgorithmException e) {
                e.printStackTrace();
            }
            for (Bucket bucket : bucketList) {
                System.out.println(bucket.creationDate() + ", " + bucket.name());
            }
        } catch (MinioException e) {
            System.out.println("Error occurred: " + e);
        }
        return "success";
    }


    @RequestMapping("/show")
    public void download(HttpServletResponse  response, @RequestParam String voideName){

        System.out.println(voideName);

        try {
            // 调用statObject()来判断对象是否存在。
            // 如果不存在, statObject()抛出异常,
            // 否则则代表对象存在。
            StatObjectResponse statObjectResponse = minioClient.statObject(
                    StatObjectArgs.builder().bucket("test").object("orange.mp4").build());

            // 获取"myobject"的输入流。
            // get object given the bucket and object name
            InputStream stream = minioClient.getObject(
                    GetObjectArgs.builder()
                            .bucket("test")
                            .object(voideName)

                            .build());


            //流转换
            IOUtils.copy(stream,response.getOutputStream());

            //设置返回类型
            response.addHeader("Content-Type", "audio/mpeg;charset=utf-8");
         //这里注释掉  要不然会报错
//            response.flushBuffer();

//            // 关闭流,此处为示例,流关闭最好放在finally块。
            stream.close();
        } catch (Exception e) {
            System.out.println("Error occurred: " + e);
        }finally {

        }
//
//        return "success";
    }


    @RequestMapping("/remove")
    public void remove(@RequestParam String bucketName, @RequestParam String filedName){


        try {

            List<Bucket> buckets = minioClient.listBuckets();

            for (Bucket bucket : buckets) {

                if (bucket.name().equals("test")){
                    continue;
                }
                minioClient.removeBucket( RemoveBucketArgs.builder().bucket(bucket.name()).build());

                System.out.println("delete the bucket:"+bucket.name()+" is success!! ");

            }
        } catch (ErrorResponseException e) {
            e.printStackTrace();
        } catch (InsufficientDataException e) {
            e.printStackTrace();
        } catch (InternalException e) {
            e.printStackTrace();
        } catch (InvalidKeyException e) {
            e.printStackTrace();
        } catch (InvalidResponseException e) {
            e.printStackTrace();
        } catch (IOException e) {
            e.printStackTrace();
        } catch (NoSuchAlgorithmException e) {
            e.printStackTrace();
        } catch (ServerException e) {
            e.printStackTrace();
        } catch (XmlParserException e) {
            e.printStackTrace();
        }


    }


}
上述代码是一个小栗子,主要是测测服务器转为视频流播放到前端以及上下传文件。
这里贴一下前端的html 直接是html访问 比较简单 直接打开即可
<!DOCTYPE HTML>
<html>
<body>


<video width="1120" height="540" controls="controls" id="video" preload="auto"     >
    <source src="http://localhost:9005/show?voideName=orange.mp4"   type="video/mp4">
</video>

</body>
</html>
minio服务器上要有这些视频 通过服务器走minio客户端直接读视频流返回给html
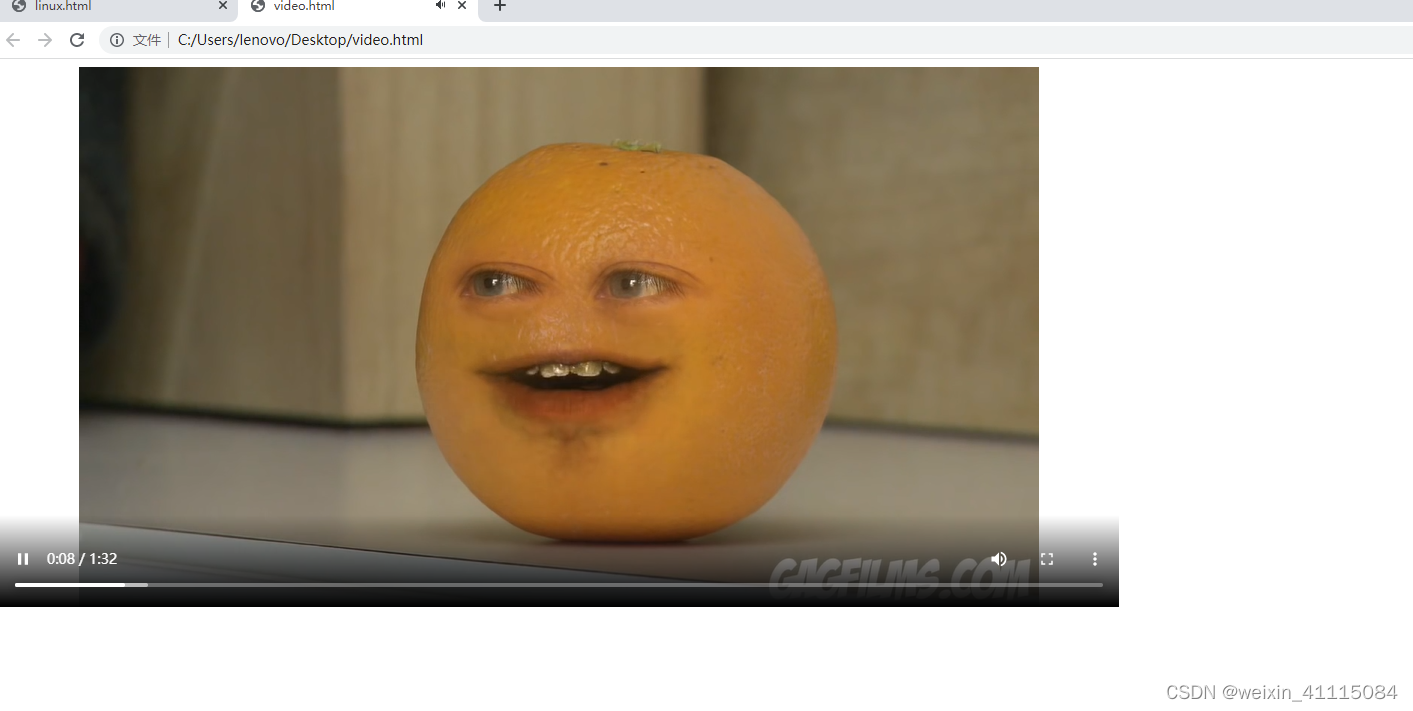
这里已经完成视频从Linux服务器下载到后台服务器(具体看方法,上传速度还是很不错的),html去读服务器上的视频流。
minio的视频位置图片


 7232
7232

 被折叠的 条评论
为什么被折叠?
被折叠的 条评论
为什么被折叠?
 到【灌水乐园】发言


