


1 - Download and install MySQL server and client
Since Ubuntu 20.04 used in this guide only has MySQL 8.0 in the APT repository, we need to add MySQL 5.7 repository first before installing it.
Step 1: Add the MySQL 5.7 APT Repository
1.1 Download the MySQL repository by executing the following command:
wget https://dev.mysql.com/get/mysql-apt-config_0.8.12-1_all.deb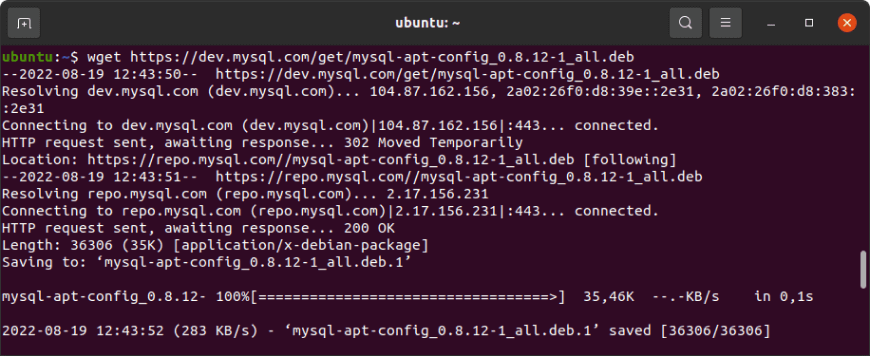
1.2 After the MySQL package has been successfully downloaded, install it:
sudo dpkg -i mysql-apt-config_0.8.12-1_all.deb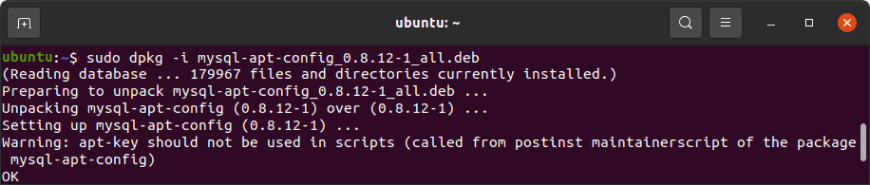
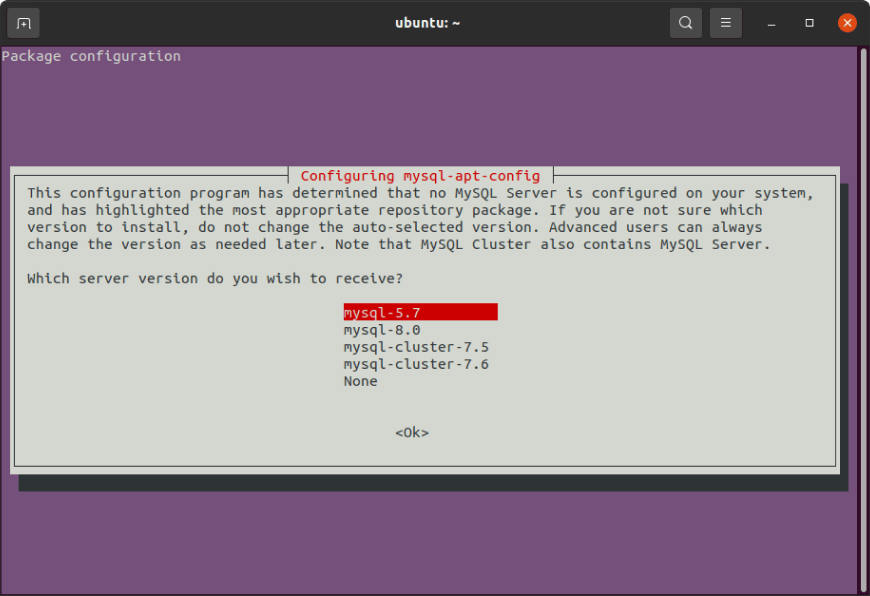
1.3 Next, select Ubuntu Bionic.

After that, select the MySQL Server & Cluster option. Then, select mysql-5.7 and finally select Ok.
1.4 Next, update the APT repository:
sudo apt update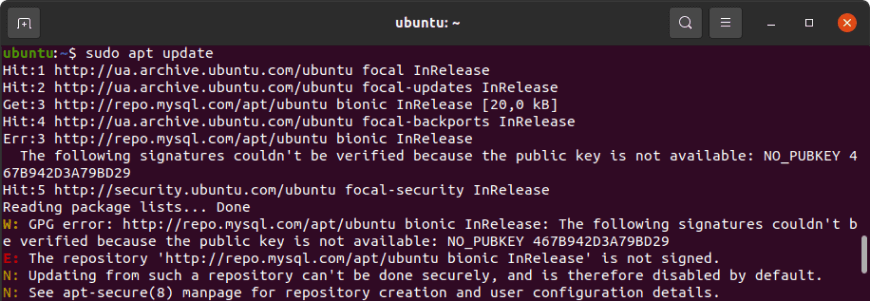
Note
If you encounter the "signature couldn't be verified" error like this one: NO_PUBKEY 467B942D3A79BD29, you will need to import the missing gpg key by running the following command:
sudo apt-key adv --keyserver keyserver.ubuntu.com --recv-keys 467B942D3A79BD291.5 Then execute the apt update again:
sudo apt updateTo check whether MySQL 5.7 repository has been successfully installed, execute:
sudo apt-cache policy mysql-serverYou should see MySQL 5.7 repository at the bottom of the list.

Step 2: Install MySQL 5.7
2.1 Now that you have a MySQL 5.7 repository in your system, you can proceed to install it. For this, run the following command:
sudo apt install -f mysql-client=5.7* mysql-community-server=5.7* mysql-server=5.7*2.2 Press Y to begin the installation and set the root password when asked.
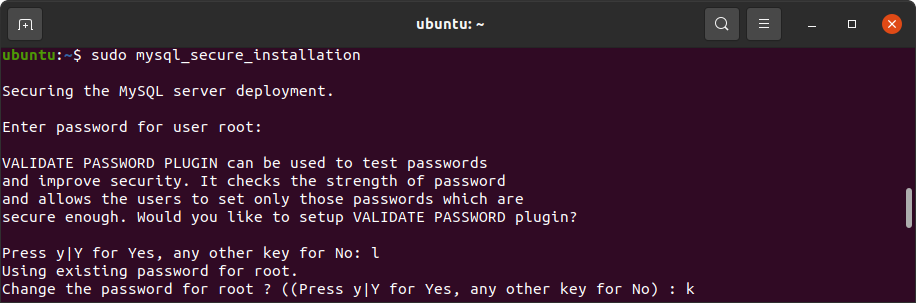
2 - Secure your MySQL root user account
Before starting to use MySQL 5.7, you need to secure it first. For this, use the command:
sudo mysql_secure_installationProvide a password when asked, and then answer the security questions.
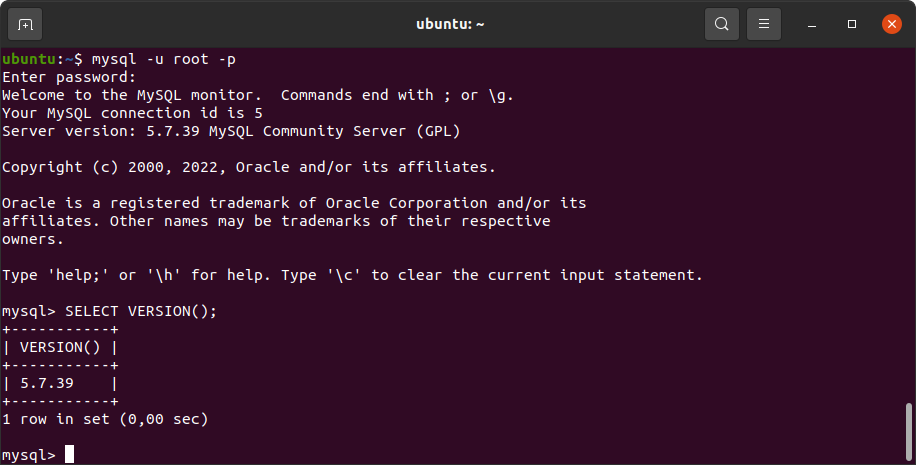
3 – Check the MySQL version
Want to make sure that you have installed everything correctly? You can do that by checking your current MySQL version. First, you need to log in to MySQL using the root password you have set earlier.
mysql -u root -pAfter that, execute the following command:
SELECT VERSION();You should see your installed MySQL version.
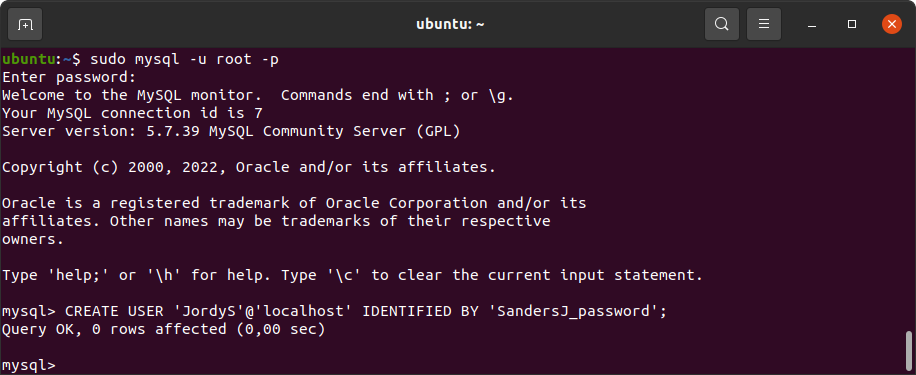
4 - Add MySQL user and set privileges
To create a new MySQL user account on Ubuntu, use the following command:
CREATE USER 'username'@'localhost' IDENTIFIED BY 'user_password';Note
To allow a user remote access to MySQL on Ubuntu, we recommend creating a user with access from a specific IP address ('username'@'192.168.1.100') or from any host ('username'@'%').
Now that we have created a new account, we can grant privileges to it. Suppose, we want to give the user the privilege to create and select database objects. For this, we run:
GRANT CREATE, SELECT ON *.* TO 'username'@'localhost';If you want to get the list of all the users in MySQL, execute the following command:
SELECT user FROM mysql.user;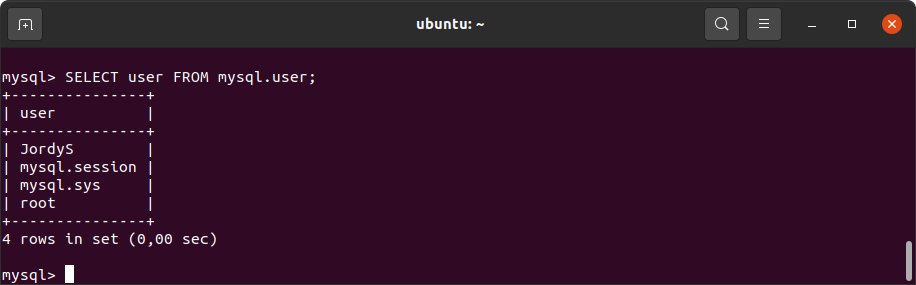
As you can see, we have been successful in the endeavor of creating a new user.
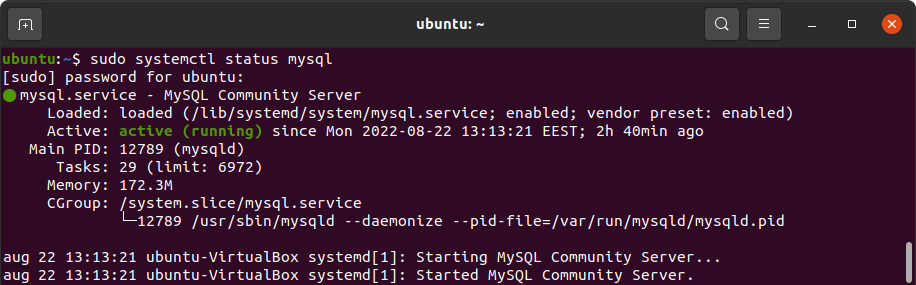
5 - Test MySQL 5.7
After installation, MySQL server starts running automatically. However, if you need to verify that, execute the command:
sudo systemctl status mysqlThe output should show that the service is active.
6 – Log in to your MySQL server
And in the end, you need to log in to MySQL. For this, simply execute:
mysql -u root –p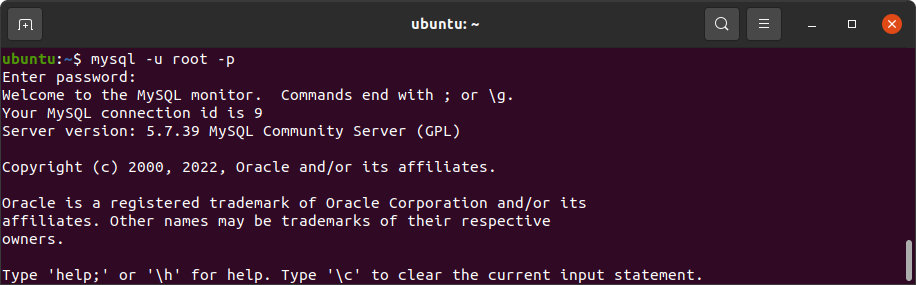
Now you are ready to work with MySQL 5.7 on Ubuntu. You can create databases, fill in them with data, execute queries, and much, much more. Good luck!
refer link: How to install MySQL 5.7 or 8 on Ubuntu 18.04, 20.04, 22.04


 678
678


 被折叠的 条评论
为什么被折叠?
被折叠的 条评论
为什么被折叠?
 到【灌水乐园】发言


