


环境要求: jdk1.8
1.下载elasticsearch 安装包
wget https://artifacts.elastic.co/downloads/elasticsearch/elasticsearch-6.2.2.tar.gz2.解压 elasticsearch
先创建目录用来存放es
mkdir /usr/local/es然后解压到es目录
tar -xvf elasticsearch-6.2.2.tar.gz -C /usr/local/es/3.修改解压后的目录名称
cd /usr/local/es/
mv elasticsearch-6.2.2/ node-1
4.创建用户组和用户(elasticsearch不能用root用户启动)
##创建用户组
groupadd elasticsearch
##创建用户es 指定到elasticsearch用户组 并设置用户es的密码为es
useradd es -g elasticsearch -p es
##给用户es授权可操作的目录
chown -R es:elasticsearch /usr/local/es
5.创建elasticsearch 的数据存放目录data
ps: su es的意思是切换用户
su es
mkdir /usr/local/es/node-1/data
6.编辑elasticsearch.yml文件
cd /usr/local/es/node-1/config/
vi elasticsearch.yml
编辑的内容如下:
##集群名称
cluster.name: es-cluster
##节点名称
node.name: node-1
##网络监听地址
network.host: 192.168.56.101
http.port: 9200
##使用head等插件监控集群信息,需要打开以下配置项
http.cors.enabled: true
http.cors.allow-origin: "*"
http.cors.allow-credentials: true
7.修改用户可用的最大线程数配置
##切换到root用户,编辑limits.conf 添加类似如下内容
su root
##编辑文件
vim /etc/security/limits.conf
编辑为如下内容
*        soft    nofile           65536
*        hard    nofile           131072
*        soft    nproc            2048
*        hard    nproc            4096
8.编辑 vi /etc/sysctl.conf
vm.max_map_count=6553609.编辑完成后执行命令:
sysctl -p10.切换回es用户启动elasticsearch
su es
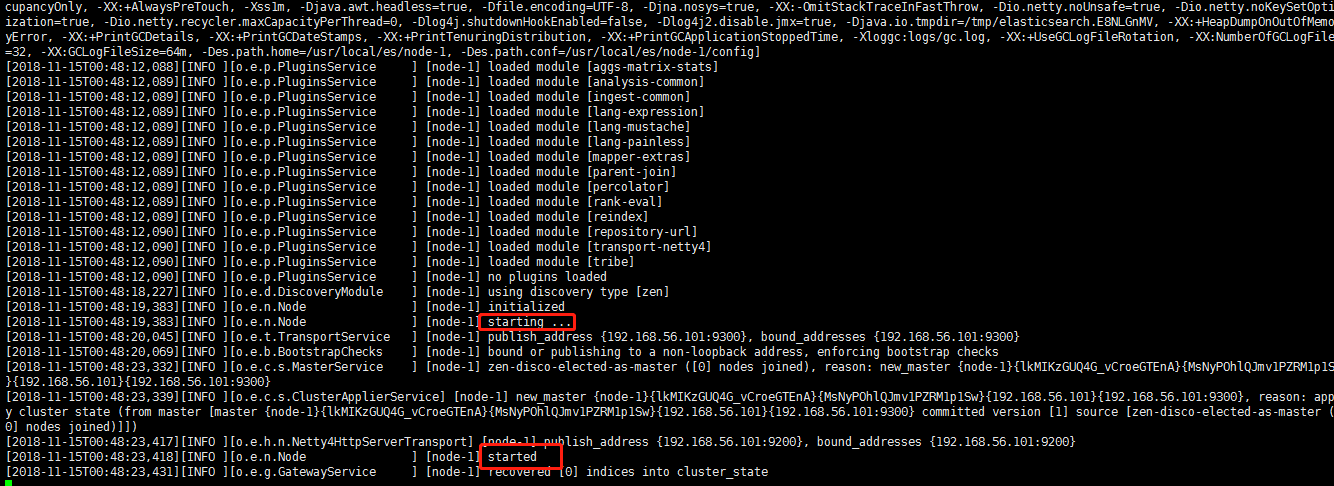
cd /usr/local/es/node-1/bin
./elasticsearch启动成功图片:
如果要后台启动 在启动的时候后面加 -d参数即可
启动成功访问 ip:9200
如果访问不成功关闭防火墙再试试
systemctl stop firewalld


 9384
9384


 被折叠的 条评论
为什么被折叠?
被折叠的 条评论
为什么被折叠?
 到【灌水乐园】发言


