


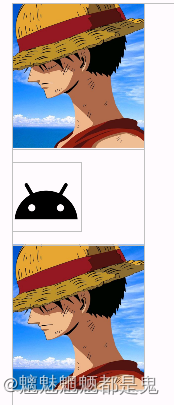
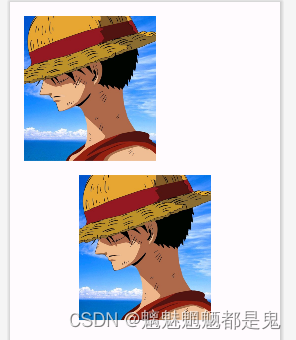
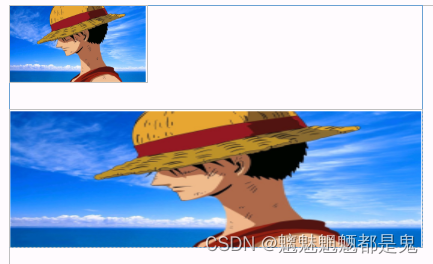
1 基本使用
 Image(painter = painterResource(id = R.drawable.ic_wang_lufei), contentDescription = "" )  // 图片
       Spacer(modifier = Modifier.height(20.dp))
       Image(imageVector = ImageVector.vectorResource(id = R.drawable.ic_android_black_24dp), contentDescription = "")  //矢量图
       Spacer(modifier = Modifier.height(20.dp))
       Image(bitmap = ImageBitmap.imageResource(id = R.drawable.ic_wang_lufei), contentDescription = "") //bitmap
效果
2 参数说明
以上三种创建方式,除了引用资源方式不同外,其他参数相同
fun Image(
    painter: Painter,
    contentDescription: String?,
    modifier: Modifier = Modifier,
    alignment: Alignment = Alignment.Center,
    contentScale: ContentScale = ContentScale.Fit,
    alpha: Float = DefaultAlpha,
    colorFilter: ColorFilter? = null
)

fun Image(
    imageVector: ImageVector,
    contentDescription: String?,
    modifier: Modifier = Modifier,
    alignment: Alignment = Alignment.Center,
    contentScale: ContentScale = ContentScale.Fit,
    alpha: Float = DefaultAlpha,
    colorFilter: ColorFilter? = null
)

fun Image(
    bitmap: ImageBitmap,
    contentDescription: String?,
    modifier: Modifier = Modifier,
    alignment: Alignment = Alignment.Center,
    contentScale: ContentScale = ContentScale.Fit,
    alpha: Float = DefaultAlpha,
    colorFilter: ColorFilter? = null,
    filterQuality: FilterQuality = DefaultFilterQuality
)
点点点最后点到了 Layout 是不是就可以说是Image就是Layout 然后控制图片大小形状等信息
 Layout(
        {},
        modifier.then(semantics).clipToBounds().paint(
            painter,
            alignment = alignment,
            contentScale = contentScale,
            alpha = alpha,
            colorFilter = colorFilter
        )
    ) { _, constraints ->
        layout(constraints.minWidth, constraints.minHeight) {}
    }
2.1 资源加载参数
painter: Painter,
imageVector: ImageVector, //可以通过 ImageVector.vectorResource(id = ) 获取图片后做处理再显示
bitmap: ImageBitmap, //可以通过 ImageBitmap.imageResource(id = ) 获取图片后做处理再显示
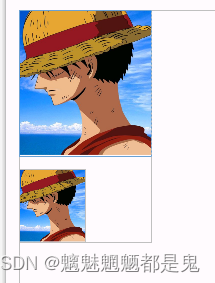
实现bitmap等比缩放
 	Image(painter = painterResource(id = R.drawable.ic_wang_lufei), contentDescription = "王路飞1" )
    Spacer(modifier = Modifier.height(20.dp))

    var bitmap = ImageBitmap.imageResource(id = R.drawable.ic_wang_lufei)
    //获取图片宽高等比缩放
    val width = bitmap.width;
    val height = bitmap.height;

    Image(bitmap = bitmap,
        modifier = Modifier
            .width(pxToDp(px = width) / 2)
            .height(pxToDp(px = height)/2),
        contentDescription = "王路飞2")
效果
//ImageBitmap 转 Bitmap
       val asAndroidBitmap = bitmap.asAndroidBitmap()
       //Bitmap 转 ImageBitmap
       val  imageBitmap = asAndroidBitmap.asImageBitmap()
       Image(bitmap = imageBitmap,
           contentDescription = "王路飞2")
.asImageBitmap() 其实就是创建了一个ImageBitmap
fun Bitmap.asImageBitmap(): ImageBitmap = AndroidImageBitmap(this)

internal class AndroidImageBitmap(internal val bitmap: Bitmap) : ImageBitmap {...}
 //ImageBitmap 转 Bitmap
       val asAndroidBitmap = bitmap.asAndroidBitmap()
       //Bitmap 转 ImageBitmap
       val  imageBitmap = asAndroidBitmap.asImageBitmap()
       val bitmap1 = BitmapFactory.decodeResource(Resources.getSystem(),R.drawable.ic_wang_lufei1)
       Image(bitmap = bitmap1.asImageBitmap(),
           contentDescription = "王路飞2")`
效果
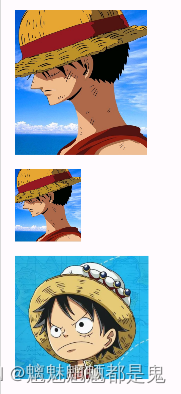
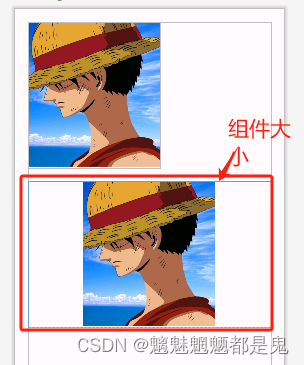
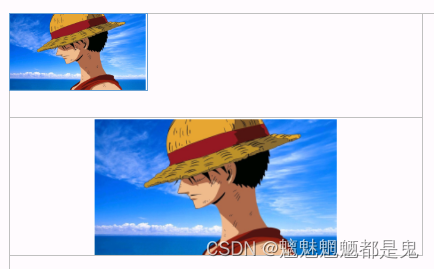
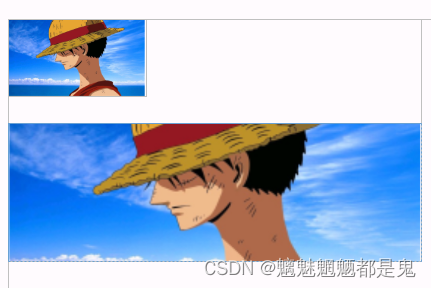
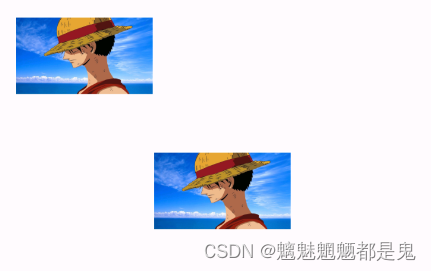
2.2 alignment 图片对齐方式
当框大于图片大小时
Image(painter = painterResource(id = R.drawable.ic_wang_lufei), contentDescription = "王路飞1" )
       Spacer(modifier = Modifier.height(20.dp))
       Image(
           painter = painterResource(id = R.drawable.ic_wang_lufei),
           contentDescription = "王路飞1",
           modifier = Modifier.fillMaxWidth(),
           alignment = Alignment.Center
       )
效果 居中 显示效果 受contentScale影响
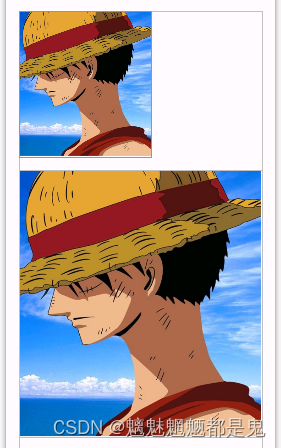
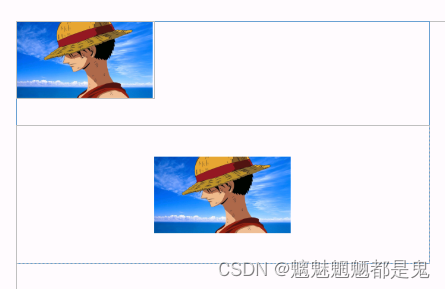
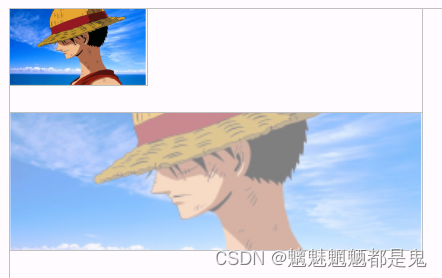
2.3 contentScale 预览效果
默认 contentScale: ContentScale = ContentScale.Fit,
contentScale = ContentScale.Crop 宽或高撑满布局 另外一方向居中显示
 Image(
           painter = painterResource(id = R.drawable.ic_wang_lufei),
           contentDescription = "王路飞1",
           modifier = Modifier.fillMaxWidth(),
           alignment = Alignment.Center,
           contentScale = ContentScale.Crop
       )
modifier = Modifier.fillMaxSize(),
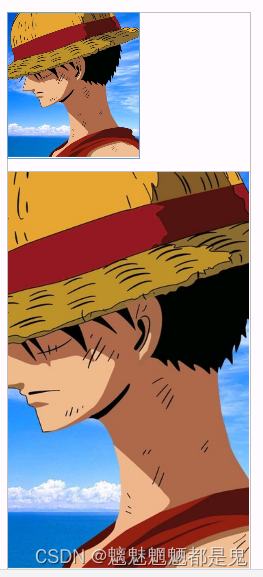
contentScale = ContentScale.FillBounds
contentScale = ContentScale.FillHeight 高度撑满,宽度自适应
contentScale = ContentScale.Inside 显示图片大小
contentScale = ContentScale.FillWidth 宽度撑满高度自适应
contentScale = ContentScale.None
2.4 alpha = 0.5f, 透明度
Image(
           painter = painterResource(id = R.drawable.lufei3),
           contentDescription = "王路飞1",
           modifier = Modifier.width(300.dp).height(100.dp),
           alignment = Alignment.Center,
           contentScale = ContentScale.Crop,
           alpha = 0.5f,
       )
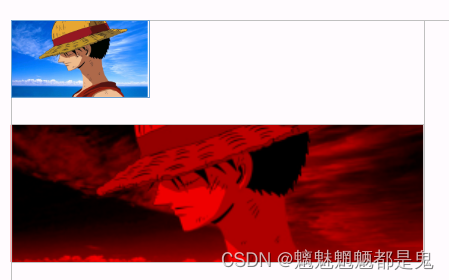
2.5 colorFilter = ColorFilter.lighting(multiply = Color.Red,add = Color.Black) 颜色过滤器
Image(
           painter = painterResource(id = R.drawable.lufei3),
           contentDescription = "王路飞1",
           modifier = Modifier.width(300.dp).height(100.dp),
           alignment = Alignment.Center,
           contentScale = ContentScale.Crop,
           colorFilter = ColorFilter.lighting(multiply = Color.Red,add = Color.Black)
       )
        /**
         * Create a [ColorFilter] that can be used to simulate simple lighting effects.
         * A lighting ColorFilter is defined by two parameters, one used to multiply the source
         * color and one used to add to the source color
         *
         * @param multiply Color that will be added to the source color when the color
         *          filter is applied
         * @param add Color used to multiply the source color when the color filter is applied.
         */
        @Stable
        fun lighting(multiply: Color, add: Color): ColorFilter =
            actualLightingColorFilter(multiply, add)
翻译

另外两个滤波
        /**
         * Creates a color filter that applies the blend mode given as the second
         * argument. The source color is the one given as the first argument, and the
         * destination color is the one from the layer being composited.
         *
         * The output of this filter is then composited into the background according
         * to the [Paint.blendMode], using the output of this filter as the source
         * and the background as the destination.
         *
         * @param color Color used to blend source content
         * @param blendMode BlendMode used when compositing the tint color to the destination
         */
        @Stable
        fun tint(color: Color, blendMode: BlendMode = BlendMode.SrcIn): ColorFilter =
            actualTintColorFilter(color, blendMode)

        /**
         * Create a [ColorFilter] that transforms colors through a 4x5 color matrix. This filter can
         * be used to change the saturation of pixels, convert from YUV to RGB, etc.
         *
         * @param colorMatrix ColorMatrix used to transform pixel values when drawn
         */
        @Stable
        fun colorMatrix(colorMatrix: ColorMatrix): ColorFilter =
            actualColorMatrixColorFilter(colorMatrix)
默认的滤波器
@kotlin.jvm.JvmInline
value class ColorMatrix(
    val values: FloatArray = floatArrayOf(
        1f, 0f, 0f, 0f, 0f,
        0f, 1f, 0f, 0f, 0f,
        0f, 0f, 1f, 0f, 0f,
        0f, 0f, 0f, 1f, 0f
    )
)
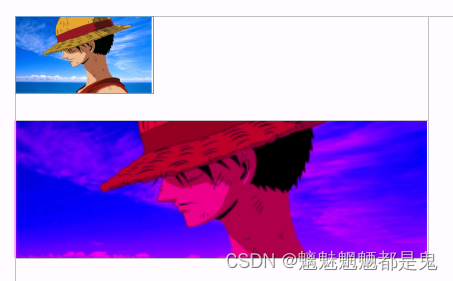
咱们稍微改个值
 Image(
           painter = painterResource(id = R.drawable.lufei3),
           contentDescription = "王路飞1",
           modifier = Modifier.width(300.dp).height(100.dp),
           alignment = Alignment.Center,
           contentScale = ContentScale.Crop,
//           colorFilter = ColorFilter.lighting(multiply = Color.Red,add = Color.Black)
            colorFilter = ColorFilter.colorMatrix(ColorMatrix(floatArrayOf(
            1f, 0f, 0f, 0f, 0f,
                0f, 0f, 0f, 0f, 0f,
                0f, 0f, 1f, 0f, 0f,
                0f, 0f, 0f, 1f, 1f
            )))
       )
效果
实际使用中需要什么效果,咱也不知道,咱也不敢吭,试吧就
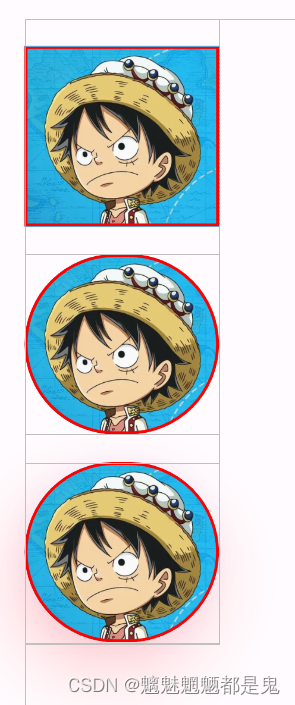
3 常用的图片效果
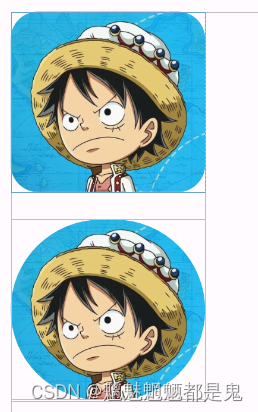
圆角矩形
圆形图片
  Image(
           painter = painterResource(id = R.drawable.ic_wang_lufei1),
           contentDescription = "",
           modifier = Modifier.clip(RoundedCornerShape(20.dp))
       )
       Spacer(modifier = Modifier.height(20.dp))
       Image(
           painter = painterResource(id = R.drawable.ic_wang_lufei1),
           contentDescription = "",
           modifier = Modifier.clip(CircleShape)
       )
加边框的效果
 Spacer(modifier = Modifier.height(20.dp))
       Image(
           painter = painterResource(id = R.drawable.ic_wang_lufei1),
           contentDescription = "",
           modifier = Modifier.border(2.dp, color = Color.Red)
       )
       Spacer(modifier = Modifier.height(20.dp))
       Image(
           painter = painterResource(id = R.drawable.ic_wang_lufei1),
           contentDescription = "",
           modifier = Modifier.clip(CircleShape) .border(2.dp, color = Color.Red, shape = CircleShape)
       )
效果
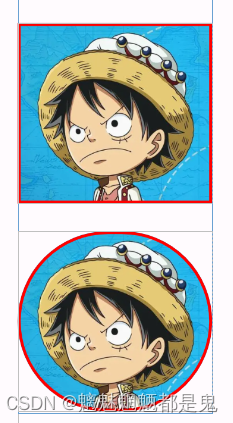
增加边框时 shape = CircleShape 需要与image的shap一致,否则效果如下
4实现阴影效果
 Image(
           painter = painterResource(id = R.drawable.ic_wang_lufei1),
           contentDescription = "",
           modifier = Modifier.clip(CircleShape) .border(2.dp, color = Color.Red, shape = CircleShape)
               .shadow(30.dp, shape = CircleShape,true,Color.Blue,Color.Yellow)
       )
给image 设置shadow好像无效果
前边Button里说过
最后调用了Box
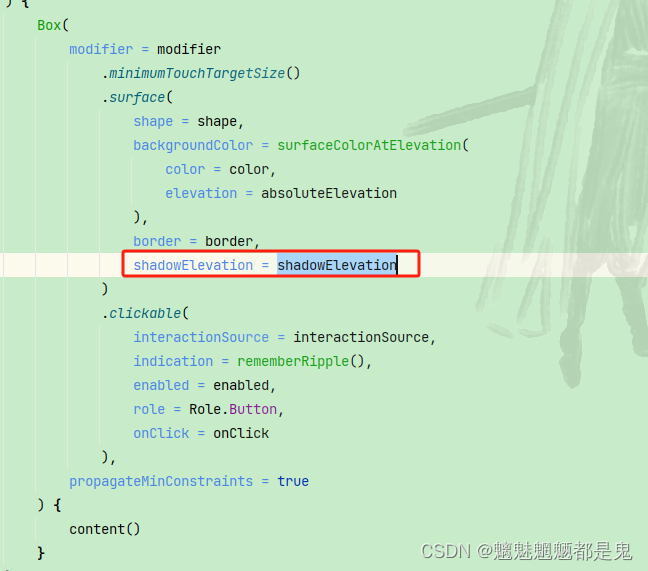
于是
   Box(
           modifier = Modifier.shadow(30.dp, shape = CircleShape,true,Color.Blue,Color.Red),
       ){
           Image(
               painter = painterResource(id = R.drawable.ic_wang_lufei1),
               contentDescription = "",
               modifier = Modifier
                   .clip(CircleShape)
                   .border(2.dp, color = Color.Red, shape = CircleShape)

           )
       }
效果


 273
273


 被折叠的 条评论
为什么被折叠?
被折叠的 条评论
为什么被折叠?
 到【灌水乐园】发言


