


提示:文章写完后,目录可以自动生成,如何生成可参考右边的帮助文档
前言
课程案例:
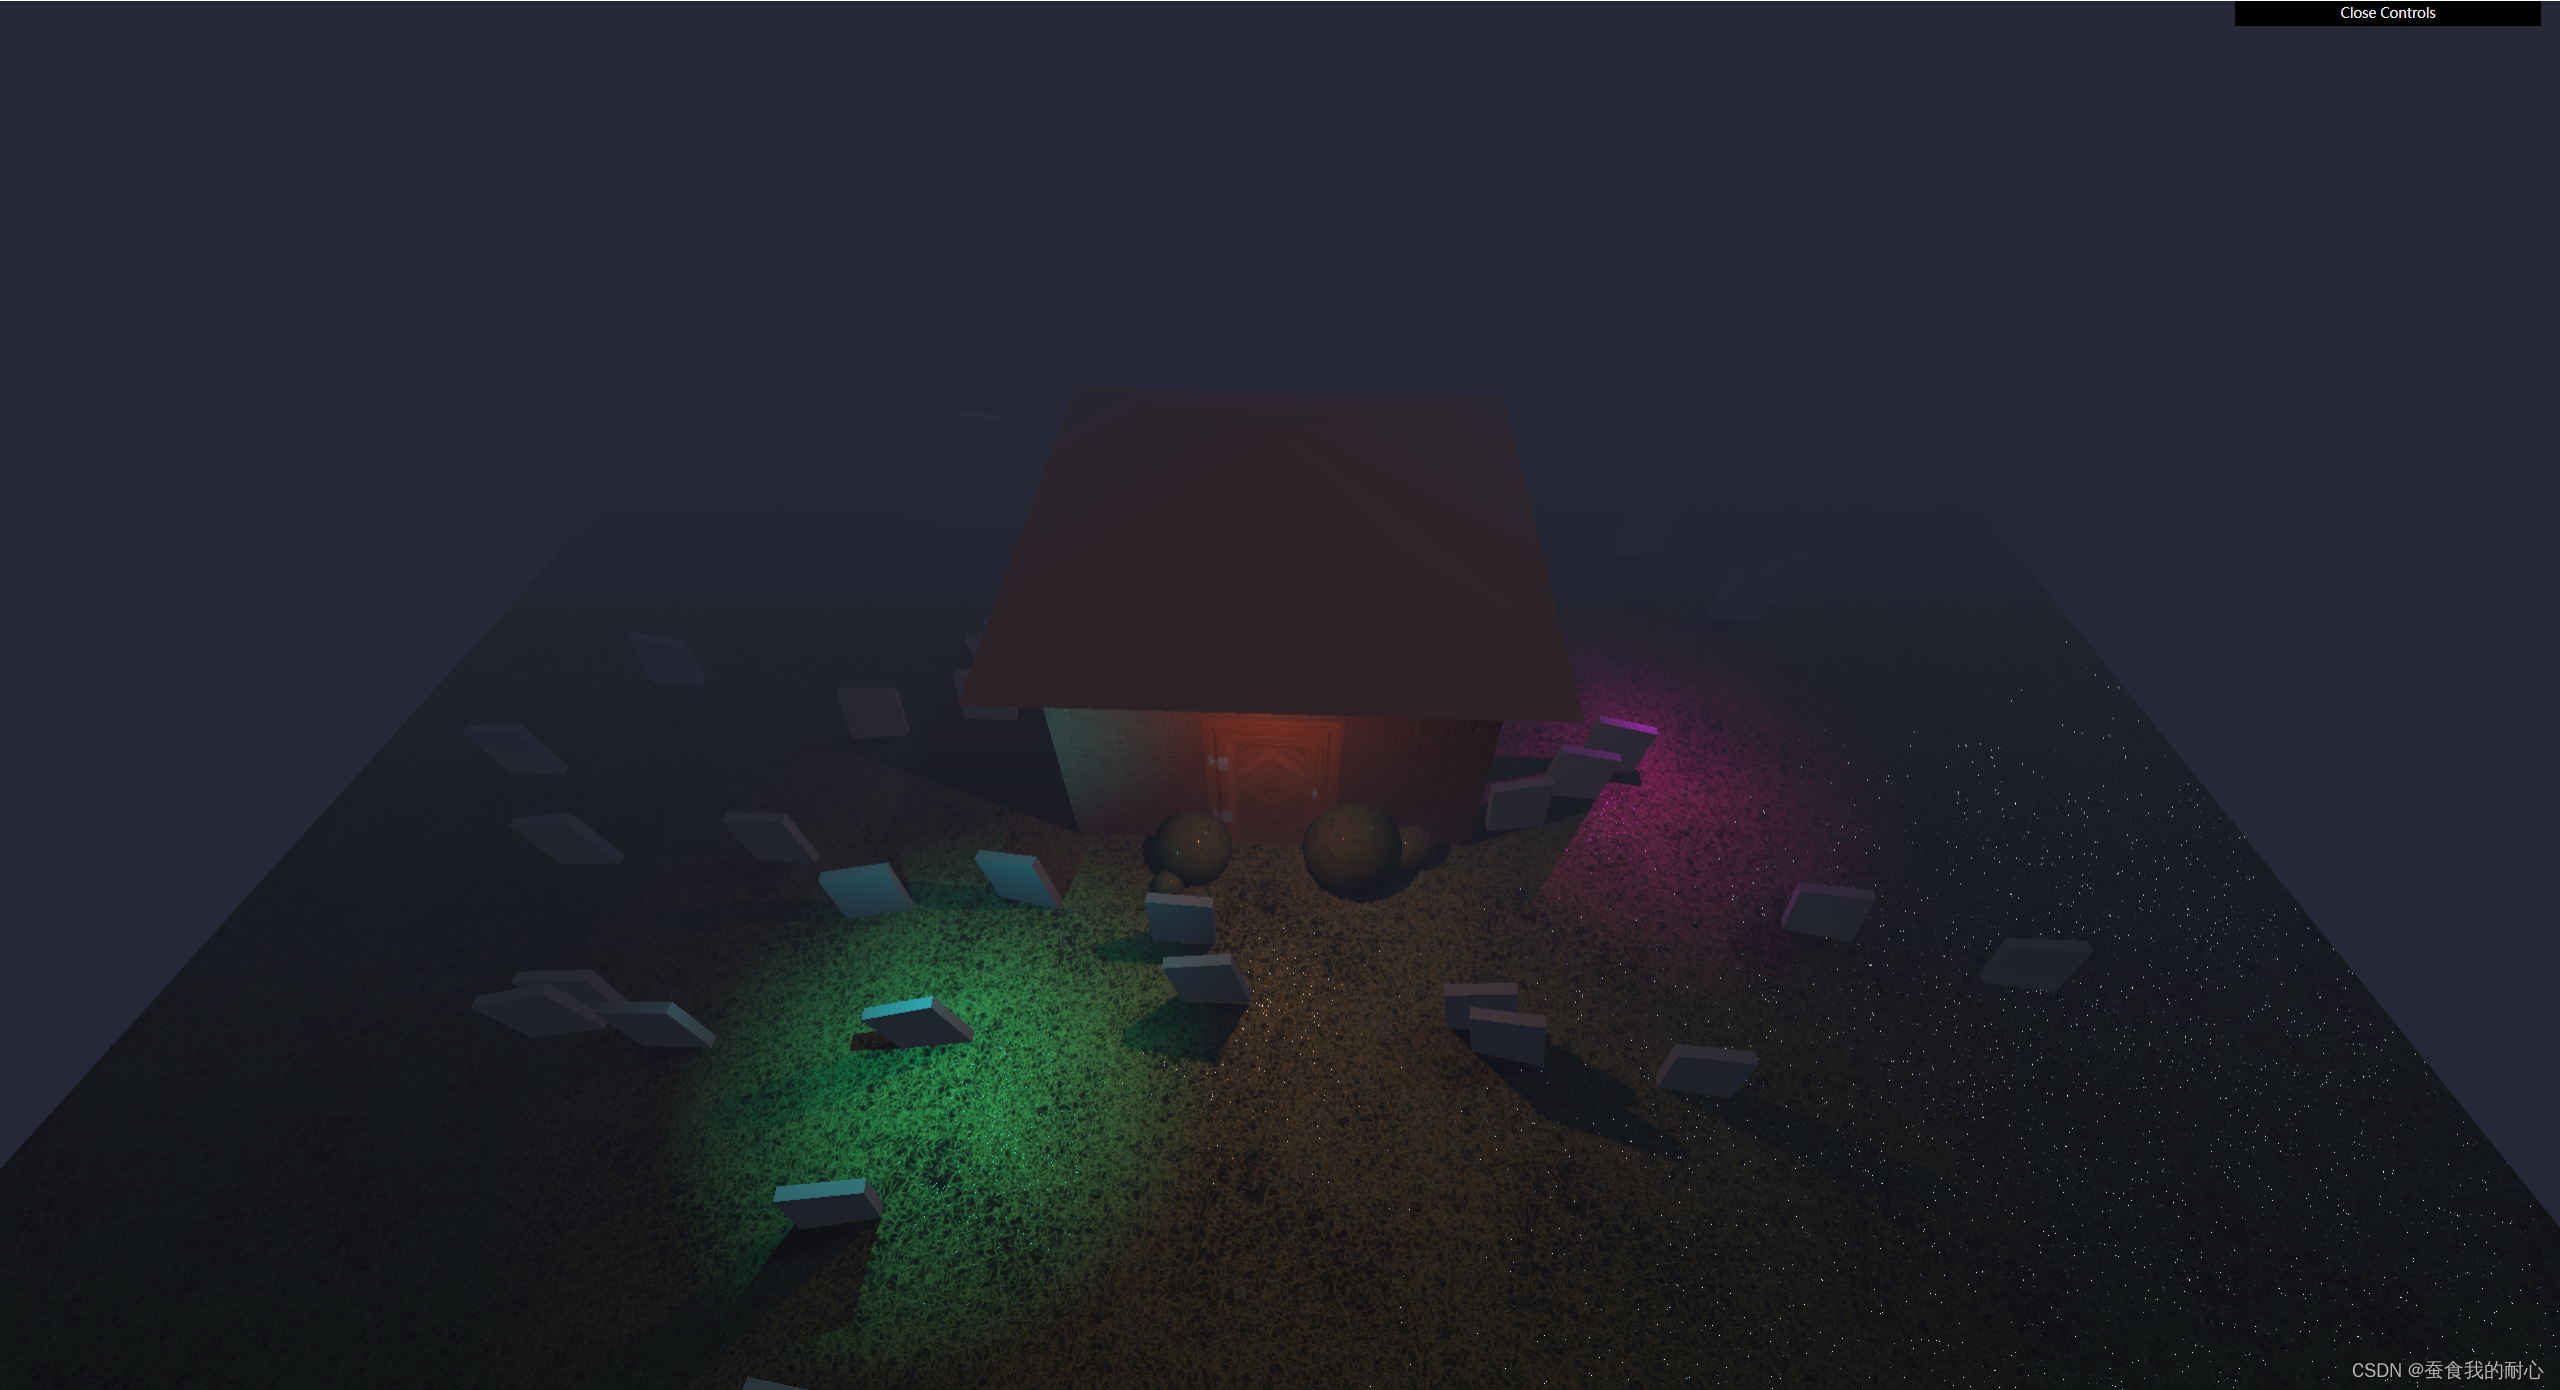
效果:实现一个房子 周围是墓地,有几只鬼魂在周围飘荡,周围围绕正浓雾
1.过一遍视频,结合案例已完成代码,自己想着写 ,训练一下思维吧 ,(观看完视频,先把所有需要的物体造出来)
2. 先要有一块地, 这个地板的长度 以 m 为单位 20 * 20 ; 同时设置地板的位置,旋转角度 Math.PI 半圆 * 0.5
材质颜色先用草绿色标识一下
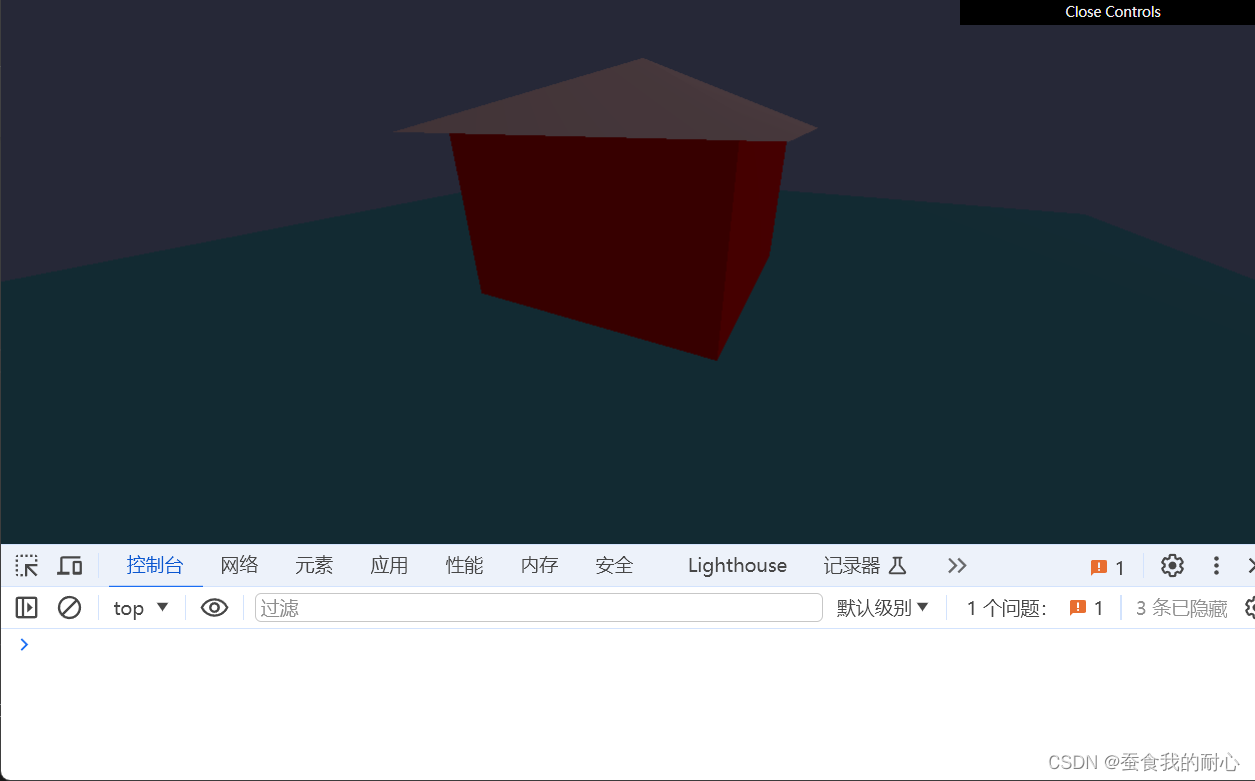
3.要一个房子 首先是一个立方体盒子 和一个锥形 组合到一起 变成一个房子
之前有组的概念:Group ,重温一下 组的概念 ,相当于 由几何体,纹理组成的房子 可称之为 组; 以后写任何物体也都可以创建成为组
因此 const house = new THREE.Group() 就可以添加到场景中,之后就可以用组添加,比如门是属于房子的 ,那么有一个房子的组,就可以添加门,这相当于物体分类
这个时候有了一个房子
4.要一下灌木丛作为点缀
5.周边要生成一些墓地 同样作为点缀
6.周围边界不太好看,放一些雾气作为遮掩,同时也可以增加阴暗的效果
7.场景中所有建筑都已经有了,接下来 在门口放一盏灯光
8.将纹理替换场景中材质的颜色
这里遇到一个坑 讲一下 PlaneBufferGeometry PlaneGeometry这两个生成的几何体 在获取uv2时候PlaneGeometry会有问题
9.在贴草的时候,注意草纹理的大小 ,可以设置纹理小一点 然后向xy重复直到铺满
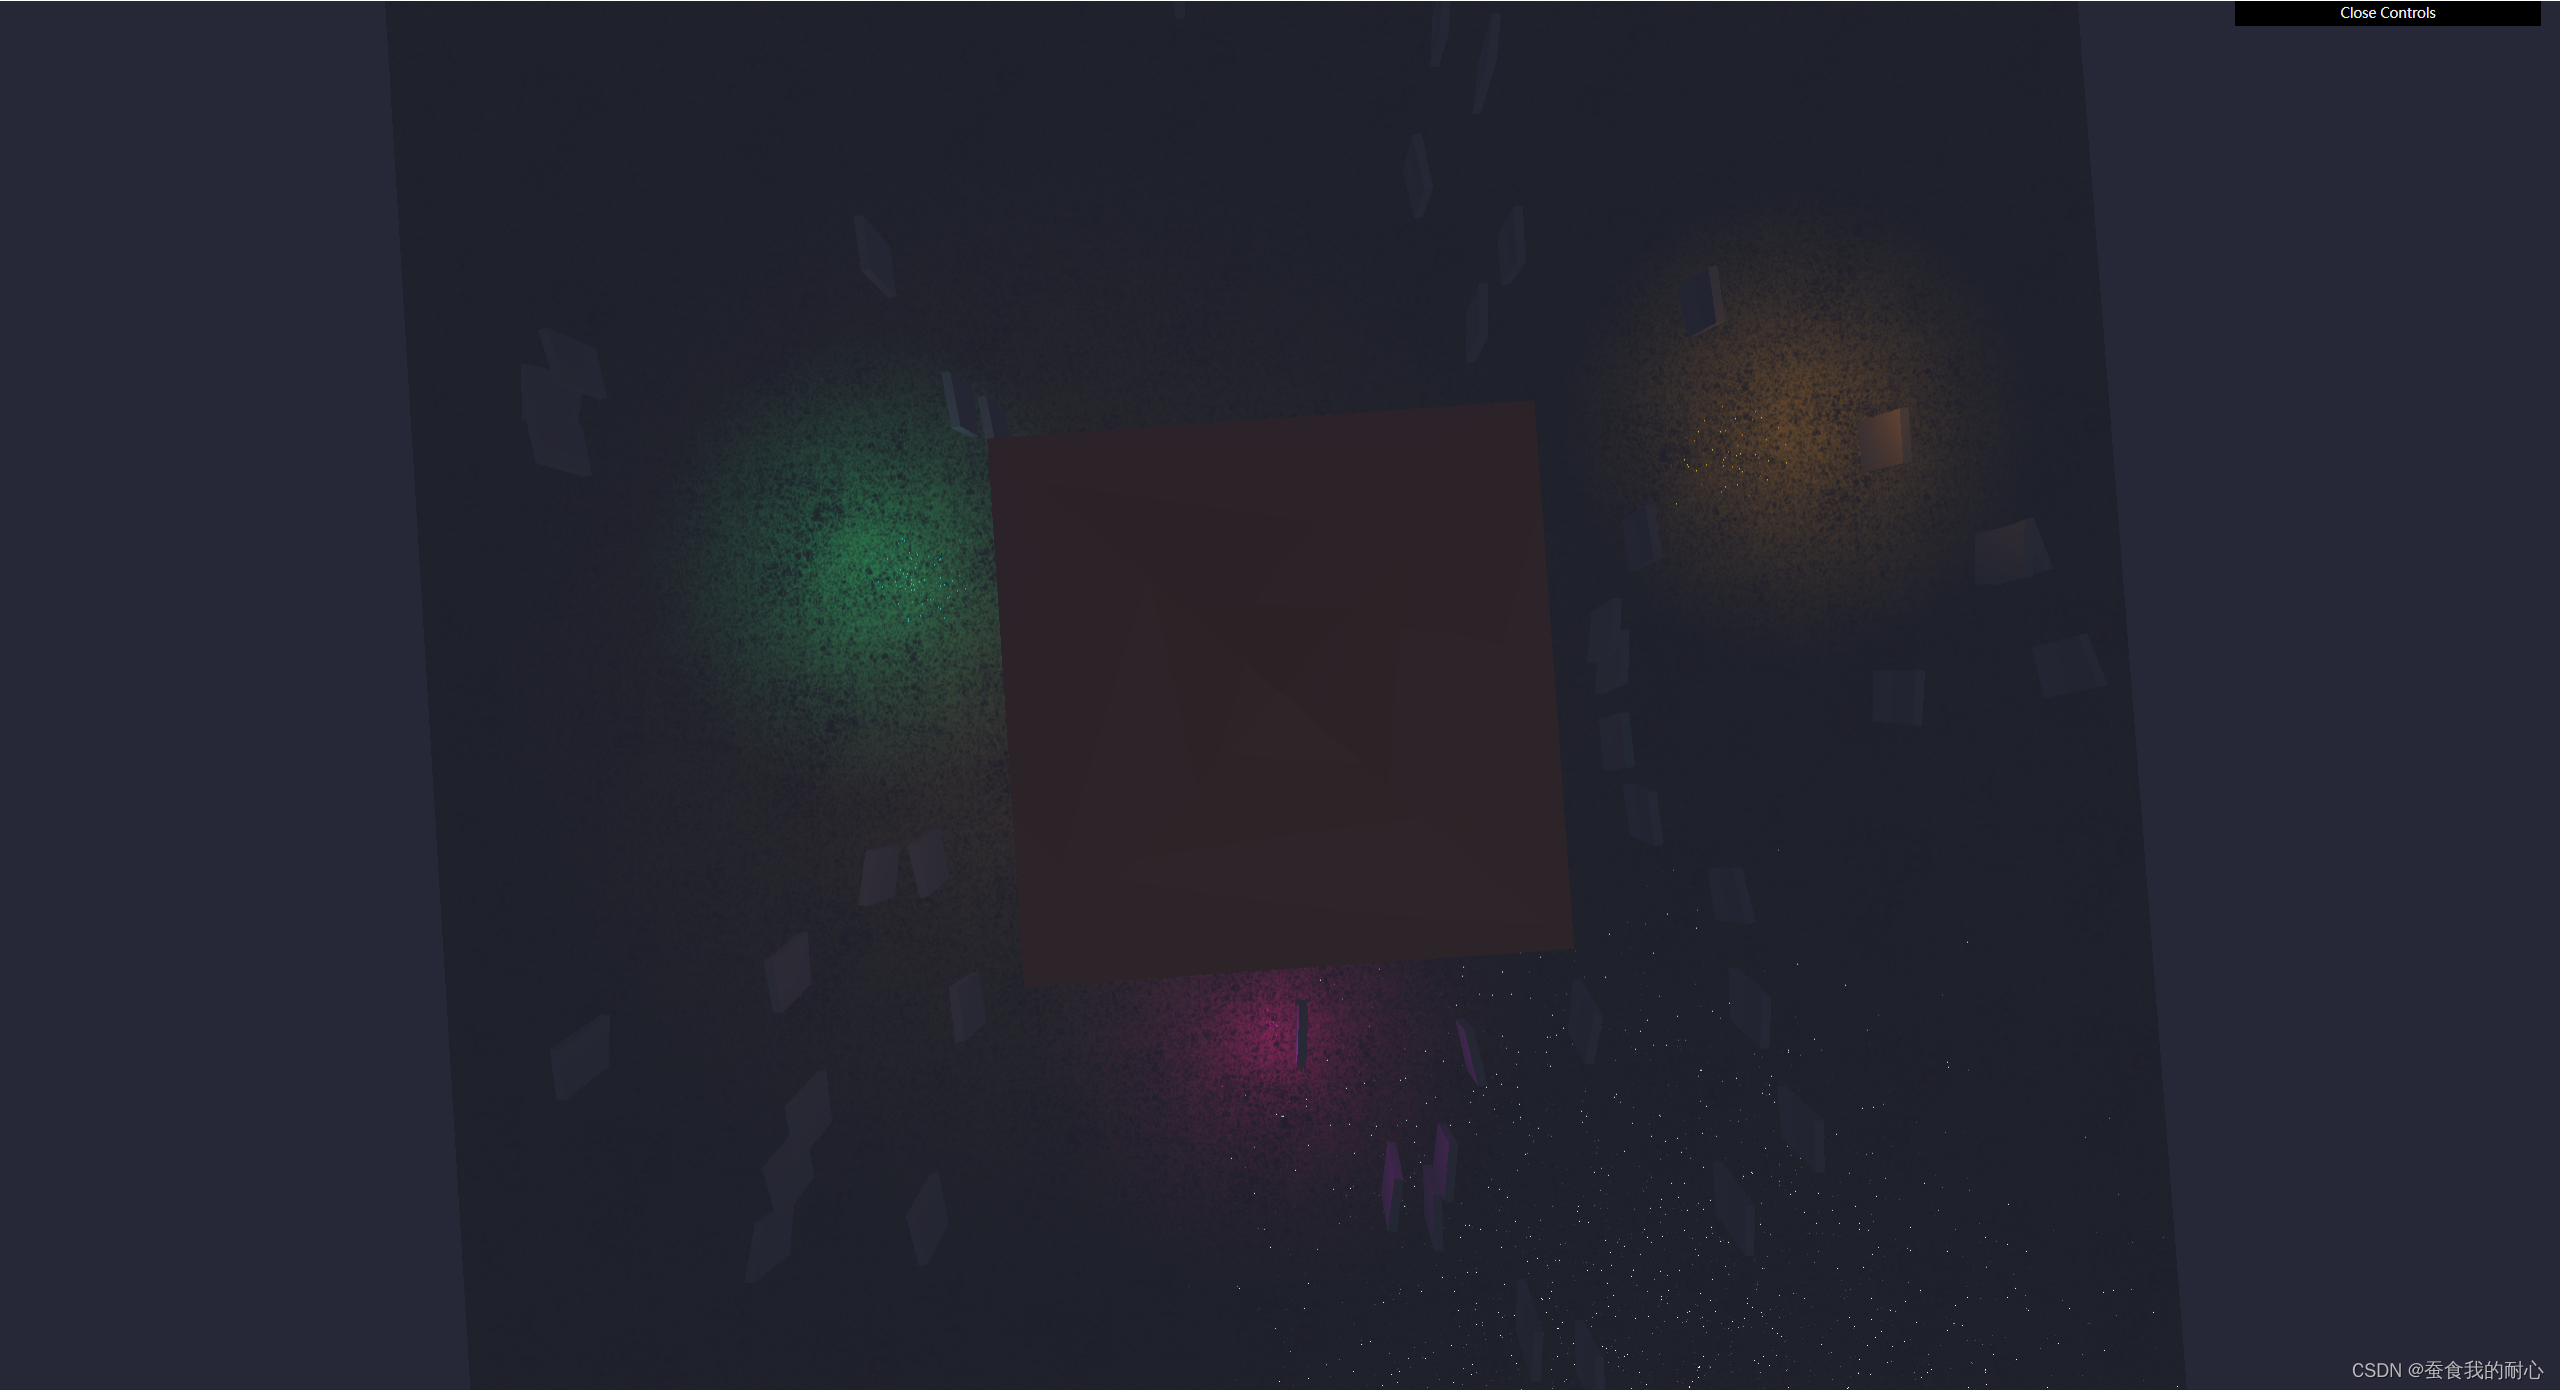
10.创建三个光在周围游动,显得更加阴森恐怖
我说怎么地板有白色点以为贴图有问题 原来设置粗糙度没有map
一、代码
import './style.css'
import * as THREE from 'three'
import { OrbitControls } from 'three/examples/jsm/controls/OrbitControls.js'
import * as dat from 'dat.gui'


/**
 * Base
 */
// Debug
const gui = new dat.GUI()

// Canvas
const canvas = document.querySelector('canvas.webgl')

// Scene
const scene = new THREE.Scene()

/*
    Texture
*/
const textureLoader = new THREE.TextureLoader()
const doorColorTexture =  textureLoader.load('/textures/door/color.jpg')
const doorAlphaTexture =  textureLoader.load('/textures/door/alpha.jpg')
const doorAmbientOcclusionTexture =  textureLoader.load('/textures/door/ambientOcclusion.jpg')
const doorHeightTexture = textureLoader.load('/textures/door/height.jpg')
const doorNormalTexture =  textureLoader.load('/textures/door/normal.jpg')
const doorMetalnessTexture =  textureLoader.load('/textures/door/metalness.jpg')
const doorRoughnessTexture =  textureLoader.load('/textures/door/roughness.jpg')

const bricksColorTexture = textureLoader.load('/textures/bricks/color.jpg')
const bricksAmbientOcclusionTexture = textureLoader.load('/textures/bricks/ambientOcclusion.jpg')
const bricksNormalTexture = textureLoader.load('/textures/bricks/normal.jpg')
const bricksRoughnessTexture = textureLoader.load('/textures/bricks/roughness.jpg')

const grassColorTexture = textureLoader.load('/textures/grass/color.jpg')
const grassAmbientOcclusionTexture = textureLoader.load('/textures/grass/ambientOcclusion.jpg')
const grassNormalTexture = textureLoader.load('/textures/grass/normal.jpg')
const grassRoughnessTexture = textureLoader.load('/textures/grass/roughness.jpg')

grassColorTexture.repeat.set(8,8)
grassAmbientOcclusionTexture.repeat.set(8,8)
grassNormalTexture.repeat.set(8,8)
grassRoughnessTexture.repeat.set(8,8)

grassColorTexture.wrapS = THREE.RepeatWrapping
grassAmbientOcclusionTexture.wrapS = THREE.RepeatWrapping
grassNormalTexture.wrapS = THREE.RepeatWrapping
grassRoughnessTexture.wrapS = THREE.RepeatWrapping

grassColorTexture.wrapT = THREE.RepeatWrapping
grassAmbientOcclusionTexture.wrapT = THREE.RepeatWrapping
grassNormalTexture.wrapT = THREE.RepeatWrapping
grassRoughnessTexture.wrapT = THREE.RepeatWrapping


/*
    House
*/
const house = new THREE.Group()
scene.add(house)

// walls 墙壁
const walls = new THREE.Mesh(
    new THREE.BoxBufferGeometry(4,2.5,4), // 宽高深
    new THREE.MeshStandardMaterial({
        map:bricksColorTexture,
        aoMap:bricksAmbientOcclusionTexture,
        normalMap:bricksNormalTexture,
        roughness:bricksRoughnessTexture
    })
)
walls.geometry.setAttribute(
    'uv2',
    new THREE.Float32BufferAttribute(walls.geometry.attributes.uv.array,2)
)
walls.position.y = 1.25
house.add(walls)

// roof 屋顶
const roof = new THREE.Mesh(
    new THREE.ConeBufferGeometry(3.5,1,4),
    new THREE.MeshStandardMaterial({color:'#b35f45'})
)
roof.position.y = 0.5 + 2.5
roof.rotation.y =  Math.PI * 0.25
house.add(roof)

// Door
const door = new THREE.Mesh(
    new THREE.PlaneBufferGeometry(2.2,2.2,100,100),
    new THREE.MeshStandardMaterial({
        map:doorColorTexture,
        transparent:true,
        alphaMap:doorAlphaTexture, // 需要设置transparent 为true
        aoMap:doorAmbientOcclusionTexture, // 需要设置uv坐标
        displacementMap:doorHeightTexture, // 白色上升 黑色下降 ,灰色不变 位移图会随顶点移动 ,要设置多个顶点
        displacementScale:0.1, // 让调整缩放距离
        normalMap:doorNormalTexture, // 法线纹理 给人一种细节的折射错觉
        metalnessMap:doorMetalnessTexture, // 金属度
        roughnessMap:doorRoughnessTexture, // 粗糙度

    })
)
// console.log(door.geometry.attributes)
door.geometry.setAttribute(
  'uv2',
  new THREE.Float32BufferAttribute(door.geometry.attributes.uv.array,2)
)
door.position.y = 0.9
door.position.z = 2 + 0.001 // 从物理角度来说 会发生渲染的问题
house.add(door)

// Bushes 灌木丛
const bushGeometry = new THREE.SphereBufferGeometry(1,16,16) // 半径,水平垂直分段数
const bushMaterial = new THREE.MeshStandardMaterial({
    map:grassColorTexture,
    aoMap:grassAmbientOcclusionTexture,
    normalMap:grassNormalTexture,
    roughnessMap:grassRoughnessTexture
})

const bush1 = new THREE.Mesh(bushGeometry, bushMaterial)
bush1.castShadow = true
bush1.scale.set(0.5, 0.5, 0.5)
bush1.position.set(0.8, 0.2, 2.2)

const bush2 = new THREE.Mesh(bushGeometry, bushMaterial)
bush2.castShadow = true
bush2.scale.set(0.25, 0.25, 0.25)
bush2.position.set(1.4, 0.1, 2.1)

const bush3 = new THREE.Mesh(bushGeometry, bushMaterial)
bush3.castShadow = true
bush3.scale.set(0.4, 0.4, 0.4)
bush3.position.set(- 0.8, 0.1, 2.2)

const bush4 = new THREE.Mesh(bushGeometry, bushMaterial)
bush4.castShadow = true
bush4.scale.set(0.15, 0.15, 0.15)
bush4.position.set(- 1, 0.05, 2.6)

house.add(bush1,bush2,bush3,bush4)

/*
    Graves
*/
const graves = new THREE.Group()
scene.add(graves)

const graveGeometry = new THREE.BoxBufferGeometry(0.6,0.8,0.1)
const graveMaterial = new THREE.MeshStandardMaterial({color:'#727272'})

for(let i = 0; i< 50; i++){

    // 范围 [-9,9]
    const angle = Math.random() * Math.PI * 2
    const radius = 3 + Math.random() * 6
    const x = Math.cos(angle) * radius
    const z = Math.sin(angle) * radius

    // Create the mesh
    const grave = new THREE.Mesh(
        graveGeometry,
        graveMaterial
    )

    // set Position
    grave.position.set(x,0.3,z)

    // set Rotation
    grave.rotation.z = (Math.random() - 0.5) * 0.4
    grave.rotation.y = (Math.random() - 0.5) * 0.4
    grave.castShadow = true
    // Add to the graves Group
    graves.add(grave)
}


// floor 地板
const floor = new THREE.Mesh(
    new THREE.PlaneBufferGeometry(20,20),
    new THREE.MeshStandardMaterial({
        map:grassColorTexture,
        aoMap:grassAmbientOcclusionTexture,
        normalMap:grassNormalTexture,
        roughnessMap:grassRoughnessTexture
    })
)
floor.geometry.setAttribute(
    'uv2',
    new THREE.Float32BufferAttribute(floor.geometry.attributes.uv.array,2)
)

floor.rotation.x = - Math.PI * 0.5
floor.position.y = 0
scene.add(floor)


/**
 * Lights
 */
// Ambient light
const ambientLight = new THREE.AmbientLight('#b9d5ff', 0.3)
scene.add(ambientLight)

// Directional light
const moonLight = new THREE.DirectionalLight('#b9d5ff', 0.12)
moonLight.castShadow = true
moonLight.shadow.mapSize.width = 256
moonLight.shadow.mapSize.height = 256
moonLight.shadow.camera.far = 15
moonLight.position.set(4, 5, - 2)
scene.add(moonLight)

// const moonLightHelper = new THREE.DirectionalLightHelper(moonLight,0.2)
// scene.add(moonLightHelper)

// Door light
const doorLight = new THREE.PointLight('#ff7d46',1,7)
doorLight.shadow.mapSize.width = 256
doorLight.shadow.mapSize.height = 256
doorLight.shadow.camera.far = 7

doorLight.position.set(0,2.2,2.7)
house.add(doorLight)

/*
    Ghost
*/
const ghost1 = new THREE.PointLight('#ff00ff', 3, 3)
scene.add(ghost1)

const ghost2 = new THREE.PointLight('#00ffff', 3, 3)
scene.add(ghost2)

const ghost3 = new THREE.PointLight('#ff7800', 3, 3)
scene.add(ghost3)


/*
    Fog 雾气
*/
const fog = new THREE.Fog('#262837',1,15)
scene.fog = fog

/**
 * Sizes
 */
const sizes = {
    width: window.innerWidth,
    height: window.innerHeight
}

window.addEventListener('resize', () =>
{
    // Update sizes
    sizes.width = window.innerWidth
    sizes.height = window.innerHeight

    // Update camera
    camera.aspect = sizes.width / sizes.height
    camera.updateProjectionMatrix()

    // Update renderer
    renderer.setSize(sizes.width, sizes.height)
    renderer.setPixelRatio(Math.min(window.devicePixelRatio, 2))
})

/**
 * Camera
 */
// Base camera
const camera = new THREE.PerspectiveCamera(75, sizes.width / sizes.height, 0.1, 100)
camera.position.x = 4
camera.position.y = 2
camera.position.z = 5
scene.add(camera)

// Controls
const controls = new OrbitControls(camera, canvas)
controls.enableDamping = true

/**
 * Renderer
 */
const renderer = new THREE.WebGLRenderer({
    canvas: canvas
})

renderer.setClearColor('#262837') // 这样雾气能无缝衔接
renderer.setSize(sizes.width, sizes.height)
renderer.setPixelRatio(Math.min(window.devicePixelRatio, 2))

/*
    Shadows
*/
renderer.shadowMap.enabled = true
renderer.shadowMap.type = THREE.PCFSoftShadowMap
moonLight.castShadow = true
doorLight.castShadow = true
ghost1.castShadow = true
ghost2.castShadow = true
ghost3.castShadow = true
walls.castShadow = true
bush1.castShadow = true
bush2.castShadow = true
bush3.castShadow = true
bush4.castShadow = true

floor.receiveShadow = true // 接收阴影
/**
 * Animate
 */
const clock = new THREE.Clock()

const tick = () =>
{
    const elapsedTime = clock.getElapsedTime()

    // Updata ghost
    const ghost1Angle = elapsedTime * 0.5
    ghost1.position.x = Math.cos(ghost1Angle) * 4
    ghost1.position.z = Math.sin(ghost1Angle) * 4
    ghost1.position.y = Math.sin(elapsedTime * 3)

    const ghost2Angle = - elapsedTime * 0.32
    ghost2.position.x = Math.cos(ghost2Angle) * 5
    ghost2.position.z = Math.sin(ghost2Angle) * 5
    ghost2.position.y = Math.sin(elapsedTime * 4) + Math.sin(elapsedTime * 2.5)

    const ghost3Angle = - elapsedTime * 0.18
    ghost3.position.x = Math.cos(ghost3Angle) * (7 + Math.sin(elapsedTime * 0.32))
    ghost3.position.z = Math.sin(ghost3Angle) * (7 + Math.sin(elapsedTime * 0.5))
    ghost3.position.y = Math.sin(elapsedTime * 4) + Math.sin(elapsedTime * 2.5)


    // Update controls
    controls.update()

    // Render
    renderer.render(scene, camera)

    // Call tick again on the next frame
    window.requestAnimationFrame(tick)
}

tick()
二、效果
1.想要实现效果

2.效果

三,注意点
1.Geometry
在几何体中Geometry 和 BufferGeometry要注意一个可以获取uv
注意纹理引入的路径是否正确,不然会很怪
注意属性添加时候,不要缺少或者打错单词 ,不然也很怪
总结
好多方法,百度就可,能记则记,不行拉倒!多动手,少动嘴,看完视频,做个作品集,再来一次练习吧!


 1061
1061

 被折叠的 条评论
为什么被折叠?
被折叠的 条评论
为什么被折叠?
 到【灌水乐园】发言


