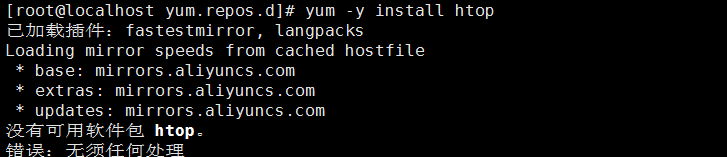
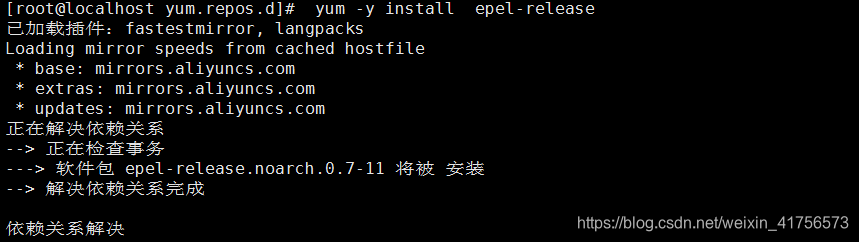
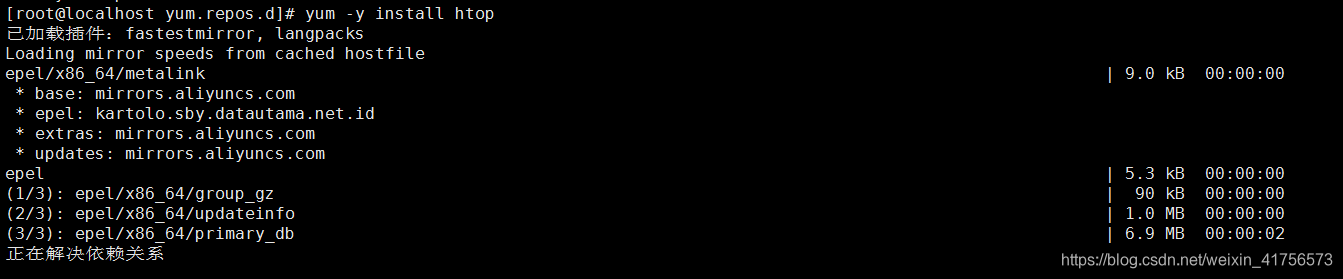
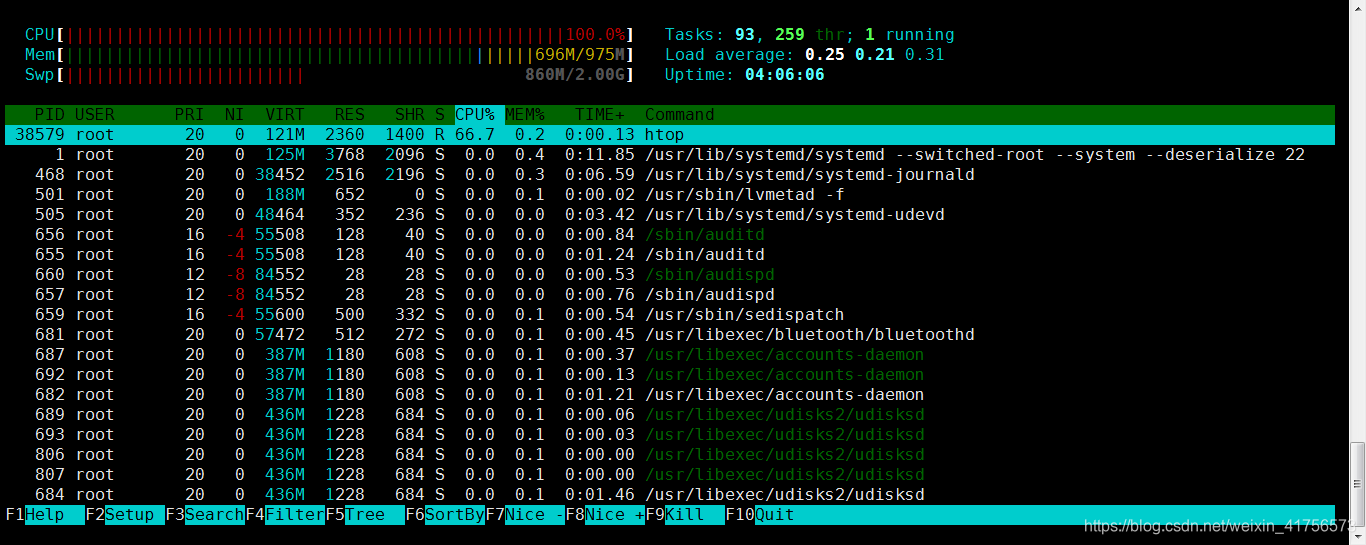
centos使用yum安装htop

本文详细介绍如何在CentOS系统中使用yum命令安装htop进程查看器,首先需安装epel-release以启用额外的软件包资源,然后通过yum命令安装htop,其功能类似于Windows的任务管理器。

摘要生成于 C知道 ,由 DeepSeek-R1 满血版支持, 前往体验 >

介绍

使用yum无法直接安装htop,需要先安装epel-release
在这里插入图片描述

安装步骤

安装epel-release

命令:

yum -y install  epel-release

在这里插入图片描述

安装htop

命令:

yum -y install htop

在这里插入图片描述

结果验证

在这里插入图片描述

作用

相当于Windows下的任务管理器

ShardingSphere是一款开源的分布式数据库中间件,可以实现对关系型数据库的分库分表、读写分离、分布式事务等功能。而dynamic-datasource-spring-boot-starter是一个基于Spring Boot的动态数据源组件,可以动态地切换数据源。如果需要将这两个组件整合起来使用,可以按照以下步骤进行操作: 1. 引入依赖 在项目的pom.xml文件中添加以下依赖: ```xml <dependency> <groupId>org.apache.shardingsphere</groupId> <artifactId>sharding-jdbc-core</artifactId> <version>${sharding-sphere-version}</version> </dependency> <dependency> <groupId>com.baomidou</groupId> <artifactId>dynamic-datasource-spring-boot-starter</artifactId> <version>${dynamic-datasource-version}</version> </dependency> ``` 其中,${sharding-sphere-version}为ShardingSphere的版本号,${dynamic-datasource-version}为dynamic-datasource-spring-boot-starter的版本号。 2. 配置数据源 在application.yml中配置数据源信息,包括ShardingSphere的分库分表规则和动态数据源的配置信息。 ```yaml spring: shardingsphere: datasource: names: ds0,ds1 ds0: driver-class-name: com.mysql.cj.jdbc.Driver jdbc-url: jdbc:mysql://localhost:3306/db0?useUnicode=true&characterEncoding=utf-8&useSSL=false&serverTimezone=UTC username: root password: root ds1: driver-class-name: com.mysql.cj.jdbc.Driver jdbc-url: jdbc:mysql://localhost:3306/db1?useUnicode=true&characterEncoding=utf-8&useSSL=false&serverTimezone=UTC username: root password: root sharding: tables: user: actual-data-nodes: ds${0..1}.user_${0..1} table-strategy: inline: sharding-column: id algorithm-expression: user_${id % 2} key-generator: column: id type: SNOWFLAKE ``` 其中,names为数据源名称,actual-data-nodes为ShardingSphere的分库分表规则,table-strategy为分表策略,key-generator为主键生成策略。 3. 配置动态数据源 在DynamicDataSourceAutoConfiguration中配置动态数据源。 ```java @Configuration public class DynamicDataSourceAutoConfiguration { @Bean @ConfigurationProperties(prefix = "spring.datasource.ds0") public DataSource ds0() { return DataSourceBuilder.create().build(); } @Bean @ConfigurationProperties(prefix = "spring.datasource.ds1") public DataSource ds1() { return DataSourceBuilder.create().build(); } @Bean @Primary public DynamicDataSource dataSource(DataSource ds0, DataSource ds1) { Map<Object, Object> targetDataSources = new HashMap<>(); targetDataSources.put("ds0", ds0); targetDataSources.put("ds1", ds1); return new DynamicDataSource(ds0, targetDataSources); } } ``` 其中,ds0和ds1分别对应于ShardingSphere中的ds0和ds1数据源,DynamicDataSource是动态数据源的实现类。 4. 测试 在测试类中使用@Autowired注解注入DataSource,并使用JdbcTemplate进行数据操作。 ```java @SpringBootTest public class ShardingTest { @Autowired private DataSource dataSource; @Test public void test() { JdbcTemplate jdbcTemplate = new JdbcTemplate(dataSource); jdbcTemplate.update("insert into user (name, age) values (?, ?)", "张三", 20); jdbcTemplate.update("insert into user (name, age) values (?, ?)", "李四", 30); List<Map<String, Object>> userList = jdbcTemplate.queryForList("select * from user"); System.out.println(userList); } } ``` 运行测试类,可以看到数据成功插入到两个库的两张表中,并且查询结果也正确。
评论 1
添加红包

请填写红包祝福语或标题

红包个数最小为10个

红包金额最低5元

当前余额3.43前往充值 >
需支付:10.00
成就一亿技术人!
领取后你会自动成为博主和红包主的粉丝 规则
hope_wisdom
发出的红包
实付
使用余额支付
点击重新获取
扫码支付
钱包余额 0

抵扣说明:

1.余额是钱包充值的虚拟货币,按照1:1的比例进行支付金额的抵扣。
2.余额无法直接购买下载,可以购买VIP、付费专栏及课程。

余额充值