


一、集成nacos作为服务注册中心
1.安装nacos
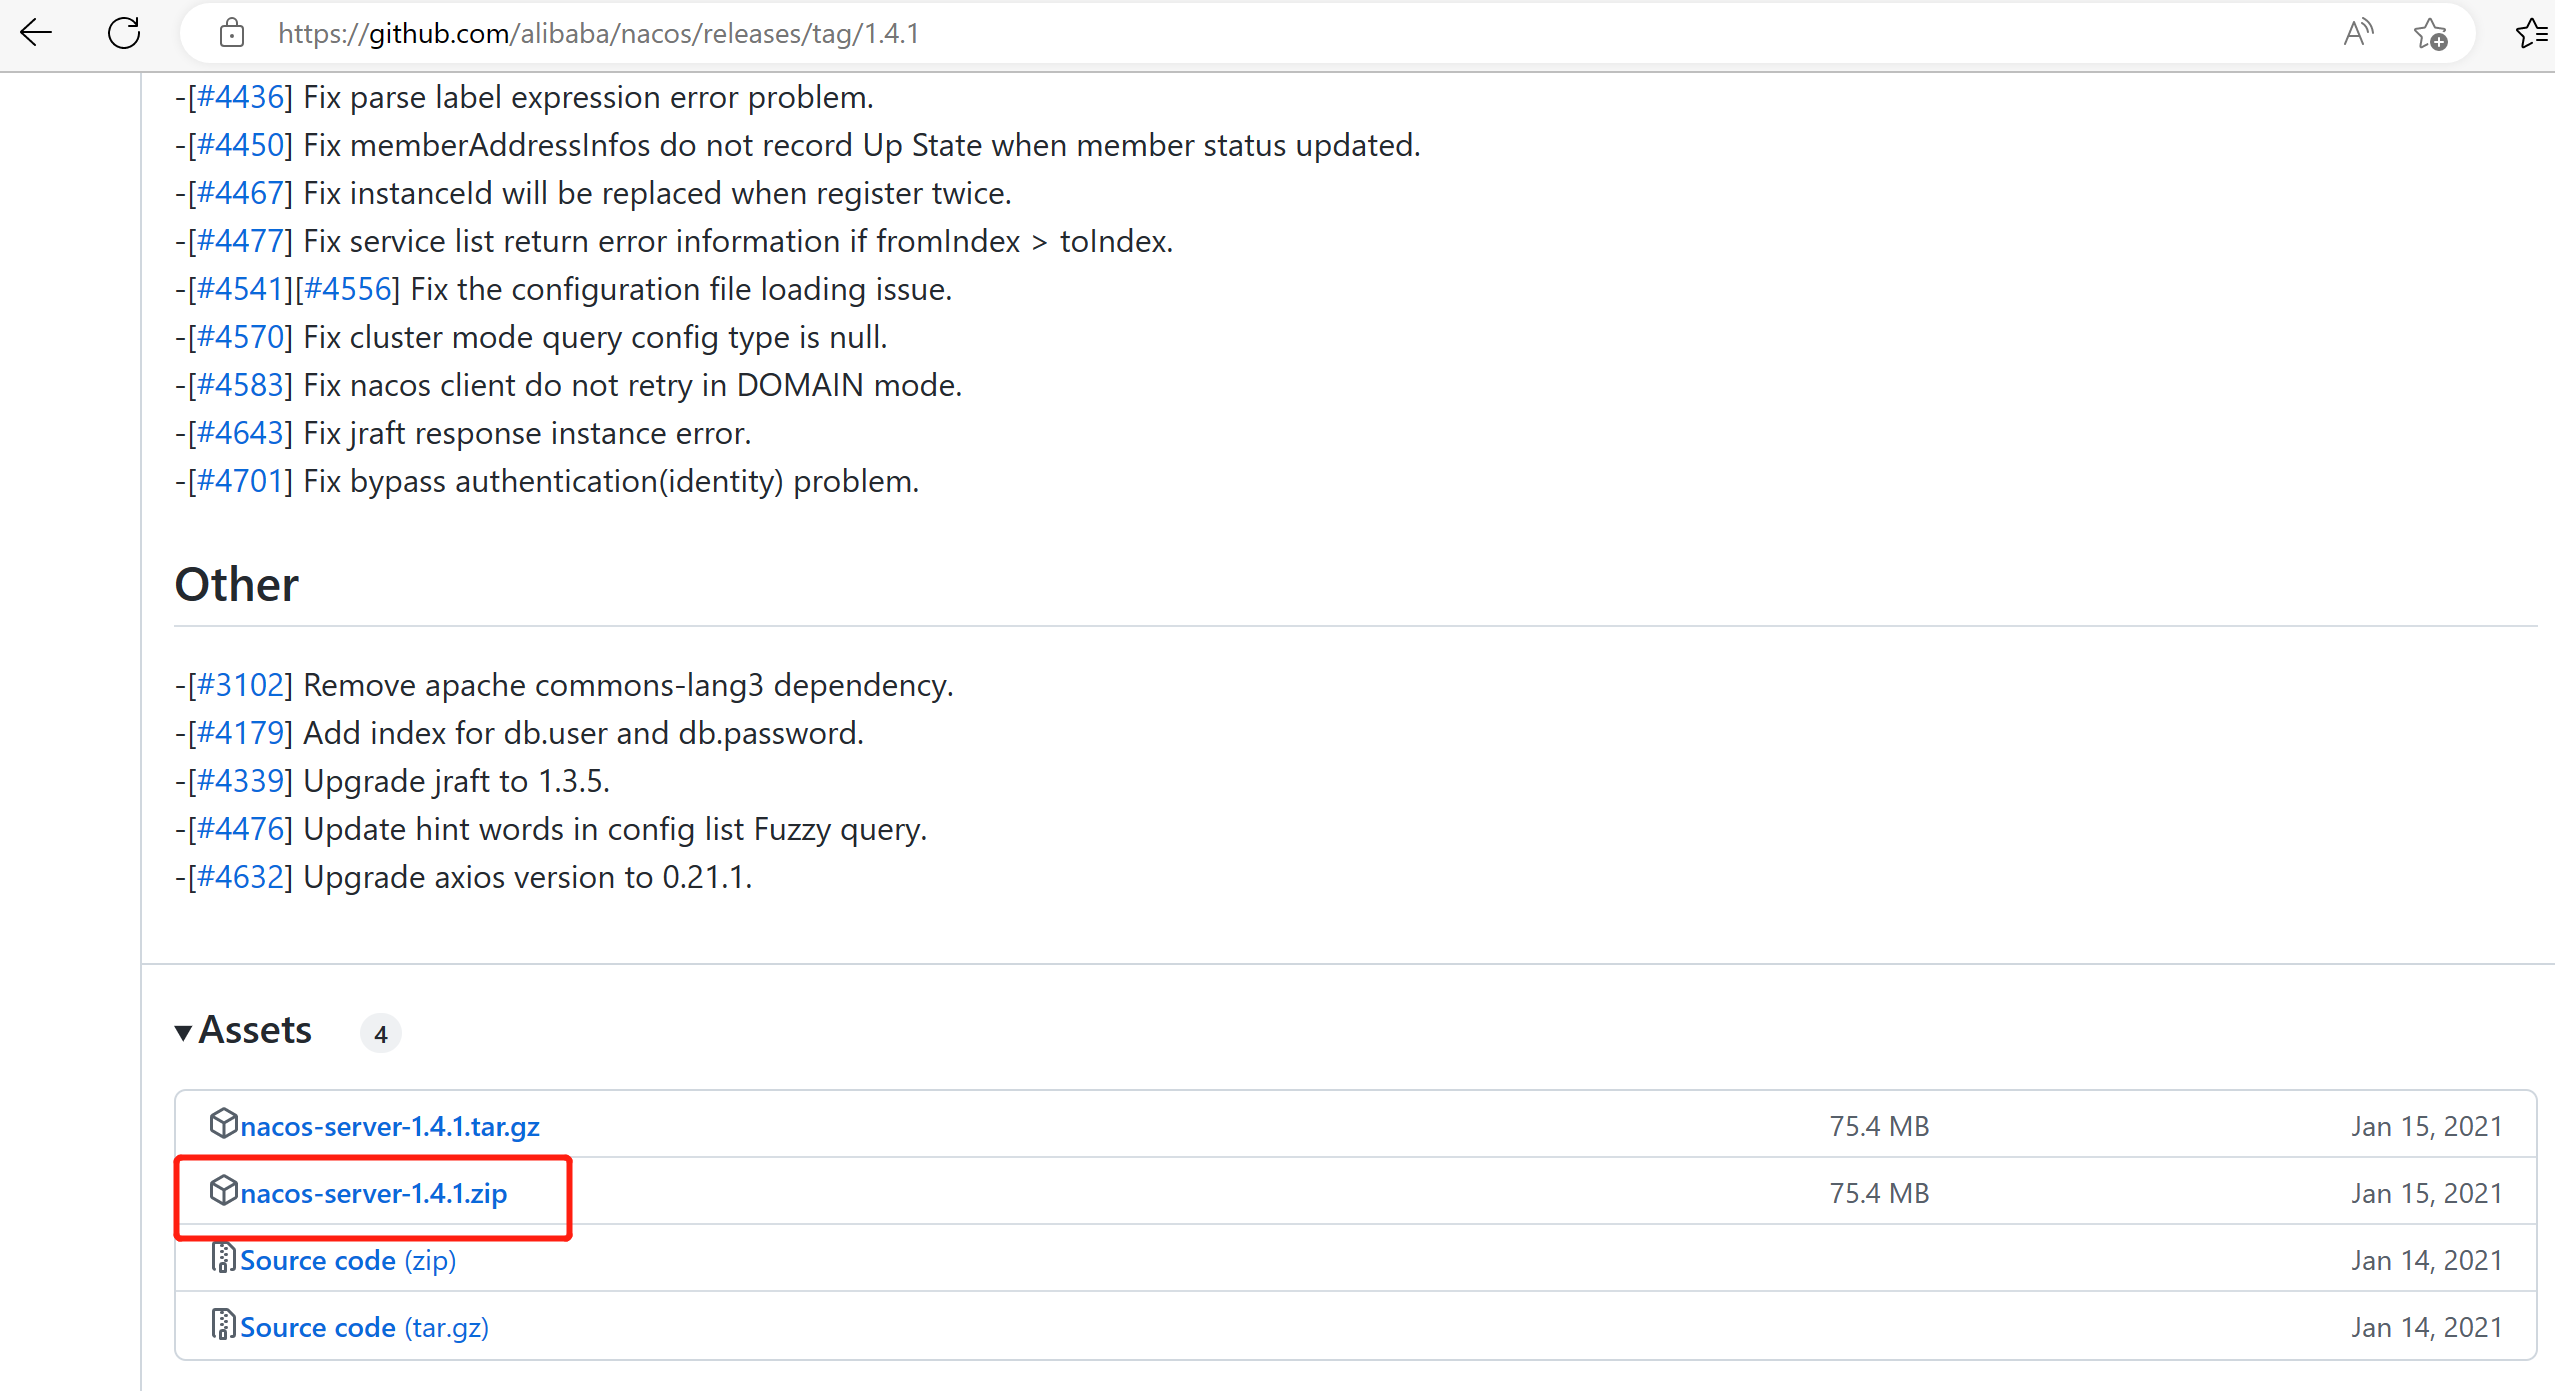
下载nacos(下载地址:https://github.com/alibaba/nacos/releases/tag/1.4.1),版本选择1.4.1,最好不要选择最新版本。
解压后修改nacos-server-1.4.1\nacos\conf路径下的application.properties文件,将数据库连接改自己的本地数据库。
### Connect URL of DB:
db.url.0=jdbc:mysql://127.0.0.1:3306/nacos?characterEncoding=utf8&connectTimeout=1000&socketTimeout=3000&autoReconnect=true&useUnicode=true&useSSL=false&serverTimezone=UTC
db.user.0=root
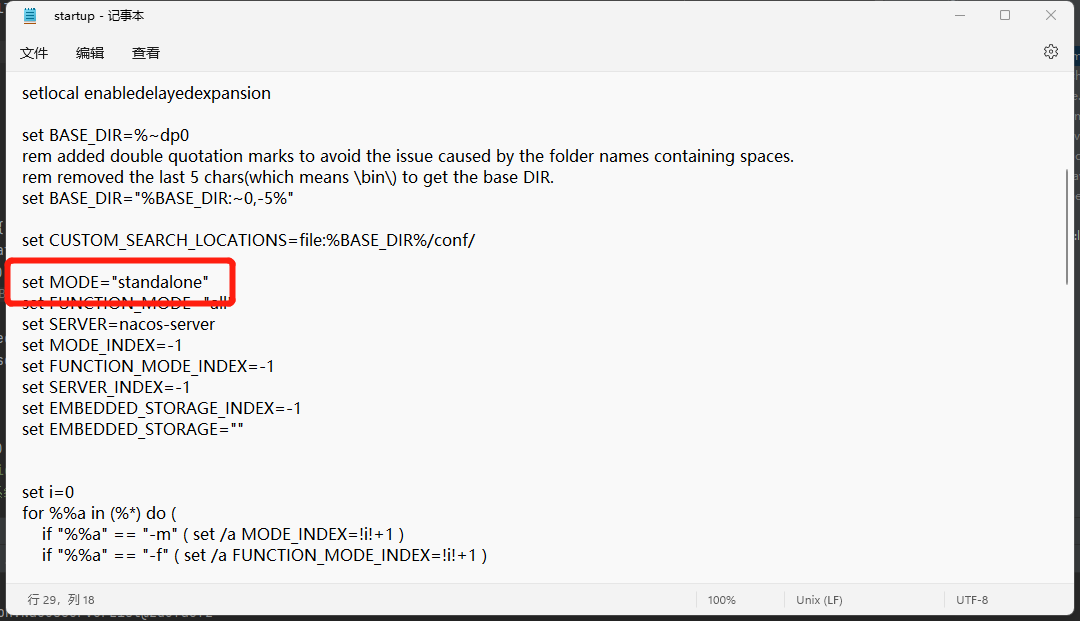
db.password.0=root修改nacos-server-1.4.1\nacos\bin下的startup,将模式改成standalone。
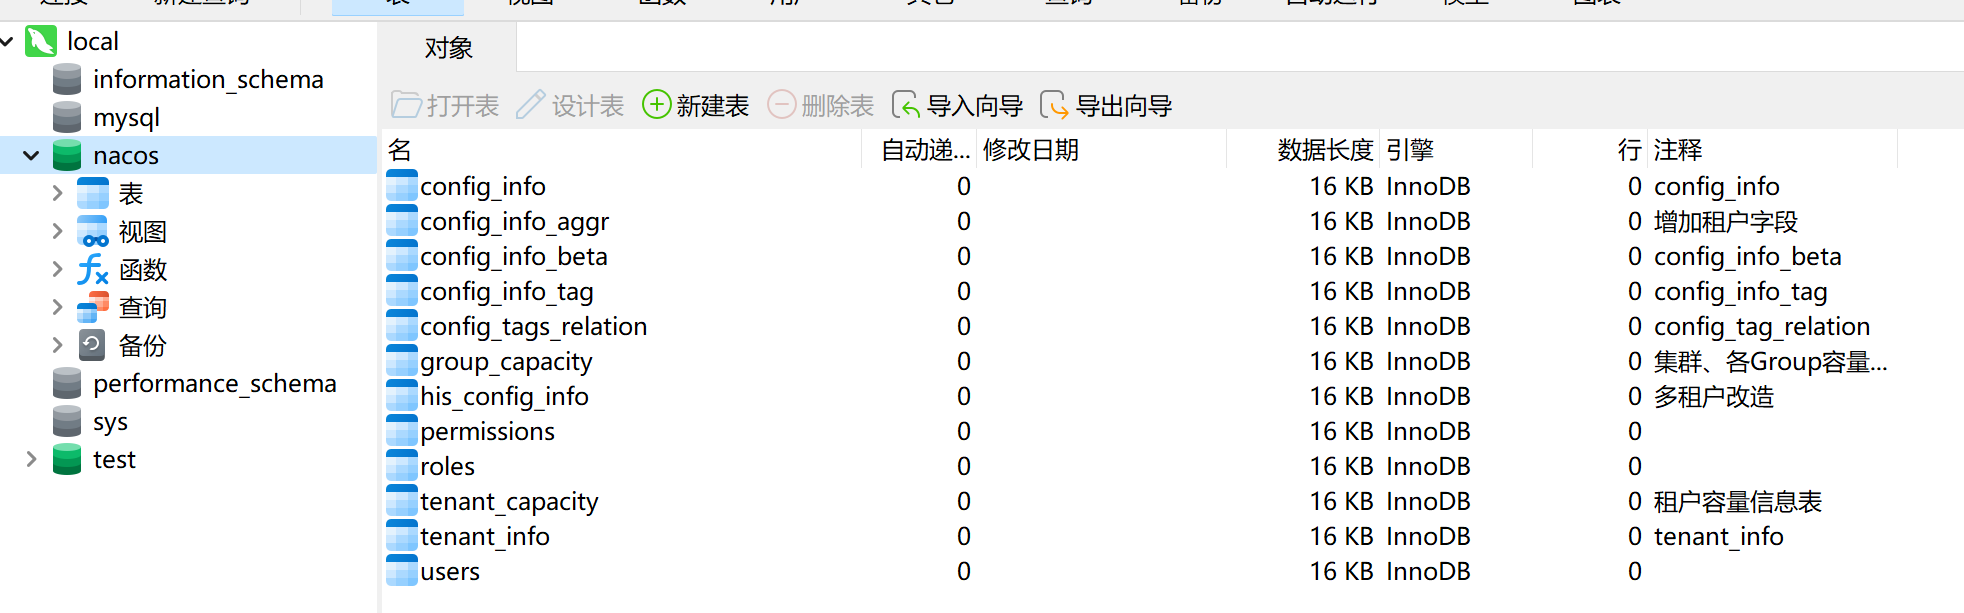
新建数据库nacos,执行nacos-mysql这个sql文件。
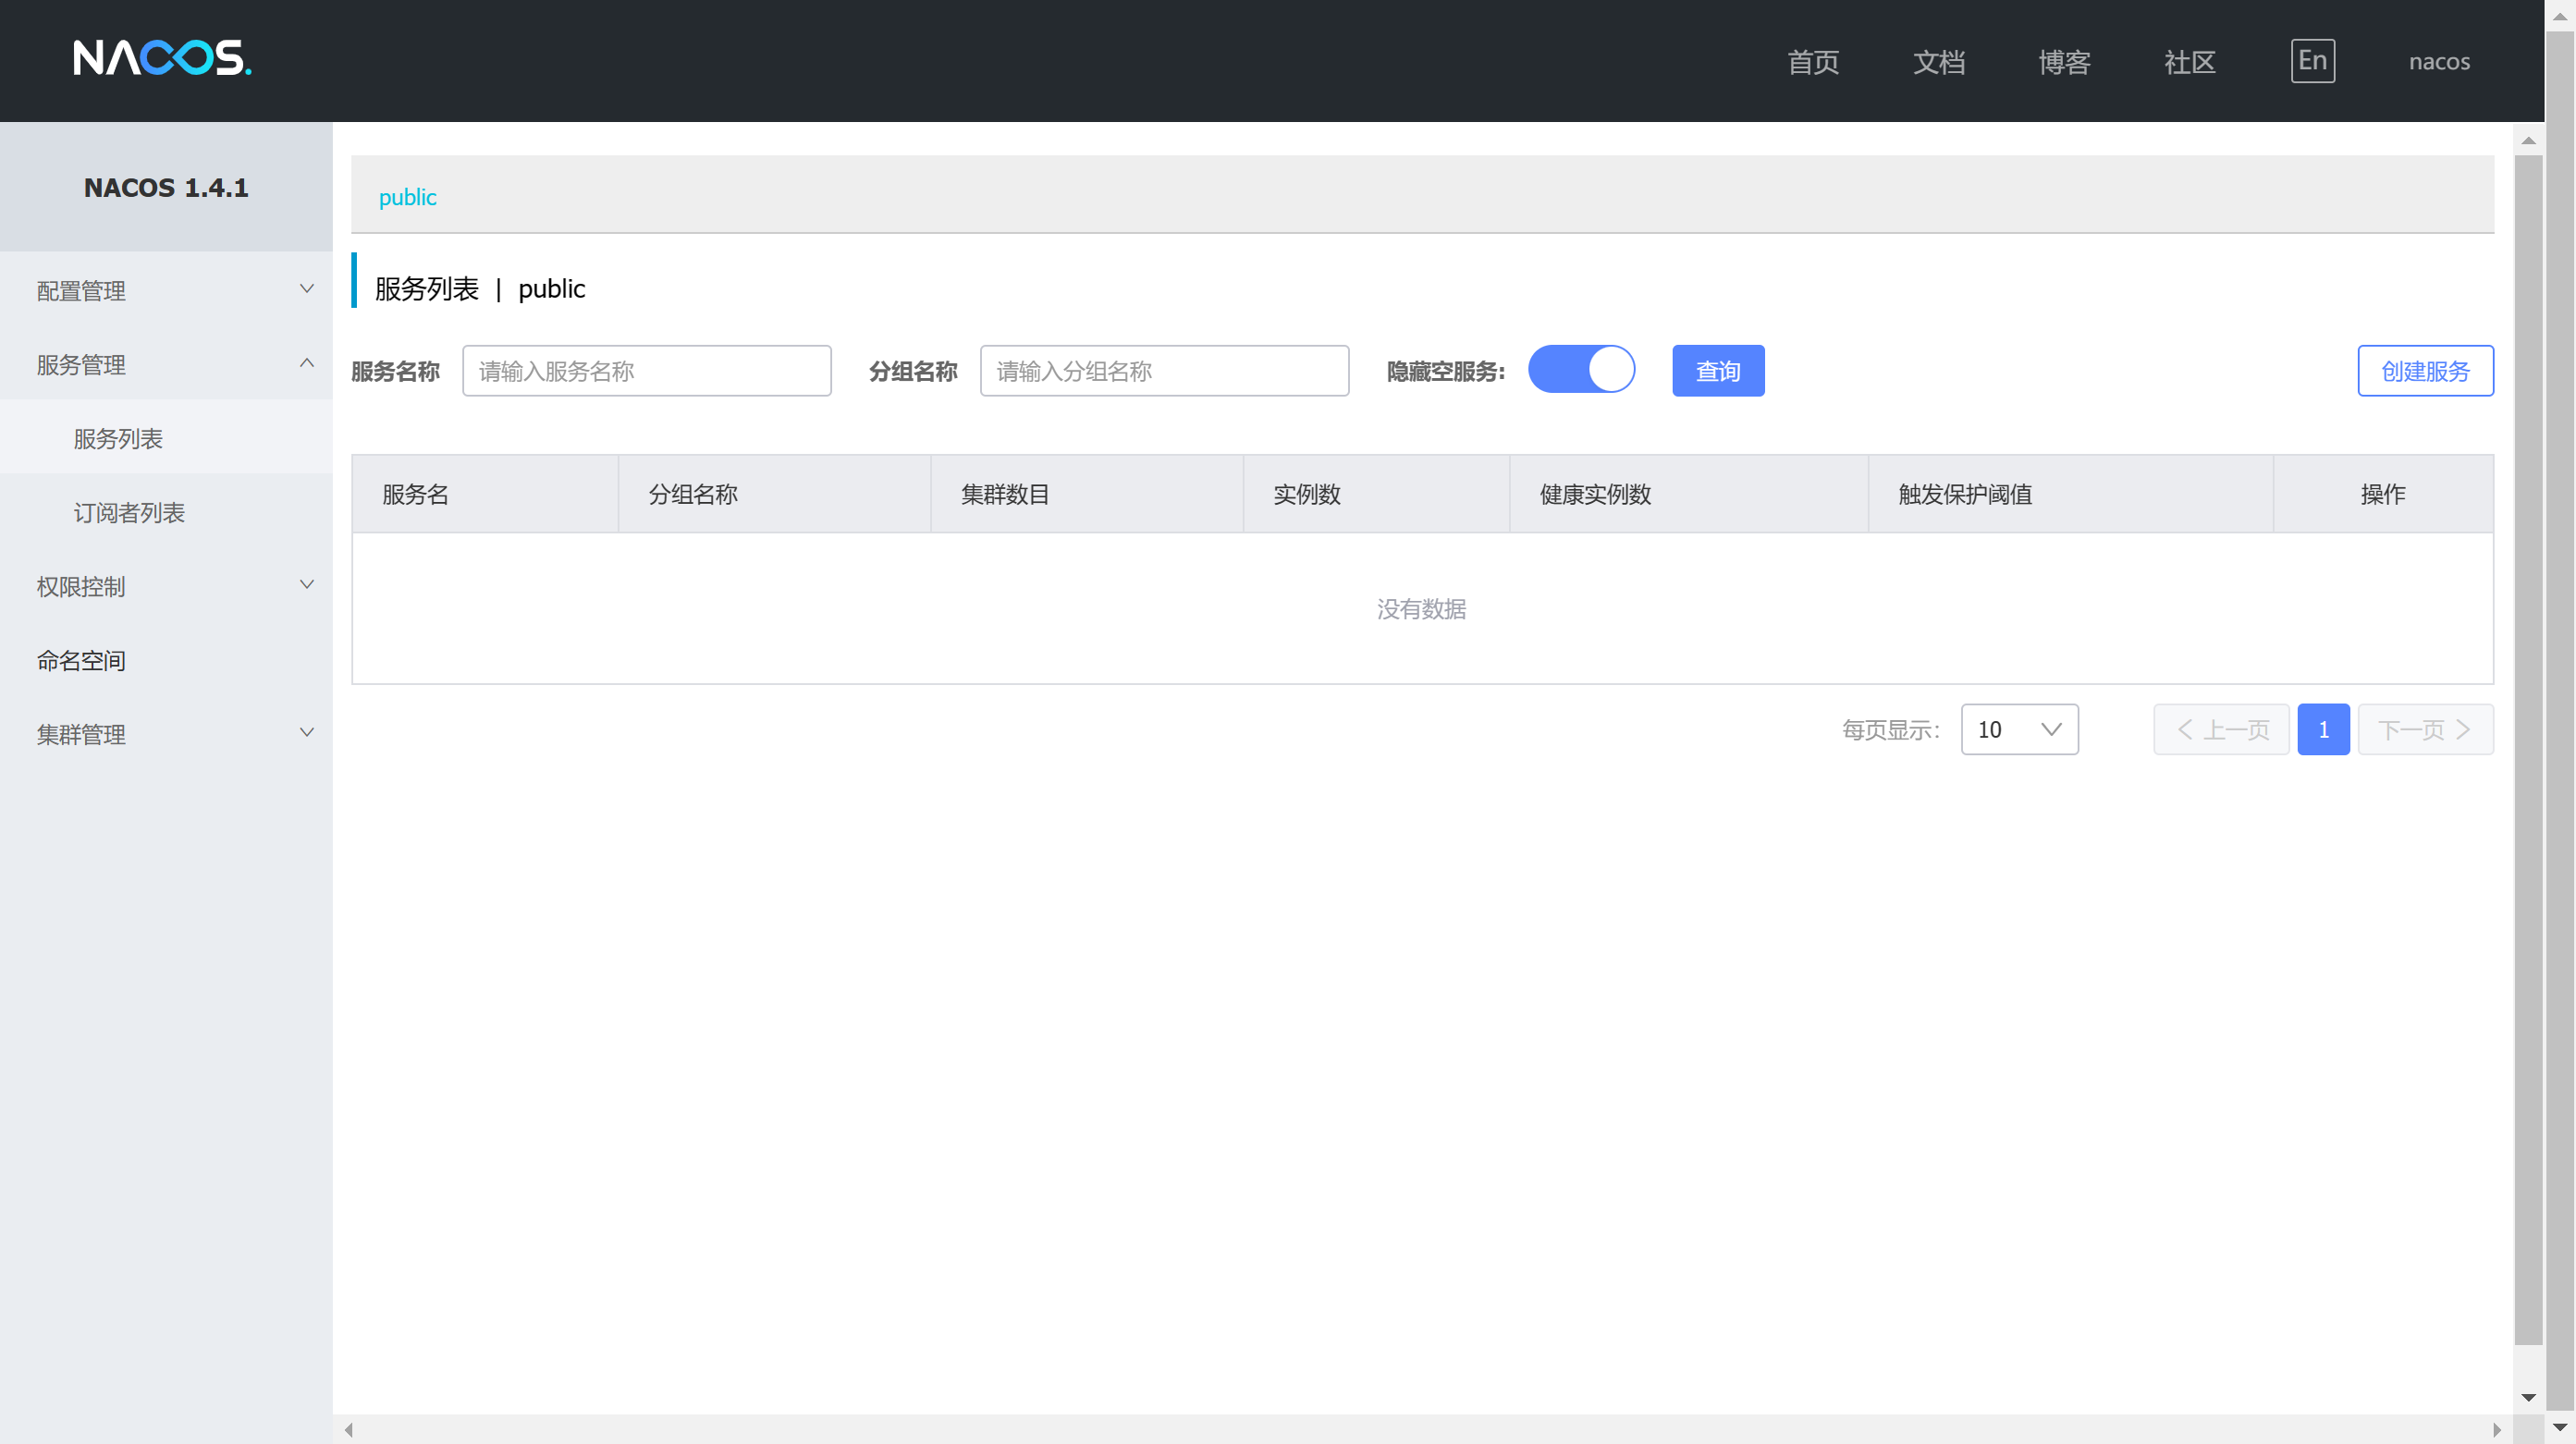
运行startup文件,就可以在本地启动nacos。打开浏览器,输入http://10.12.3.93:8848/nacos/index.html,回车后进入登陆页面,用户名和密码都是默认的nacos,然后点击登陆。
2.修改pom文件,添加引用
<dependency>
    <groupId>com.alibaba.cloud</groupId>
    <artifactId>spring-cloud-starter-alibaba-nacos-discovery</artifactId>
</dependency>
3.启动类上添加注解@EnableDiscoveryClient
4.修改application.yml文件
spring:
application:
name: UserDemo
cloud:
nacos:
discovery:
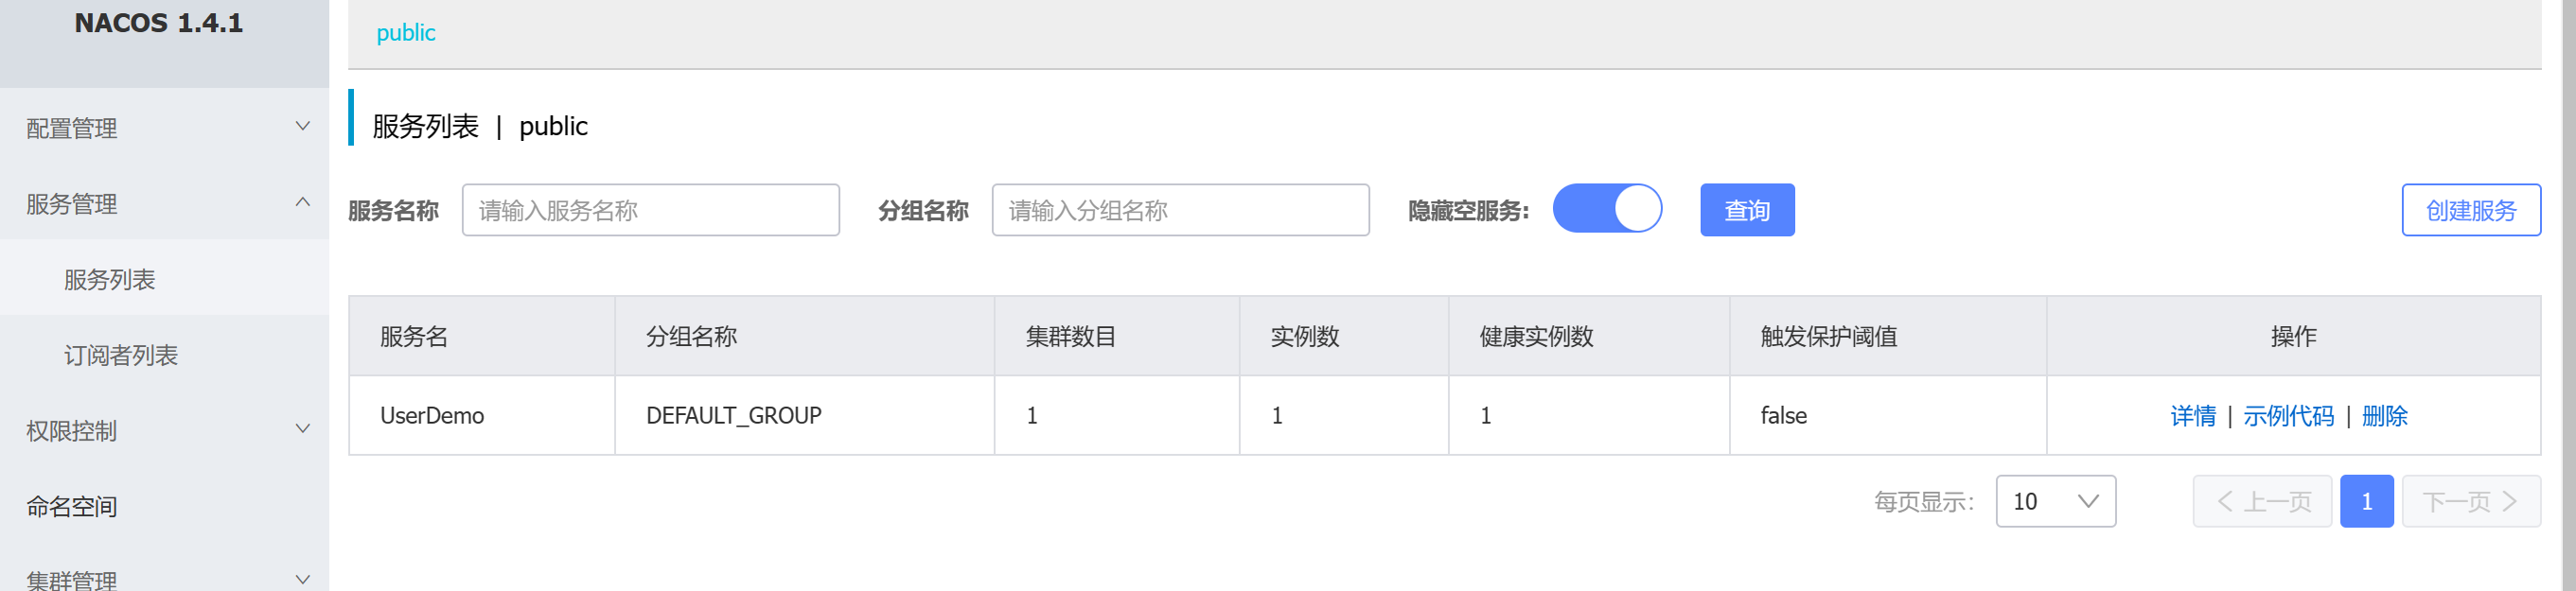
server-addr: localhost:8848修改之后,启动项目,在服务列表中可以看到User服务已经注册进去了,同样的步骤将Depart服务也注册到nacos中。
二、服务间的调用
现在项目中有两个子模块,分别是User-Service和Depart-Service,实现了用户和部门的增删改查,在用户表里面存储了部门id字段,希望在查询用户信息时获取用户所在部门的详细信息,这是需要查询出用户所在部门id后根据部门id调用Depart-Service的查询接口,有以下两种实现方式。
使用RestTemplate
新建配置类
import org.springframework.context.annotation.Bean;
import org.springframework.context.annotation.Configuration;
import org.springframework.web.client.RestTemplate;

@Configuration
public class RestTemplateConfig {
    @Bean(name = "restTemplate")
    public RestTemplate restTemplate() {
        return new RestTemplate();
    }
}
controller中注入RestTemplate
@Autowired
private RestTemplate restTemplate;
查询Depart
@GetMapping(path = "/{id}",produces = "application/json")
public User findUser(@PathVariable Integer id) {
    User user = userService.getById(id);
    Depart depart = restTemplate.getForObject("http://localhost:8001/api/v1/depart/" + user.getDepartId(),Depart.class);

    user.setDepartName(depart.getName());
    return user;
}
使用FeignClient
修改pom文件
<dependency>
    <groupId>org.springframework.cloud</groupId>
    <artifactId>spring-cloud-starter-openfeign</artifactId>
</dependency>
启动类上添加注解@EnableFeignClients
新增接口,FeignClient("DepartDemo")这里指定了nacos中的服务名,所以不需要像使用RestTemplate时写完整的接口路径
package com.userdemo.client;

import com.userdemo.entities.Depart;
import org.springframework.cloud.openfeign.FeignClient;
import org.springframework.web.bind.annotation.GetMapping;
import org.springframework.web.bind.annotation.PathVariable;

@FeignClient("DepartDemo")
public interface DepartClient {
    @GetMapping("/api/v1/depart/{id}")
    public Depart getById(@PathVariable("id") Integer id);
}
修改controller
//注入DepartClient
@Autowired
private DepartClient departClient;

@GetMapping(path = "/{id}",produces = "application/json")
public User findUser(@PathVariable Integer id) {
    User user = userService.getById(id);
    //直接调用接口中封装的方法
    Depart depart = departClient.getById(user.getDepartId());

    user.setDepartName(depart.getName());
    return user;
}
三、代码重构
现在用户服务调用部门服务时在两个模块中都定义了Depart类,造成了代码重复,现在新建一个子模块,将这个类提出来,让两个服务都能引入这个类。
新建子模块,在子模块中新建depart类
删除User-Service、Depart-Service两个子模块中的depart类
修改两个子模块的pom
<dependency>
    <groupId>org.example</groupId>
    <artifactId>common</artifactId>
    <version>1.0-SNAPSHOT</version>
</dependency>


 8万+
8万+


 被折叠的 条评论
为什么被折叠?
被折叠的 条评论
为什么被折叠?
 到【灌水乐园】发言


