


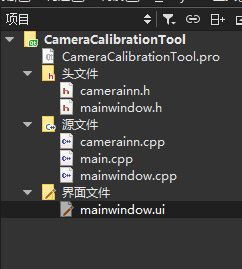
Qt+opencv入门之 读取文件夹内图片并显示
做一个简单的Demo,用Qt实现读取文件夹内所有图片并显示
读取文件夹
1.在界面文件中放入push button
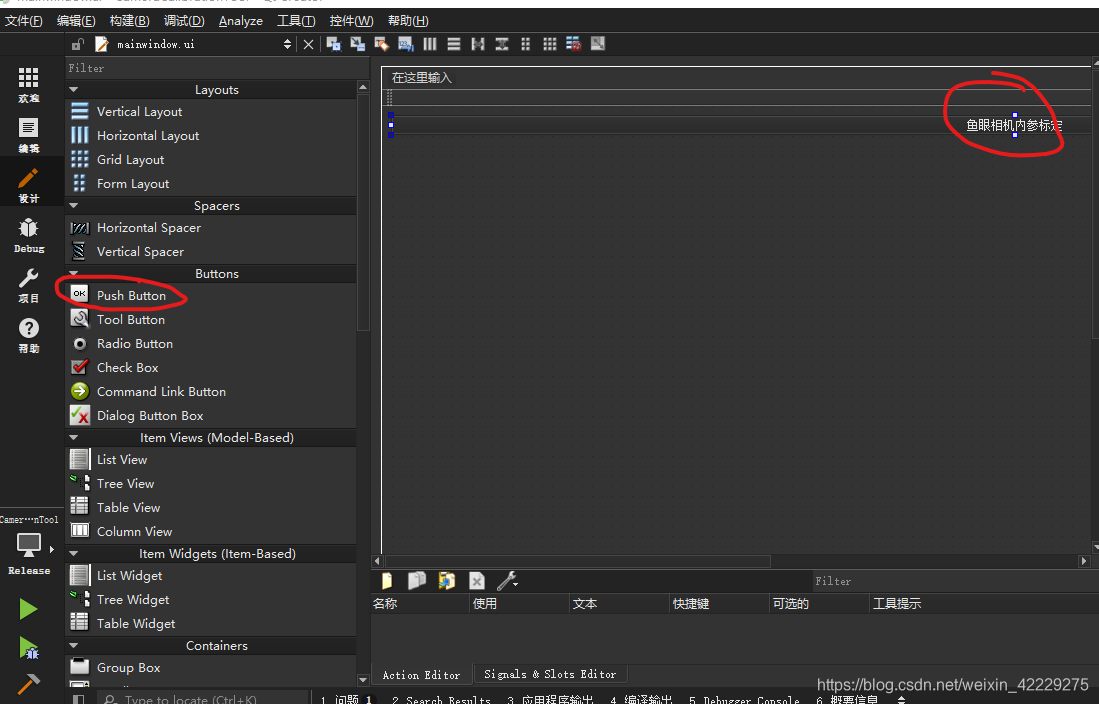
在button上点击右键,转到槽,在mainWindow.cpp中生成相应的clicked函数
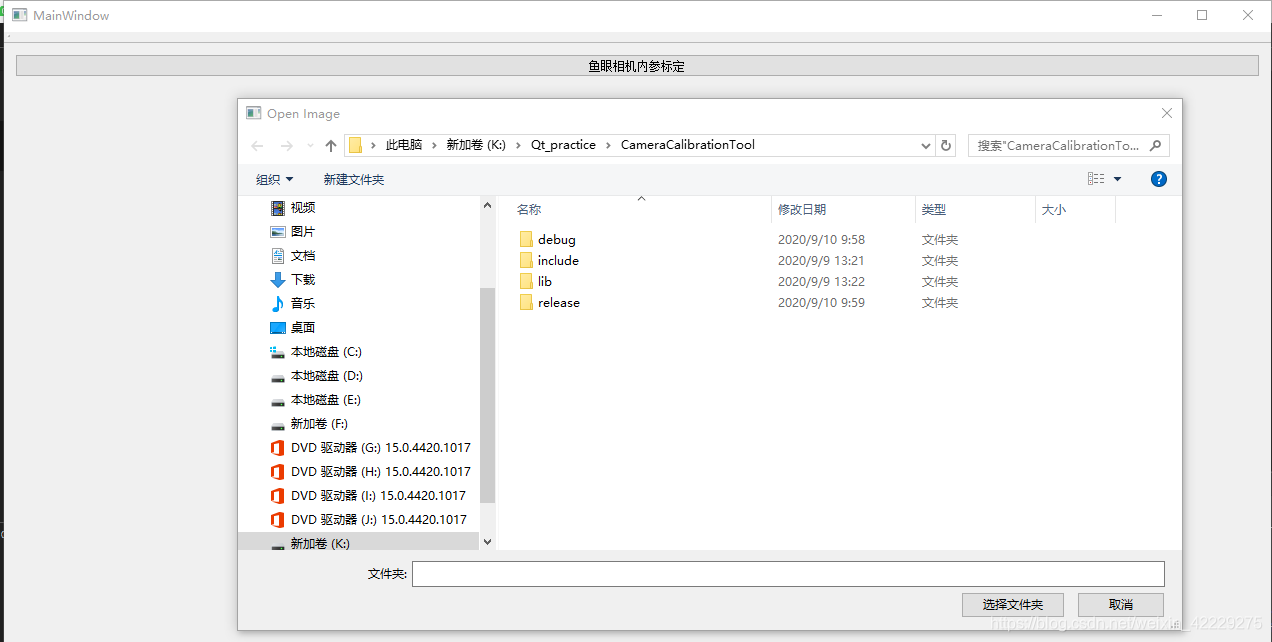
输入QString fileName=QFileDialog::getExistingDirectory(this,tr(“Open Image”),QDir::currentPath());
完成点击按钮选择文件夹,并将文件夹名称输入出的功能
输入cout<<fileName.toStdString()<<endl;将选择的文件夹名称打印到后台
QImage、Mat与QPixmap
图像的本质也是一种数据结构,例如彩色的图片,本质是一个三通道的二维数组,每个元素里放置的rgb三个通道的颜色分量的大小,在opencv中图像可以用Mat表示,在Qt中,图像用QImage和QPixmap表示,Mat可以与QImage相互转换,如
QImage qtImage(cvSrcImage.data,cvSrcImage.cols,cvSrcImage.rows,cvSrcImage.step,QImage::Format_RGB888);
当然,QImage也可以直接读取图片,如
string tempDir=":/images/f1.png";
QImage qtImage(tempDir.c_str());
或
QImage Image;
Image.load(":/images/f1.png");
将QImage转成QPixmap即可显示出图像
如QPixmap pixmap =QPixmap::fromImage(qtImage.rgbSwapped());
ui->label->setPixmap(fitpixmap);
下面是整体的代码流程
void MainWindow::on_fisheyeInn_clicked()
{
    QString fileName = QFileDialog::getExistingDirectory(this,
                                                         tr("Open Image"), QDir::currentPath()
                                                         );


    if (fileName.isEmpty())
    {
        cout << "Filepath is null" << endl;
    }
    else
    {
        vector<Mat> cvSrcImageArray;
        vector<QImage> qtSrcImageArray;
        cout<<Imagedir<<endl;
        Imagedir = fileName.toStdString();
        cout<<Imagedir<<endl;

        vector<cv::String> ImageName = getImageName(Imagedir);
        for(int i=0;i<ImageName.size();i++)
        {
            std::cout << "read image:" << ImageName[i] << std::endl;
            Mat cvSrcImage= imread(ImageName[i],1);
            cvSrcImageArray.push_back(cvSrcImage);
            //cvtColor(cvSrcImage,cvSrcImage,CV_BGR2RGB);//opencv定义的是BGR形式的,但Qt定义的是RGB形式的,要转一下
            //opencv的Mat与Qt的QImage转换
            //QImage qtImage(cvSrcImage.data,cvSrcImage.cols,cvSrcImage.rows,cvSrcImage.step,QImage::Format_RGB888);
            std::string tempDir=ImageName[i];
            cout<<tempDir<<endl;

            showImageQt(tempDir);
            waitKey(1000);
        }
        std::cout << "end read........\n" << std::endl;
    }
}


void MainWindow::showImageQt(string tempDir)
{
    QImage qtImage(tempDir.c_str());
    QPixmap pixmap   =QPixmap::fromImage(qtImage.rgbSwapped());
    int width = ui->label->width ();//要显示的宽度
    int height =ui->label->height();
    //QPixmap fitpixmap = pixmap.scaled(with, height, Qt::IgnoreAspectRatio, Qt::SmoothTransformation);  // 饱满填充
    QPixmap fitpixmap = pixmap.scaled(width, height, Qt::KeepAspectRatio, Qt::SmoothTransformation);
    ui->label->setPixmap(fitpixmap);
    this->repaint();
    //getchar();
}

vector<String> getImageName(std::string ImageDir)
{
//用的opencv的方式去遍历文件夹中所有文件名字,这里也可以自己用stl写一下
    vector<String> Imagename;
    glob(ImageDir,Imagename);
    for(int i=0;i<Imagename.size();i++)
    {
        cout<<Imagename[i]<<endl;
    }

    return Imagename;
}
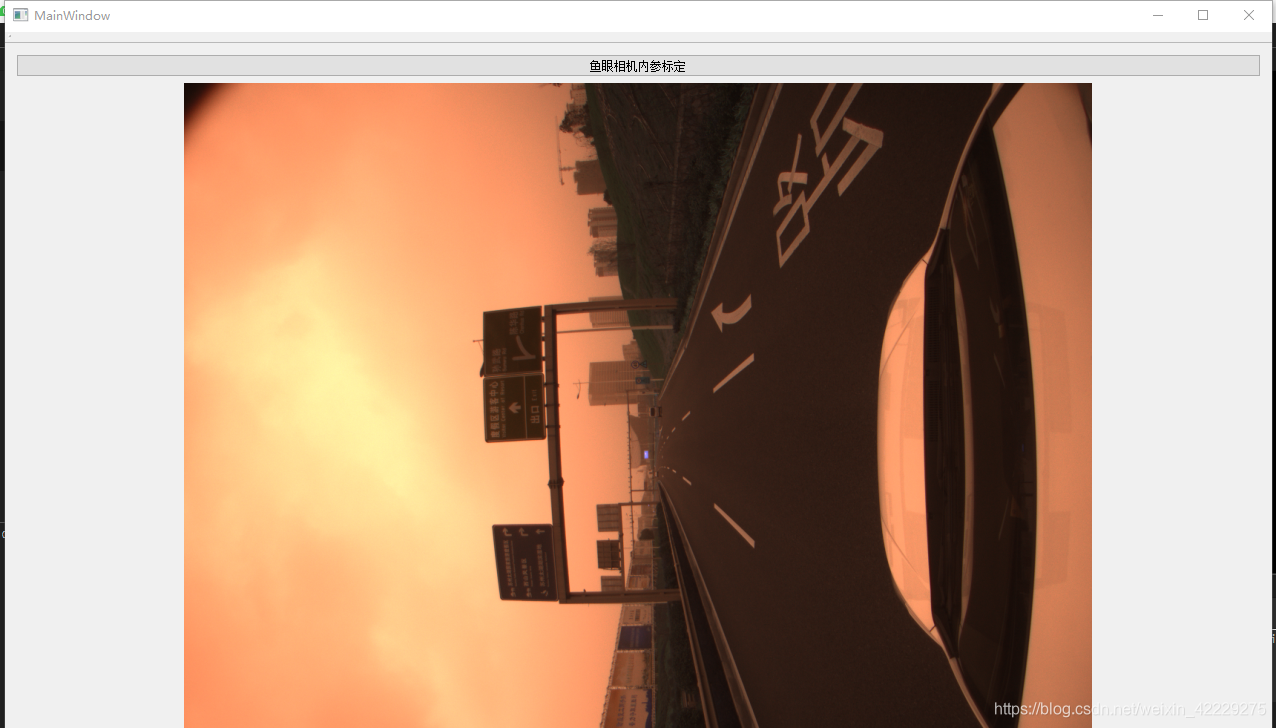
效果如下:


 1828
1828


 被折叠的 条评论
为什么被折叠?
被折叠的 条评论
为什么被折叠?
 到【灌水乐园】发言


