


导入jar包,下面给有完整项目下载路径
一)既然我们使用注解开发,需要配置spring-annotation.xml文件
<!-- 使用注解开发,配置spring注解扫描器 -->
<context:component-scan base-package="com.oracle.spring">
<!-- 使用注解对要创建的类进行标注 -->

</context:component-scan>
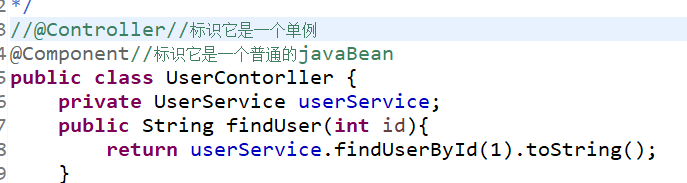
二)在controller层加上
@Controller注解 :标识它是处理器,一个单例,只需要创建一次
@Component:标识它是一个普通的javaBean
service层(serviceImpl层)加上
@Service:标识业务层的一个类
@Autowired:注解

Dao层(Dao Impl层)加上
@Repository注解:它用于将数据访问层 (DAO 层 ) 的类标识为 Spring Bean

三)将service层注入到controller层
使用@Autowired注解:自动注入–当变量或方法被该注解标识的时候,spring容器会去容器中查找是否有该类型的变量

四)写一个测试类
	public static void main(String[] args) {
		ClassPathXmlApplicationContext context= new ClassPathXmlApplicationContext("spring/spring-annotation.xml");
		UserContorller userContorller=context.getBean(UserContorller.class);
		System.out.println(userContorller.findUser(1));
	}
运行成功:如下图

在打印一个日志 添加

OK这样的话一个简单的spring注解开发demo就结束了。
下面给上完整项目下载地址
项目
链接:https://pan.baidu.com/s/12G_i-1XN0zmCKStHd9ICcw
提取码:wzds
复制这段内容后打开百度网盘手机App,操作更方便哦


 818
818


 被折叠的 条评论
为什么被折叠?
被折叠的 条评论
为什么被折叠?
 到【灌水乐园】发言


