


Chromatix的新手小白级入门指南
前言
新手小白入门级指南
一、Chromatix的下载
高通平台的支持网站:https://createpoint.qti.qualcomm.com/
这个网站可以用自己的邮箱注册,但是只会拥有少数的product Kit,只有加入项目才会获得权限。
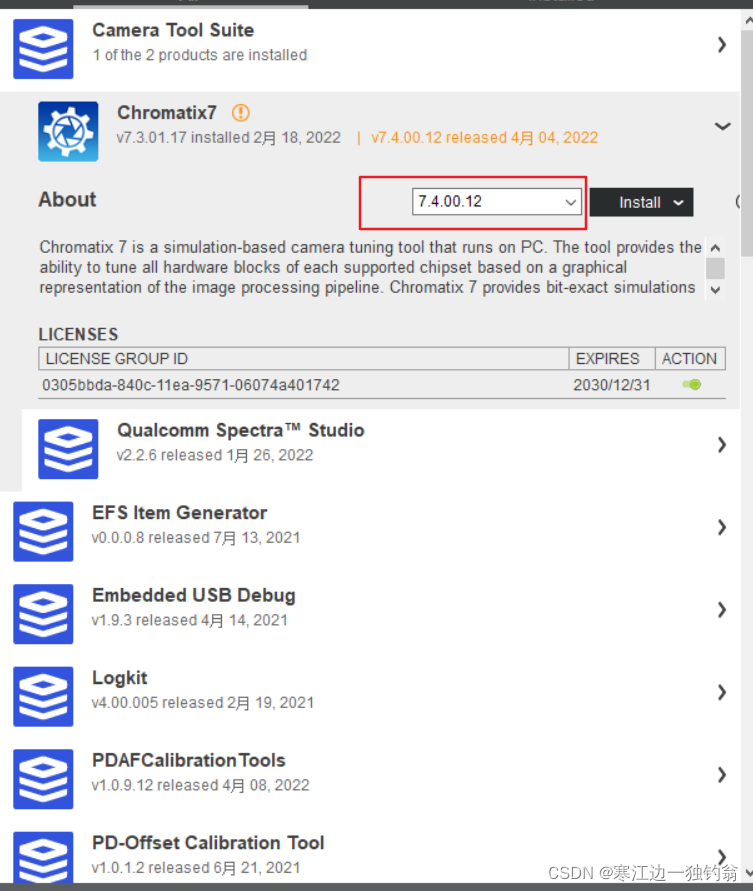
Chromatix软件是基于高通平台效果调试的软件,你可以从以自己的账号中下载Qualcomm Package Manager,即安装包管理软件。
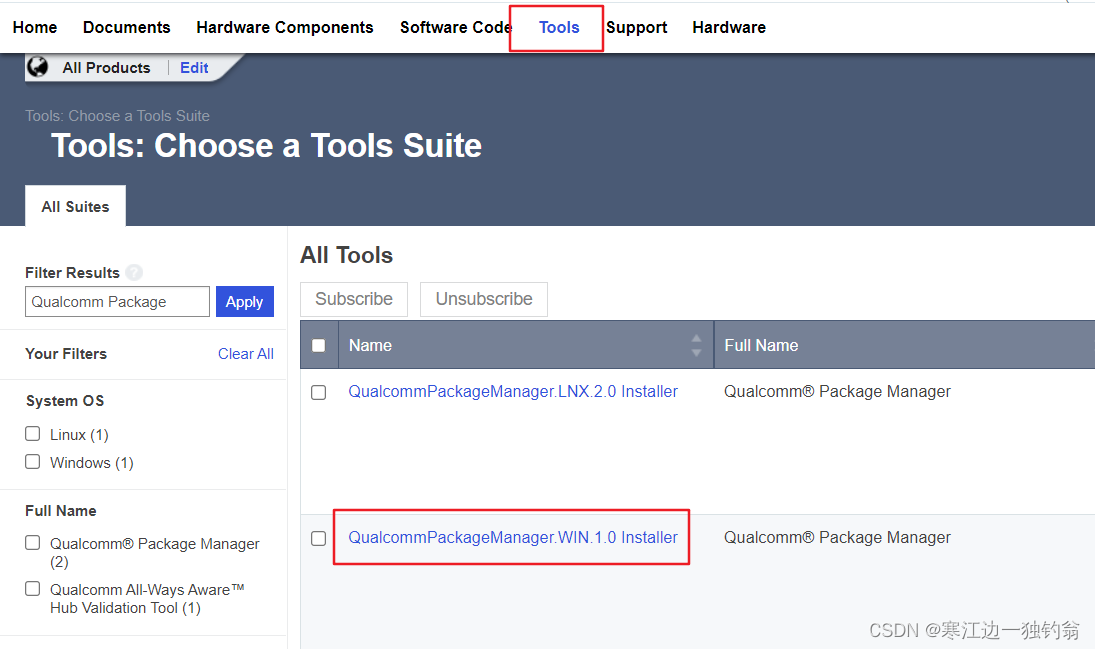
可以根据上图下载QPM,也可以从同事处获得所需的Chromatix软件;
二、新建工程
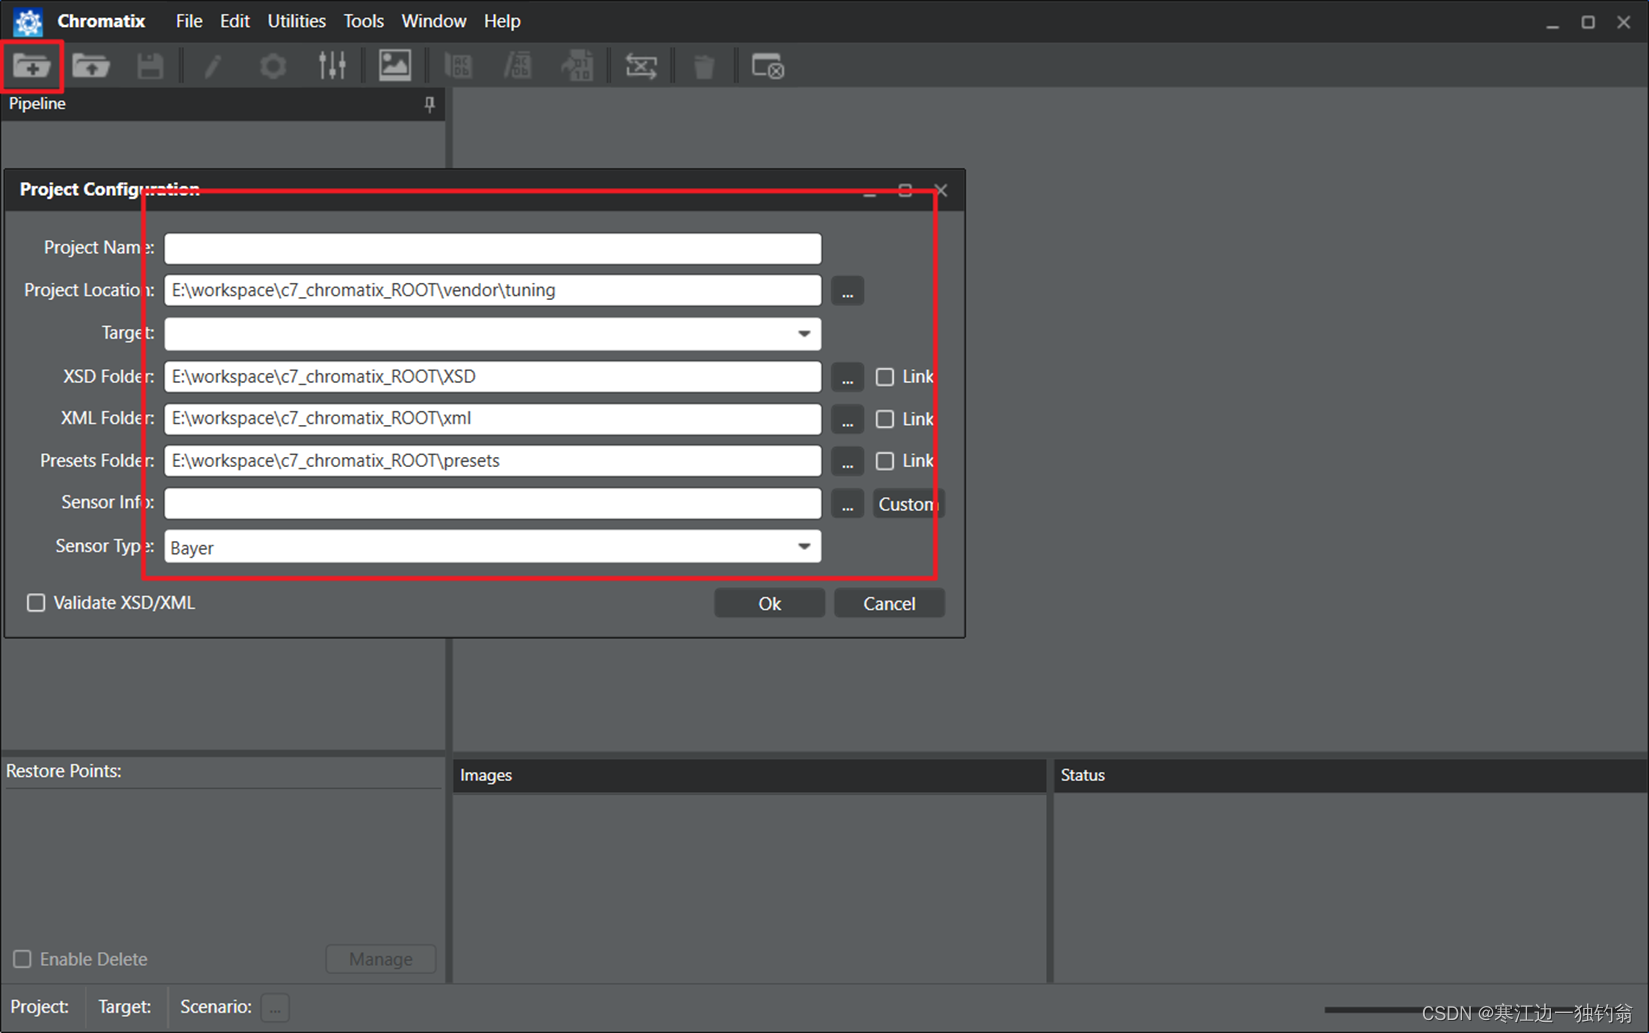
1.新建工程
1)Project Name:根据个人习惯进行命名;
2)Project location:选择放置项目的路径;
3)Target:根据项目进行选择;
4)XSD/XML/pressets folder: \vendor\qcom\proprietary\chi-cdk\api\chromatix
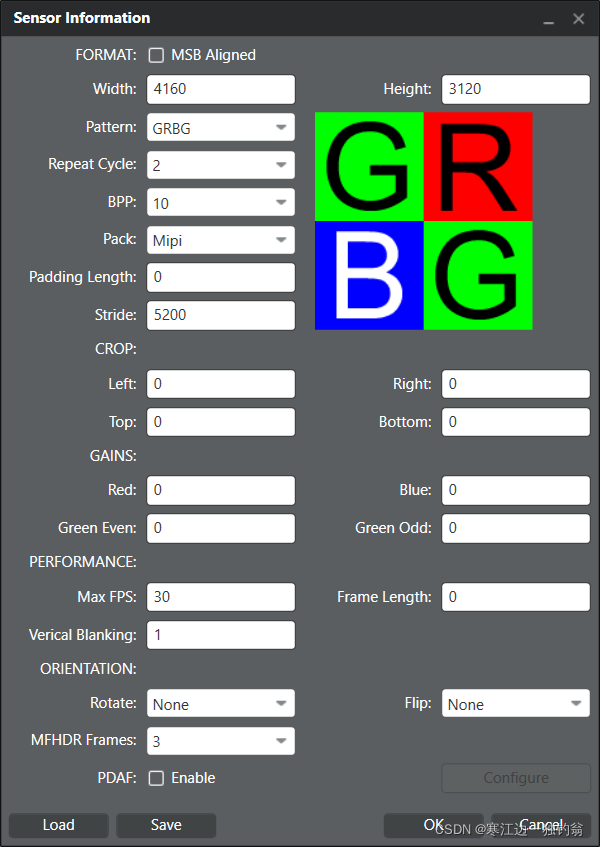
5)Sensor Info:根据驱动代码路径进行设置(右下图所示): \vendor\qcom\proprietary\chi-cdk\oem\qcom\sensor***
7)Stride的计算方法:
Stride=roundup((width*10/8)/16)16
举例:Stride=roundup((416010/8)/16)*16=5200
tipes: roundup为向上取整。
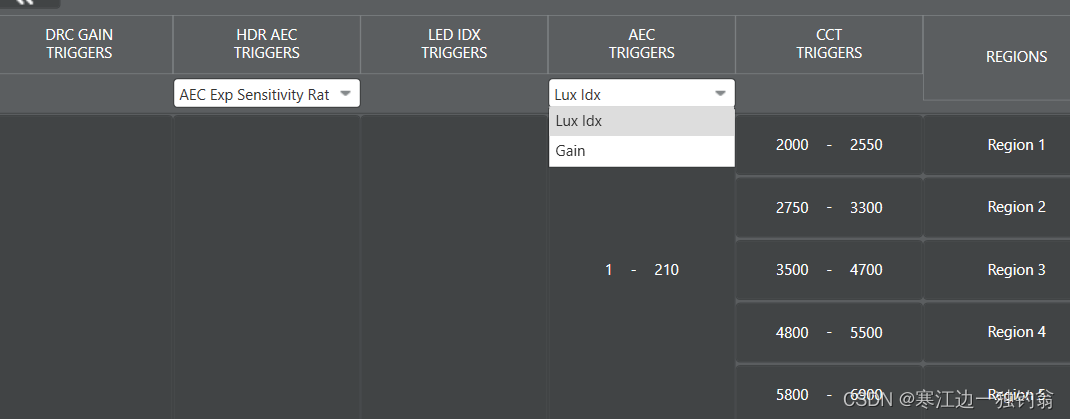
2.参数分段
Pipeline包含OPE、TFE、SW control;
Pipeline一般有两种分段方法,ISP模块参数通常使用Gain,而AE、AWB一般使用lux idex和CCT的方法来分段,CCT一般以不同光源的的不同色温来区分;
3.push bin
bin文件的路径一般为vendor/lib64/camera,可以先去查看bin文件的路径再进行push。
分享一个快捷编译及push bin的bat文件代码,需要将对应的ParameterParser.exe 放在tuning文件夹下层:
```bash
ParameterParser.exe com.qti.tuned.***.bin<bin file name> p <file floder name>
adb root
adb remount
echo --------------push so--------------
set dir=%~dp0
for /r %dir% %%s in (*.bin) do (
echo %%s
adb push %%s /vendor/lib64/camera
rem save %%s
)
echo ---------restarting cameraserver-------------
adb shell input keyevent 3
rem for /f "tokens=2" %%a in ('"adb shell ps -A| findstr mediaserver"') do adb shell kill %%a
rem for /f "tokens=2" %%a in ('"adb shell ps -A| findstr mm-qcamera-daemon"') do adb shell kill %%a
for /f "tokens=2" %%a in ('"adb shell ps -A| findstr android.hardware.camera.provider@2.4-service_64"') do adb shell kill  %%a
rem for /f "tokens=2" %%a in ('"adb shell ps -A| findstr camera"') do adb shell kill  %%a
timeout /t 2 /nobreak>nul
pause
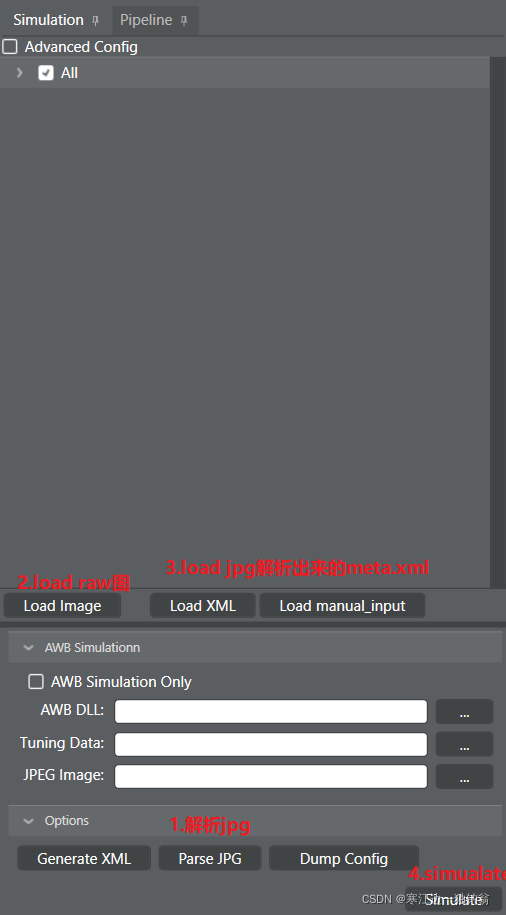
3.拓展:simualation
1)选项卡:Simulation
2)Parse JPG
3)load image:选择raw图
4)load XML:选择1)生成的meta.xml
5)Simulation
总结
提示:这里对文章进行总结:
例如:以上就是今天要讲的内容,本文仅仅简单介绍了chromatix的使用。


 1万+
1万+

 被折叠的 条评论
为什么被折叠?
被折叠的 条评论
为什么被折叠?
 到【灌水乐园】发言


