


 本文介绍了如何通过Vue CLI创建一个前端Vue项目,包括新建文件夹、使用vue create命令、手动选择项目配置,如选择Babel、TypeScript、Router、Vuex、CSS预编译器等,并详细讲解了每个配置选项的含义。
第03讲 前端Vue项目创建
1.1、vue cli 官网
https://cli.vuejs.org/zh/guide/creating-a-project.html#vue-create
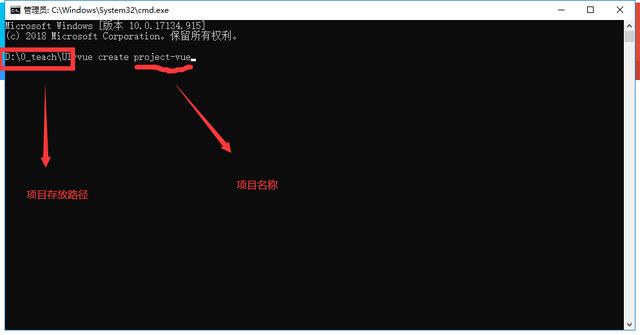
1.2、在自己电脑本地磁盘新建一个文件夹,用于保存项目 ,文件夹命名最好使用英文名称,如下,
D:0_teachUI
1.3、cd 进入文件夹,vue create 项目名称,输入 vue create project-vue 回车
1.3.1、 进入到项目保存的目录,输入 vue create project-vue 回车
1.3.2、回车进入到如下界面,键盘上、下键选择需要的创建方式,我们这里选择 manually select features,手动选择配置的方式,然后 回车

1.3.3、回车进入到如下界面,键盘上、下键移动选择需要的项,按 空格 键可以选中。我们选择如下带*的项目,然后 回车
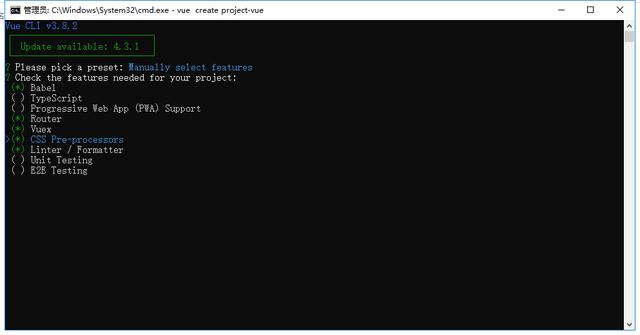
选项说明
Babel:将ES6编译成ES5
TypeScript:使用TypeScript
Router和Vuex`:路由和状态管理
Linter/ Formatter:代码检查工具
CSS Pre-processors:css预编译
1.3.4、Use history mode for router? (Requires proper server setup for index fallback in production) (Y/n) y
路由使用历史模式? 这种模式充分利用 history.pushState API 来完成 URL 跳转而无须重新加载页面
1.3.5、 Pick a CSS pre-processor (PostCSS, Autoprefixer and CSS Modules are supported by default): 使用什么css预编译器?
选择 Sass/SCSS (with node-sass)
1.3.6、 Pick a linter / formatter config: 选择语法检测规范 选择 ESLint with error prevention only
eslint w...: 只进行报错提醒;
eslint + A...: 不严谨模式;
eslint + S...`: 正常模式;
eslint + P...`: 严格模式;
1.3.7、 Pick additional lint features:代码检查方式:
选择 Lint on save 保存时检查
1.3.8、 Where do you prefer placing config for Babel, PostCSS, ESLint, etc.? (Use arrow keys)
选择配置信息存放位置,单独存放或者并入package.json
选择 In dedicated config files
1.3.9、 Save this as a preset for future projects? (y/N)
是否保存当前预设,下次构建无需再次配置
选择 n
1.3.10、 回车,等待下载依赖
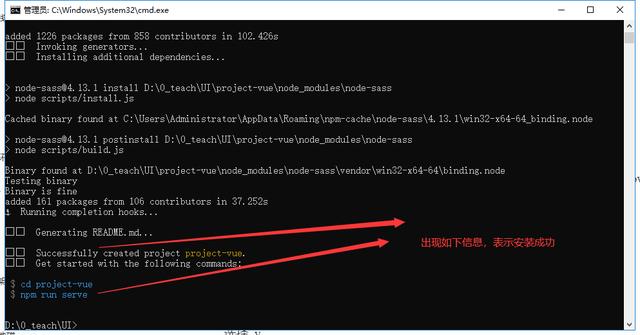
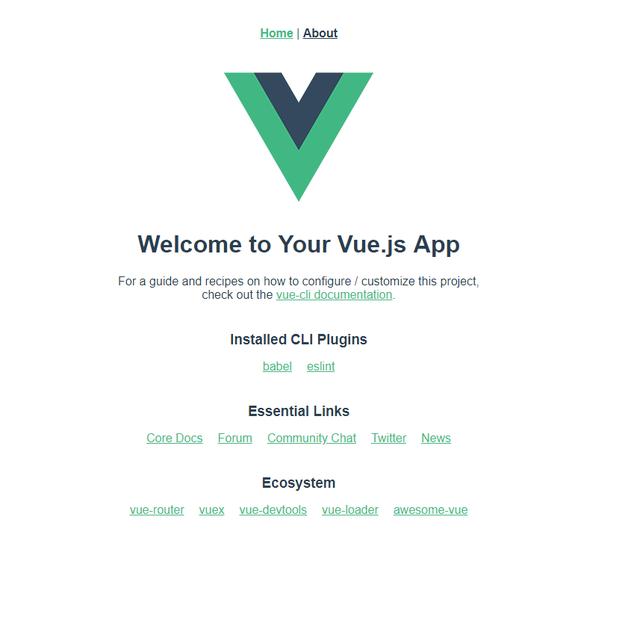
1.3.11、cd project-vue 进入到项目 ,npm run serve运行项目


浏览器 http://localhost:8080访问项目,看到如下页面表示项目创建成功


 223
223

 被折叠的 条评论
为什么被折叠?
被折叠的 条评论
为什么被折叠?
 到【灌水乐园】发言


