


一,使用通知
第一步,创建项目,书写布局
<LinearLayout xmlns:android="http://schemas.android.com/apk/res/android"
    android:orientation="vertical"
    android:layout_width="match_parent"
    android:layout_height="match_parent">
    <Button
        android:id="@+id/send_notice"
        android:layout_width="wrap_content"
        android:layout_height="wrap_content"
        android:text="发送通知"/>
</LinearLayout>
第二步:修改活动代码,写发起通知
public class MainActivity extends AppCompatActivity implements View.OnClickListener{
    @Override
    protected void onCreate(Bundle savedInstanceState) {
        super.onCreate(savedInstanceState);
        setContentView(R.layout.activity_main);
        Button sendNotice=(Button) findViewById(R.id.send_notice);
        sendNotice.setOnClickListener(this);
    }
    @Override
    public void onClick(View view) {
        switch(view.getId()){
            case R.id.send_notice:
                //接收一个字符串用于明确是哪个服务,创建一个通知管理器manager,对通知进行管理
                NotificationManager manager =(NotificationManager) getSystemService(NOTIFICATION_SERVICE);
                //高版本需要渠道,注意这里Build.VERSION_CODES.O是opq的o,不是数字0
                if(Build.VERSION.SDK_INT >= Build.VERSION_CODES.O){
                    NotificationChannel notificationChannel=new NotificationChannel("1","name",NotificationManager.IMPORTANCE_HIGH);
                    //如果这里用IMPORTANCE_HIGH就需要在系统的设置里开启渠道,通知才能正常弹出
                    if(manager!=null){
                        manager.createNotificationChannel(notificationChannel);
                    }
                }
                //使用Builder来创建构造器,并完成基本的参数配置
                Notification notification=new NotificationCompat.Builder(MainActivity.this,"1")
                        .setContentTitle("这是标题")
                        .setContentText("这是内容")
                        .setWhen(System.currentTimeMillis())
                        .setSmallIcon(R.mipmap.ic_launcher)
                        .setLargeIcon(BitmapFactory.decodeResource(getResources(),R.mipmap.ic_launcher))
                        .build();
                if(manager!=null){
                    manager.notify(1,notification);
                }
                break;
            default:
                break;
        }
    }
}
第三步,书写点击通知后的回调事件
新建NotificationActivity活动,修改对应的布局:
<RelativeLayout xmlns:android="http://schemas.android.com/apk/res/android"
    android:layout_width="match_parent"
    android:layout_height="match_parent">
    <TextView
        android:layout_width="wrap_content"
        android:layout_height="wrap_content"
        android:layout_centerInParent="true"
        android:textSize="24sp"
        android:text="文本内容"/>
</RelativeLayout>
修改活动代码:
public class MainActivity extends AppCompatActivity implements View.OnClickListener{

    @Override
    protected void onCreate(Bundle savedInstanceState) {
        super.onCreate(savedInstanceState);
        setContentView(R.layout.activity_main);
        Button sendNotice=(Button) findViewById(R.id.send_notice);
        sendNotice.setOnClickListener(this);
    }

    @Override
    public void onClick(View view) {
        switch(view.getId()){
            case R.id.send_notice:
                //回调事件,打开新的活动
                Intent intent =new Intent(this,NotificationActivity.class);
                PendingIntent pi=PendingIntent.getActivity(this,0,intent,0);
                //接收一个字符串用于明确是哪个服务,创建一个通知管理器manager,对通知进行管理
                NotificationManager manager =(NotificationManager) getSystemService(NOTIFICATION_SERVICE);
                //高版本需要渠道,注意这里Build.VERSION_CODES.O是opq的o,不是数字0
                if(Build.VERSION.SDK_INT >= Build.VERSION_CODES.O){
                    NotificationChannel notificationChannel=new NotificationChannel("1","name",NotificationManager.IMPORTANCE_HIGH);
                    //如果这里用IMPORTANCE_HIGH就需要在系统的设置里开启渠道,通知才能正常弹出
                    if(manager!=null){
                        manager.createNotificationChannel(notificationChannel);
                    }
                }
                //使用Builder来创建构造器,并完成基本的参数配置
                Notification notification=new NotificationCompat.Builder(MainActivity.this,"1")
                        .setContentTitle("这是标题")
                        .setContentText("这是内容")
                        .setWhen(System.currentTimeMillis())
                        .setSmallIcon(R.mipmap.ic_launcher)
                        .setLargeIcon(BitmapFactory.decodeResource(getResources(),R.mipmap.ic_launcher))
                        .setContentIntent(pi)
                        .build();
                if(manager!=null){
                    manager.notify(1,notification);
                }

                break;
            default:
                break;
        }
    }
}
主要是这几行代码:
//回调事件,打开新的活动
Intent intent =new Intent(this,NotificationActivity.class);
PendingIntent pi=PendingIntent.getActivity(this,0,intent,0);
//....
Notification notification=new NotificationCompat.Builder(MainActivity.this,"1")
            .setContentIntent(pi)//这里注册回调函数
            .build();
第四步:关闭通知
在我们点击通知之后,需要把该通知移除掉,这个移除有两种方法。
【1】注册时声明
Notification notification=new NotificationCompat.Builder(MainActivity.this,"1")
          .setAutoCancel(true)
          .build();
【2】执行好回调后执行
我们点击通知是打开一个新的活动页,于是可以在新的活动页中,拿到该通知管理器,然后调用通知管理器的关闭通知,找到对应要关闭的通知就行关闭即可:
public class NotificationActivity extends AppCompatActivity {
    @Override
    protected void onCreate(Bundle savedInstanceState) {
        super.onCreate(savedInstanceState);
        setContentView(R.layout.notification_layout);
        NotificationManager manager=(NotificationManager) getSystemService(NOTIFICATION_SERVICE);
        manager.cancel(1);
    }
}
二,调用摄像头和相册
第一步:新建项目,修改布局
新建CameraAlbumTest项目,修改布局:
<LinearLayout xmlns:android="http://schemas.android.com/apk/res/android"
    android:orientation="vertical"
    android:layout_width="match_parent"
    android:layout_height="match_parent">
    <Button
        android:id="@+id/take_photo"
        android:layout_width="match_parent"
        android:layout_height="wrap_content"
        android:text="照相"/>
    <ImageView
        android:id="@+id/picture"
        android:layout_width="wrap_content"
        android:layout_height="wrap_content"
        android:layout_gravity="center_horizontal"/>

</LinearLayout>
第二步:修改对应的activity
public class MainActivity extends AppCompatActivity {
    public static final int TAKE_PHOTO=1;
    private ImageView picture;
    private Uri imageUri;

    @Override
    protected void onCreate(Bundle savedInstanceState) {
        super.onCreate(savedInstanceState);
        setContentView(R.layout.activity_main);
        Button takePhoto =(Button) findViewById(R.id.take_photo);
        picture=(ImageView) findViewById(R.id.picture);
        takePhoto.setOnClickListener(new View.OnClickListener(){
            @Override
            public void onClick(View view) {
                //创建file对象用于存储拍照后的图片
                File outputImage=new File(getExternalCacheDir(),"output_image.jpg");
                try {
                    if(outputImage.exists()){
                        outputImage.delete();
                    }
                } catch (IOException e){
                    e.printStackTrace();
                }
                if(Build.VERSION.SDK_INT>=24){
                    imageUri= FileProvider.getUriForFile(MainActivity.this,"com.example.cameraalbumtest.fileprovider",outputImage);
                }else{
                    imageUri=Uri.fromFile(outputImage);
                }
                //启动相机程序
                Intent intent =new Intent("android.media.action.IMAGE_CAPTURE");
                intent.putExtra(MediaStore.EXTRA_OUTPUT,imageUri);
                startActivityForResult(intent,TAKE_PHOTO);
            }
        });
    }

    @Override
    protected void onActivityResult(int requestCode, int resultCode,Intent data) {
        super.onActivityResult(requestCode, resultCode, data);
        switch (requestCode) {
            case TAKE_PHOTO:
                if (resultCode == RESULT_OK) {
                    try {
                        //将拍摄的照片显示出来
                        Bitmap bitmap = BitmapFactory.decodeStream(getContentResolver().openInputStream(imageUri));
                        picture.setImageBitmap(bitmap);
                    } catch (FileNotFoundException e) {
                        e.printStackTrace();

                    }
                }
                break;
            default:
                break;
        }
    }
}
第三步:在menifest文件中对内容提供器进行注册
 <provider
       android:authorities="com.example.cameraalbumtest.fileprovider"
       android:name="androidx.core.content.FileProvider"
       android:exported="false"
       android:grantUriPermissions="true">
       <meta-data android:name="android.support.FILE_PROVIDER_PATHS" android:resource="@xml/file_paths"/>
   </provider>
其中meta-data来指定uri的共享路径,下面我们来创建它:
右击 res目录一New-Directory,创建一个xml目录,接着右击xml目录-New-File,创建一个file paths.xml文件。然后修改file paths.xml文件中的内容,如下所示:
<?xml version="1.0" encoding="utf-8"?>
<paths xmlns:android="http://schemas.android.com/apk/res/android">
    <external-path
        name="my_images"
        path=""/>
</paths>
其中,external-path 就是用来指定 Uri 共享的name 属性的值可以随便填,path 属性的值表示共享的具体路径。这里设置空值就表示将整个 SD卡进行共享,当然你可以仅共享我们存放output imagejpg这张图片的路径
另外还有一点要注意,在Android 4.4系统之前,访问SD卡的应用关联目录也是要声明权限的,从 4.4 系统开始不再需要权限声明。那么我们为了能够兼容老版本系统的手机,还需要在AndroidManifest.xml中声明一下访问SD卡的权限:
<uses-permission android:name="android.permission.WRITE_EXTERNAL_STORAGE"/>
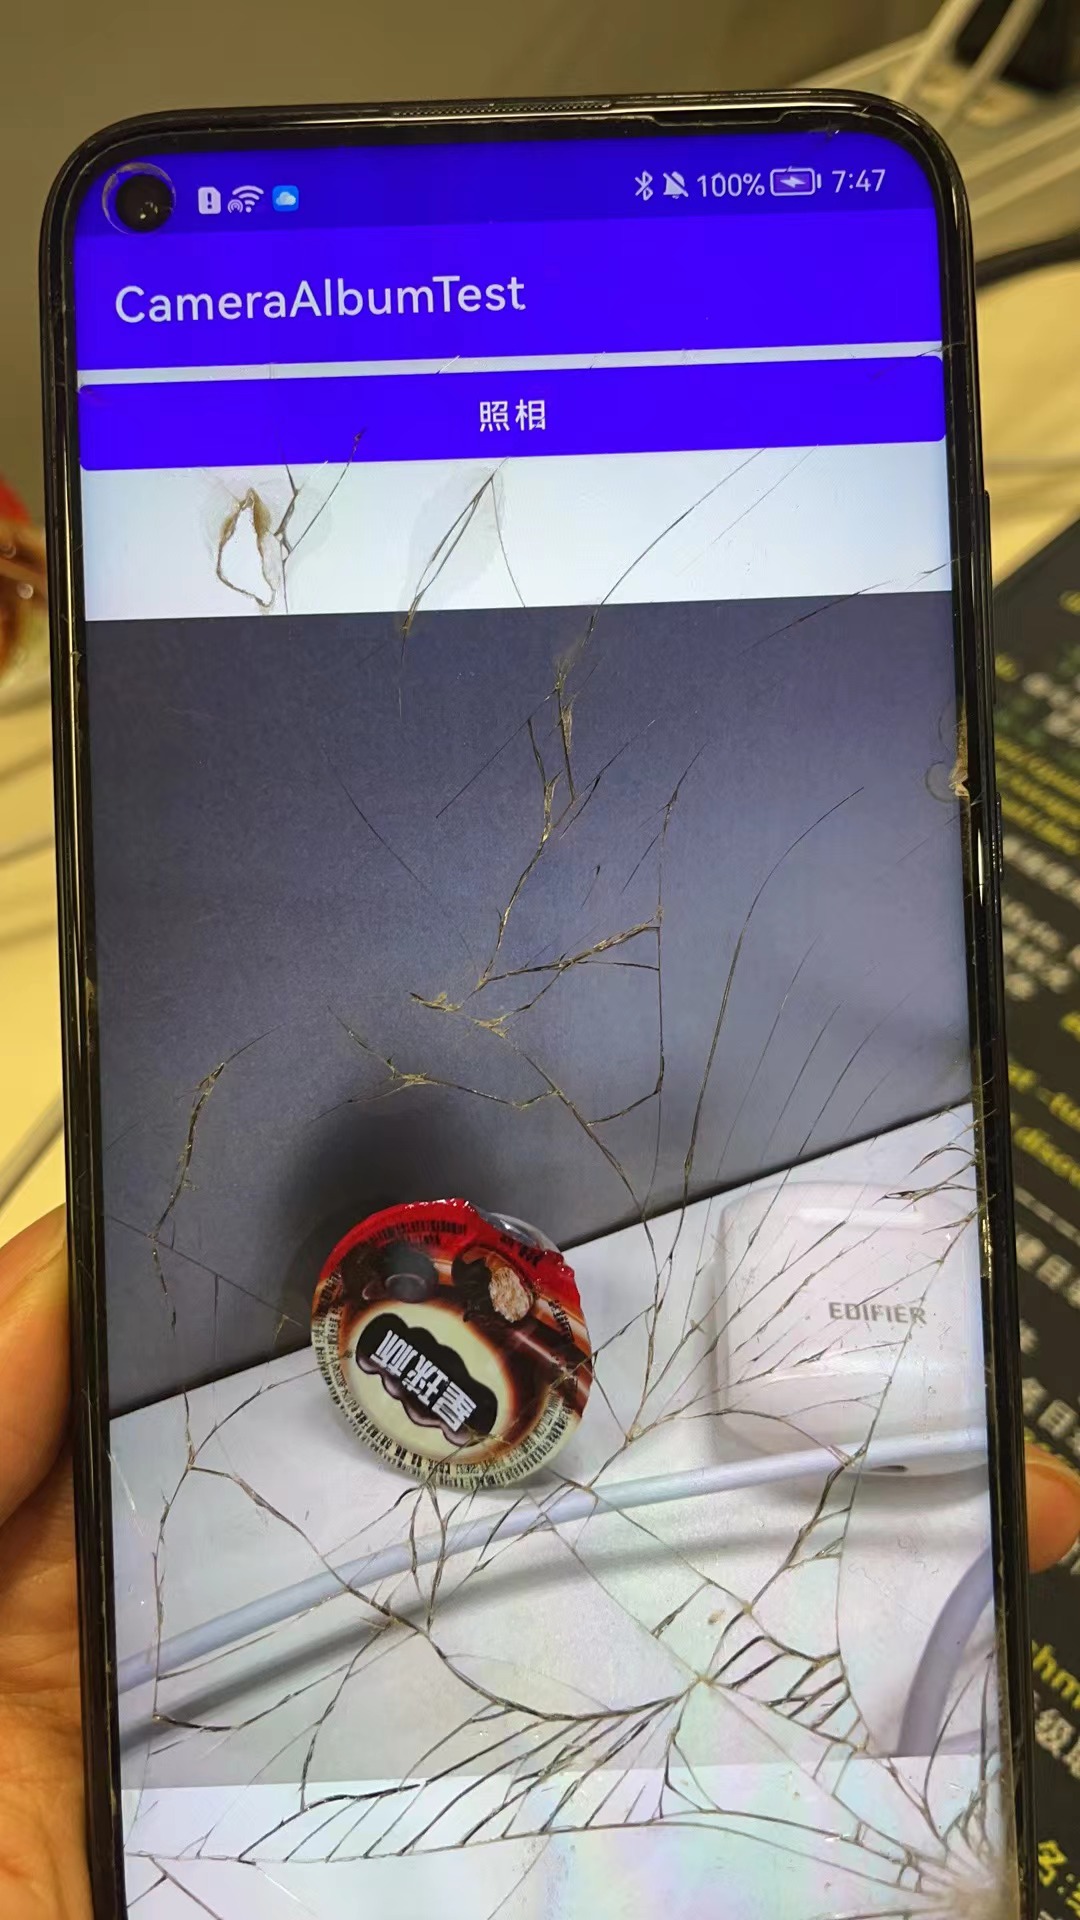
实现的效果:
第四步:从相册中选择照片
修改布局,增加一个点击打开相册的按钮:
<LinearLayout xmlns:android="http://schemas.android.com/apk/res/android"
    android:orientation="vertical"
    android:layout_width="match_parent"
    android:layout_height="match_parent">
    <Button
        android:id="@+id/take_photo"
        android:layout_width="match_parent"
        android:layout_height="wrap_content"
        android:text="照相"/>
    <Button
        android:id="@+id/choose_from_album"
        android:layout_width="match_parent"
        android:layout_height="wrap_content"
        android:text="choose photos"></Button>
    <ImageView
        android:id="@+id/picture"
        android:layout_width="wrap_content"
        android:layout_height="wrap_content"
        android:layout_gravity="center_horizontal"/>

</LinearLayout>
1.建立点击事件及布局,进行运行时权限处理,WRITE_EXTERNAL_STORAGE为程序对SD卡的读写能力。大于6.0动态申请权限后调用openAlbum()方法,小于6.0直接调用openAlbum()方法
Button chooseFromAlbum =(Button) findViewById(R.id.choose_from_album);
chooseFromAlbum.setOnClickListener(new View.OnClickListener(){
    @Override
    public void onClick(View view) {
        if (ContextCompat.checkSelfPermission(MainActivity.this, Manifest.permission.WRITE_EXTERNAL_STORAGE) != PackageManager.PERMISSION_GRANTED) {
            ActivityCompat.requestPermissions(MainActivity.this, new String[]{Manifest.permission.WRITE_EXTERNAL_STORAGE}, 1);
        } else {
            openAlbum();
        }
    }
});
2.openAlbum中构建Intent对象,指定action为android.intent.action.GET_CONTENT,为Intent设定必要参数,调用startActivityForResult来打开相册程序选择照片,其中第二个参数为CHOOSE_PHOTO的2
 private void openAlbum() {
        Intent intent01 = new Intent("android.intent.action.GET_CONTENT");
        intent01.setType("image/*");
        startActivityForResult(intent01, CHOOSE_PHOTO);
}
3.这样在onActivityResult中进入CHOOSE_PHOTO进行处理,为了兼容新旧版本,4.4以上调handleImageOnKitKat方法; 4.4以下调handleImageBeforeKitKat方法。因为4.4以后选择相册中的照片不在返回真实的Uri,因此需要解析。
 case CHOOSE_PHOTO:
  if (resultCode == RESULT_OK) {
      if (Build.VERSION.SDK_INT >= 19) {
          handleImageOnKitKat(data);
      } else {
          handleImageBeforeKitKat(data);
      }
  }
4.1.handleImageOnKitKat解析了封装的Uri,(1)如果是document类型的Uri,则通过document id处理。若URi的authority是media格式,还需要进一步的解析,通过字符串分割获得真实ID,用ID构建新Uri和判断语句,将其传至getImagePath方法中。可以获取真实路径了(2)如果是content类型的uri,则使用普通方法去处理(3)如果是File类型的uri,直接获取图片路径即可,最后调用displayImage根据图片路径显示图片。
4.2.handleImageBeforeKitKat方法中Uri未经封装,无需解析,直接getIamgePath获取真实路径,再调用displayImage方法显示于界面。
@TargetApi(19)
    private void handleImageOnKitKat (Intent data){
        String imagePath = null;
        Uri uri = data.getData();
        if (DocumentsContract.isDocumentUri(this, uri)) {
            //如果是document类型的Uri,则通过document id处理
            String docId = DocumentsContract.getDocumentId(uri);
            if ("com.android.providers.media.documents".equals(uri.getAuthority())) {
                String id = docId.split(":")[1];//解析出数字格式的id
                String selection = MediaStore.Images.Media._ID + "=" + id;
                imagePath = getImagePath(MediaStore.Images.Media.EXTERNAL_CONTENT_URI, selection);
            } else ("com.android.providers.downloads.documents".equals(uri.getAuthority())) {
                Uri contentUri = ContentUris.withAppendedId(Uri.parse("content://downloads/public downloads"), Long.valueOf(docId));
                imagePath = getImagePath(contentUri, null);
            }
        }else if ("content".equalsIgnoreCase(uri.getScheme())) {
           imagePath = getImagePath(uri,null);
        }else if("file".equalsIgnoreCase(uri.getScheme())) {
            imagePath=uri.getPath();
        }
        displayImage(imagePath);//根据图片路径显示图片

    }


    private void handleImageBeforeKitKat(Intent data) {
        Uri uri = data.getData();
        String imagePath = getImagePath(uri,null);
        displayImage(imagePath);
    }
对应的displayImage方法:
    @SuppressLint("Range")
    private String getImagePath(Uri uri, String selection) {
        String path = null;
        //通过Uri和Selection来获取真是的路径图片
        Cursor cursor = getContentResolver().query(uri,null,selection,null,null);
        if (cursor != null) {
            if (cursor.moveToFirst()) {
                path = cursor.getString(cursor.getColumnIndex(MediaStore.Images.Media.DATA));
            }
            cursor.close();
        }
        return path;
    }
    private void displayImage(String imagePath) {
        if (imagePath != null) {
            if (Build.VERSION.SDK_INT >= 29) {
                picture.setImageURI(getImageContentUri(MainActivity.this, imagePath));
            } else {
                Bitmap bitmap = BitmapFactory.decodeFile(imagePath);
                picture.setImageBitmap(bitmap);
            }
        } else {
            Toast.makeText(this, "failed to get image", Toast.LENGTH_SHORT).show();
        }
    }
    /**
     * 将图片转换成Uri
     * @param context   传入上下文参数
     * @param path      图片的路径
     * @return      返回的就是一个Uri对象
     */
    public static Uri getImageContentUri(Context context, String path) {
        Cursor cursor = context.getContentResolver().query(MediaStore.Images.Media.EXTERNAL_CONTENT_URI,
                new String[] { MediaStore.Images.Media._ID }, MediaStore.Images.Media.DATA + "=? ",
                new String[] { path }, null);
        if (cursor != null && cursor.moveToFirst()) {
            int id = cursor.getInt(cursor.getColumnIndex(MediaStore.MediaColumns._ID));
            Uri baseUri = Uri.parse("content://media/external/images/media");
            return Uri.withAppendedPath(baseUri, "" + id);
        } else {
            // 如果图片不在手机的共享图片数据库,就先把它插入。
            if (new File(path).exists()) {
                ContentValues values = new ContentValues();
                values.put(MediaStore.Images.Media.DATA, path);
                return context.getContentResolver().insert(MediaStore.Images.Media.EXTERNAL_CONTENT_URI, values);
            } else {
                return null;
            }
        }
    }
总体的所有代码:
public class MainActivity extends AppCompatActivity {
    public static final int TAKE_PHOTO=1;
    private ImageView picture;
    private Uri imageUri;
    public static final int CHOOSE_PHOTO = 2;
    @Override
    protected void onCreate(Bundle savedInstanceState) {
        super.onCreate(savedInstanceState);
        setContentView(R.layout.activity_main);
        Button takePhoto =(Button) findViewById(R.id.take_photo);
        picture=(ImageView) findViewById(R.id.picture);
        Button chooseFromAlbum =(Button) findViewById(R.id.choose_from_album);
        chooseFromAlbum.setOnClickListener(new View.OnClickListener(){
            @Override
            public void onClick(View view) {
                if (ContextCompat.checkSelfPermission(MainActivity.this, Manifest.permission.WRITE_EXTERNAL_STORAGE) != PackageManager.PERMISSION_GRANTED) {
                    ActivityCompat.requestPermissions(MainActivity.this, new String[]{Manifest.permission.WRITE_EXTERNAL_STORAGE}, 1);
                } else {
                    openAlbum();
                }
            }
        });
        takePhoto.setOnClickListener(new View.OnClickListener(){
            @Override
            public void onClick(View view) {
                //创建file对象用于存储拍照后的图片
                File outputImage=new File(getExternalCacheDir(),"output_image.jpg");
                try {
                    if(outputImage.exists()){
                        outputImage.delete();
                    }
                    outputImage.createNewFile();
                }catch(IOException e){
                    e.printStackTrace();
                }
                if(Build.VERSION.SDK_INT>=24){
                    imageUri= FileProvider.getUriForFile(MainActivity.this,"com.example.cameraalbumtest.fileprovider",outputImage);
                }else{
                    imageUri= Uri.fromFile(outputImage);
                }
                //启动相机程序
                Intent intent =new Intent("android.media.action.IMAGE_CAPTURE");
                intent.putExtra(MediaStore.EXTRA_OUTPUT,imageUri);
                startActivityForResult(intent,TAKE_PHOTO);
            }
        });
    }
    private void openAlbum() {
        Intent intent01 = new Intent("android.intent.action.GET_CONTENT");
        intent01.setType("image/*");
        startActivityForResult(intent01, CHOOSE_PHOTO);
    }
    @Override
    protected void onActivityResult(int requestCode, int resultCode,Intent data) {
        super.onActivityResult(requestCode, resultCode, data);
        switch (requestCode) {
            case TAKE_PHOTO:
                if (resultCode == RESULT_OK) {
                    try {
                        //将拍摄的照片显示出来
                        Bitmap bitmap = BitmapFactory.decodeStream(getContentResolver().openInputStream(imageUri));
                        picture.setImageBitmap(bitmap);
                    } catch (FileNotFoundException e) {
                        e.printStackTrace();
                    }
                }
                break;
            case CHOOSE_PHOTO:
                if (resultCode == RESULT_OK) {
                    if (Build.VERSION.SDK_INT >= 19) {

                        handleImageOnKitKat(data);
                    } else {
                        Toast.makeText(this, "2", Toast.LENGTH_SHORT).show();
                        handleImageBeforeKitKat(data);
                    }
                }
                break;
            default:
                break;
        }
    }
    @TargetApi(19)
    private void handleImageOnKitKat (Intent data){
        String imagePath = null;
        Uri uri = data.getData();
        if (DocumentsContract.isDocumentUri(this, uri)) {
            //如果是document类型的Uri,则通过document id处理
            String docId = DocumentsContract.getDocumentId(uri);
            if ("com.android.providers.media.documents".equals(uri.getAuthority())) {
                String id = docId.split(":")[1];//解析出数字格式的id
                String selection = MediaStore.Images.Media._ID + "=" + id;
                imagePath = getImagePath(MediaStore.Images.Media.EXTERNAL_CONTENT_URI, selection);
            } else if("com.android.providers.downloads.documents".equals(uri.getAuthority())){
                Uri contentUri = ContentUris.withAppendedId(Uri.parse("content://downloads/public downloads"), Long.valueOf(docId));
                imagePath = getImagePath(contentUri, null);
            }
        }else if ("content".equalsIgnoreCase(uri.getScheme())) {
           imagePath = getImagePath(uri,null);
        }else if("file".equalsIgnoreCase(uri.getScheme())) {
            imagePath=uri.getPath();
        }
        displayImage(imagePath);//根据图片路径显示图片

    }

    private void handleImageBeforeKitKat(Intent data) {
        Uri uri = data.getData();
        String imagePath = getImagePath(uri,null);
        displayImage(imagePath);
    }

    @SuppressLint("Range")
    private String getImagePath(Uri uri, String selection) {
        String path = null;
        //通过Uri和Selection来获取真是的路径图片
        Cursor cursor = getContentResolver().query(uri,null,selection,null,null);
        if (cursor != null) {
            if (cursor.moveToFirst()) {
                path = cursor.getString(cursor.getColumnIndex(MediaStore.Images.Media.DATA));
            }
            cursor.close();
        }
        return path;
    }
    private void displayImage(String imagePath) {
        if (imagePath != null) {
            if (Build.VERSION.SDK_INT >= 29) {
                picture.setImageURI(getImageContentUri(MainActivity.this, imagePath));
            } else {
                Bitmap bitmap = BitmapFactory.decodeFile(imagePath);
                picture.setImageBitmap(bitmap);
            }
        } else {
            Toast.makeText(this, "failed to get image", Toast.LENGTH_SHORT).show();
        }
    }
    /**
     * 将图片转换成Uri
     * @param context   传入上下文参数
     * @param path      图片的路径
     * @return      返回的就是一个Uri对象
     */
    public static Uri getImageContentUri(Context context, String path) {
        Cursor cursor = context.getContentResolver().query(MediaStore.Images.Media.EXTERNAL_CONTENT_URI,
                new String[] { MediaStore.Images.Media._ID }, MediaStore.Images.Media.DATA + "=? ",
                new String[] { path }, null);
        if (cursor != null && cursor.moveToFirst()) {
            int id = cursor.getInt(cursor.getColumnIndex(MediaStore.MediaColumns._ID));
            Uri baseUri = Uri.parse("content://media/external/images/media");
            return Uri.withAppendedPath(baseUri, "" + id);
        } else {
            // 如果图片不在手机的共享图片数据库,就先把它插入。
            if (new File(path).exists()) {
                ContentValues values = new ContentValues();
                values.put(MediaStore.Images.Media.DATA, path);
                return context.getContentResolver().insert(MediaStore.Images.Media.EXTERNAL_CONTENT_URI, values);
            } else {
                return null;
            }
        }
    }
}


 被折叠的 条评论
为什么被折叠?
被折叠的 条评论
为什么被折叠?
 到【灌水乐园】发言


