


 本文介绍了如何在IntelliJ IDEA中配置远程Tomcat服务器,包括服务器上的环境准备,如安装JAVA和Tomcat,修改catalina.sh脚本,开启相应端口,以及在IDEA中进行Remote Tomcat的详细配置,包括Deploy设置,确保项目能够顺利运行。
- 服务器上环境准备:JAVA环境+Tomcat
- 修改tomcat bin目录下的catalina.sh
# vim catalina.sh
# 添加如下内容
# 由于IDEA的JMX默认1099端口,所以我懒得改端口号了

CATALINA_OPTS="-Dcom.sun.management.jmxremote
-Dcom.sun.management.jmxremote.port=1099
-Dcom.sun.management.jmxremote.rmi.port=1099  # 很重要,不加会导致Connection Error错误
-Dcom.sun.management.jmxremote.ssl=false
-Dcom.sun.management.jmxremote.authenticate=false
-Djava.rmi.server.hostname=xx.xx.xx.xx"  # 服务器地址
export CATALINA_OPTS
3. 修改完后记得重启tomcat并在防火墙开放对应端口
firewall-cmd --list-ports # 查看已开放的端口
firewall-cmd --zone=public --add-port=1099/tcp --permanent  # 开放1099端口
firewall-cmd --reload # 重启防火墙

# 如果你用的是阿里云,记得在阿里云的安全管理组中开放对应的端口,血泪教训!
4. 以上配置完成后进入IDEA的配置
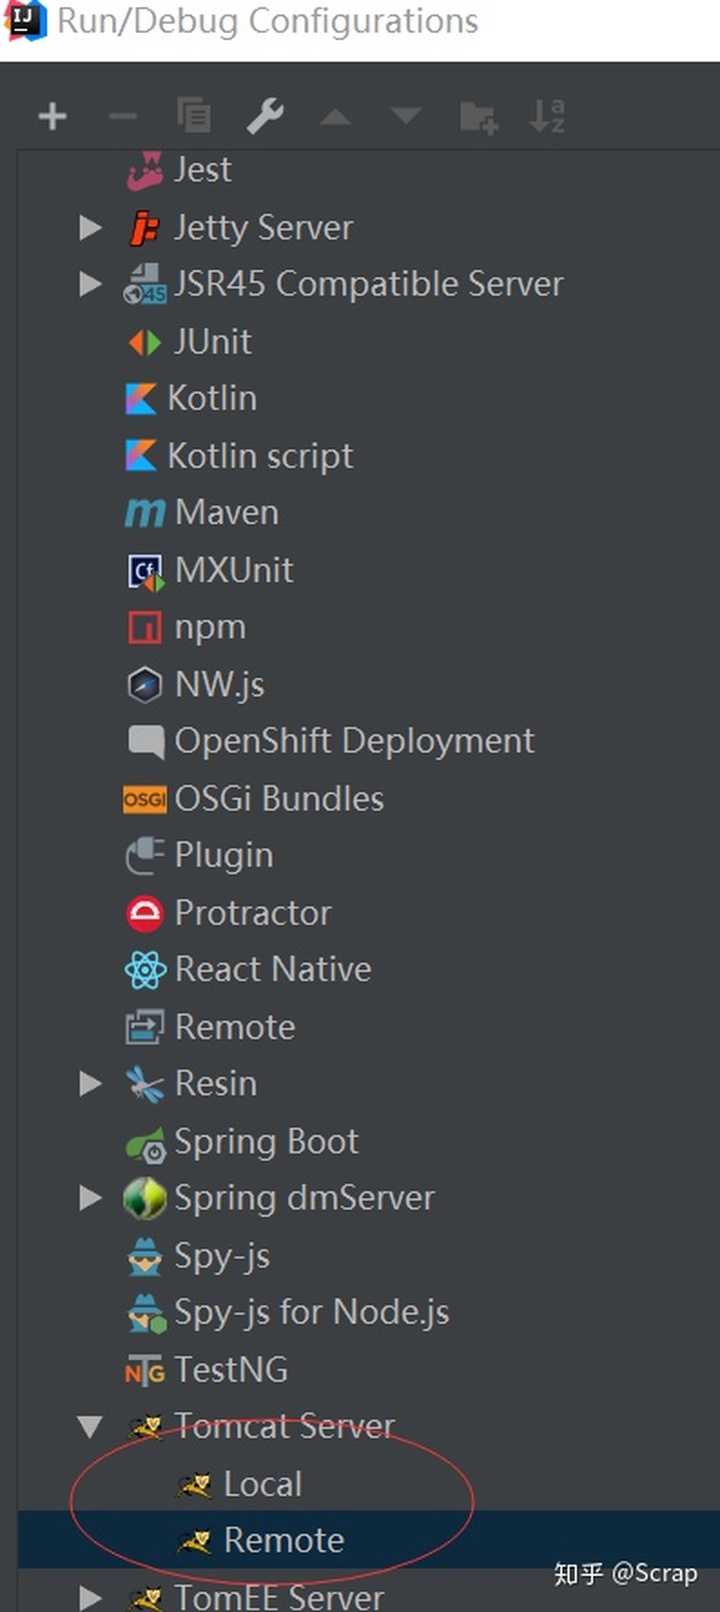
- 配置Remote Tomcat
- Remote Tomcat设置
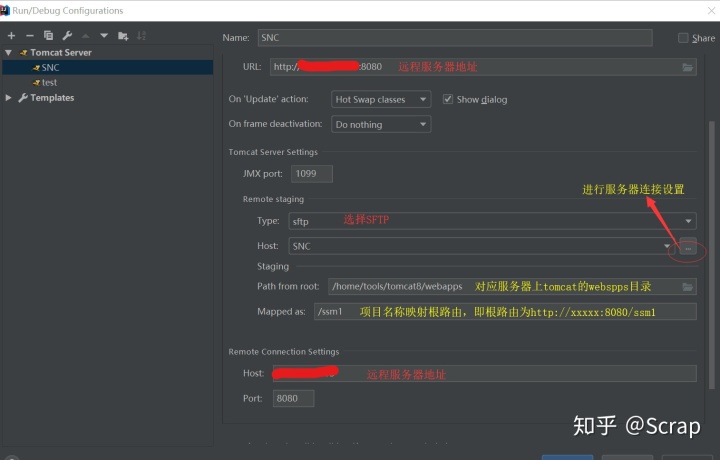
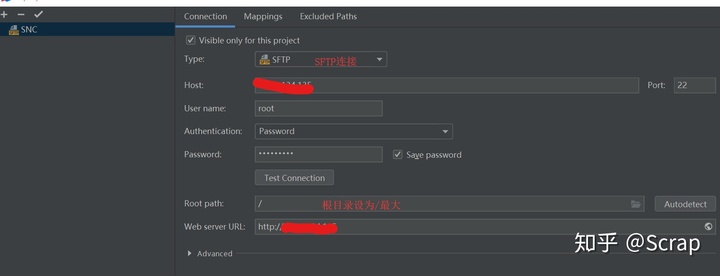
- 点Remote staging中Host那一行的 ... 配置Host
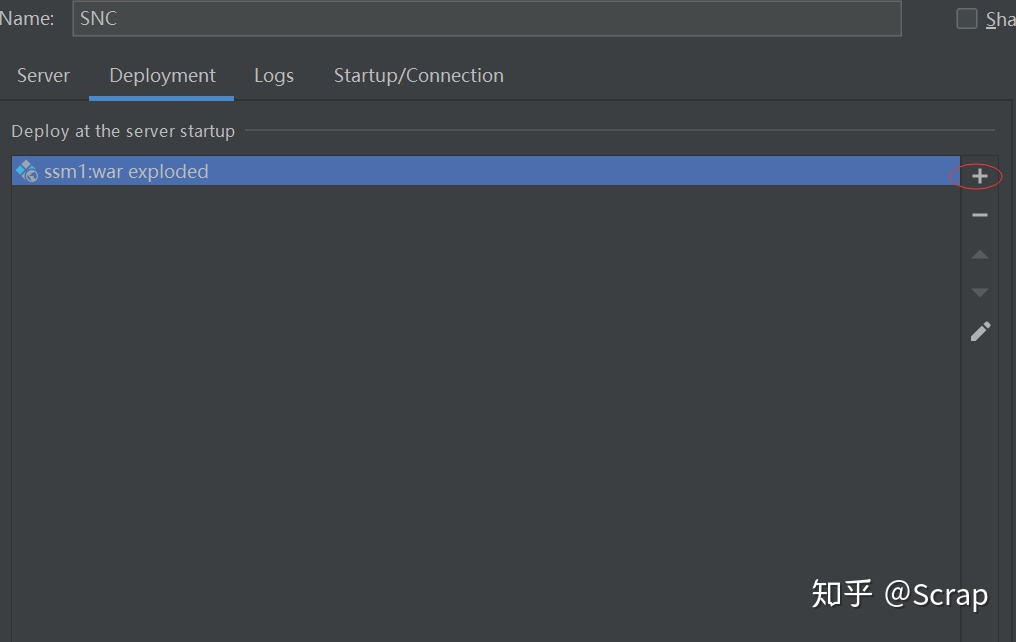
- Server配置完成后配置Deploy
- Deploy的配置和Spring项目的配置一样
- 配置完成后在IDEA上运行项目
[2019-08-06 09:36:55,863] Artifact ssm1:war exploded: Waiting for server connection to start artifact deployment...
[2019-08-06 09:36:56,109] Artifact ssm1:war exploded: Artifact is being deployed, please wait...
Connected to server
# 控制台打印如下证明连接成功
# 如果弹出Connection Error 或者 Timeout Error大概率是服务器上的配置问题- 参考链接


 487
487

 被折叠的 条评论
为什么被折叠?
被折叠的 条评论
为什么被折叠?
 到【灌水乐园】发言


