


 本文介绍了如何使用Python的PIL库给图片批量添加文字和图形式水印。通过Image和ImageDraw模块,利用draw.text()和image.paste()方法,可以方便地实现图片的水印处理。同时,文章提供了批量处理的代码示例和相关资源链接。
之前写菲律宾游记,想给自己的照片批量打上水印,首先想到的就是用Python实现给图片加文字,然后写个循环。
做过图像识别的,应该知道OpenCV,其中cv2.putText()函数,就可以实现在图片上加文字,非常简单。
putText(img, text, org, fontFace, fontScale, color, thickness, lineType, bottomLeftOrigin)参数解释:
img:需要添加文字的图片。
text:要加的文字内容。
org:文字的位置坐标。
fontFace:字体类型(可选择字体有限,可设置斜体)。
fontScale:字体大小。
color:字体颜色。
thickness:字体粗细。
lineType:线型。
bottomLeftOrigin:默认值为false,图片数据原点在左上角。
但putText()有个问题,不能添加中文文字,也不能指定字体,而PIL(Python Image Library)可以解决这个问题。
Image模块
Image是PIL中的核心模块,实现对图片的基础操作。
Image中的函数:
- Image. open(path):打开现成的图片,该图片在path所示的路径中。
- Image. new(mode, size, color):创建新的图片文件,color默认为黑色。
Image对象的属性:
- image.format:查看图像的格式,常见的有JPG、PNG等。
- image.mode:查看图像的模式。常用的例如RGB,3x8位像素,为真彩色;RGBA,4x8位像素,有透明通道的真彩色。
- image.size:获取图片的尺寸(长×宽),该二元组也表示图片的像素。
import osimport sysfrom PIL import Image, ImageFont, ImageDraw# 读入要打水印的照片image = Image.open('./input/IMG_1422.jpg')im_size = image.sizeprint(image.format)print(image.mode)print(im_size)image.show()----------------------[out] JPEG[out] RGB[out] (1536, 2048)原始照片:

ImageDraw模块
ImageDraw模块,提供对图像进行绘制的方法。
- ImageDraw.Draw(image):创建画刷。
- ImageFont.truetype(file, size) :设置字体和大小,file提供字体的路径,size为文字大小。在C盘(系统盘)-Windows-Fonts里面,有计算机上安装的所有字体,选一个喜欢的。
- draw.text(xy, text, fill, font):根据位置、内容、颜色、字体把文字写进图片中。 xy:位置,即距离图片左上角起始点的坐标。 这里普及一下图片坐标系统的概念。 图片坐标常用二元组(x,y),(0,0)位于左上角。 四元组表示图片左、上、右、下的坐标,例如800x600像素的长方形图片表示为(0,0,800,600)。 text:字符串,即文字内容。 fill:文字颜色。 font:字体和大小,通过上述ImageFont来定义。
用draw.text()加水印文字,特别简单!
########### 加文字 ###########draw_txt = ImageDraw.Draw(image)txt_size = int(im_size[0]*0.02)# 设置字体和文字大小chi_font = ImageFont.truetype('./font/fzstk.ttf', size=txt_size)# 直接在照片上写文字draw_txt.text(xy = (im_size[0]//2-txt_size//2,im_size[1]-int(txt_size*1.2)), text = '@化简可得', font = chi_font)image.show()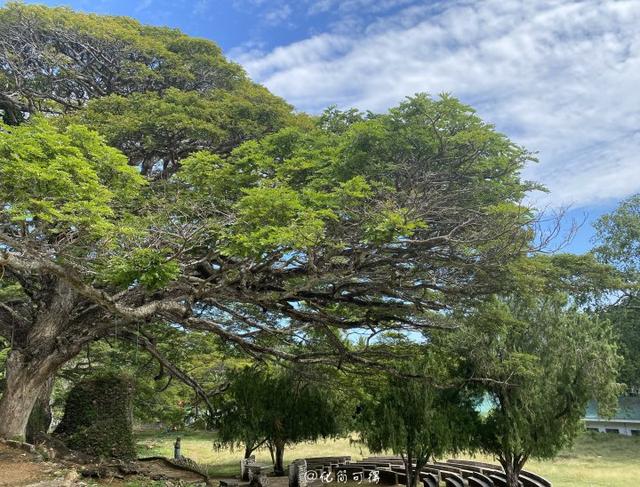
Image中的方法
- image.show():展示图像,Win系统下show会打开系统自带的图像显示程序。
- image.transpose(method):图像翻转或者旋转,例如ROTATE_90表示将图像逆时针旋转90°。
- image. thumbnail (size):制作缩略图,参数size指定最大的宽度和高度。
- image.paste(region, box, mask):将一张图粘贴到另一张图上。 image:底图; region:要粘贴上底图的图,即水印图片; box:要粘贴的位置,2元组表示左上角坐标; mask:对应的模板图像来填充所对应的区域,模板图像的尺寸必须与region对应的图像尺寸一样,原图像和模板图像可以为同一个图。
- image. save(path, quality):针对JPG格式,quality参数表示保存图像的质量,值的范围从1(最差)到95(最佳)。 默认值为75,此时图片会被压缩。
用image.paste()加水印图,也特别简单!
########### 加图片 ############ 读入水印图# 还没设计过自己的水印logo,所以随便在网上找了一个小太阳做示范mark_image = Image.open('./sun.png')# 这个小太阳有点大,压缩一下mark_image.thumbnail((150, 150)) # 将小太阳加在照片左上角的位置position = mark_size//3, mark_size//3 image.paste(mark_image, position, mark_image)image.show()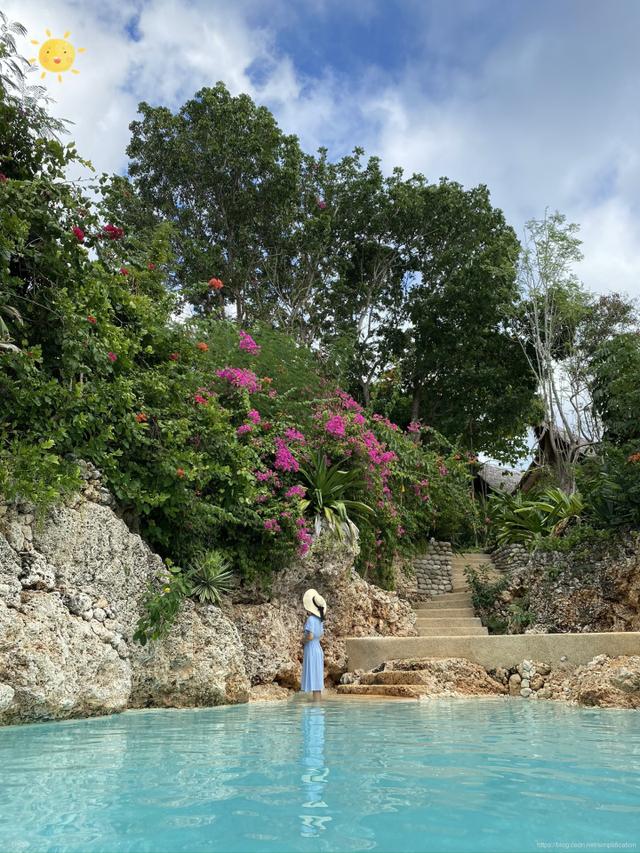
小结
新建watermark文件夹,该文件夹下放入Python文件,并新建3个子文件夹:
1. font文件夹存放字体;
2. input存放原始图片;
3. output文件夹为空,程序跑完后打好水印的图片会输出到该文件夹。
跑批代码,下面自取~
########## 批量加水印文字 #########import osimport sysfrom PIL import Image, ImageFont, ImageDrawdef add_watermark(image_file): image = Image.open(image_file) draw_txt = ImageDraw.Draw(image) im_size = image.size print('原始图片尺寸:',im_size) if im_size[0]>im_size[1]: #如果是横版 txt_size = int(im_size[0]*0.02) else: txt_size = int(im_size[1]*0.02) print('水印文字尺寸:',txt_size) # 设置字体和文字大小 chi_font = ImageFont.truetype('./font/fzstk.ttf', size=txt_size) # 直接在照片上写文字 draw_txt.text(xy = (im_size[0]//2-txt_size//2, im_size[1]-int(txt_size*1.2)), text = '@化简可得', font = chi_font) name = os.path.basename(image_file) new_name = os.path.join('.output', name) image.save(new_name, quality=95)### 循环读入照片files = os.listdir('.input')for file in files: image_file = os.path.join('.input', file) print(image_file) add_watermark(image_file)########## 批量加水印照片 #########import osimport sysfrom PIL import Image, ImageFont, ImageDraw# 读入水印图mark_image = Image.open('./sun.png')def add_watermark(image_file): image = Image.open(image_file) im_size = image.size print('原始图片尺寸:',im_size) if im_size[0]>im_size[1]: #如果是横版 mark_size = int(im_size[0]*0.08) else: mark_size = int(im_size[1]*0.08) mark_image.thumbnail((mark_size, mark_size)) print('水印图片尺寸:',mark_image.size) position = mark_size//3, mark_size//3 image.paste(mark_image, position, mark_image) name = os.path.basename(image_file) new_name = os.path.join('.output', name) image.save(new_name, quality=95)# 循环读入照片files = os.listdir('.input')for file in files: image_file = os.path.join('.input', file) print(image_file) add_watermark(image_file)当然,网上有很多现成的软件,也能实现批量打水印。但我还是喜欢用Python,以后想要什么样的效果,改改参数就好了~
参考链接
- Win10 + Opencv3 for Python 的安装过程 https://www.jianshu.com/p/c3af3cadf372
- Py之cv2:cv2库的简介、安装、使用方法(常见函数、方法等)最强详细攻略 https://blog.csdn.net/qq_41185868/article/details/79675875#%E5%85%B3%E4%BA%8EOpenCV%E7%AE%80%E4%BB%8B
- python PIL 图像处理库简介(一) https://www.cnblogs.com/lyrichu/p/9124504.html
- python PIL的Image.resize()和Image.thumbnail()函数的区别 https://blog.csdn.net/TeFuirnever/article/details/90597048


 2万+
2万+

 被折叠的 条评论
为什么被折叠?
被折叠的 条评论
为什么被折叠?
 到【灌水乐园】发言


