


以下操作都需要root权限
安装
$ apt update
$ apt install mysql-server
修改配置
vi /etc/mysql/mysql.conf.d/mysqld.cnf修改后状态,关注
# bind-address = 127.0.0.1
# mysqlx-bind-address = 127.0.0.1
[mysqld]
#
# * Basic Settings
#
user            = mysql
pid-file        = /var/run/mysqld/mysqld.pid
socket  = /var/run/mysqld/mysqld.sock
port            = 3306
datadir = /var/lib/mysql


# If MySQL is running as a replication slave, this should be
# changed. Ref https://dev.mysql.com/doc/refman/8.0/en/server-system-variables.html#sysvar_tmpdir
tmpdir          = /tmp
#
# Instead of skip-networking the default is now to listen only on
# localhost which is more compatible and is not less secure.
# bind-address           = 127.0.0.1
# mysqlx-bind-address    = 127.0.0.1
#
# * Fine Tuning
#
key_buffer_size         = 16M
max_allowed_packet      = 64M
thread_stack            = 256K

thread_cache_size       = -1

# This replaces the startup script and checks MyISAM tables if needed
# the first time they are touched
myisam-recover-options  = BACKUP

# max_connections        = 151

# table_open_cache       = 4000
登录、赋权、添加可以远程访问的用户
# 登录,wsl2安装的mysql默认没有密码
mysql -u root

# root用户没有SYSTEM_USER权限,需要先赋权
grant system_user on *.* to 'root';

# mysql 8.0 以后需要用如下命令开启远程服务,其中添加了 用户名/密码:test/123456 的用户
CREATE USER 'test'@'%' IDENTIFIED BY '123456';
GRANT ALL ON *.* TO 'test'@'%';
ALTER USER 'test'@'%' IDENTIFIED WITH mysql_native_password BY '123456';
FLUSH PRIVILEGES;
重启
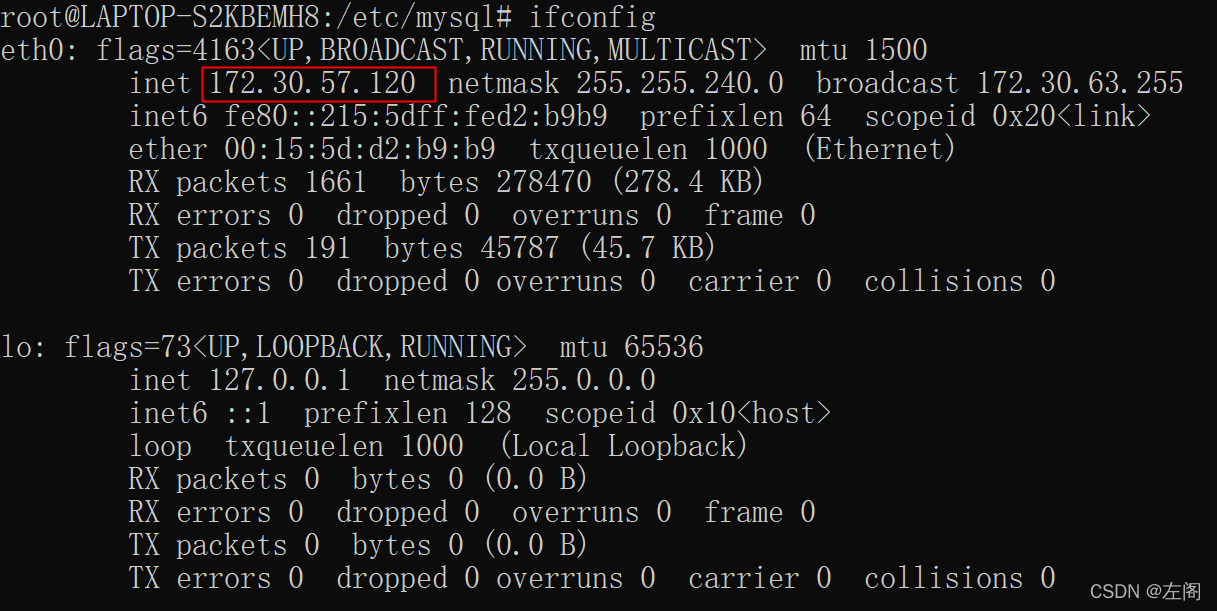
service mysql restart查看wsl2的ip
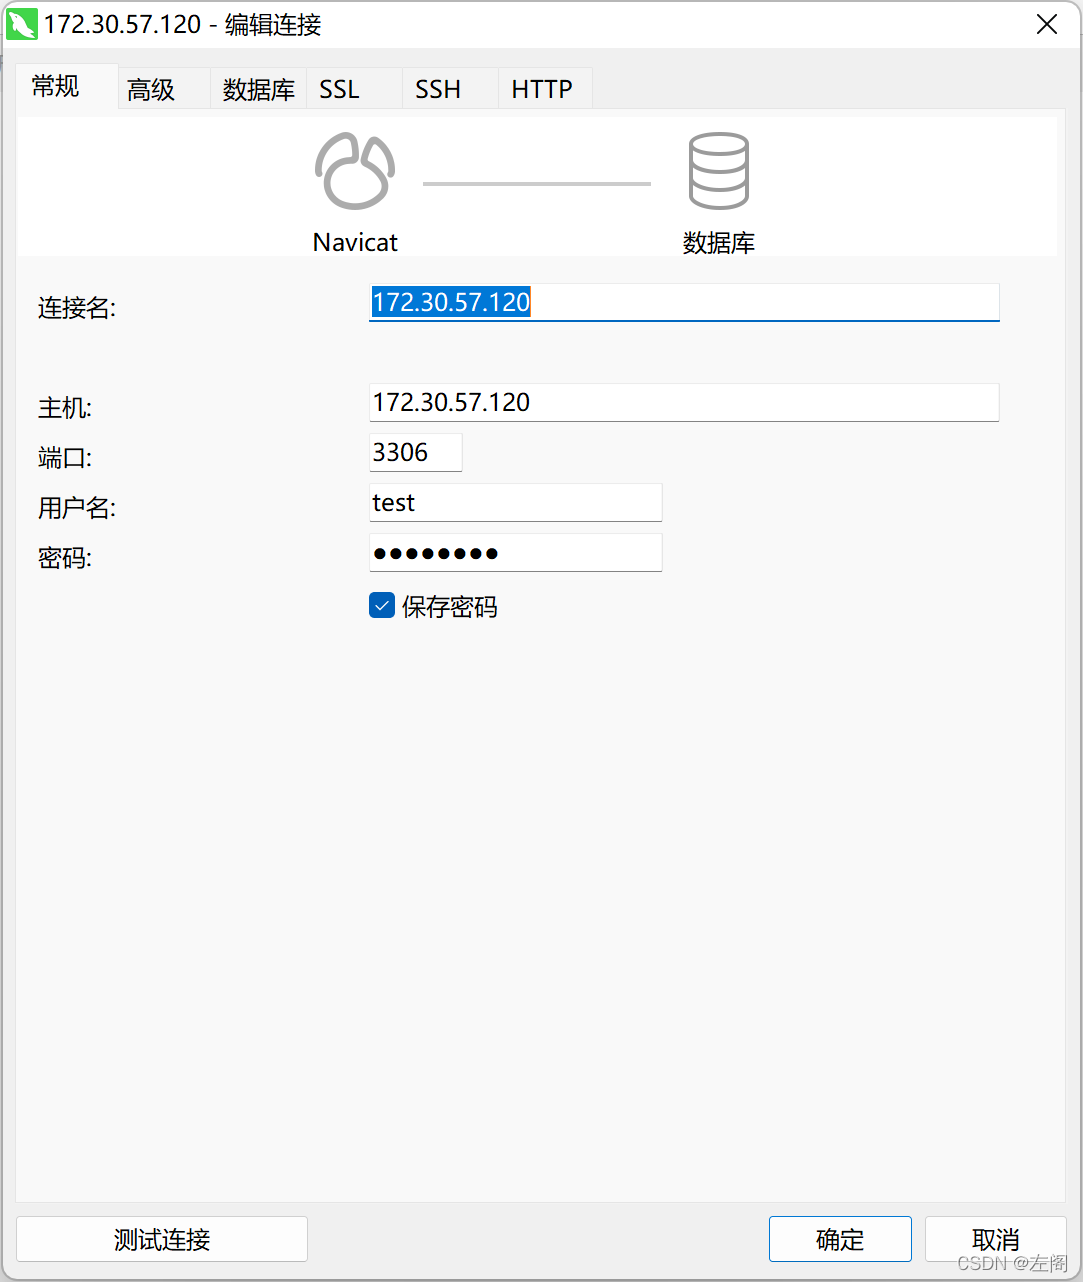
远程navicat登录
参考:
Win10连接WSL2-Ubuntu中的MySQL_Simon loves games-CSDN博客_连接wsl的mysql
mysql you need (at least one of) the SYSTEM_USER privilege(s) for this operation - 赵先鑫 - 博客园


 480
480


 被折叠的 条评论
为什么被折叠?
被折叠的 条评论
为什么被折叠?
 到【灌水乐园】发言


