


一、安装axios
npm i -s axios二、创建api目录,并添加下面两个文件
//request.js
import axios from 'axios';

export const Service = axios.create({
    timeout:3000, //延迟时间
    method:'POST',
    headers:{
        "pc-token": "设置自己的token",
        "content-Type": "application/x-www-form-urlencoded"
    },
})

//请求拦截
Service.interceptors.request.use(config =>  config);

//响应拦截
Service.interceptors.response.use(response => response.data,err => console.log(err))


//index.js
import {Service} from './request';

export function getCarList(config){
    const params = new URLSearchParams()
    params.append('page',config.page);

    return Service({
        url:'./api/getCarList',
        data:params
    })
}三、配置代理,可以访问到后台的服务器地址
1. 安装依赖
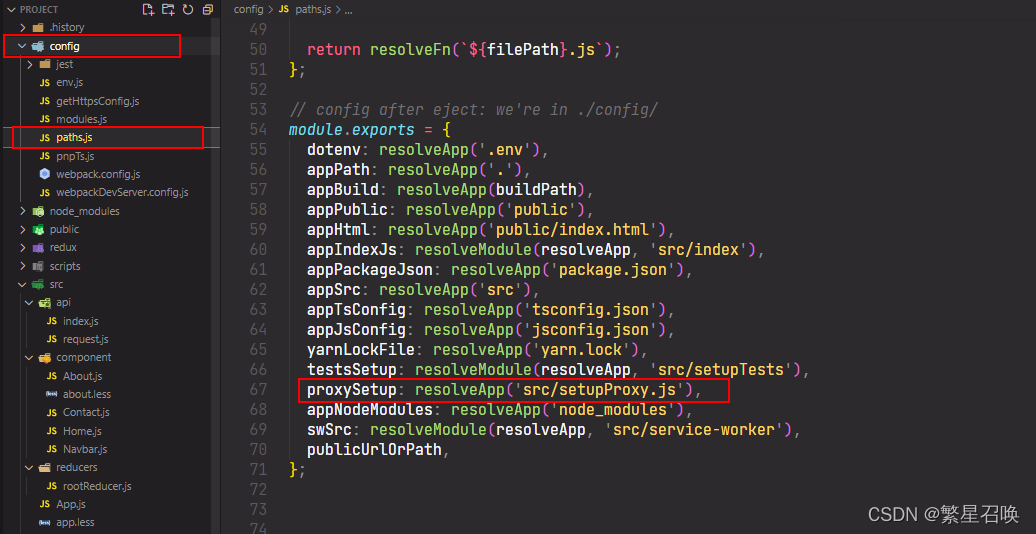
npm i -s-d http-proxy-middleware2. 在src文件夹中创建setupProxy.js内容配置如下
const {createProxyMiddleware} = require('http-proxy-middleware');

module.exports = function(app) {
  app.use('/api', createProxyMiddleware({
    target: '',//后台服务器地址
    changeOrigin: true,
    pathRewrite: {
    '^/api': '',
    },}))
};在新版本中已经默认设置代理的文件夹名为setupProxy
到这里所有配置就基本完成,在组件中调用即可
//导入要使用的接口
import { getCarList } from './../api/index'

//在render中添加事件
getList() {
        getCarList({page:1}).then((res)=>console.log(res))
    }

//点击调用
<button onClick={this.getList}>获取数据</button>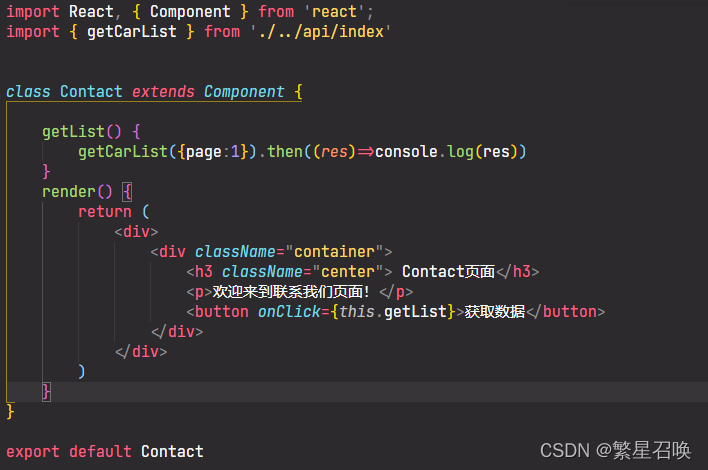


 367
367


 被折叠的 条评论
为什么被折叠?
被折叠的 条评论
为什么被折叠?
 到【灌水乐园】发言


