


今天写了个canvas绘制图片生成图片支持长按转发下载,踩的坑有点多,记录一下!
整体思路为
- 绘制画布
- 将base64图片转存本地
- 将图片绘制进画布
- 将canvas转换为本地url
- 将url转换为base64图片在页面预览
- 长按可下载或转发
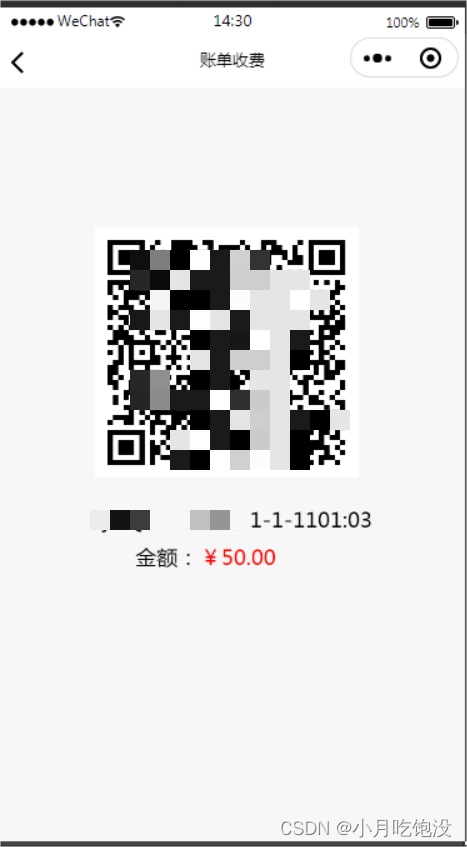
附上效果图:

index.wxml
<view class="container">
<image show-menu-by-longpress="1" class="qrCodeStr” src="{{tempFilePath}}"></image>
<canvas class="code" id="myQrcode" style="width: 100%;height:375px;margin: -2000px;'type="2d"canvas-id="myOrcode"/>
</view>
index.js
const app = getApp();
var util = require('../../../utils/util.js');
var QRCode = require('../../../utils/weapp_qrcode.js');
Page({

  /**
   * 页面的初始数据
   */
  data: {
    baseUrl: app.globalData.baseurl,
    qrCodeStr: null,
    title: '',
    tempFilePath: '',
    money: ''
  },

  /**
   * 生命周期函数--监听页面加载
   */
  onLoad(options) {
    this.setData({
      qrCodeStr: JSON.parse(decodeURIComponent(options.qrCodeStr)) || null,
      title: JSON.parse(decodeURIComponent(options.title)) || '',
      money: JSON.parse(decodeURIComponent(options.money)) || '',
    })
    let imgData = QRCode.drawImg(this.data.qrCodeStr, {
      typeNumber: 4, // 密度
      errorCorrectLevel: 'L', // 纠错等级
      size: 400, // 白色边框
    })
    this.setData({
      qrcodeImg: imgData
    })
    this.drewImages()
  },

  /**
   * 保存二维码
   */
  saveQrcode: function (e) {
    var that = this;
    wx.getSetting({
      success(res) {
        console.log(res);
        if (undefined == res.authSetting['scope.writePhotosAlbum']) {
          wx.authorize({
            scope: 'scope.writePhotosAlbum',
            success: function (res) {
              that.downloadAndSave();
            }
          })
        } else if (res.authSetting['scope.writePhotosAlbum']) {
          that.downloadAndSave();
        } else {
          utils.tips("请先授权可保存到相册");
          wx.openSetting();
        }
      }
    })

  },

  downloadAndSave: function () {
    var that = this;
    wx.showLoading({
      title: '保存中',
      mask: true
    });
    var url = this.data.qrcodeImg;
    console.log(url);
    wx.downloadFile({
      url: url,
      success: function (res) {
        wx.saveImageToPhotosAlbum({
          filePath: res.tempFilePath,
          success: function (res) {
            wx.hideLoading();
            utils.success("保存成功");
          },
          fail: function (err) {
            wx.hideLoading();
            console.log(err);
          }
        })
      },
      fail: function (err) {
        wx.hideLoading();
        console.log(err);
      }
    })
  },


  /**
   * 生命周期函数--监听页面初次渲染完成
   */
  onReady() {

  },

  /**
   * 生命周期函数--监听页面显示
   */
  onShow() {

  },
  // canvas2D绘制画布
  drewImages: function () {
    var that = this
    const rpx = wx.getSystemInfoSync().windowWidth
    const dpr = wx.getSystemInfoSync().pixelRatio
    let xMargin = 10 / 750 * rpx //画布侧边距
    let yMargin = 20 / 750 * rpx //画布上下边距
    let lMargin = 10 / 750 * rpx + 2 //行距
    let textSize = parseInt(32 / 750 * rpx) //字体大小
    const textWidth = parseInt((398 / 750) * rpx); // 列表定宽,超出换行显示
    const secondLineHeight = parseInt((38 / 750) * rpx); // 一行超出,第二行多出的高度
    let imgWidth = parseInt(400 / 750 * rpx) //图片宽
    let imgHeight = parseInt(400 / 750 * rpx) //图片高
    let imgMarginTop = 100 / 750 * rpx + 2 //图片高
    var query = wx.createSelectorQuery()
    console.log(query)
    query.select("#myQrcode").fields({ node: true, size: true, }).exec(async (res) => {
      var canvas = res[0].node;
      var ctx = canvas.getContext("2d");
      canvas.width = res[0].width * dpr
      canvas.height = res[0].height * dpr
      ctx.scale(dpr, dpr)
      // 插入图片
      const fs = wx.getFileSystemManager();
      var times = new Date().getTime();
      var codeimg = wx.env.USER_DATA_PATH + '/' + times + '.png';
      let imgUrl = await new Promise((resolve, reject) => {
        //将base64图片写入
        fs.writeFile({
          filePath: codeimg,
          data: that.data.qrcodeImg.slice(22),
          encoding: 'base64',
          success: (red) => {
            resolve('')
          }, fail: function (e) {
            reject(e)
          }
        });
      });
      const canvasImg = canvas.createImage()
      canvasImg.src = codeimg
      let canvasImgPo = await new Promise((resolve, reject) => {
        canvasImg.onload = () => {
          resolve(canvasImg)
        }
        canvasImg.onerror = (e) => {
          reject(e)
        }
      });
      let imgCenter = (rpx / 2 - imgWidth / 2) - 15//图片居中显示
      ctx.drawImage(canvasImgPo, imgCenter, imgMarginTop, imgWidth, imgHeight);
      // 插入文字
      // 计算文字插入的高度
      let listHeight = yMargin + imgHeight + imgMarginTop + 30
      ctx.font = "16px Aril"
      ctx.fillText(that.data.title, imgCenter, listHeight)
      ctx.fillText('金额:', imgCenter, listHeight + 30)
      ctx.font = "16px Aril"
      ctx.fillStyle = "red"
      ctx.fillText('¥' + that.data.money, imgCenter + 43, listHeight + 30)
      wx.canvasToTempFilePath({
        canvas: canvas,
        success: (rev) => {
          that.getBase64(rev.tempFilePath)
        }
      })
    });
  },
  getBase64: function (url) {
    var that = this
    wx.getFileSystemManager().readFile({
      filePath: url,  //图片路径
      encoding: 'base64', //编码格式
      success: res => { //成功的回调
        that.setData({
          tempFilePath: 'data:image/png;base64,' + res.data.replace(/[\r\n]/g, '')
        })
      }
    })
  },
  /**
   * 生命周期函数--监听页面隐藏
   */
  onHide() {

  },

  /**
   * 生命周期函数--监听页面卸载
   */
  onUnload() {

  },

  /**
   * 页面相关事件处理函数--监听用户下拉动作
   */
  onPullDownRefresh() {

  },

  /**
   * 页面上拉触底事件的处理函数
   */
  onReachBottom() {

  },

  /**
   * 用户点击右上角分享
   */
  onShareAppMessage() {

  }
})
注意:
1.base64图片不可直接绘制在画布中,需要下载到本地再使用drawImage方法,否则真机将无法显示
2.canvasToTempFilePath方法获取到的url不可直接用在页面中,需转为base64图片,否则真机将无法显示


 2039
2039

 被折叠的 条评论
为什么被折叠?
被折叠的 条评论
为什么被折叠?
 到【灌水乐园】发言


