


Spring源码阅读目录
第一部分——IOC篇
第一章 Spring之最熟悉的陌生人——IOC
第二章 Spring之假如让你来写IOC容器——加载资源篇
第三章 Spring之假如让你来写IOC容器——解析配置文件篇
第四章 Spring之假如让你来写IOC容器——XML配置文件篇
第五章 Spring之假如让你来写IOC容器——BeanFactory和FactoryBean
第六章 Spring之假如让你来写IOC容器——Scope和属性填充
第七章 Spring之假如让你来写IOC容器——属性填充特别篇:SpEL表达式
第八章 Spring之假如让你来写IOC容器——拓展篇
第九章 Spring之源码阅读——环境搭建篇
第十章 Spring之源码阅读——IOC篇
第二部分——AOP篇
第十一章 Spring之不太熟的熟人——AOP
第十二章 Spring之不得不了解的内容——概念篇
第十三章 Spring之假如让你来写AOP——AOP联盟篇
第十四章 Spring之假如让你来写AOP——雏形篇
第十五章 Spring之假如让你来写AOP——Joinpoint(连接点)篇
第十六章 Spring之假如让你来写AOP——Pointcut(切点)篇
第十七章 Spring之假如让你来写AOP——Advice(通知)上篇
第十八章 Spring之假如让你来写AOP——Advice(通知)下篇
第十九章 Spring之假如让你来写AOP——番外篇:Spring早期设计
第二十章 Spring之假如让你来写AOP——Aspect(切面)篇
第二十一章 Spring之假如让你来写AOP——Weaver(织入器)篇
第二十二章 Spring之假如让你来写AOP——Target Object(目标对象)篇
第二十三章 Spring之假如让你来写AOP——融入IOC容器篇
第二十四章 Spring之源码阅读——AOP篇
第三部分——事务篇
第二十五章 Spring之曾经的老朋友——事务
第二十六章 Spring之假如让你来写事务——初稿篇
第二十七章 Spring之假如让你来写事务——铁三角篇
第二十八章 Spring之假如让你来写事务——属性篇
第二十九章 Spring之假如让你来写事务——状态篇
第三十章 Spring之假如让你来写事务——管理篇
第三十一章 Spring之假如让你来写事务——融入IOC容器篇
第三十二章 Spring之源码阅读——事务篇
第四部分——MVC篇
第三十三章 Spring之梦开始的地方——MVC
第三十四章 Spring之假如让你来写MVC——草图篇
第三十五章 Spring之假如让你来写MVC——映射器篇
第三十六章 Spring之假如让你来写MVC——拦截器篇
第三十七章 Spring之假如让你来写MVC——控制器篇
第三十八章 Spring之假如让你来写MVC——适配器篇
第三十九章 Spring之假如让你来写MVC——番外篇:类型转换
第四十章 Spring之假如让你来写MVC——ModelAndView篇
第四十一章 Spring之假如让你来写MVC——番外篇:数据绑定
第四十二章 Spring之假如让你来写MVC——视图篇
第四十三章 Spring之假如让你来写MVC——上传文件篇
第四十四章 Spring之假如让你来写MVC——异常处理器篇
第四十五章 Spring之假如让你来写MVC——国际化篇
第四十六章 Spring之假如让你来写MVC——主题解析器篇
第四十七章 Spring之假如让你来写MVC——闪存管理器篇
第四十八章 Spring之假如让你来写MVC——请求映射视图篇
第四十九章 Spring之假如让你来写MVC——番外篇:属性操作
第五十章 Spring之假如让你来写MVC——融入IOC容器篇
第五十一章 Spring之源码阅读——MVC篇
第五部分——Boot篇
第五十二章 Spring之再进一步——Boot
第五十三章 Spring之假如让你来写Boot——环境篇
第五十四章 Spring之假如让你来写Boot——注解篇(上)
第五十五章 Spring之假如让你来写Boot——注解篇(下)
第五十六章 Spring之假如让你来写Boot——SPI篇
第五十七章 Spring之假如让你来写Boot——配置文件篇(上)
第五十八章 Spring之假如让你来写Boot——配置文件篇(下)
第五十九章 Spring之假如让你来写Boot——番外篇:再谈Bean定义
第六十章 Spring之假如让你来写Boot——自动装配篇
第六十一章 Spring之假如让你来写Boot——番外篇:杂谈Starter
第六十二章 Spring之假如让你来写Boot——番外篇:重构BeanFactory
第六十三章 Spring之假如让你来写Boot——番外篇:再谈ApplicationContext
第六十四章 Spring之假如让你来写Boot——内嵌Web容器篇
第六十五章 Spring之假如让你来写Boot——Main方法启动篇
第六十六章 Spring之最终章——结语篇
文章目录
前言
对于Spring一直都是既熟悉又陌生,说对它熟悉吧,平时用用没啥问题,但面试的时候被问的一脸懵逼,就很尴尬,都不好意思在简历上写着熟悉Spring了

所以决定花点时间研究研究Spring的源码。主要参考的书籍是:《Spring源码深度解析(第2版)》、《Spring揭秘》、《Spring技术内幕:深入解析Spring架构与设计原理(第2版)》
书接上回,在上篇 第六十四章 Spring之假如让你来写Boot——内嵌Web容器篇 中,A君 已经完成了内嵌Web容器,又是一个新的里程碑,完成 BOOT 计日而待了。。。
尝试动手写IOC容器
出场人物:A君(苦逼的开发)、老大(项目经理)
背景:老大 要求 A君在一周内开发个简单的 IOC容器
前情提要:A君 已经完成了内嵌Web容器,又是一个新的里程碑,完成 BOOT 计日而待了。。。
第五十一版 Main方法启动
“A君,干得漂亮,现在基本都完事了。还差一点,在优化下吧!” 项目进入了尾声,老大 现在整个人也都放松了起来,变得和颜悦色了
“优化啥?” A君 问道
“看了你自己写的测试代码,没发现点端倪吗?用户还要注册好几个BeanDefinition,怪麻烦的。最好是让用户‘啪’一下就能启动起来项目,不用管那么多弯弯绕绕的东西。”
A君 稍加思索,说道:“好吧,用户想要一键启动,最快的方法莫过于用Main方法启动了,相信只要是开发都接触过右键->run的时代。”
“A君,你长大了呀,现在懂的举一反三了。” 老大 由衷的赞叹,想起当初刚认识 A君 的那会儿,还是个啥也不懂的毛头小子,一晃眼,已经成长了这么多了。当下继续说道:“现在的你,应该足够应付这些情况了,去吧,让我们一起有个好的收尾吧。”
“好!” A君 这次也回答的斩钉截铁,跟着 老大 学习了这么久,收获颇多。他心里也是由衷的感谢 老大 肯带着他成长
引导上下文
回到工位上之后,A君 收拾了下心情,现在不是多愁善感的时候,活没有做完呢?需要先考虑下要如何实现一键启动的效果。在之前工作中,A君 在启动的过程中处处埋点,留足拓展,生怕用户在使用中过程中无法进行定制化。那么现在 BOOT 自然也是一样的,拓展的方式无非就是接口、事件,这些东西都要有个地方存储,这就引出了上下文了,不过启动过程中的上下文是临时的,一旦启动完成,这个上下文也就没用了。这就像电脑开机时候的 BootLoader 一样,电脑刚开启时,需要把 CPU 引导到操作系统的代码处,当操作系统启动完成后,BootLoader 也就完成它的使命了。用更通俗一点的例子:A君 想租房子时,谁都不认识,所以去找中介介绍、当中介把 A君 带到房东面前后,就没有中介什么事了,后续就是 A君 和房东之间的问题了。明白原委之后,A君 新增BootstrapContext接口,代码如下:
/**
 * 启动引导上下文
 */
public interface BootstrapContext {
    /**
     * 如果类型已注册,则从上下文中返回一个实例
     * 如果以前没有访问过该实例,则将创建该实例
     */
    <T> T get(Class<T> type) throws IllegalStateException;

    <T> T getOrElse(Class<T> type, T other);

    <T> T getOrElseSupply(Class<T> type, Supplier<T> other);

    <T, X extends Throwable> T getOrElseThrow(Class<T> type, Supplier<? extends X> exceptionSupplier) throws X;

    <T> boolean isRegistered(Class<T> type);
}
只是上下文,显然没有任何操作空间,这时候就需要提供接口给用户实现,而后框架把他们管理起来,在需要的时候调用就行了。A君 新增InstanceSupplier接口,代码如下:
@FunctionalInterface
interface InstanceSupplier<T> {

    static <T> InstanceSupplier<T> of(T instance) {
        return (registry) -> instance;
    }

    static <T> InstanceSupplier<T> from(Supplier<T> supplier) {
        return (registry) -> (supplier != null) ? supplier.get() : null;
    }

    T get(BootstrapContext context);

    default Scope getScope() {
        return Scope.SINGLETON;
    }
}
两个接口还是太多了,把它们整成一个接口吧。新增ConfigurableBootstrapContext接口,代码如下:
public interface ConfigurableBootstrapContext extends BootstrapRegistry, BootstrapContext {
}
接下来就是默认实现,基本就是一个读取的方法了。新增DefaultBootstrapContext类,代码如下:
public class DefaultBootstrapContext implements ConfigurableBootstrapContext {

    private final Map<Class<?>, InstanceSupplier<?>> instanceSuppliers = new HashMap<>();

    private final Map<Class<?>, Object> instances = new HashMap<>();

    private final ApplicationEventMulticaster events = new SimpleApplicationEventMulticaster();

    private <T> void register(Class<T> type, InstanceSupplier<T> instanceSupplier, boolean replaceExisting) {
        synchronized (this.instanceSuppliers) {
            boolean alreadyRegistered = this.instanceSuppliers.containsKey(type);
            if (replaceExisting || !alreadyRegistered) {
                this.instanceSuppliers.put(type, instanceSupplier);
            }
        }
    }

    @Override
    public <T> T get(Class<T> type) throws IllegalStateException {
        return getOrElseThrow(type, () -> new IllegalStateException(type.getName() + " has not been registered"));
    }

	//省略其他代码。。。
}
应用参数
除却上下文之外,应用在启动的过程中也可能携带参数。比如说命令行java -jar your-application.jar --server.port=8081启动时就携带了端口的配置。这时候自然也就需求把这些参数封装起来了。A君 新增ApplicationArguments接口,代码如下:
/**
 * 应用参数
 */
public interface ApplicationArguments {

    /**
     * 返回传递给应用程序的未处理的原始参数
     */
    String[] getSourceArgs();

    /**
     * 返回所有选项参数的名称。例如,如果参数是
     * “——foo=bar——debug”将返回值{@code ["foo", "debug"]}。
     */
    Set<String> getOptionNames();

    /**
     * 是否包含某个选项
     */
    boolean containsOption(String name);

    List<String> getOptionValues(String name);

    List<String> getNonOptionArgs();

}
再给个实现类吧,自然也是一堆的读取方法,没啥特殊的地方。参数虽然没有特殊的地方,但是参数来源可以是多种多样,可以是传统的命令行,也可以是 JOP。这里就不一一展开了,设计方式明白了就行,实现细节就先不纠结了。A君 新增``
public class DefaultApplicationArguments implements ApplicationArguments {
    /**
     * 参数来源
     */
    private final Source source;
    /**
     * 参数
     */
    private final String[] args;

    public DefaultApplicationArguments(String... args) {
        this.source = new Source(args);
        this.args = args;
    }

    @Override
    public Set<String> getOptionNames() {
        String[] names = this.source.getPropertyNames();
        return Collections.unmodifiableSet(new HashSet<>(Arrays.asList(names)));
    }
    //省略其它代码。。。
}
打印横幅
A君 折腾了这么久,呕心沥血弄出来的东西,不能默默无闻,要让世人知道这一伟大的框架,为此 A君 决定在启动时候打印框架的名称,让他闻名于世。话虽如此,这样符合设计的规范,顶多算个软广,硬广反而会起到反作用。A君 新增Banner接口,代码如下:
/**
 * 横幅接口
 */
@FunctionalInterface
public interface Banner {
    /**
     * 打印横幅
     */
    void printBanner(Environment environment, Class<?> sourceClass, PrintStream out);

    enum Mode {

        /**
         * 禁用横幅
         */
        OFF,

        /**
         * 控制台
         */
        CONSOLE,

        /**
         * 日志
         */
        LOG
    }
}
打印的方式可以是文字,也可以是图片,这里就以文字为例吧,图片涉及到太多图形化的知识,研究这玩意就偏离了轨道了。当然了,内容要想可配置,最好的方式就是把要打印的内容整成一个文本文件,这样子框架只需要读取内容就行了。A君 新增ResourceBanner类,代码如下:
/**
 * 根据对应资源打印横幅
 */
public class ResourceBanner implements Banner {

    /**
     * 文本资源
     */
    private Resource resource;

    @Override
    public void printBanner(Environment environment, Class<?> sourceClass, PrintStream out) {
        try {
            String banner = StreamUtils.copyToString(this.resource.getInputStream(),
                    environment.getProperty("spring.banner.charset", Charset.class, StandardCharsets.UTF_8));
            for (PropertyResolver resolver : getPropertyResolvers(environment, sourceClass)) {
                banner = resolver.resolvePlaceholders(banner);
            }
            out.println(banner);
        } catch (Exception ex) {
            logger.warn(LogMessage.format("Banner not printable: %s (%s: '%s')", this.resource, ex.getClass(),
                    ex.getMessage()), ex);
        }
    }
}
只是支持单一的风格,一向不是 A君 的风格,为此,A君 提供了混合打印模式,可以自由组合。新增Banners类,代码如下:
/**
     * 混合模式
     */
    private static class Banners implements Banner {
        /**
         * 包含的横幅实现
         */
        private final List<Banner> banners = new ArrayList<>();

        void addIfNotNull(Banner banner) {
            if (banner != null) {
                this.banners.add(banner);
            }
        }

        @Override
        public void printBanner(Environment environment, Class<?> sourceClass, PrintStream out) {
            for (Banner banner : this.banners) {
                banner.printBanner(environment, sourceClass, out);
            }
        }

    }
打印是没什么事了,接下来就是关于一些路径的配置,这些可以单独整理成一个类,方便使用。A君 新增SpringApplicationBannerPrinter类,代码如下:
class SpringApplicationBannerPrinter {

    static final String BANNER_LOCATION_PROPERTY = "spring.banner.location";

    static final String BANNER_IMAGE_LOCATION_PROPERTY = "spring.banner.image.location";

    static final String DEFAULT_BANNER_LOCATION = "banner.txt";

    static final String[] IMAGE_EXTENSION = {"gif", "jpg", "png"};

    private static final Banner DEFAULT_BANNER = new SpringBootBanner();

    private final ResourceLoader resourceLoader;

    private final Banner fallbackBanner;

    SpringApplicationBannerPrinter(ResourceLoader resourceLoader, Banner fallbackBanner) {
        this.resourceLoader = resourceLoader;
        this.fallbackBanner = fallbackBanner;
    }

    Banner print(Environment environment, Class<?> sourceClass, Log logger) {
        Banner banner = getBanner(environment);
        try {
            logger.info(createStringFromBanner(banner, environment, sourceClass));
        } catch (UnsupportedEncodingException ex) {
            logger.warn("Failed to create String for banner", ex);
        }
        return new PrintedBanner(banner, sourceClass);
    }

    Banner print(Environment environment, Class<?> sourceClass, PrintStream out) {
        Banner banner = getBanner(environment);
        banner.printBanner(environment, sourceClass, out);
        return new PrintedBanner(banner, sourceClass);
    }
	//省略其他代码。。。
}
启动!!!
一切都准备好了,现在只要把这些东西整合起来就行了。像这种可以分成第一步、第二步的都可以使用 模板模式。A君 新增SpringApplication类,代码如下:
public class SpringApplication {
	public static ConfigurableApplicationContext run(Class<?> primarySource, String... args) {
        return run(new Class<?>[]{primarySource}, args);
    }

    public static ConfigurableApplicationContext run(Class<?>[] primarySources, String[] args) {
        return new SpringApplication(primarySources).run(args);
    }

	public ConfigurableApplicationContext run(String... args) {
        long startTime = System.nanoTime();
        /**
         * 创建BOOT上下文
         */
        DefaultBootstrapContext bootstrapContext = createBootstrapContext();
        ConfigurableApplicationContext context = null;
        configureHeadlessProperty();
        /**
         * 获取SpringBoot运行时监听
         */
        SpringApplicationRunListeners listeners = getRunListeners(args);
        //触发启动监听
        listeners.starting(bootstrapContext, this.mainApplicationClass);
        try {
            //启动时参数
            ApplicationArguments applicationArguments = new DefaultApplicationArguments(args);
            //准备环境
            ConfigurableEnvironment environment = prepareEnvironment(listeners, bootstrapContext, applicationArguments);
            //忽略Bean
            configureIgnoreBeanInfo(environment);
            //打印横幅
            Banner printedBanner = printBanner(environment);
            //创建ApplicationContext对象
            context = createApplicationContext();
            context.setApplicationStartup(this.applicationStartup);
            prepareContext(bootstrapContext, context, environment, listeners, applicationArguments, printedBanner);
            //调用Application#refresh方法
            refreshContext(context);
            //拓展方法,有子类实现
            afterRefresh(context, applicationArguments);
            Duration timeTakenToStartup = Duration.ofNanos(System.nanoTime() - startTime);
            //触发启动完成事件
            listeners.started(context, timeTakenToStartup);
            callRunners(context, applicationArguments);
        } catch (Throwable ex) {
            handleRunFailure(context, ex, listeners);
            throw new IllegalStateException(ex);
        }
        try {
            Duration timeTakenToReady = Duration.ofNanos(System.nanoTime() - startTime);
            listeners.ready(context, timeTakenToReady);
        } catch (Throwable ex) {
            handleRunFailure(context, ex, null);
            throw new IllegalStateException(ex);
        }
        return context;
    }
    //省略其他代码
}
测试
一切都准备好了,现在就是检验最终成果的时候了。A君 怀着激动的心,颤抖着手,写了测试代码,哦,不对,没有测试代码,只有一个启动类。如下:
@Configuration
@EnableAutoConfiguration
@ComponentScan(basePackages = "com.hqd.ch03.test.boot.v51",
        excludeFilters = {@ComponentScan.Filter(type = FilterType.CUSTOM, classes = TypeExcludeFilter.class),
                @ComponentScan.Filter(type = FilterType.CUSTOM, classes = AutoConfigurationExcludeFilter.class)})

public class MainApplication {
    public static void main(String[] args) {
        try {
            System.setProperty("spring.banner.image.location", "file:E:/1.jpg");
            SpringApplication.run(MainApplication.class, args);
        } catch (Exception e) {
            e.printStackTrace();
        }
    }
}
测试结果如下:
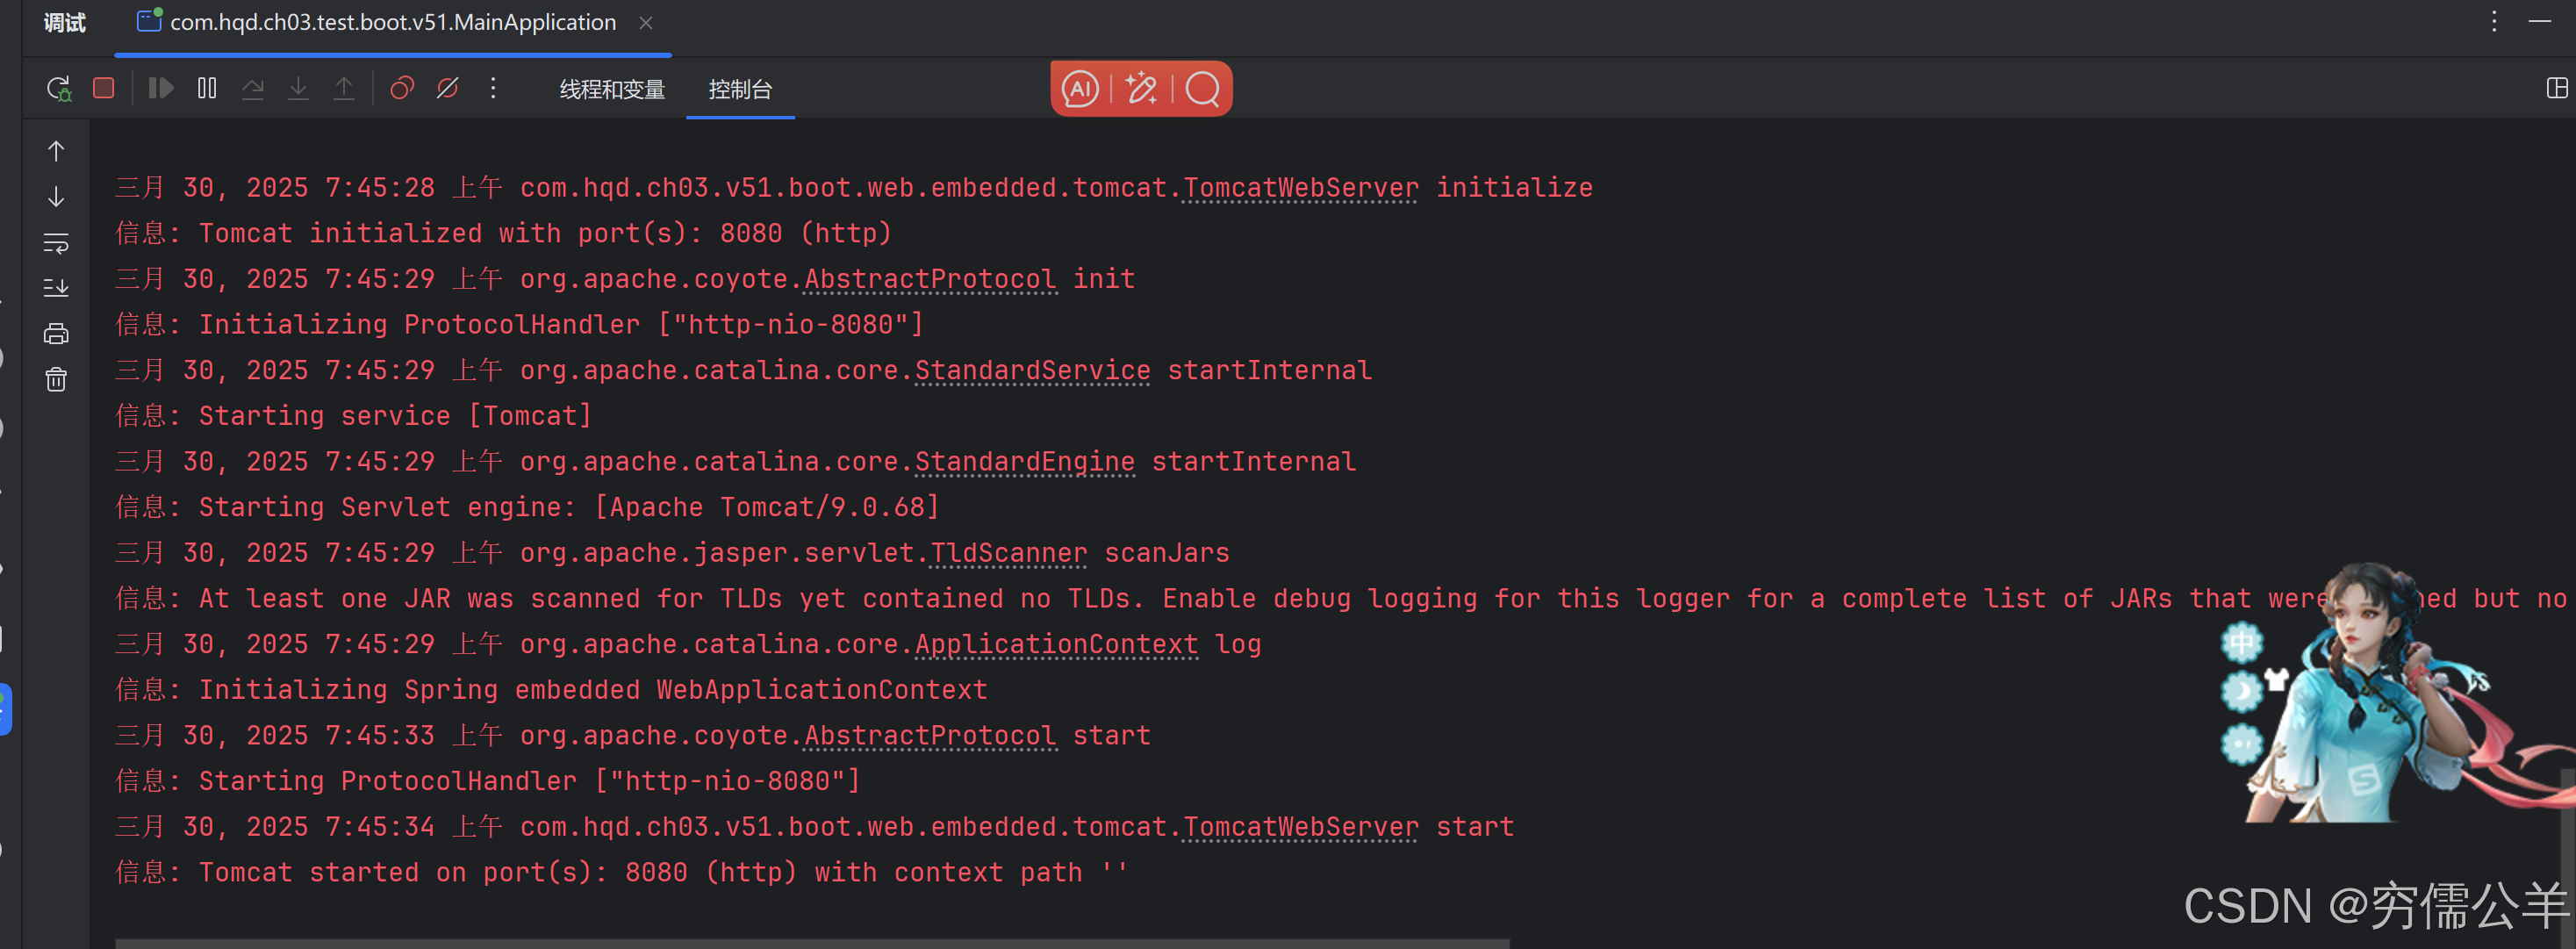
浏览器访问一下:
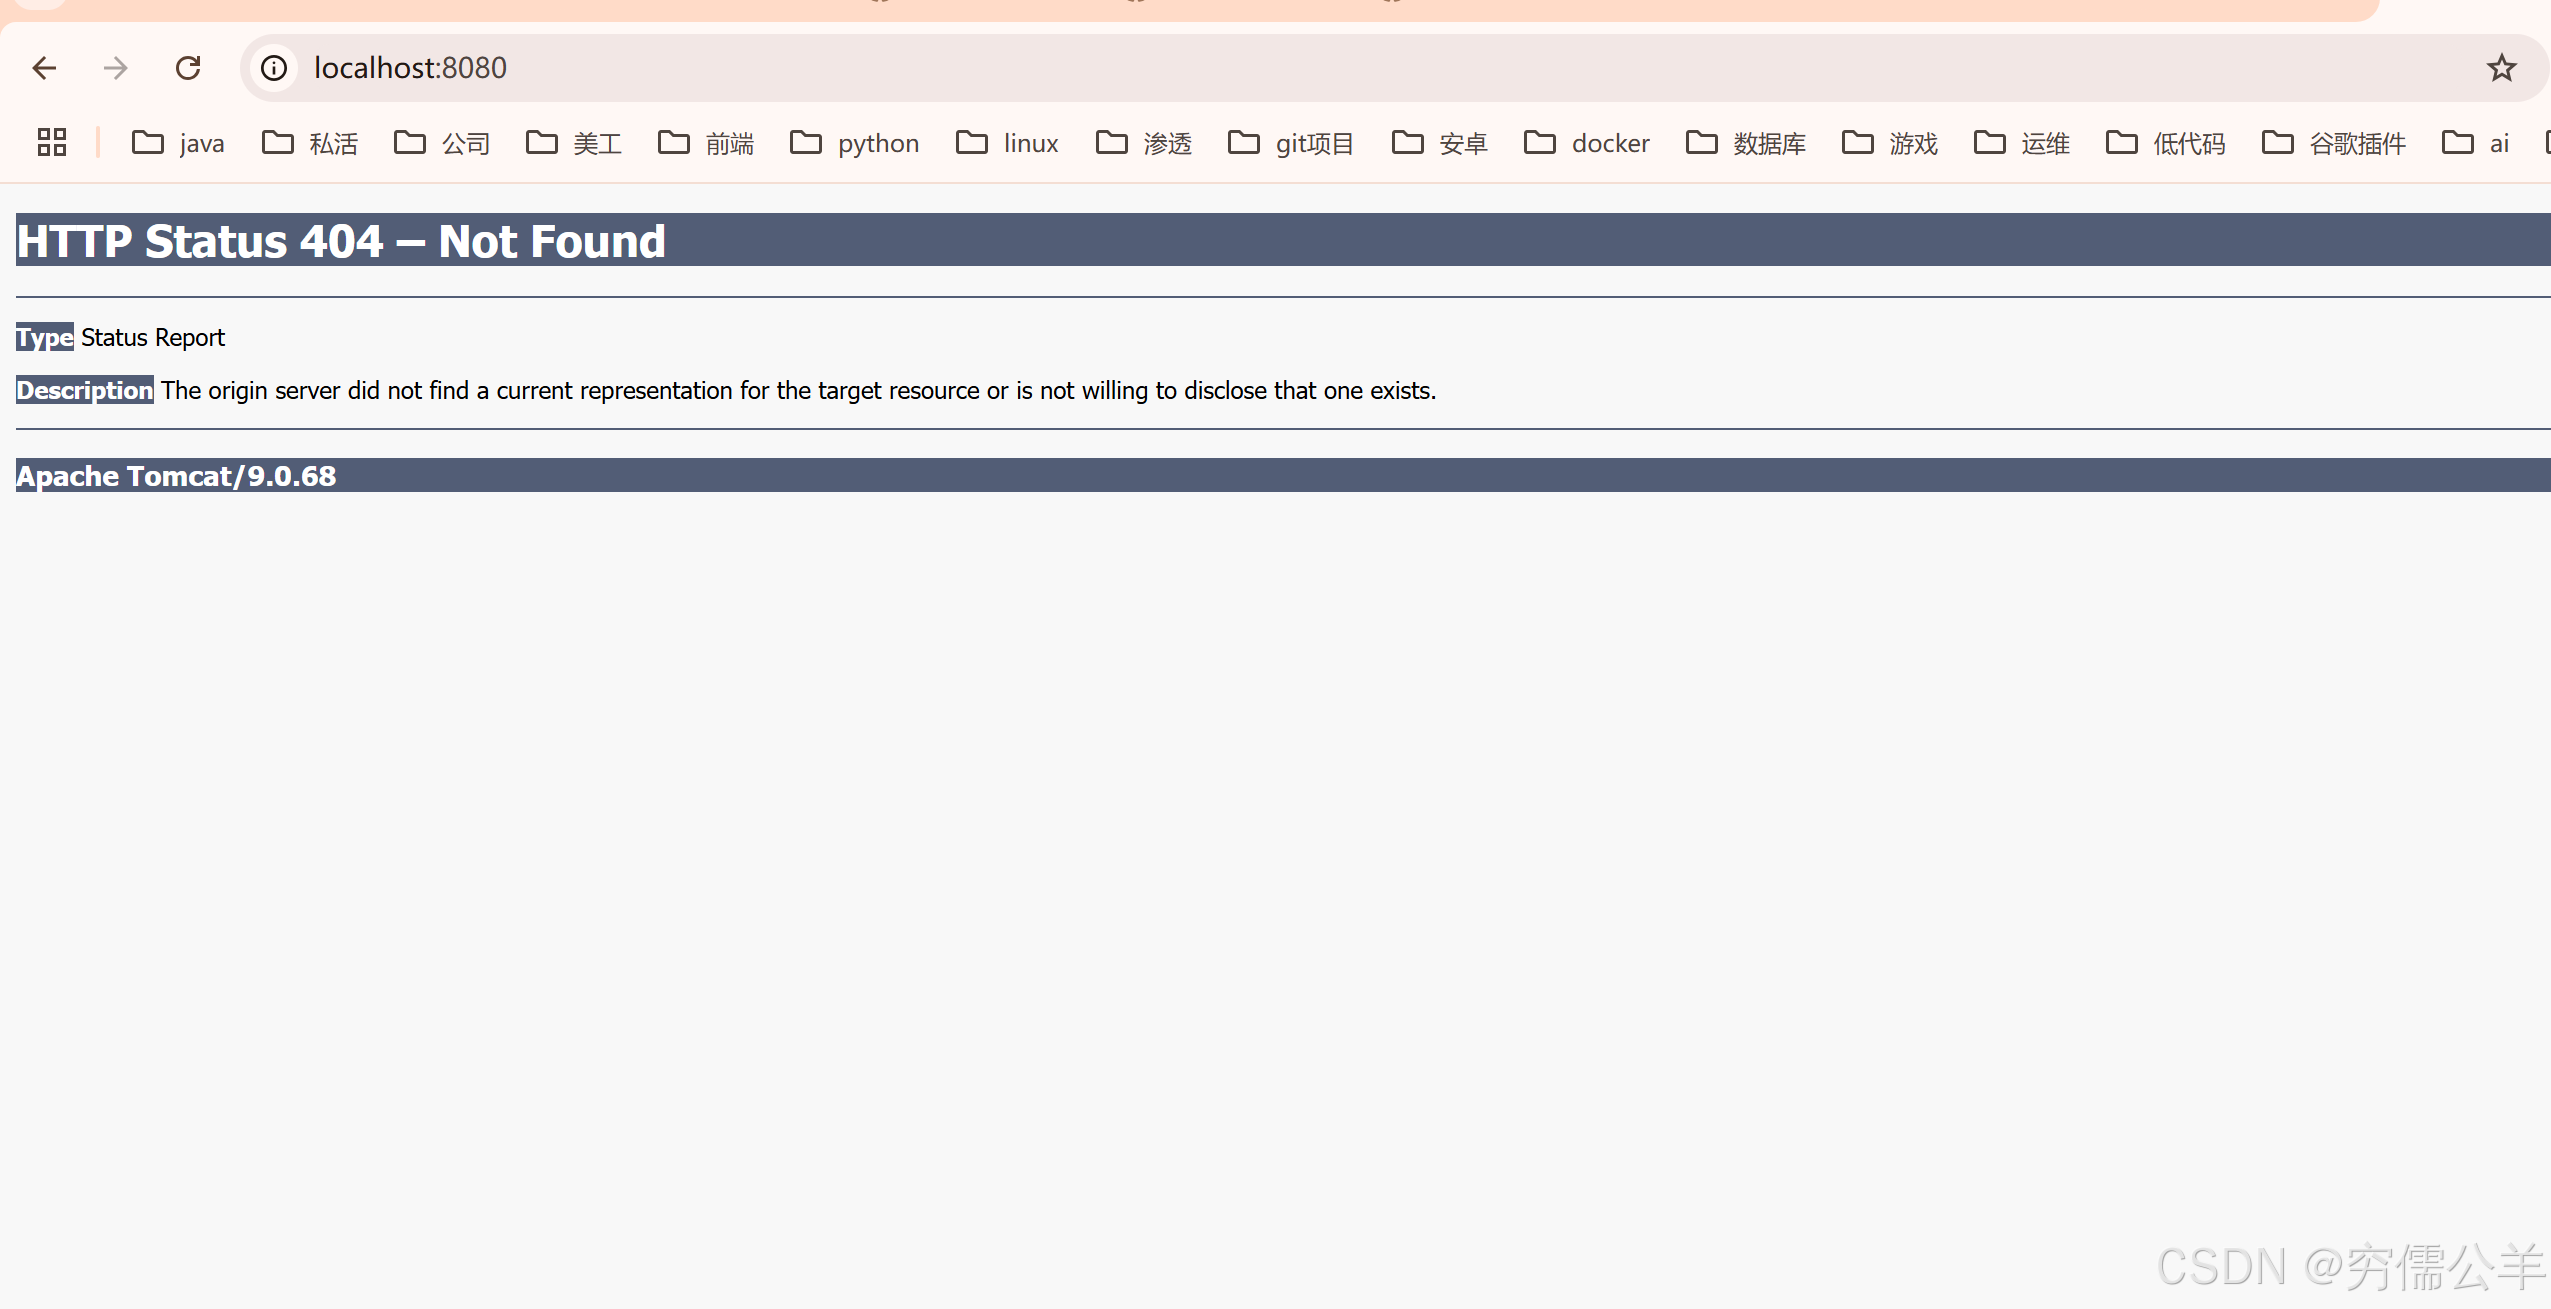
OK啊,现在总算是搞定了。。。。

总结
正所谓树欲静而风不止,欲知后事如何,请看下回分解(✪ω✪)


 被折叠的 条评论
为什么被折叠?
被折叠的 条评论
为什么被折叠?
 到【灌水乐园】发言


