


首先我们复制我们的起始js代码
```css
///
// Fixing flexbox gap property missing in some Safari versions
function checkFlexGap() {
  var flex = document.createElement("div");
  flex.style.display = "flex";
  flex.style.flexDirection = "column";
  flex.style.rowGap = "1px";

  flex.appendChild(document.createElement("div"));
  flex.appendChild(document.createElement("div"));

  document.body.appendChild(flex);
  var isSupported = flex.scrollHeight === 1;
  flex.parentNode.removeChild(flex);
  console.log(isSupported);

  if (!isSupported) document.body.classList.add("no-flexbox-gap");
}
checkFlexGap();

// https://unpkg.com/smoothscroll-polyfill@0.4.4/dist/smoothscroll.min.js

/*
.no-flexbox-gap .main-nav-list li:not(:last-child) {
  margin-right: 4.8rem;
}

.no-flexbox-gap .list-item:not(:last-child) {
  margin-bottom: 1.6rem;
}

.no-flexbox-gap .list-icon:not(:last-child) {
  margin-right: 1.6rem;
}

.no-flexbox-gap .delivered-faces {
  margin-right: 1.6rem;
}

.no-flexbox-gap .meal-attribute:not(:last-child) {
  margin-bottom: 2rem;
}

.no-flexbox-gap .meal-icon {
  margin-right: 1.6rem;
}

.no-flexbox-gap .footer-row div:not(:last-child) {
  margin-right: 6.4rem;
}

.no-flexbox-gap .social-links li:not(:last-child) {
  margin-right: 2.4rem;
}

.no-flexbox-gap .footer-nav li:not(:last-child) {
  margin-bottom: 2.4rem;
}

@media (max-width: 75em) {
  .no-flexbox-gap .main-nav-list li:not(:last-child) {
    margin-right: 3.2rem;
  }
}

@media (max-width: 59em) {
  .no-flexbox-gap .main-nav-list li:not(:last-child) {
    margin-right: 0;
    margin-bottom: 4.8rem;
  }
}
*/
● 之后在HTML中链接JS文件
<script defer src="js/script.js"></script>
● 接着我们在JavaScript文件的头部添加代码
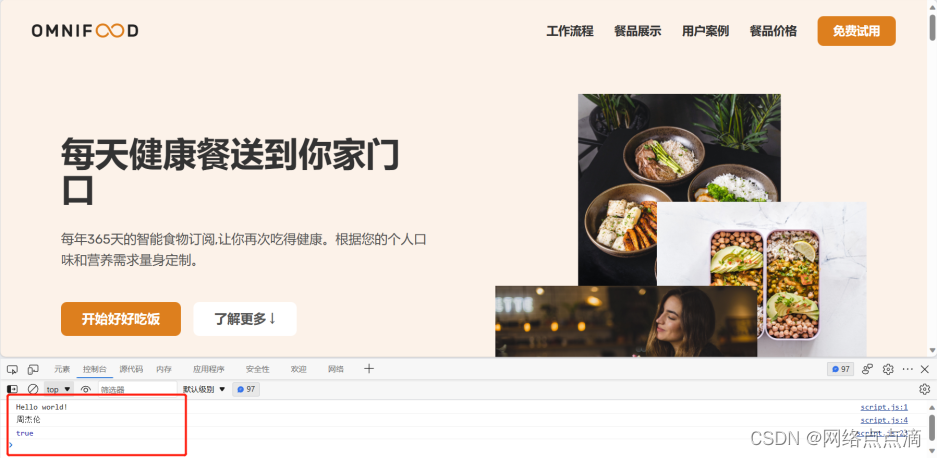
console.log("Hello world");

这样证明链接成功了!
定义变量
const myName = '周杰伦';
console.log(myName);
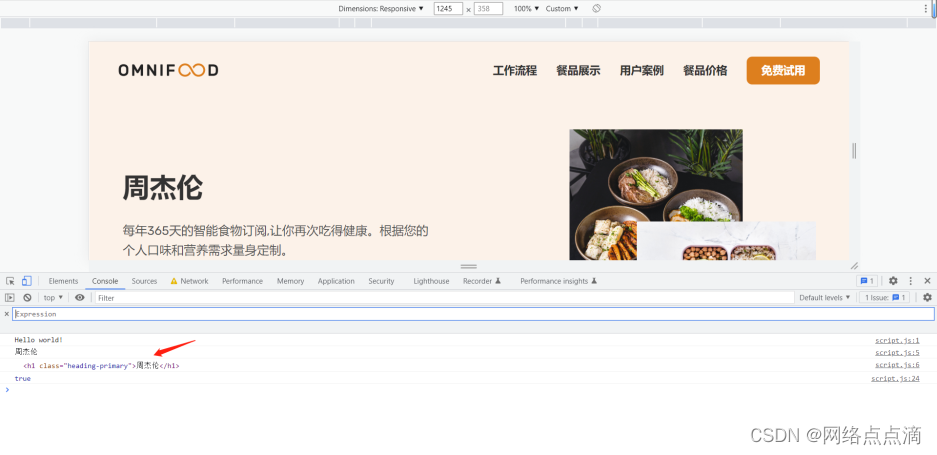
● 当然我们也可以创建变量去选择HTML文档中的元素
const myName = '周杰伦';
const h1 = document.querySelector('.heading-primary');  ##选择文档中第一个类名为“heading-primary”的元素,并将其存储在名为“h1”的变量中。这个变量可以在后续的代码中被使用
console.log(myName);
console.log(h1);
##在JavaScript中,document 是一个全局对象,代表整个HTML文档。querySelector 是document对象上的一个方法,它可以通过指定CSS选择器来查找文档中的元素。

● 当然我们也可以给变量赋值
h1.textContent = myName;
##这行代码的意思是将一个名为 myName 的变量的值赋给 h1 元素的文本内容。
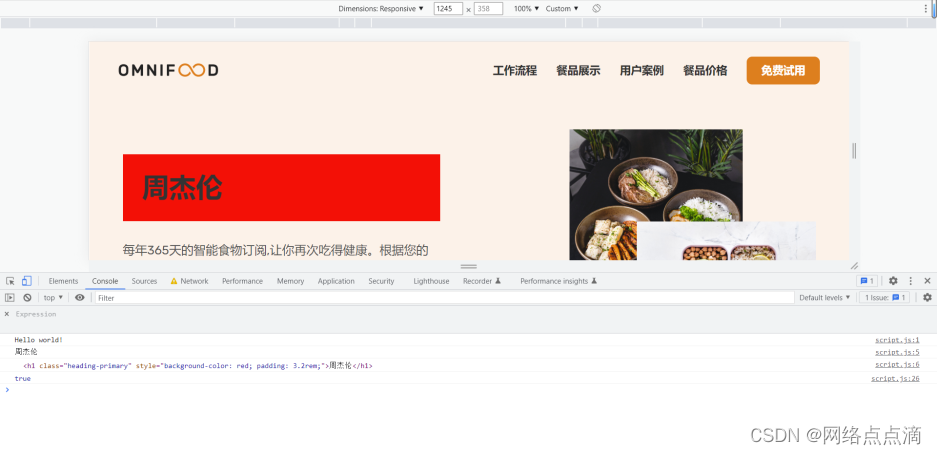
● 除此之外,我们还可以对CSS进行操作
h1.style.backgroundColor = "red";

##h1.style.backgroundColor = "red";

注意:在JavaScript中,属性和方法名不能包含破折号(-),而只能使用驼峰式命名法。因此,在JavaScript中,background-color 这个CSS属性需要写成 backgroundColor,使用驼峰式命名法来表示。这是因为JavaScript中的语法规则所决定的。
● 除此之外,其他的CSS样式也是可以的
h1.style.padding = "3.2rem";
● 除此之外, 还可以做点击事件
h1.addEventListener("click", function () {  #当点击的时候触发function函数,指定函数里面的内容
  h1.textContent = myName;
  h1.style.backgroundColor = "red";
  h1.style.padding = "3.2rem";
});
##addEventListener 是 JavaScript 中用于添加事件监听器的方法。它可以在指定的元素上添加一个事件监听器,监听指定的事件,当事件被触发时,执行指定的回调函数。


● 如图,这个页面的2027并不是我们当前的时间,我们可以适用js简单的获取当前的时间
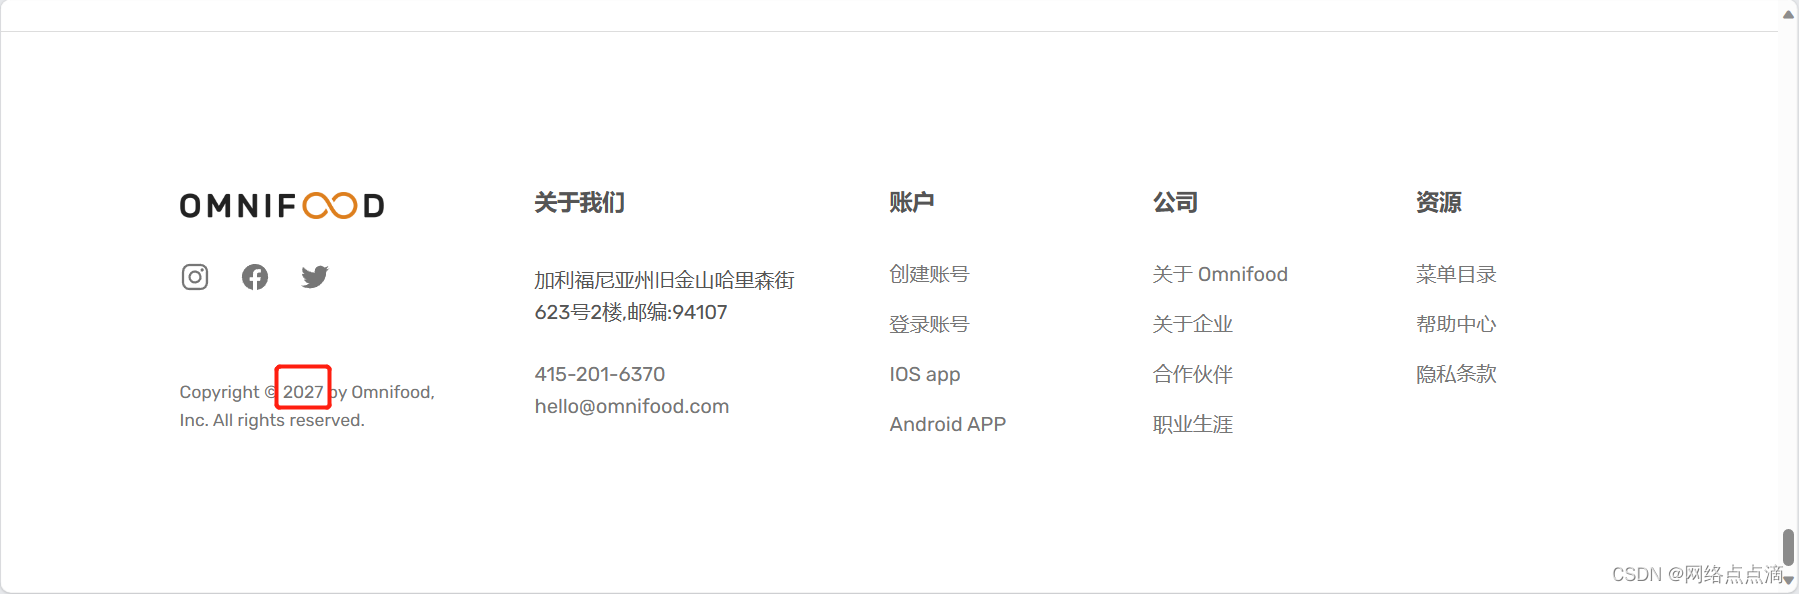
● 首先给这个年份添加一下class
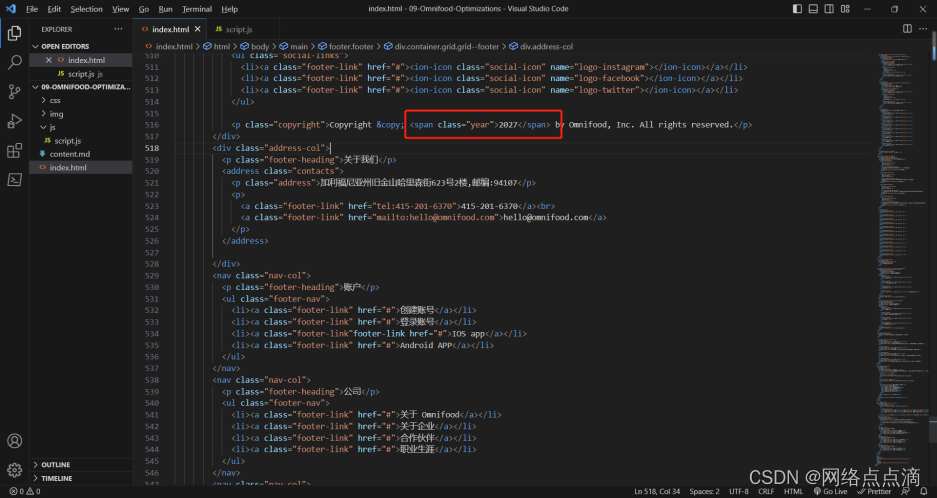
const yearEl = document.querySelector (".year");
const currentYear = new Date().getFullYear();
yearEl.textContent = currentYear;

## 这段代码的作用是获取 HTML 中 class 为 year 的元素,然后将当前年份设置为该元素的文本内容。

##首先,通过 document.querySelector(".year") 获取了 HTML 中 class 为 year 的元素,然后通过 new Date().getFullYear() 获取当前年份,并将其赋值给 currentYear 变量。最后,将 currentYear 变量的值设置为 yearEl 元素的文本内容,即将当前年份显示在页面中。


 3107
3107


 被折叠的 条评论
为什么被折叠?
被折叠的 条评论
为什么被折叠?
 到【灌水乐园】发言


