


野外泛在线考核系统(六)
二、笔记本端
接(五),继续完成Django的相关配置
(四)Django的配置
主要参考T型人小付的文章【Django 020】Django2.2多文件同时上传和文件MIME判定以及数据模型中FileField和ImageField的使用详解,实现文件上传分类存储,并将路径写入数据库,同时显示图片。
【注意】我的应用叫Lesson,而他的叫four,我的文件文件存储根目录是media,而他的是static/upload,大家可以对比参考,由此,有些地方会些许不同。因为是突出应用,我直接用来最终的效果,省去了中间步骤
1.文件上传
- 在Lesson/setting.py中构建模型
class Upload_Image(models.Model):
  u_name = models.CharField(max_length=16)
  u_path = models.ImageField(upload_to='photo/%Y/%m/%d')

class Upload_Text(models.Model):
  u_name = models.CharField(max_length=16)
  u_path = models.FileField(upload_to='text/%Y/%m/%d')
- 而后进行数据迁移,在Pycharm的Terminal窗口输入如下命令:
python manage.py makemigrations
python manage.py migrate
- 在templates下新建filefield.html,并修改Lesson/views.py 和 Lesson/urls.py 加入路由。
<!DOCTYPE html>
<html lang="en">
<head>
   <meta charset="UTF-8">
   <title>Image Field</title>
</head>
<body>
<form action="{% url 'Lesson:filefield' %}" method="post" enctype="multipart/form-data">
   {% csrf_token %}
   <label for="name">Name:</label><input type="text" id="name" name="name"><br>
   <label for="upload">Upload:</label><input type="file" id="upload" name="upload" multiple accept="image/jpeg,text/plain"><br>
   <input type="submit">
</form>
</body>
</html>
注意需要别忘记引入Upload_Image 和 Upload_Text
//views.py
from .models import Upload_Image, Upload_Text
def filefield(request):
   if request.method == 'GET':
       return render(request, 'filefield.html')
   elif request.method == 'POST':
       name = request.POST.get('name')
       upload_list = request.FILES.getlist('upload')
       for upload in upload_list:
           if upload.content_type.startswith('image/'):
               upload_image = Upload_Image()
               upload_image.u_name = name
               upload_image.u_path = upload
               upload_image.save()
           elif upload.content_type.startswith('text/'):
               upload_text = Upload_Text()
               upload_text.u_name = name
               upload_text.u_path = upload
               upload_text.save()
       return HttpResponse('Upload Successfully')
//urls.py
# 定义文件上传的路由
   path('filefield', views.filefield, name='filefield'),
从index引入链接
//index.html
<a href="filefield"><h3 >上传文件2</h3></a>
- 设置media文件夹,下面创建text文件夹。
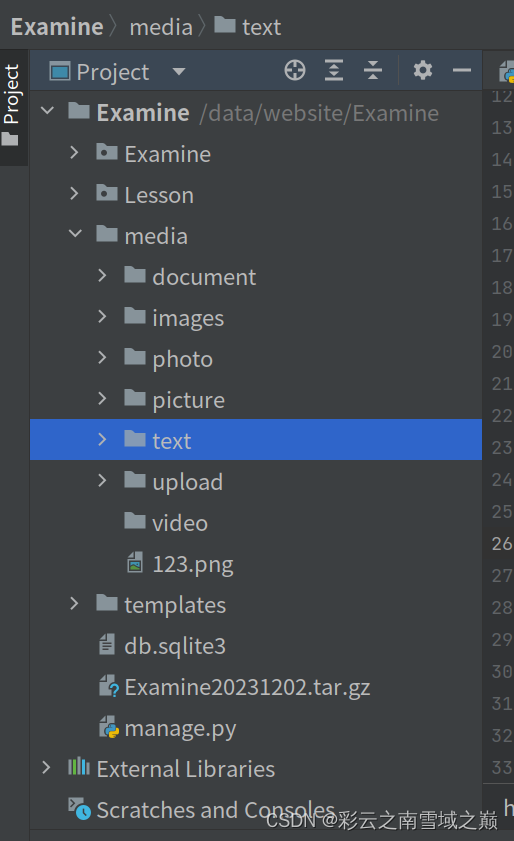
- 在setting.py中media的设置为:
MEDIA_URL = '/media/'
MEDIA_ROOT = BASE_DIR / 'media'
2.显示图片
- 在templates下新建show_image.html
<!DOCTYPE html>
<html lang="en">
<head>
    <meta charset="UTF-8">
    <title>Show Image</title>
</head>
<body>
<h2>{{ name }}</h2>
<img src="{{ url }}" alt="image">
</body>
</html>
- 并修改Lesson/views.py
#显示图片
def show_image(request):
    name = request.GET.get('name')
    upload_image = Upload_Image.objects.filter(u_name=name).last()
    print(upload_image.u_path.url)
    context = {
        'name': name,
        'url': upload_image.u_path.url
    }
    return render(request, 'show_image.html', context=context)
- 而后修改Lesson/urls.py
# 定义显示图片的路由
    path('show_image', views.show_image, name='show_image'),
- 而从index引入链接,
【注意】这里show_image?name=你这里是我事先已经在库中添加了u_name为‘你’的记录,如果这里写成show_image?name=‘你’就会报错。可能是因为u_name = models.CharField(max_length=16)的原因。
//index.html
<a href="show_image?name=我"><h3 >显示图片</h3></a>
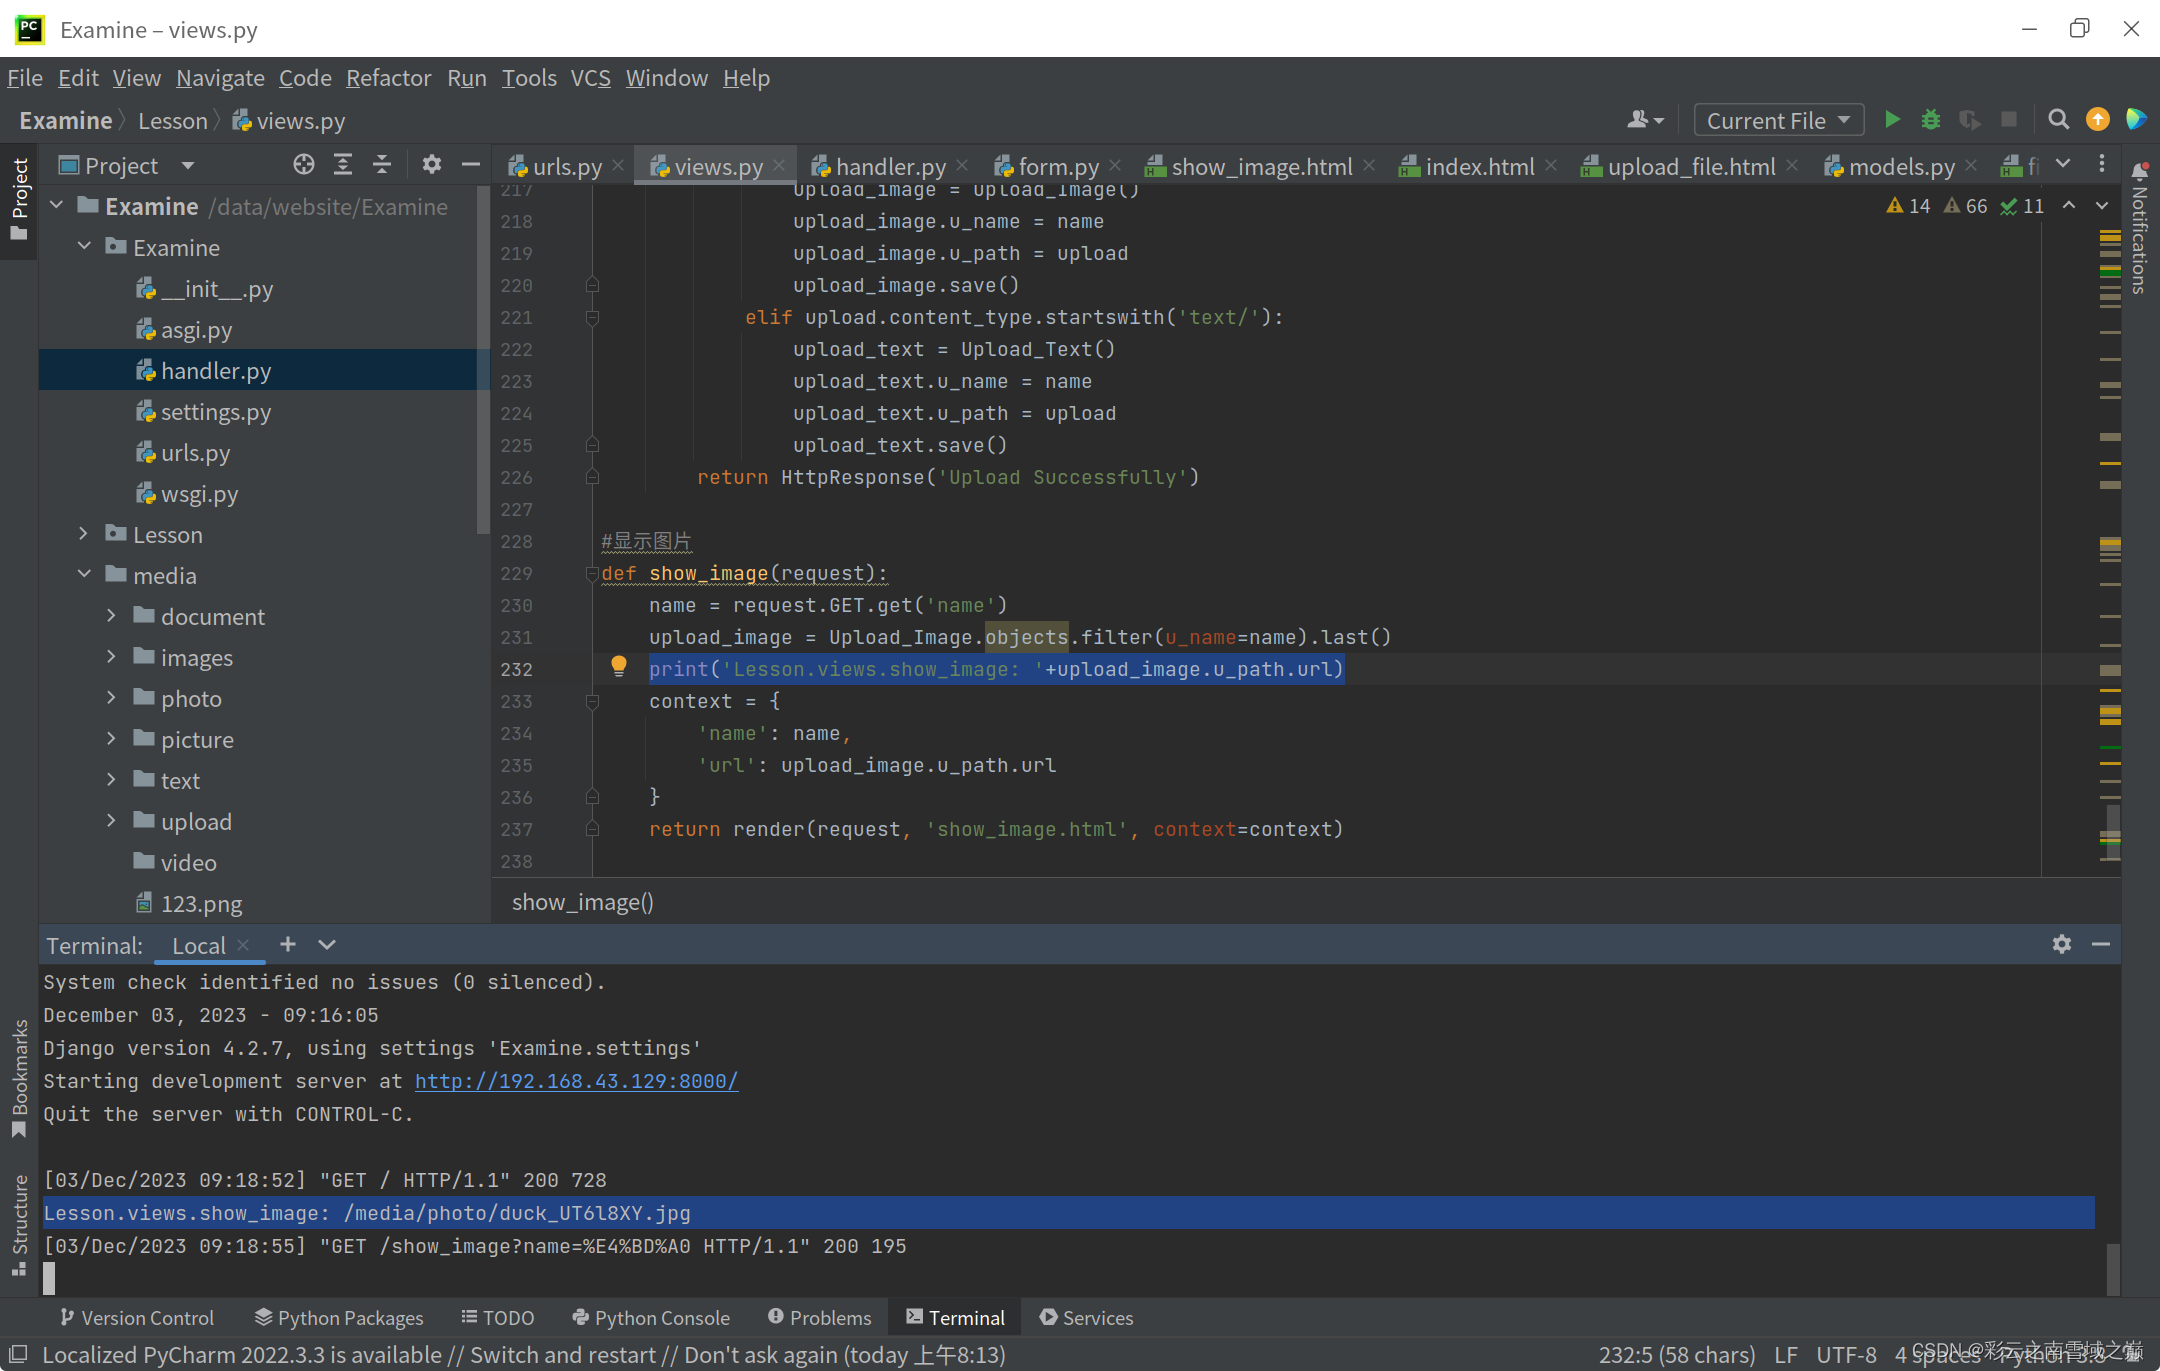
点击index.html中的显示图片后,如下图upload_image.u_path.url的值为/media/photo/duck_UT6l8XY.jpg
 至此,文件上传并显示的功能完工。下一步只需要组合这些功能就可以了!


 888
888


 被折叠的 条评论
为什么被折叠?
被折叠的 条评论
为什么被折叠?
 到【灌水乐园】发言


