【ArcGIS Android 10.2.9】5. WMSLayer图层的使用
1. 活动
package aystudio.nopi.myarcgisapp;

import android.app.Activity;
import android.os.Bundle;
import com.esri.android.map.MapView;
import com.esri.android.map.ogc.WMSLayer;

public class MainActivity extends Activity {

    private MapView mapView;
    private WMSLayer wmsLayer;
    private String wmsURL;

    @Override
    protected void onCreate(Bundle savedInstanceState) {
        super.onCreate(savedInstanceState);
        setContentView(R.layout.activity_main);

        mapView = findViewById(R.id.map);
        wmsURL = "http://wms.openweathermap.org/service";
        wmsLayer = new WMSLayer(wmsURL);

        wmsLayer.setImageFormat("image/png");
        String[] visibleLayers = {"clouds", "precipitation"};
        wmsLayer.setVisibleLayer(visibleLayers);
        wmsLayer.setOpacity(0.5f);

        mapView.addLayer(wmsLayer);
        mapView.setEsriLogoVisible(true);
        mapView.enableWrapAround(true);
    }
}
2. 布局
<?xml version="1.0" encoding="utf-8"?>
<LinearLayout xmlns:android="http://schemas.android.com/apk/res/android"
    xmlns:tools="http://schemas.android.com/tools"
    android:layout_width="match_parent"
    android:layout_height="match_parent"
    tools:context=".MainActivity">

    <com.esri.android.map.MapView
        android:id="@+id/map"
        android:layout_width="match_parent"
        android:layout_height="match_parent"
        mapoptions.MapType="Topo"
        mapoptions.center="39.50, -98.35"
        mapoptions.ZoomLevel="4">
    </com.esri.android.map.MapView>

</LinearLayout>
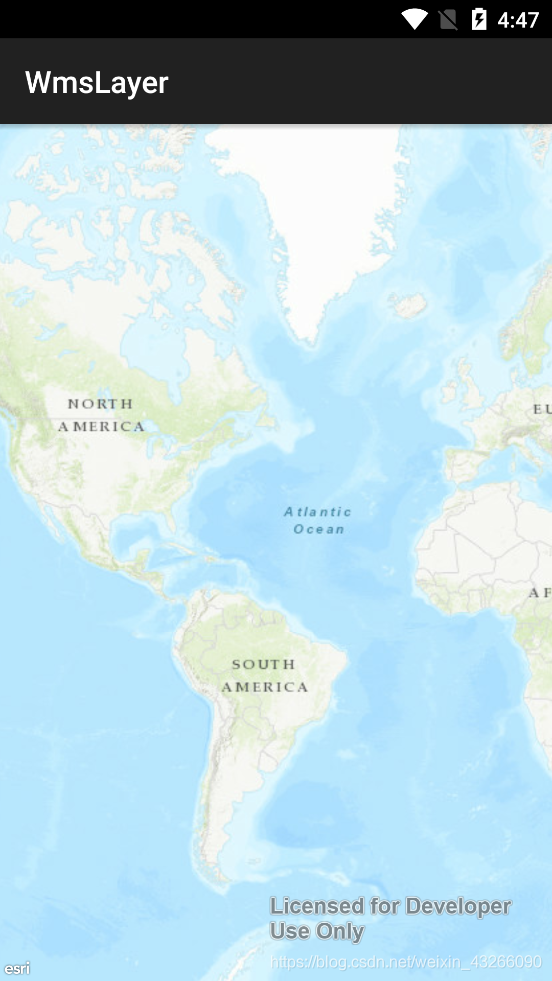
3. 效果


 1608
1608

 被折叠的 条评论
为什么被折叠?
被折叠的 条评论
为什么被折叠?
 到【灌水乐园】发言


