


VScode环境搭建
1. MinGW安装配置
MinGW下载安装
MinGW是什么这里就不进行介绍了,下面直接进入安装的正题。MinGW的下载链接:https://osdn.net/projects/mingw/releases/, 在网站中可以下载到mingw-get-setup.exe安装文件。
安装的时候根据自己的需求进行设置,不知道如何设置的可以直接使用默认值,安装完成后会自动打开MinGW Installing Manager,如下:
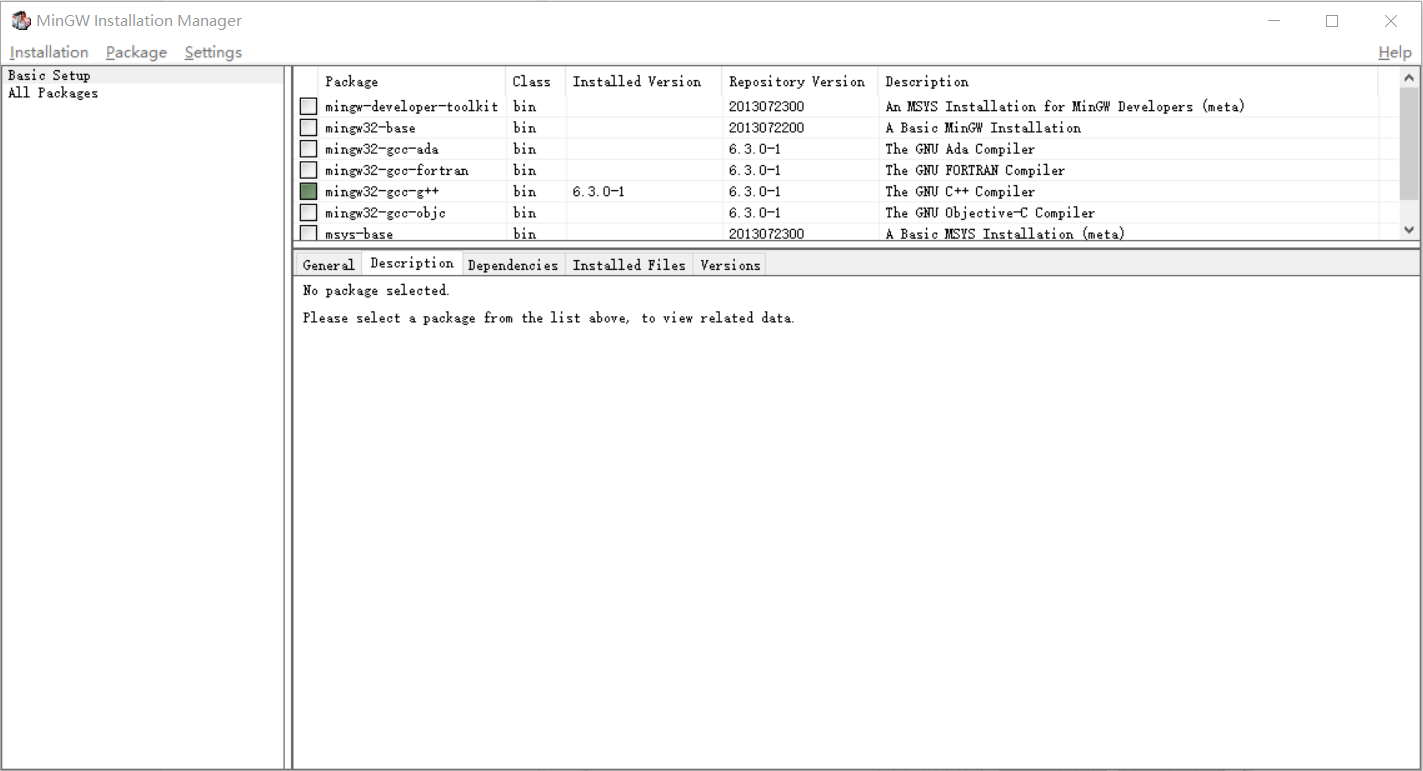
这里我们主要配置C/C++开发环境,所以选择minw32-gcc-g++即可,当然你可以全部选中。然后点击菜单栏"Installation"-"Apply changes"应用更改。具体操作可参照MinGW安装教程[TZZ]
设置环境变量
安装完成MinGW后将其添加至环境变量,即把C:\MinGW\bin添加至系统环境变量。
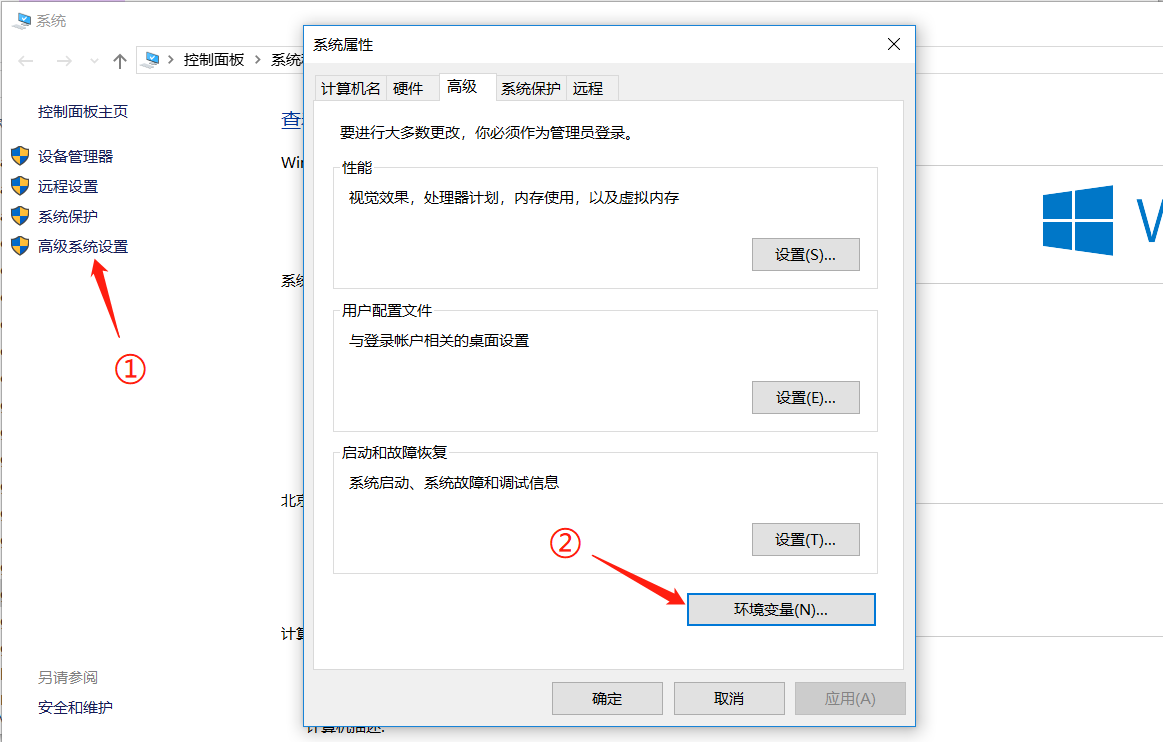
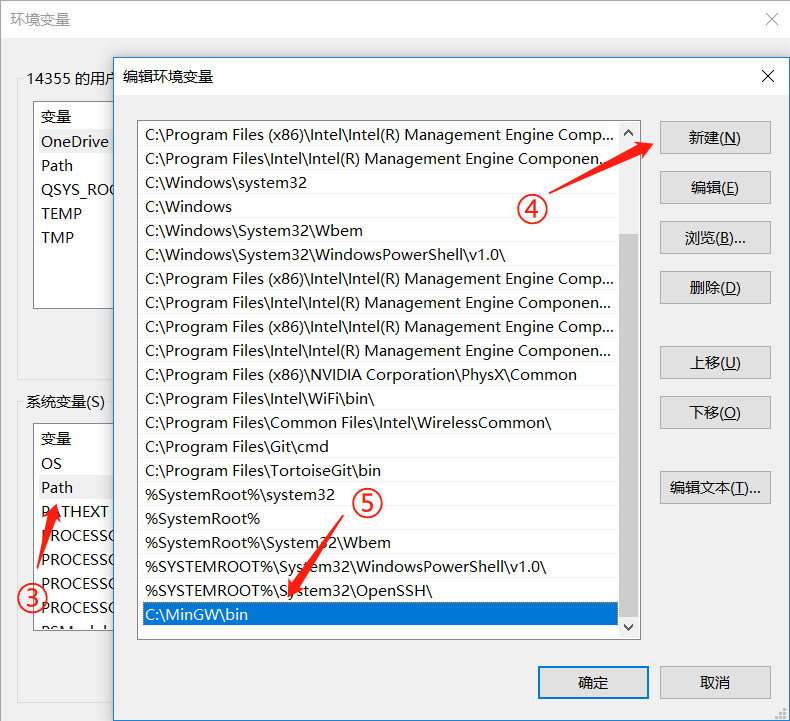
注意:这里的C:\MinGW\bin与你的安装路径有关!
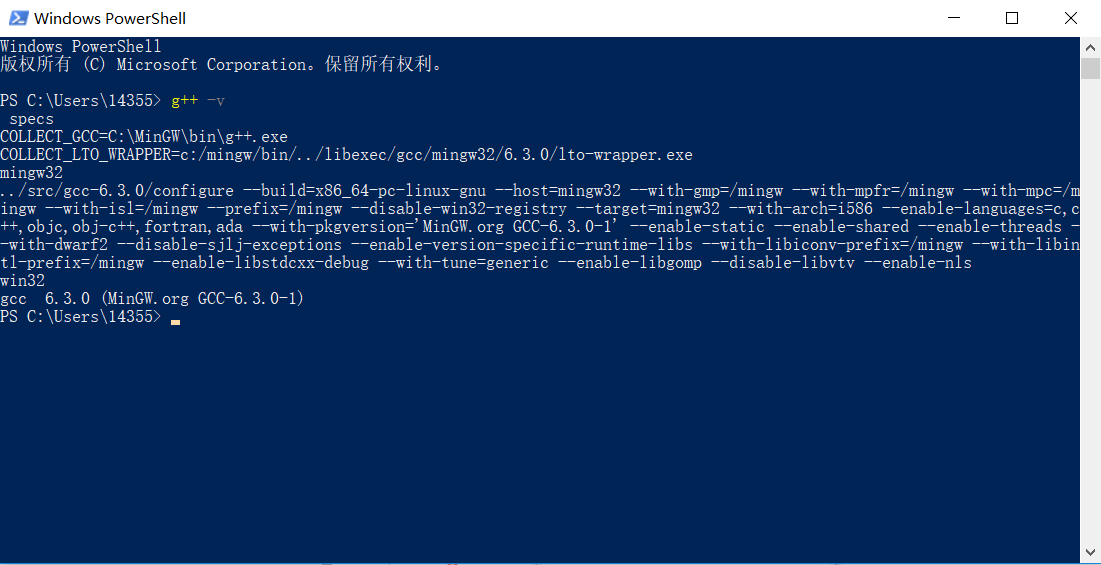
下面在命令提示符或者Windows PowweShell中输入g++ -v测试是否配置成功,如果得到如下结果则表示成功:
2. Vscode安装配置
Vscode安装
在Vscode官网下载安装包:https://code.visualstudio.com/
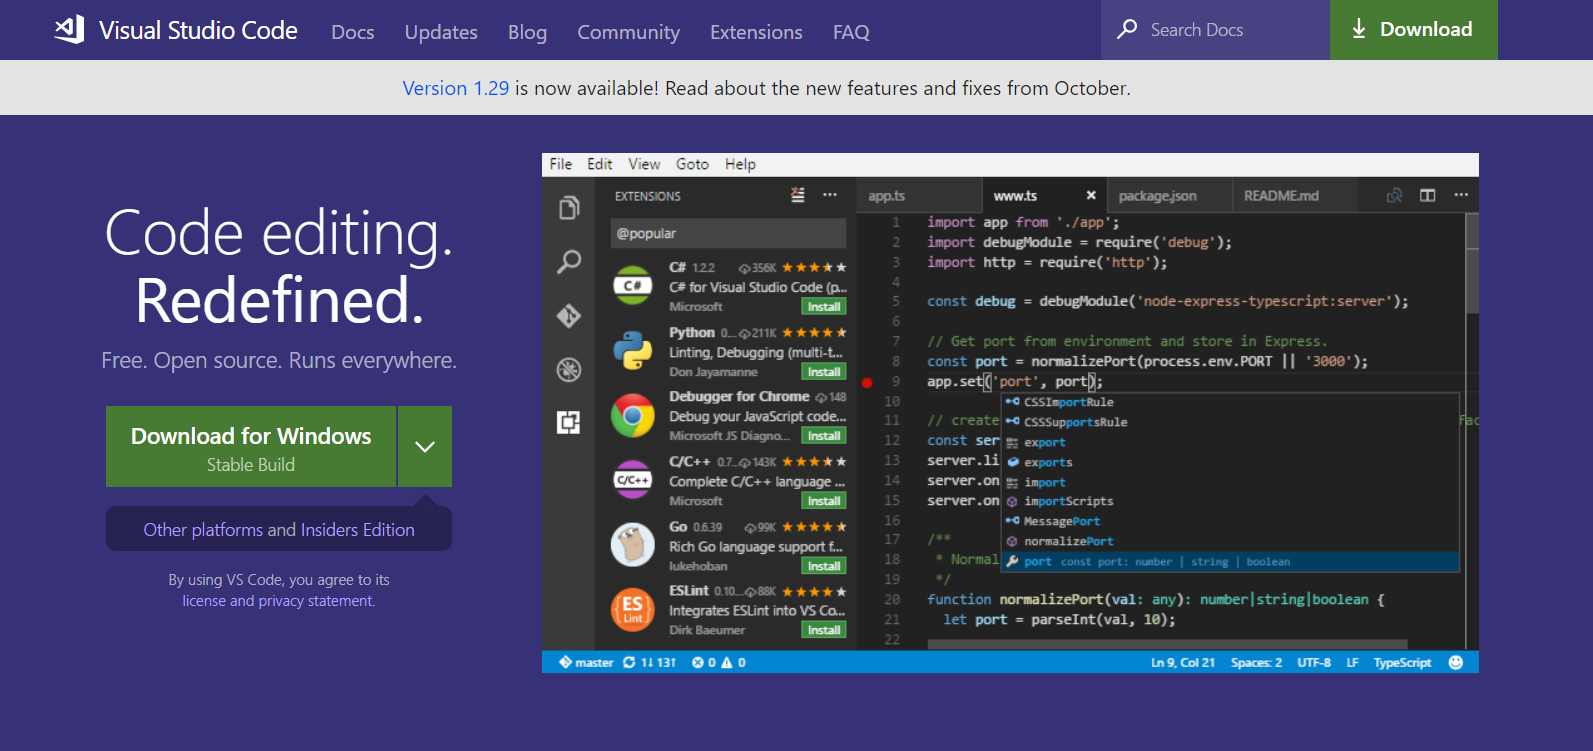
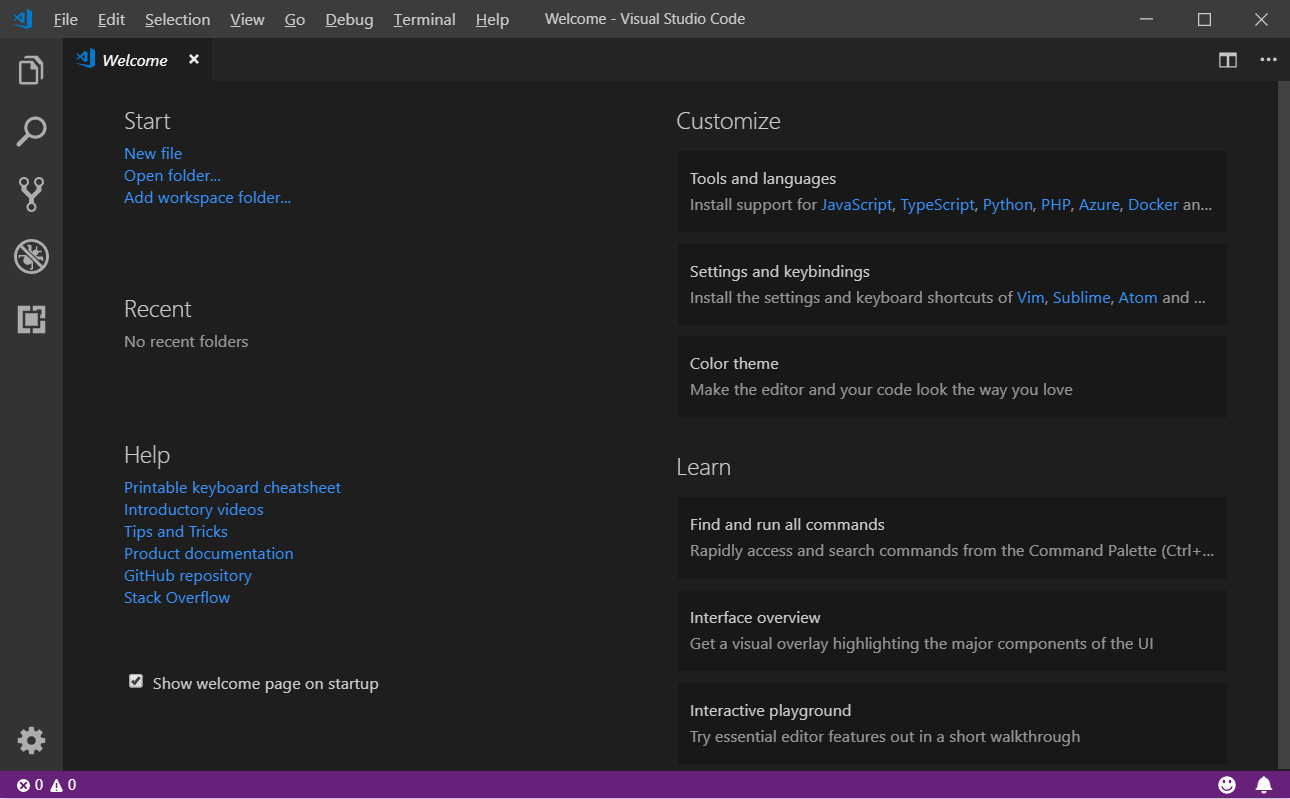
安装完成后打开Vscode,主界面如下:
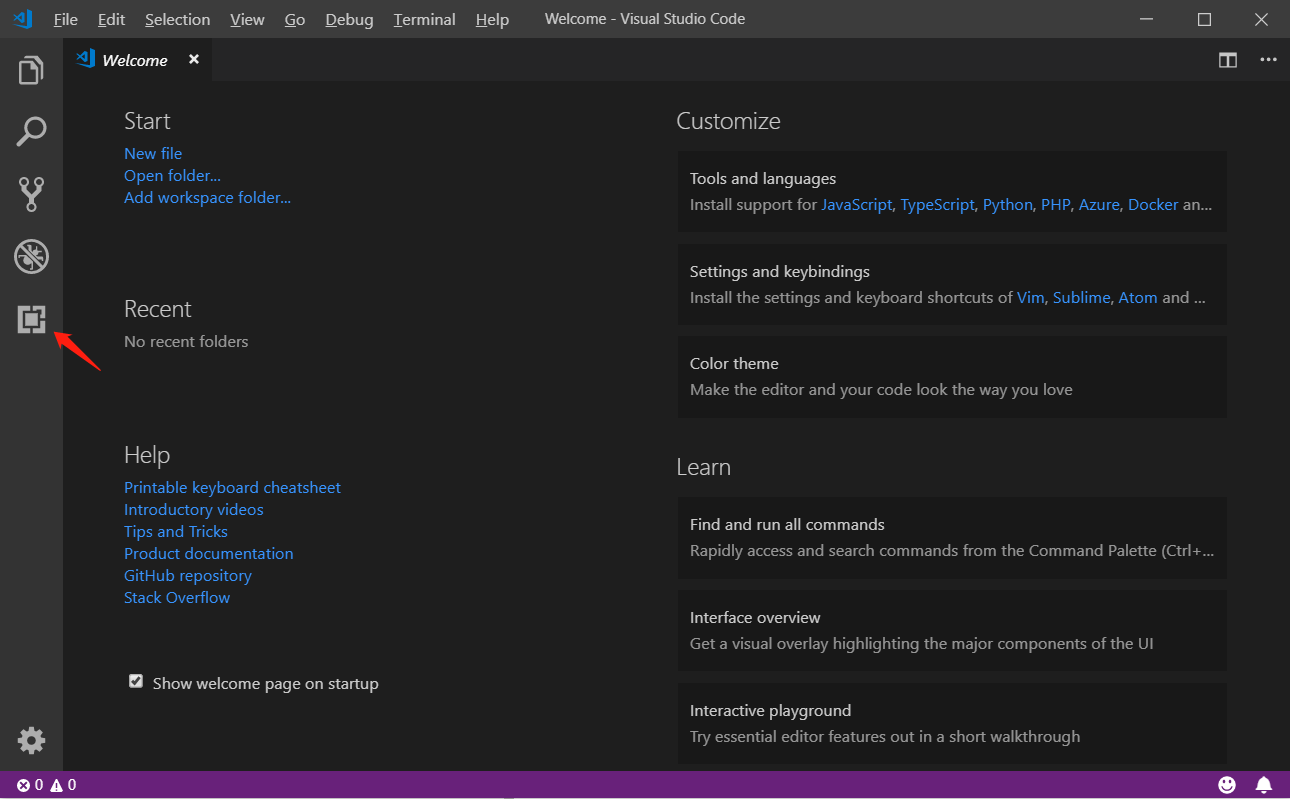
安装C/C++插件
点击左侧Extension按钮来选择安装插件:
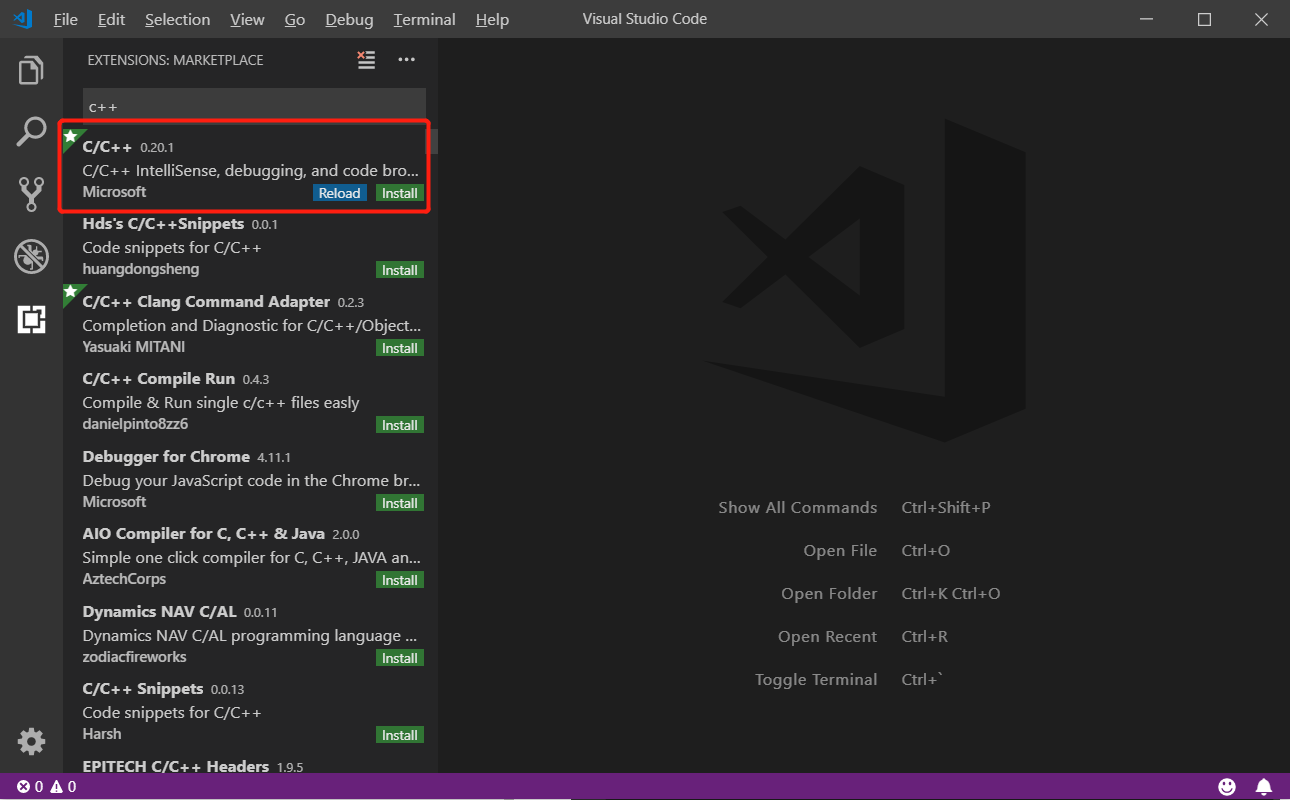
搜索C++,点击Install
新建C/C++工程
由于Vscode以文件夹的形式管理工程,所以需要新建一个文件夹来管理工程,这里建立一个名为hello的文件夹。

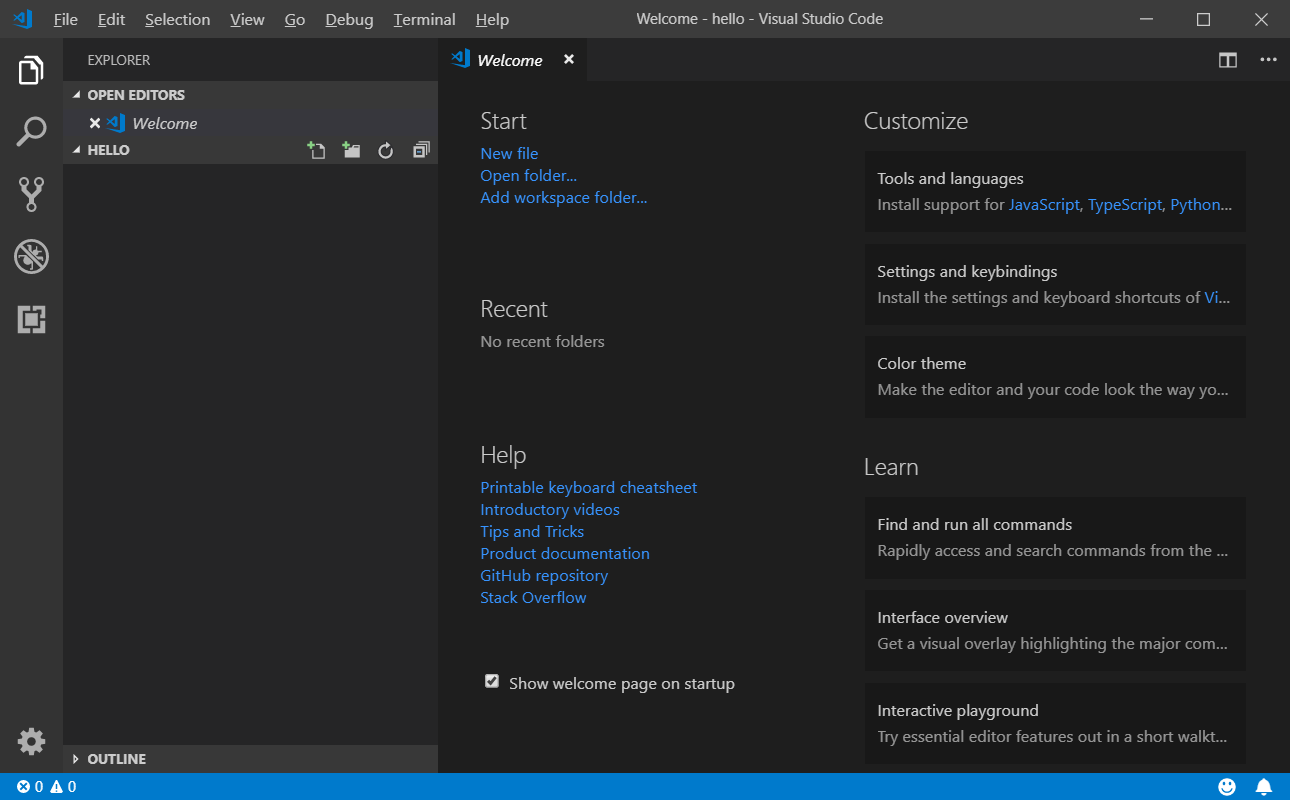
然后用Vscode打开该文件夹:
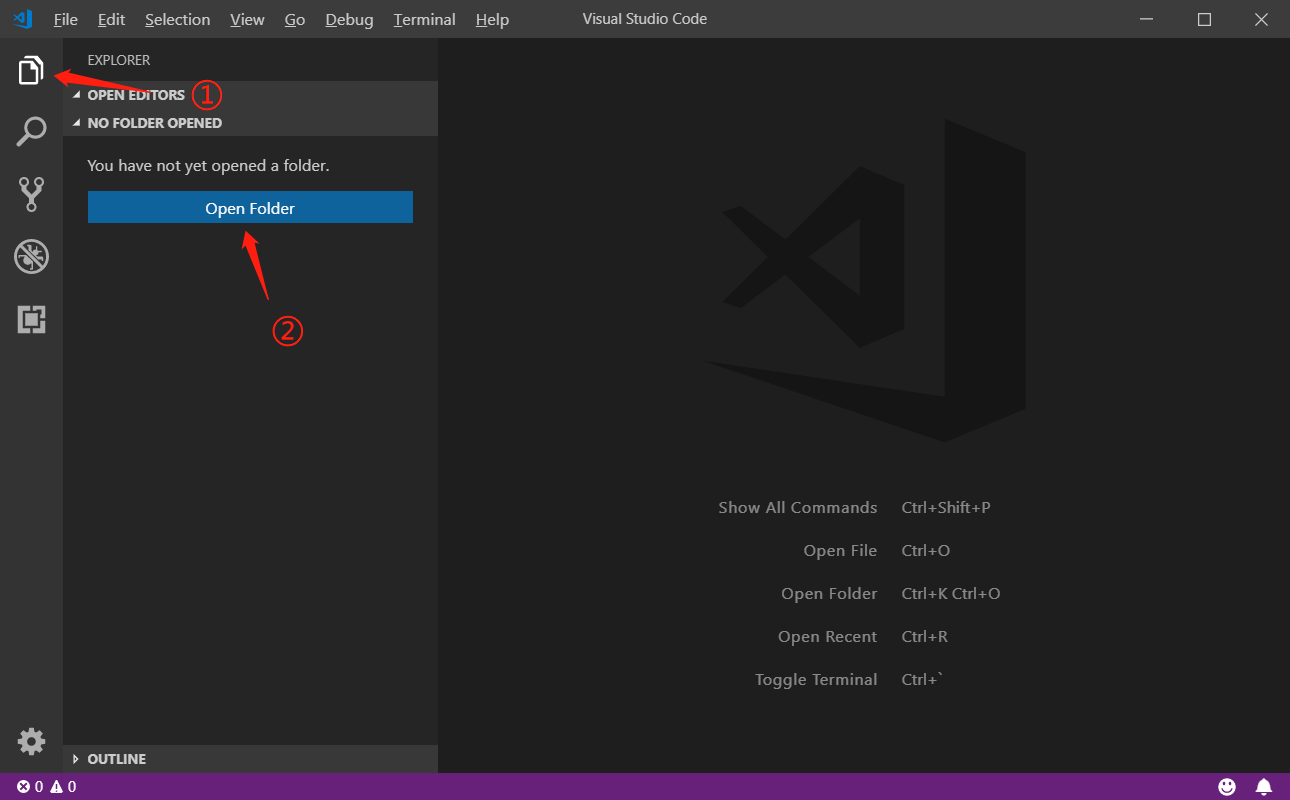
打开后得到一个空的工程:
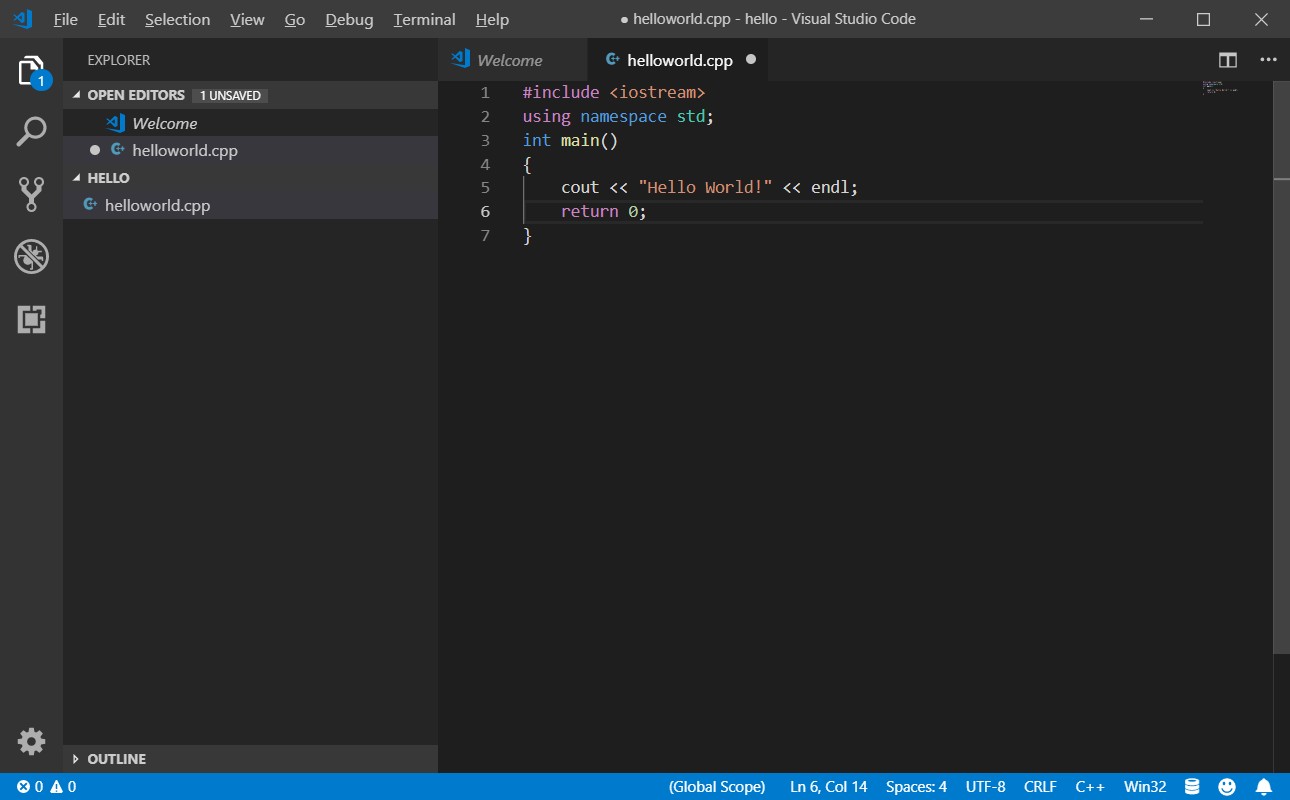
快捷键Ctrl+N新建一个C++文件,取名为helloworld.cpp,并输入一个简单的程序:
启动配置文件(launch.json)
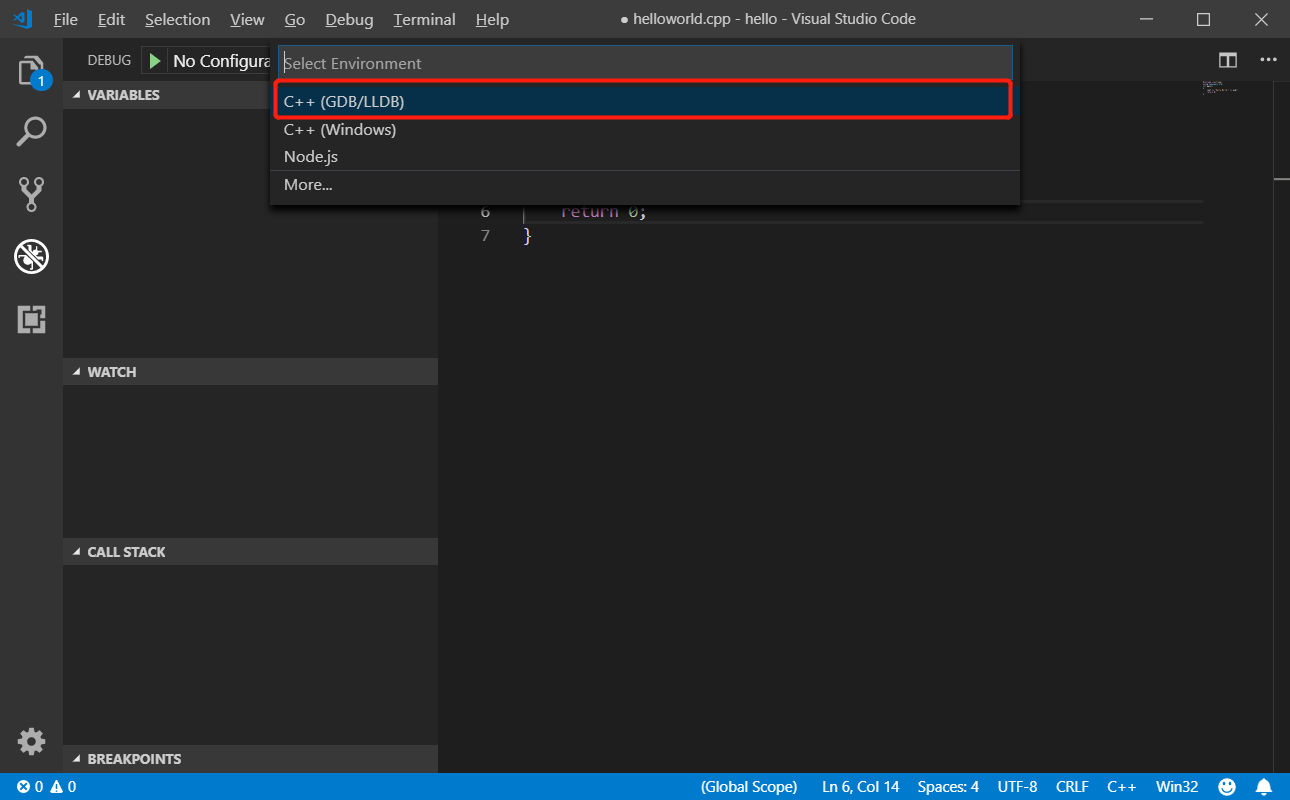
点击左边栏的Debug按钮,然后选择配置launch.json文件,操作如下:
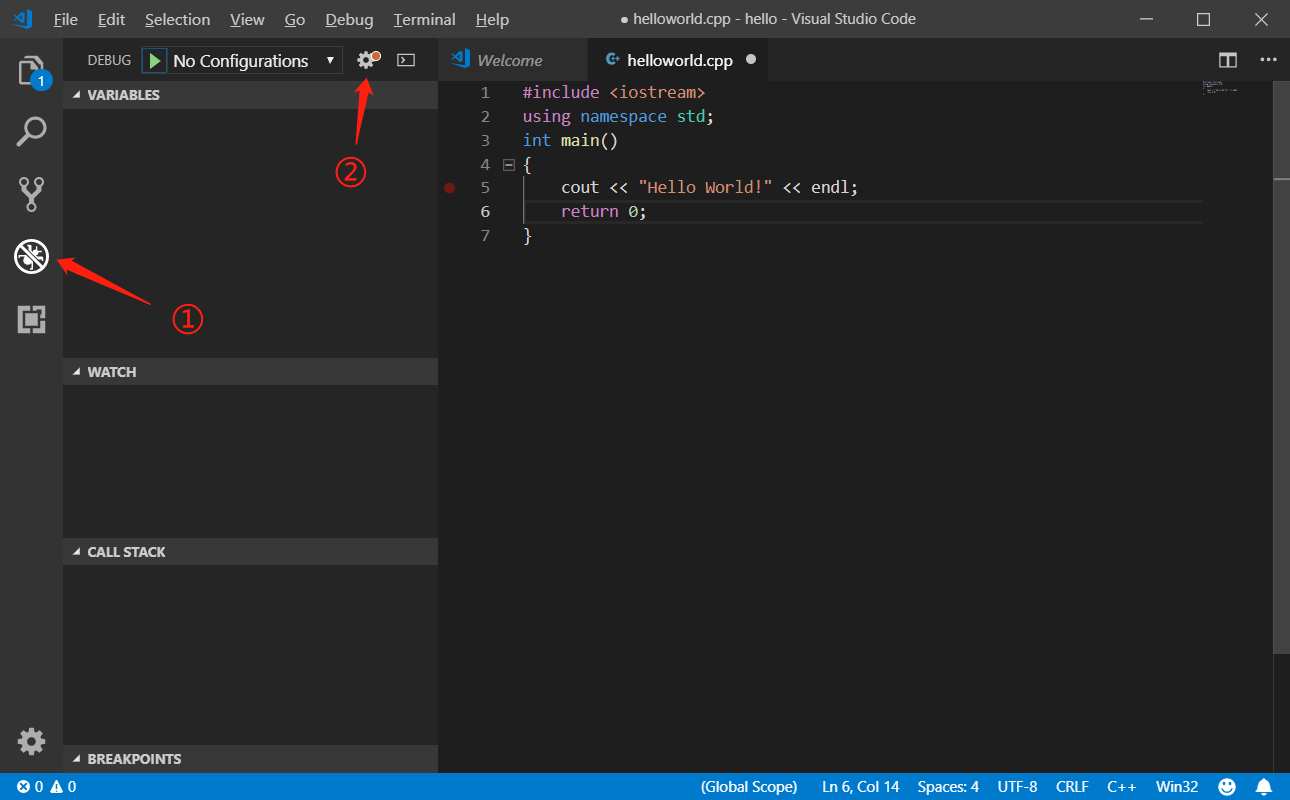
选择C++(GDB\LLDB),自动打开launch.json文件:
launch.json初始内容如下:
{
    // Use IntelliSense to learn about possible attributes.
    // Hover to view descriptions of existing attributes.
    // For more information, visit: https://go.microsoft.com/fwlink/?linkid=830387
    "version": "0.2.0",
    "configurations": [
        {
            "name": "(gdb) Launch",
            "type": "cppdbg",
            "request": "launch",
            "program": "enter program name, for example ${workspaceFolder}/a.exe",
            "args": [],
            "stopAtEntry": false,
            "cwd": "${workspaceFolder}",
            "environment": [],
            "externalConsole": true,
            "MIMode": "gdb",
            "miDebuggerPath": "/path/to/gdb",
            "setupCommands": [
                {
                    "description": "Enable pretty-printing for gdb",
                    "text": "-enable-pretty-printing",
                    "ignoreFailures": true
                }
            ]
        }
    ]
}
修改为如下内容并保存:
{
    // Use IntelliSense to learn about possible attributes.
    // Hover to view descriptions of existing attributes.
    // For more information, visit: https://go.microsoft.com/fwlink/?linkid=830387
    "version": "0.2.0",
    "configurations": [
        {
            "name": "(gdb) Launch",
            "type": "cppdbg",
            "request": "launch",
            "program": "${fileDirname}/${fileBasenameNoExtension}.exe",
            "args": [],
            "stopAtEntry": false,
            "cwd": "${workspaceFolder}",
            "environment": [],
            "externalConsole": true,
            "MIMode": "gdb",
            "miDebuggerPath": "C:/MinGW/bin/gdb.exe",
            "preLaunchTask": "build",
            "setupCommands": [
                {
                    "description": "Enable pretty-printing for gdb",
                    "text": "-enable-pretty-printing",
                    "ignoreFailures": true
                }
            ]
        }
    ]
}
注意
"miDebuggerPath": "C:/MinGW/bin/gdb.exe"与你安装的路径有关!
"preLaunchTask": "build"表示设置启动前的任务为"build",下面通过tasks.json来添加"build"任务。
添加编译任务(tasks.json)
利用快捷键ctrl+shift+p打开命令行,输入Tasks: Run task,然后依次选择:
> No task to run found. configure tasks...
> Create tasks.json file from template
> Others Example to run an arbitrary external command.
自动打开的tasks.json文件初始内容如下:
    // See https://go.microsoft.com/fwlink/?LinkId=733558
    // for the documentation about the tasks.json format
    "version": "2.0.0",
    "tasks": [
        {
            "label": "echo",
            "type": "shell",
            "command": "echo Hello"
        }
    ]
}
将其修改为如下内容并保存:
// Available variables which can be used inside of strings.
// ${workspaceRoot}: the root folder of the team
// ${file}: the current opened file
// ${fileBasename}: the current opened file's basename
// ${fileDirname}: the current opened file's dirname
// ${fileExtname}: the current opened file's extension
// ${cwd}: the current working directory of the spawned process


{
    "version": "2.0.0",
    "tasks": [
        {
            "label": "build",
            "type": "shell",
            "group": {
                "kind": "build",
                "isDefault": true
            },
            "presentation": {
                "echo": true,
                "reveal": "always",
                "focus": false,
                "panel": "shared"
            },
            "windows": {
                "command": "g++",
                "args": [
                    "-ggdb",
                    "\"${file}\"",
                    "--std=c++11",
                    "-o",
                    "\"${fileDirname}\\${fileBasenameNoExtension}.exe\""
                ]
            }
        }
    ]
}
至此,我们已经完成的C/C++的基本开发环境,可以利用Vscode进行代码编辑、编译、调试等功能。此外,Vscode支持Linux系统,关于在Linux系统下配置基于Vscode的C/C++开发环境可参考另一篇博文:https://blog.csdn.net/weixin_43374723/article/details/84064644


 3236
3236


 被折叠的 条评论
为什么被折叠?
被折叠的 条评论
为什么被折叠?
 到【灌水乐园】发言


