


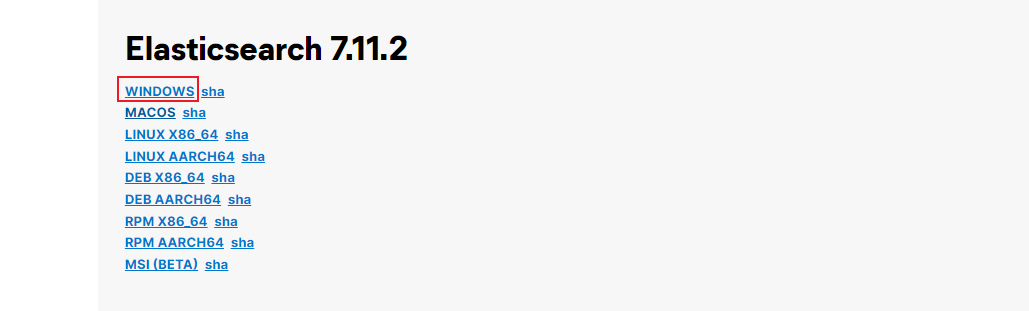
1.ElasticStack下载:
- 1.Elasticsearch 的官方地址
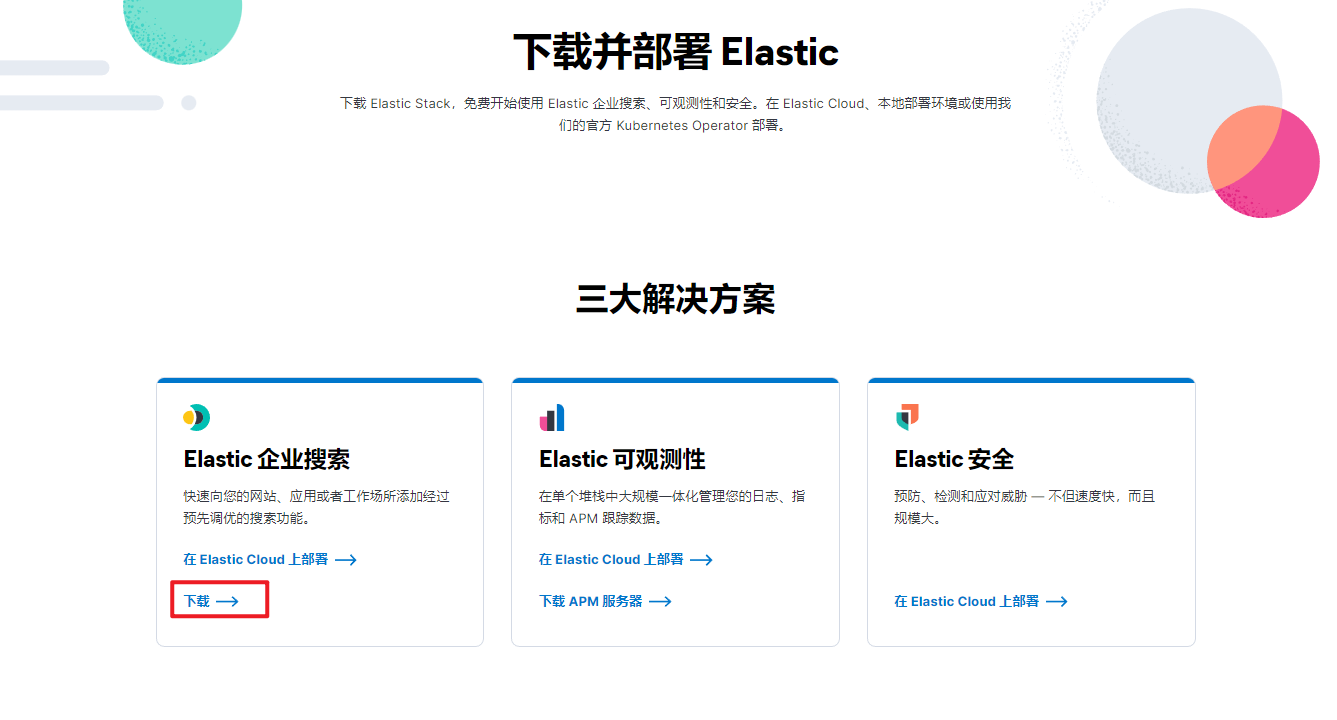
- 2.Elasticsearch 下载地址:
2.WinDows系统搭建ES环境:
2.1.单机版:
a.安装ElasticSearch- 7.8版本:
- 1.Windows 版安装简单,解压即安装完毕,解压后的 Elasticsearch 的目录结构如下:
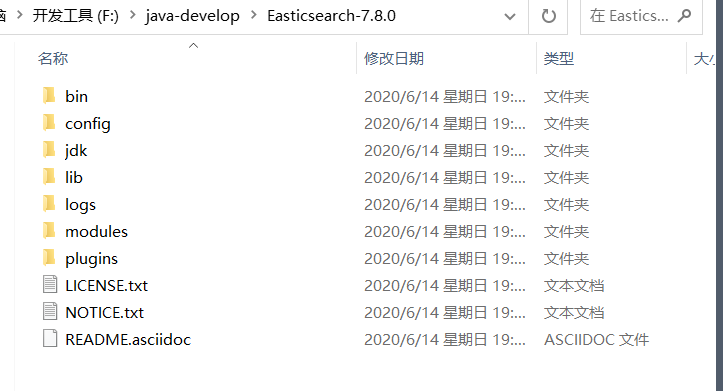
| 目录 | 含义 |
|---|---|
| bin | 可执行脚本 |
| config | 配置目录 |
| jdk | 内置jdk目录 |
| lib | 类库 |
| logs | 日志目录 |
| modules | 模块目录 |
| plugins | 插件目录 |
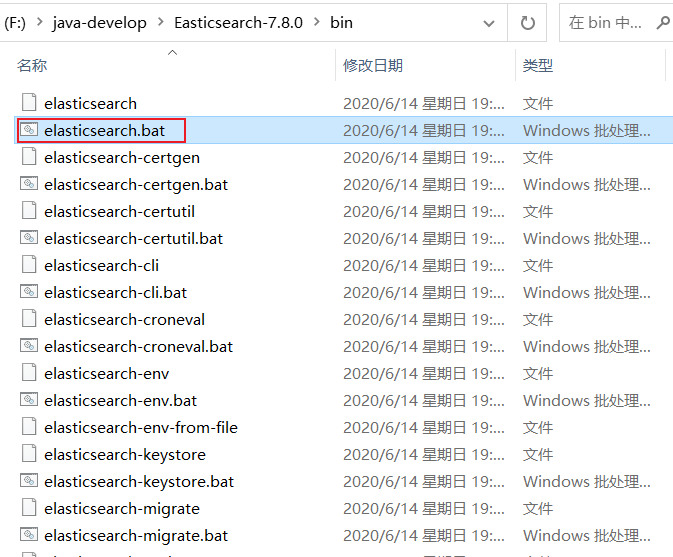
- 2.解压后,进入 bin 文件目录,点击 elasticsearch.bat 文件启动 ES 服务
- 3.注意:
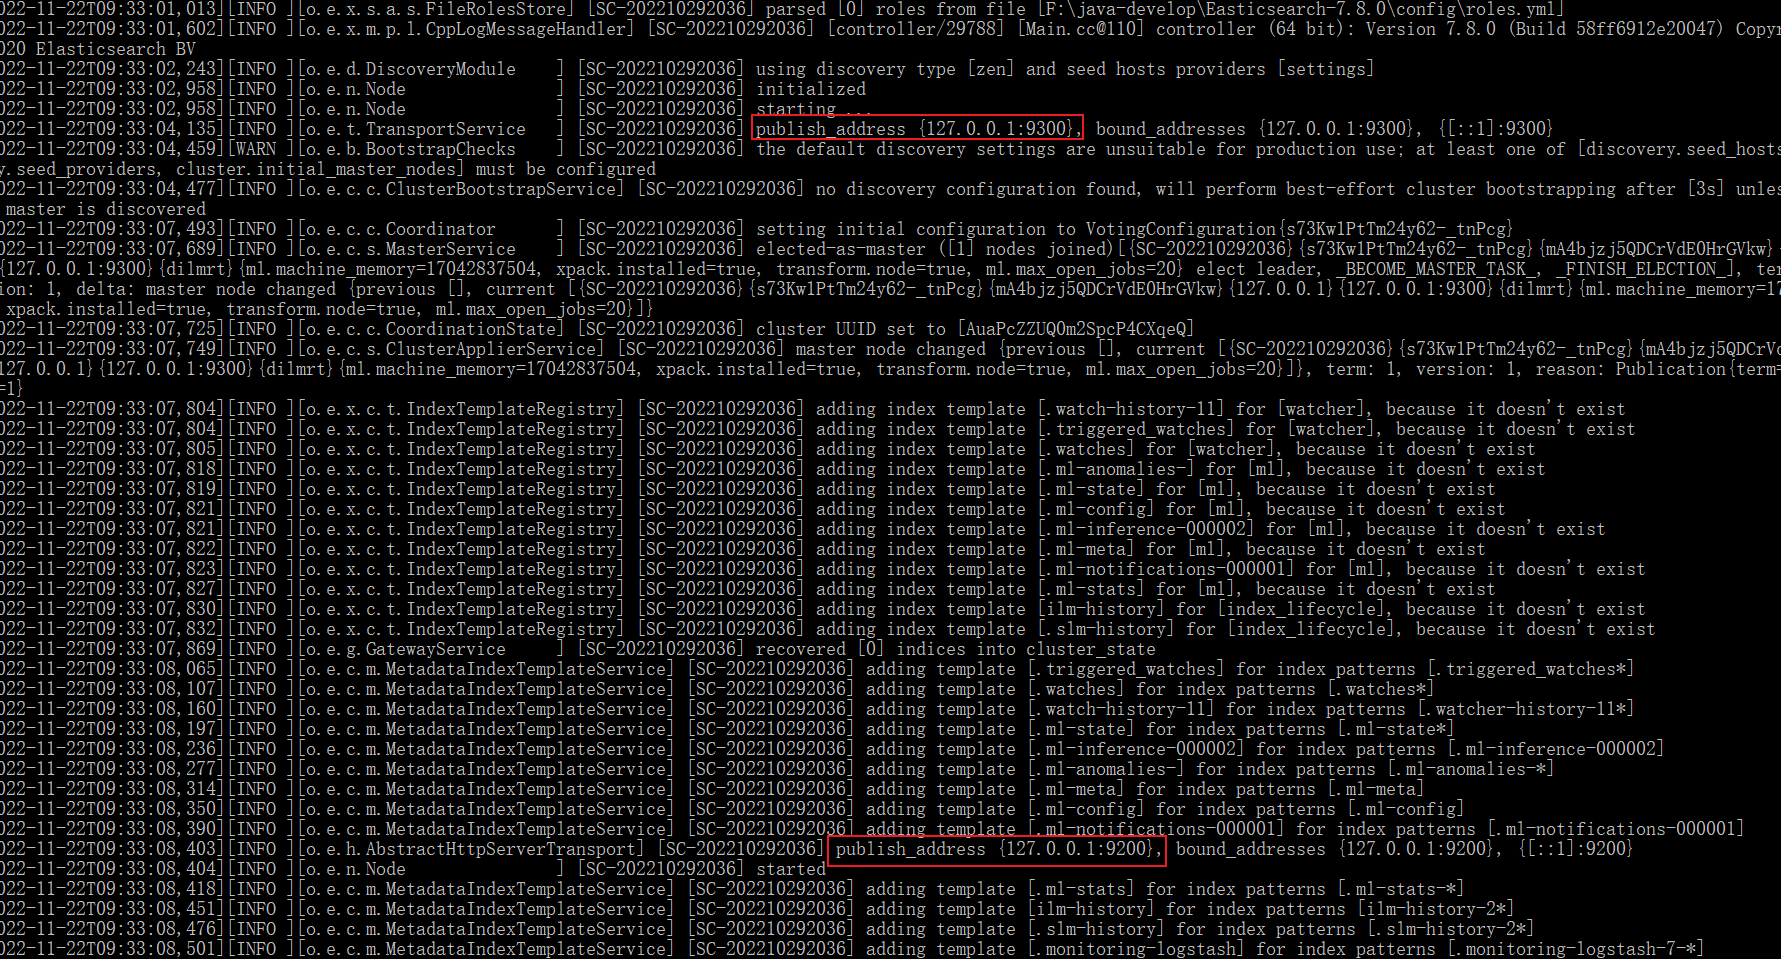
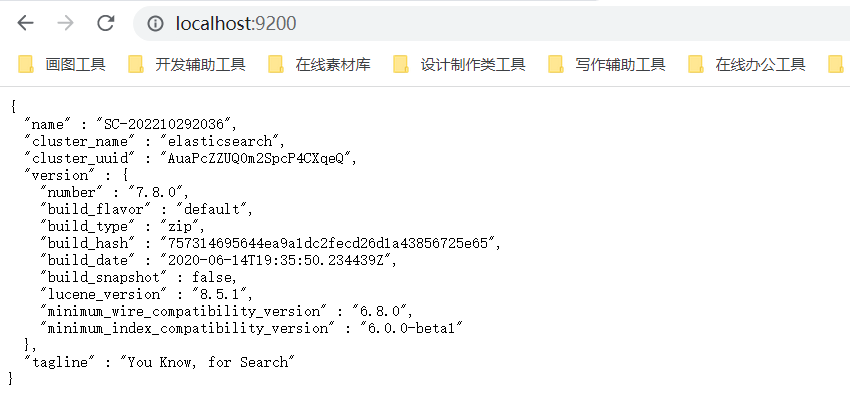
9300 端口为 Elasticsearch 集群间组件的通信端口,9200 端口为浏览器访问的 http协议 RESTful 端口,打开浏览器(推荐使用谷歌浏览器),输入地址:http://localhost:9200,测试结果:
2.2.集群版:
a.ElasticSearch7.8版本:
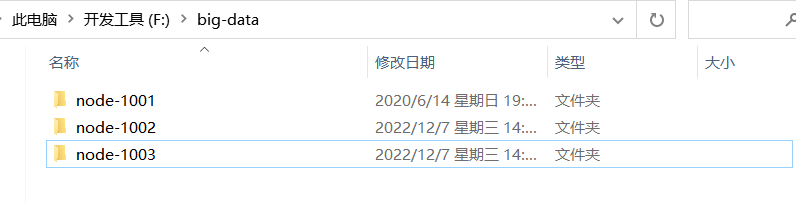
- 1.创建 elasticsearch-cluster 文件夹,在内部复制三个 elasticsearch 服务
- 2.修改集群文件目录中每个节点的
config/elasticsearch.yml配置文件- node-1001 节点
#节点 1 的配置信息:
#集群名称,节点之间要保持一致
cluster.name: my-elasticsearch
#节点名称,集群内要唯一
node.name: node-1001
node.master: true
node.data: true
#ip 地址
network.host: localhost
#http 端口
http.port: 1001
#tcp 监听端口
transport.tcp.port: 9301
discovery.seed_hosts: ["localhost:9301", "localhost:9302","localhost:9303"]
discovery.zen.fd.ping_timeout: 1m
discovery.zen.fd.ping_retries: 5
#集群内的可以被选为主节点的节点列表
cluster.initial_master_nodes: ["node-1", "node-2","node-3"]
#跨域配置
#action.destructive_requires_name: true
http.cors.enabled: true
http.cors.allow-origin: "*"
- node-1002 节点
#节点 2 的配置信息:
#集群名称,节点之间要保持一致
cluster.name: my-elasticsearch
#节点名称,集群内要唯一
node.name: node-1002
node.master: true
node.data: true
#ip 地址
network.host: localhost
#http 端口
http.port: 1002
#tcp 监听端口
transport.tcp.port: 9302
discovery.seed_hosts: ["localhost:9301"]
discovery.zen.fd.ping_timeout: 1m
discovery.zen.fd.ping_retries: 5
#集群内的可以被选为主节点的节点列表
#cluster.initial_master_nodes: ["node-1", "node-2","node-3"]
#跨域配置
#action.destructive_requires_name: true
http.cors.enabled: true
http.cors.allow-origin: "*"
#节点 3 的配置信息:
#集群名称,节点之间要保持一致
cluster.name: my-elasticsearch
#节点名称,集群内要唯一
node.name: node-1003
node.master: true
node.data: true
#ip 地址
network.host: localhost
#http 端口
http.port: 1003
#tcp 监听端口
transport.tcp.port: 9303
#候选主节点的地址,在开启服务后可以被选为主节点
discovery.seed_hosts: ["localhost:9301", "localhost:9302"]
discovery.zen.fd.ping_timeout: 1m
discovery.zen.fd.ping_retries: 5
#集群内的可以被选为主节点的节点列表
#cluster.initial_master_nodes: ["node-1", "node-2","node-3"]
#跨域配置
#action.destructive_requires_name: true
http.cors.enabled: true
http.cors.allow-origin: "*"
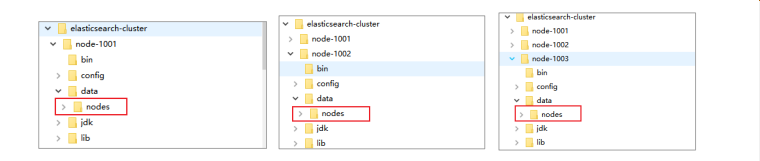
- 3.启动前先删除每个节点中的 data 目录中所有内容(如果存在)
- 4.分别双击执行
bin/elasticsearch.bat,启动节点服务器,启动后,会自动加入指定名称的集


 被折叠的 条评论
为什么被折叠?
被折叠的 条评论
为什么被折叠?
 到【灌水乐园】发言


