


Outlet是react-router-dom插件的一个组件,首先需要安装react-router-dom插件:
cnpm i react-router-dom --save
官方文档
应该在父路由元素中用来渲染其子路由元素。这允许在渲染子路由时显示嵌套的 UI。如果父路由完全匹配,则将渲染子索引路由;如果没有索引路由,则不渲染任何内容。
function Dashboard() {
  return (
    <div>
      <h1>Dashboard</h1>

      {/* This element will render either <DashboardMessages> when the URL is
          "/messages", <DashboardTasks> at "/tasks", or null if it is "/"
      */}
      <Outlet />
    </div>
  );
}

function App() {
  return (
    <Routes>
      <Route path="/" element={<Dashboard />}>
        <Route
          path="messages"
          element={<DashboardMessages />}
          />
        <Route path="tasks" element={<DashboardTasks />} />
      </Route>
    </Routes>
  );
}
实现
效果演示
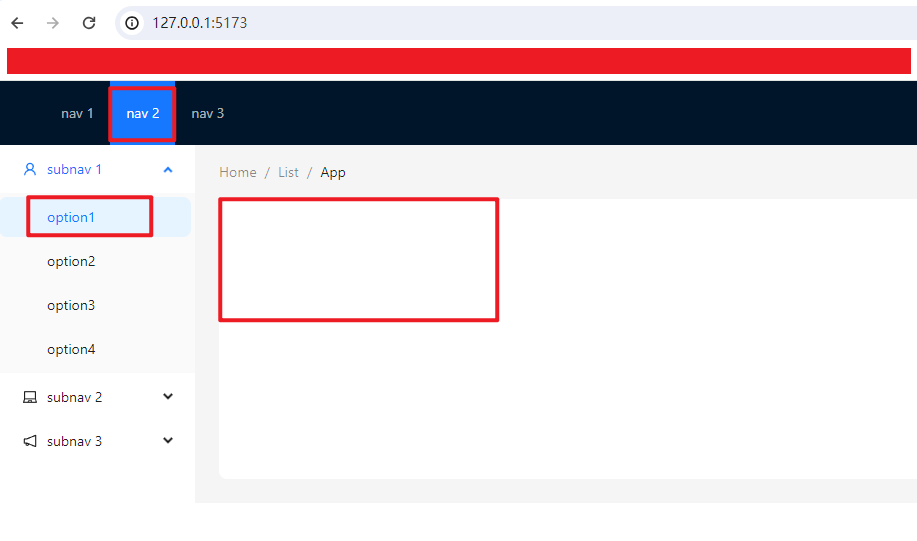
首页初始化状态:
进入/home且改变页面其他区域的状态:
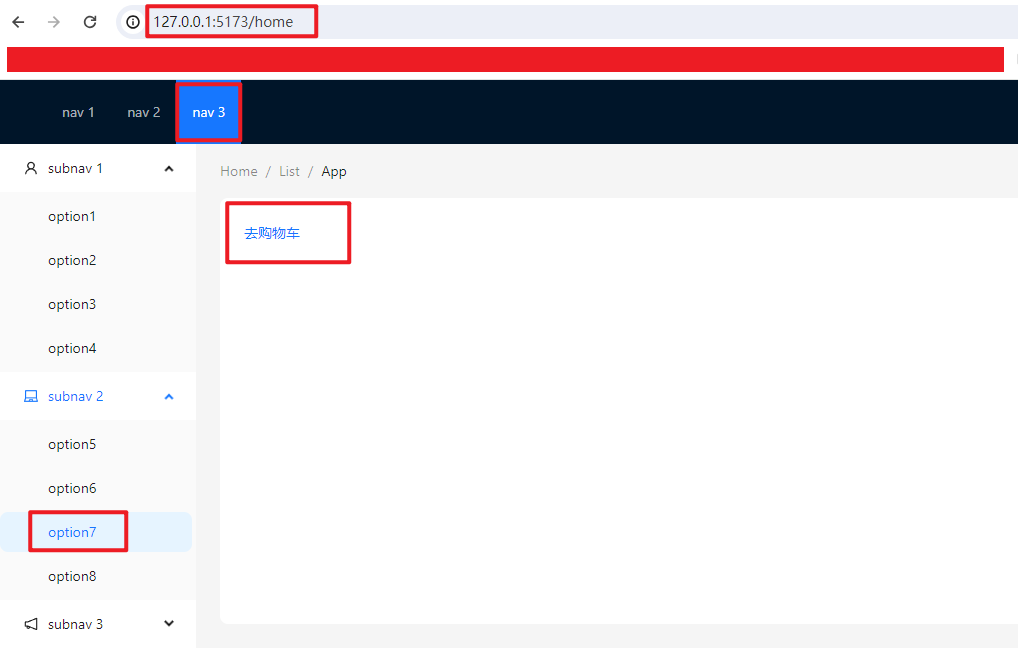
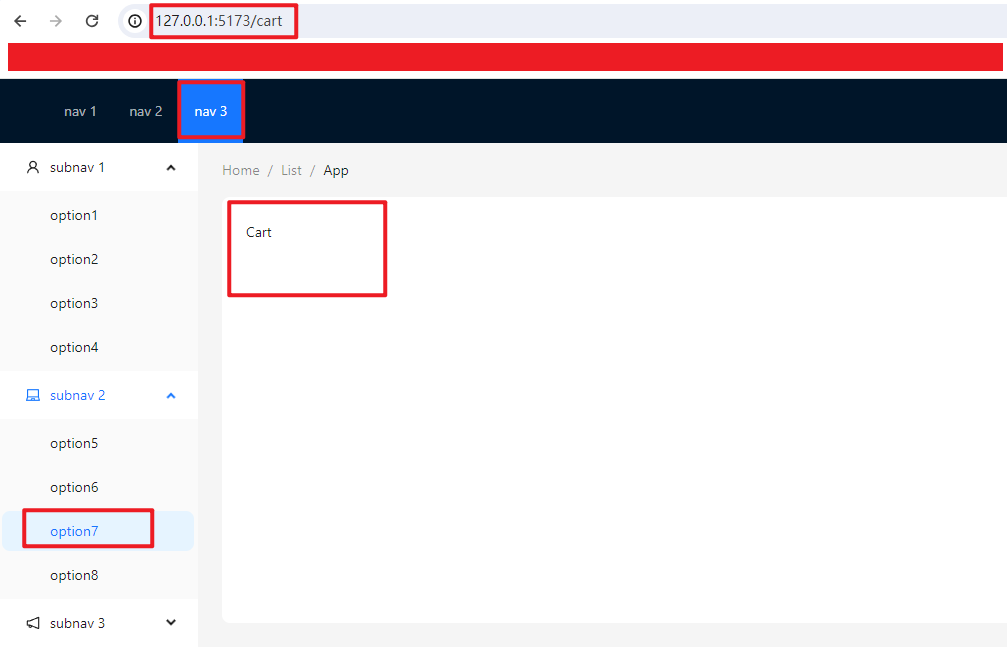
点击去购物车的按钮,进入购物车页面,页面内容局部刷新,页面其他区域的状态不变:
代码
router.tsx:
import { createBrowserRouter } from 'react-router-dom'
import { OutletDemo } from '../grammar'
import { Cart, Home } from '../pages'

const router = createBrowserRouter([
  {
    path: '/',
    element: <OutletDemo />,
    children: [
      {
        path: 'home',
        element: <Home />,
      },
      {
        path: 'cart',
        element: <Cart />,
      },
    ],
  },
])
export default router
App.tsx:
import './App.css'
import { RouterProvider } from 'react-router-dom'
import router from './routes/router'

function App() {
  return (
    <>
      <RouterProvider router={router} />
    </>
  )
}

export default App
OutletDemo.tsx:
第82行插入Outlet组件
import { Outlet } from 'react-router-dom'
import React from 'react'
import {
  LaptopOutlined,
  NotificationOutlined,
  UserOutlined,
} from '@ant-design/icons'
import type { MenuProps } from 'antd'
import { Breadcrumb, Layout, Menu, theme } from 'antd'

const { Header, Content, Sider } = Layout

const items1: MenuProps['items'] = ['1', '2', '3'].map((key) => ({
  key,
  label: `nav ${key}`,
}))

const items2: MenuProps['items'] = [
  UserOutlined,
  LaptopOutlined,
  NotificationOutlined,
].map((icon, index) => {
  const key = String(index + 1)

  return {
    key: `sub${key}`,
    icon: React.createElement(icon),
    label: `subnav ${key}`,

    children: new Array(4).fill(null).map((_, j) => {
      const subKey = index * 4 + j + 1
      return {
        key: subKey,
        label: `option${subKey}`,
      }
    }),
  }
})

export const OutletDemo: React.FC = () => {
  const {
    token: { colorBgContainer, borderRadiusLG },
  } = theme.useToken()

  return (
    <Layout>
      <Header style={{ display: 'flex', alignItems: 'center' }}>
        <div className="demo-logo" />
        <Menu
          theme="dark"
          mode="horizontal"
          defaultSelectedKeys={['2']}
          items={items1}
          style={{ flex: 1, minWidth: 0 }}
        />
      </Header>
      <Layout>
        <Sider width={200} style={{ background: colorBgContainer }}>
          <Menu
            mode="inline"
            defaultSelectedKeys={['1']}
            defaultOpenKeys={['sub1']}
            style={{ height: '100%', borderRight: 0 }}
            items={items2}
          />
        </Sider>
        <Layout style={{ padding: '0 24px 24px' }}>
          <Breadcrumb style={{ margin: '16px 0' }}>
            <Breadcrumb.Item>Home</Breadcrumb.Item>
            <Breadcrumb.Item>List</Breadcrumb.Item>
            <Breadcrumb.Item>App</Breadcrumb.Item>
          </Breadcrumb>
          <Content
            style={{
              padding: 24,
              margin: 0,
              minHeight: 280,
              background: colorBgContainer,
              borderRadius: borderRadiusLG,
            }}
          >
            <Outlet />
          </Content>
        </Layout>
      </Layout>
    </Layout>
  )
}
Home.tsx:
import { useState } from 'react'
import { useNavigate, Link, Navigate } from 'react-router-dom'

export const Home = () => {
  const navigate = useNavigate()
  const [condition, setCondition] = useState(true)

  return (
    // <button onClick={() => navigate('/cart')}>
    //   Home
    // </button>
    <Link to="/cart">去购物车</Link>
    // condition ? (
    //   <Navigate to="/cart" replace={false}>
    //     去购物车
    //   </Navigate>
    // ) : (
    //   <div>不去</div>
    // )
  )
}
Cart.tsx:
export const Cart = () => {
  return <div>Cart</div>
}


 4954
4954

 被折叠的 条评论
为什么被折叠?
被折叠的 条评论
为什么被折叠?
 到【灌水乐园】发言


