


前言
gitlab和jenkins的部署和应用在前面的博文都解释过了,
自行参考:
持续集成之gitlab部署与应用
持续集成之jenkins部署与关联gitlab
这一篇以代码上线为主,没有过多理论,但前提是gitlab,jenkins都要部署好,做好关联,前面博文里也有。
实验环境:
| 设备 | IP | 目的 |
|---|---|---|
| Gitlab,Jenkins服务器 | 192.168.10.4 | gitlab代码上传,Jenkins触发自动上线到web网站 |
| nginx | 192.168.10.1 | 做web网站 |
部署nginx即要上线代码的网站
1.关闭防火墙和selinux

2.准备官方yum源,部署nginx
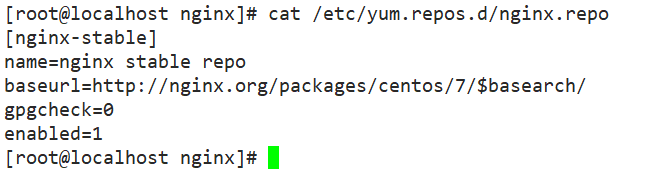
3.yum安装nginx
yum -y install nginx

已经更新到了1.18.0版本
4.开启服务就好
systemctl start nginx
systemctl enable nginx
放置一遍,现在不用它了
在Gitlab服务器上传代码
前提:gitlab部署,创建项目,组,用户略,参考gitlab篇
本地git部署与操作参考git篇
1.在本地git仓库下载gitee(码云)上的静态网页代码模板
git clone https://gitee.com/kangjie1209/monitor.git
复制monitor里面所有的内容到/git目录下
mv /monitor/* /git
[root@localhost git]# ls    #下载的所有的代码
404.html                 form-components.html  messages.html
alerts.html              form-elements.html
assets                   form-examples.html    mstp_105_SuperAdmin.iml
buttons.html             form-validation.html  mstp_map.html
calendar.html            images-icons.html     other-components.html
charts.html              img                   profile-page.html
components.html          index.html            QHME.iml
content-widgets.html     js                    readme.md
css                      keyInfo.html
deviceManager.html       labels.html           real-time.html
dianfei.html             LICENSE               sa.html
efficiencyAnalysis.html  list-view.html        tables.html
energy_consumption.html  login.html            typography.html
file-manager.html        media                 userMng.html
fonts                    media.html
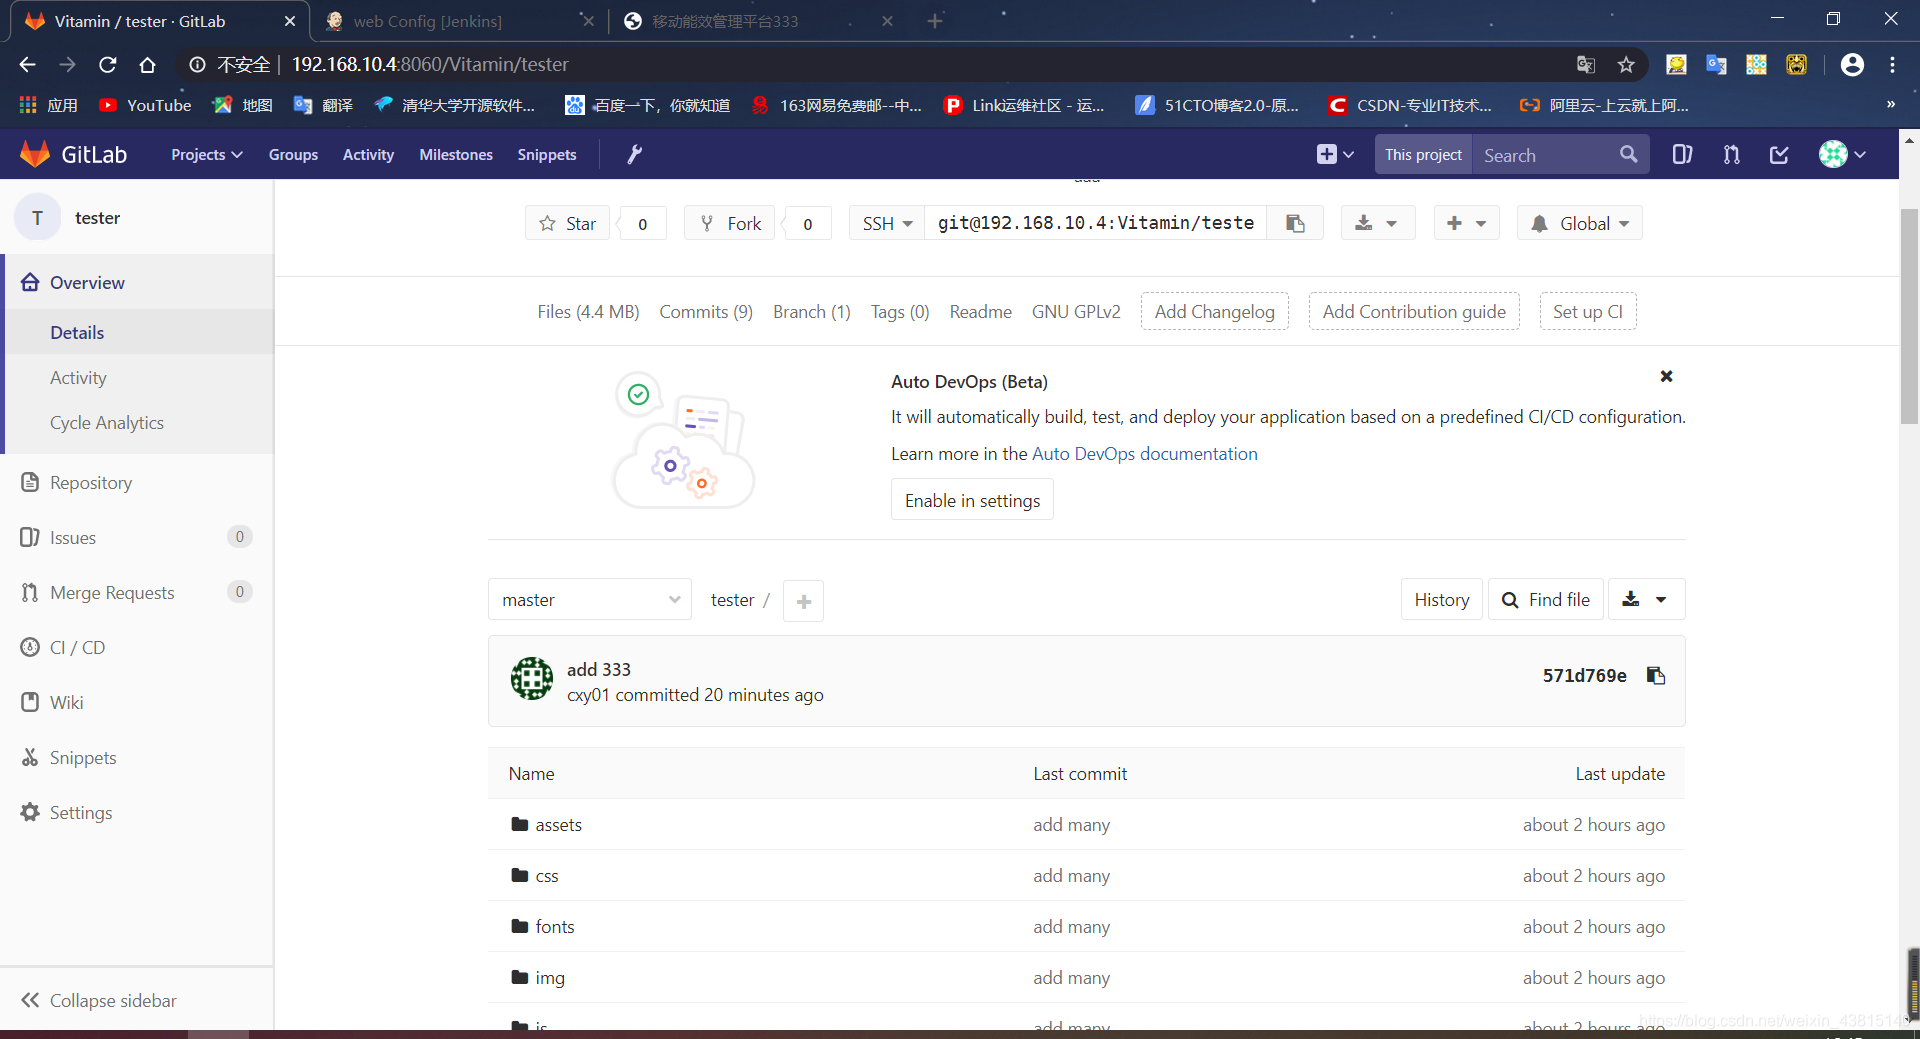
2.代码上传到gitlab服务器
git remote add tester git@192.168.10.4:Vitamin/tester.git
git add --all
git commit -m 'add 111'
git push -u tester master
在gitlab查看上传情况
Jenkins实现脚本上传网站代码
前提:登录jenkins,新建自由项目web
new item – create – freestyle – configure – 源代码库 – git – gitlab路径及私钥认证 – save ——build now:手动同步测试
达到上一篇Jenkins部署与关联的最后的效果
具体参考Jenkins篇
1.在jenkins服务器编写上传nginx的脚本
[root@localhost git]# cat /root/web.sh
#!/bin/sh
CODE_DIR=/var/lib/jenkins/workspace/web/
WEB_DIR=/usr/share/nginx
IP=192.168.10.1
TIME=`date +%F-%H-%M-%S`

cd $CODE_DIR && tar zcf /tmp/web-${TIME}.tar.gz  ./*
scp /tmp/web-${TIME}.tar.gz $IP:$WEB_DIR
ssh root@$IP "cd $WEB_DIR && mkdir web-$TIME"
ssh root@$IP "cd $WEB_DIR && tar xf web-${TIME}.tar.gz -C web-$TIME && rm -rf web-${TIME}.tar.gz"
ssh root@$IP "cd $WEB_DIR && rm -rf html && ln -s web-$TIME html"
2.因为脚本里需要远程连接nginx服务器,所以提前与nginx服务器建立密钥对连接
[root@localhost git]# ssh-copy-id root@192.168.10.1
The authenticity of host '192.168.10.1 (192.168.10.1)' can't be established.
ECDSA key fingerprint is 20:d3:c8:52:13:41:61:d8:35:4d:dc:e8:96:92:46:b4.
Are you sure you want to continue connecting (yes/no)? yes
/usr/bin/ssh-copy-id: INFO: attempting to log in with the new key(s), to filter out any that are already installed
/usr/bin/ssh-copy-id: INFO: 1 key(s) remain to be installed -- if you are prompted now it is to install the new keys
root@192.168.10.1's password:

Number of key(s) added: 1

Now try logging into the machine, with:   "ssh 'root@192.168.10.1'"
and check to make sure that only the key(s) you wanted were added.
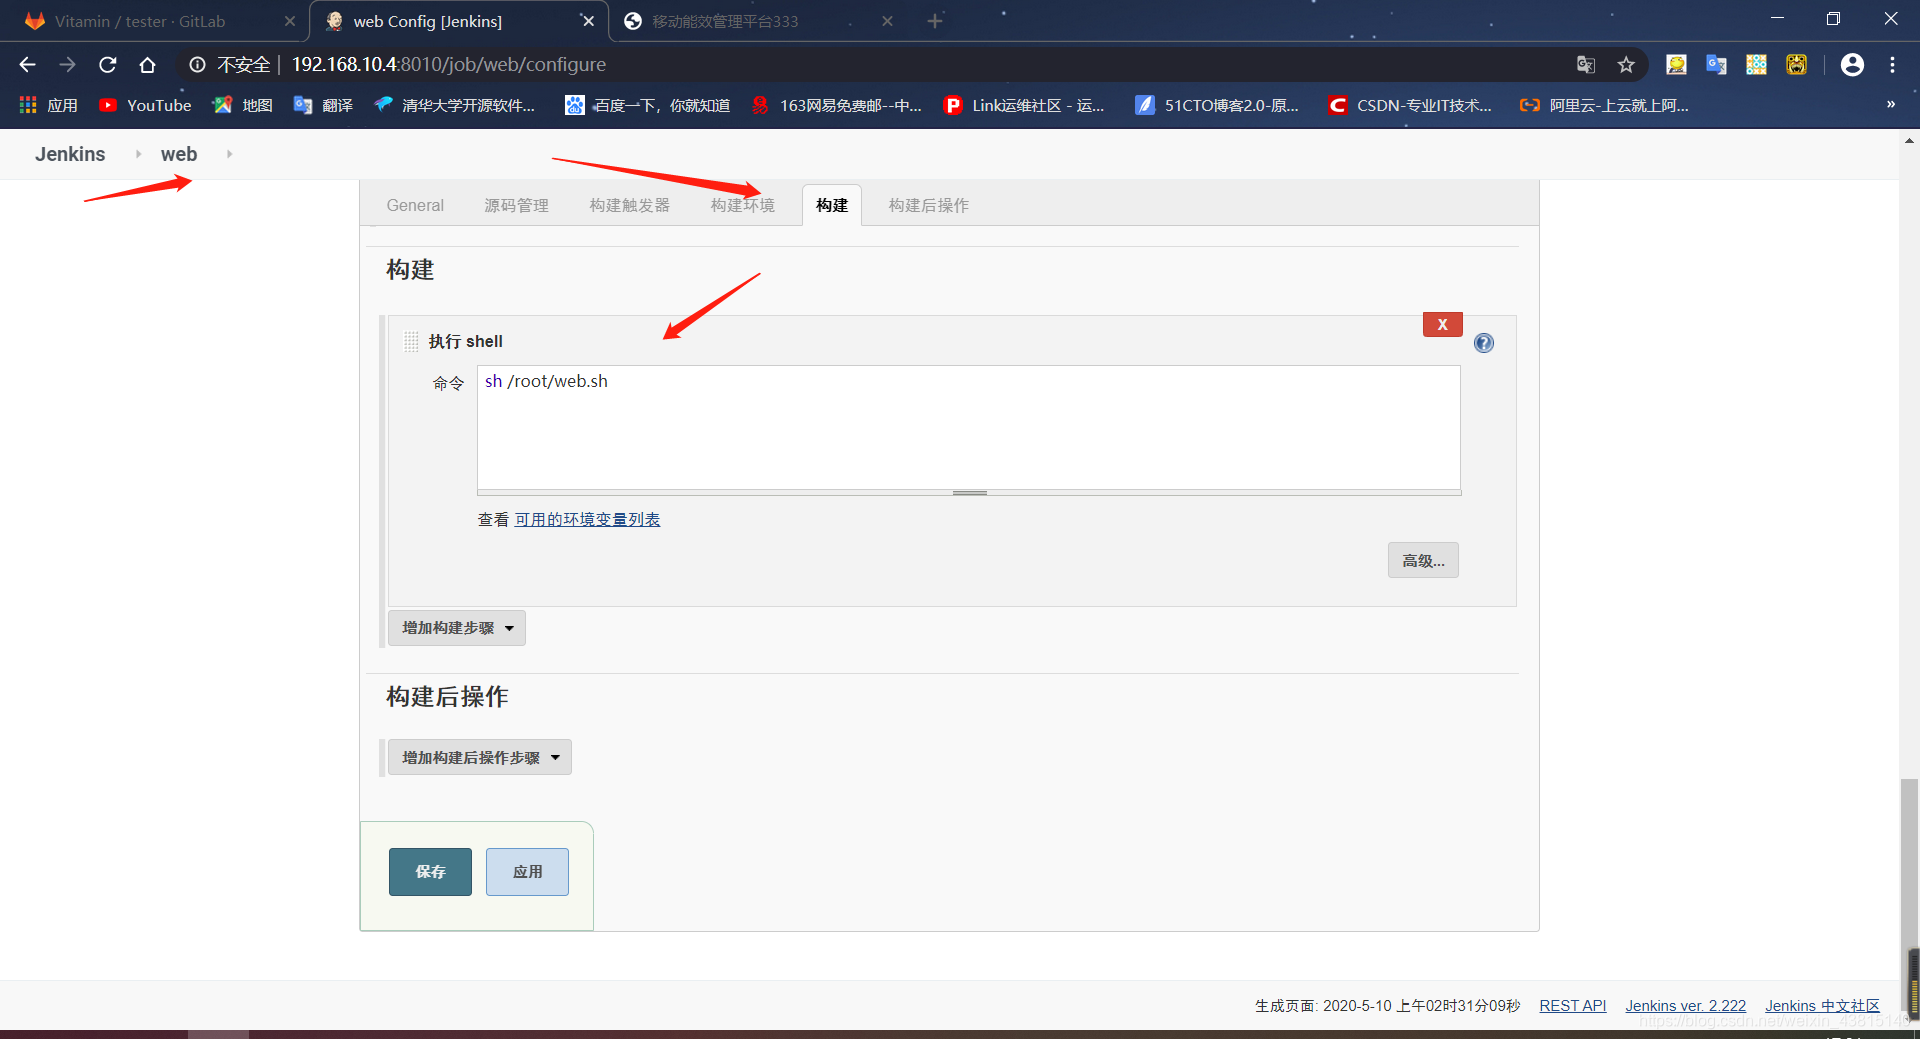
3.配置构建关联脚本,实现自动上传
项目web – configure – build – Execute shell – 添加sh /root/web.sh ——应用保存
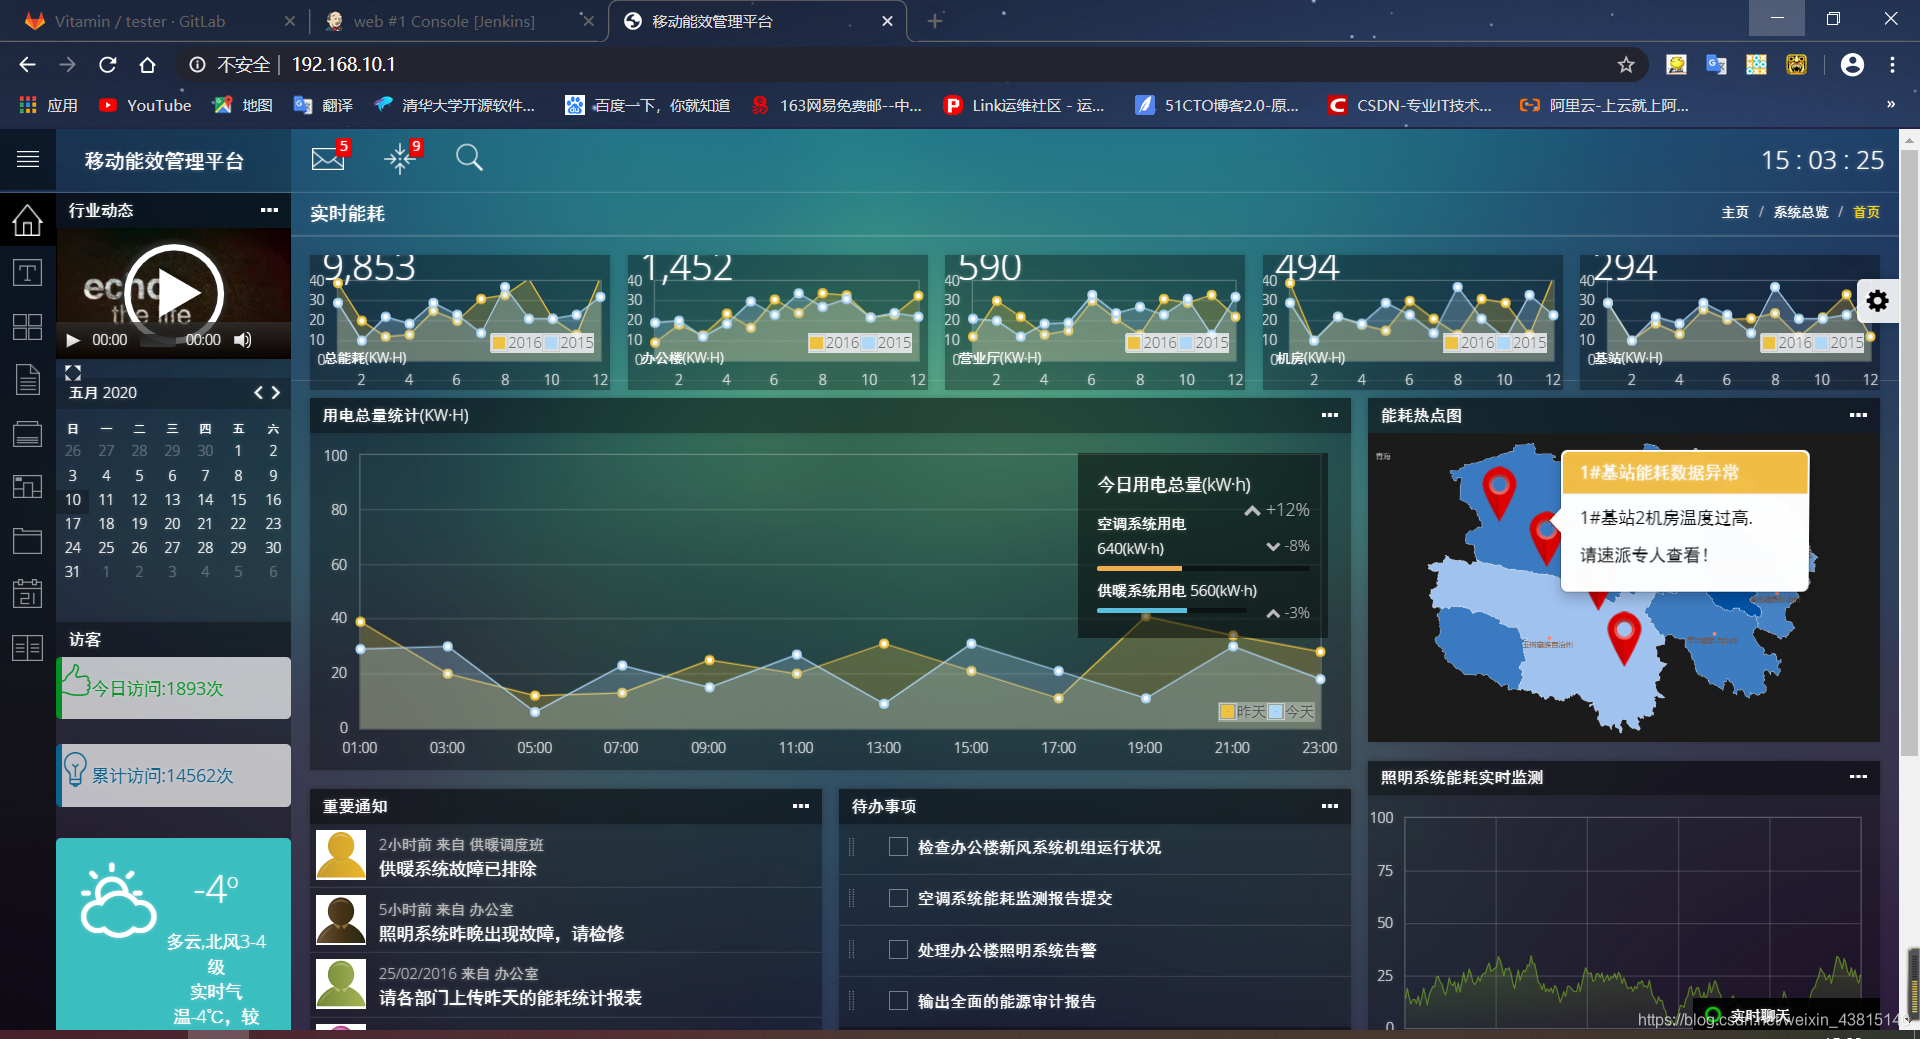
4.由于gitlab已经上传好了脚本也和Jenkins做好了关联,所以在Jenkins端直接手动构建项目;然后访问http://192.168.10.1
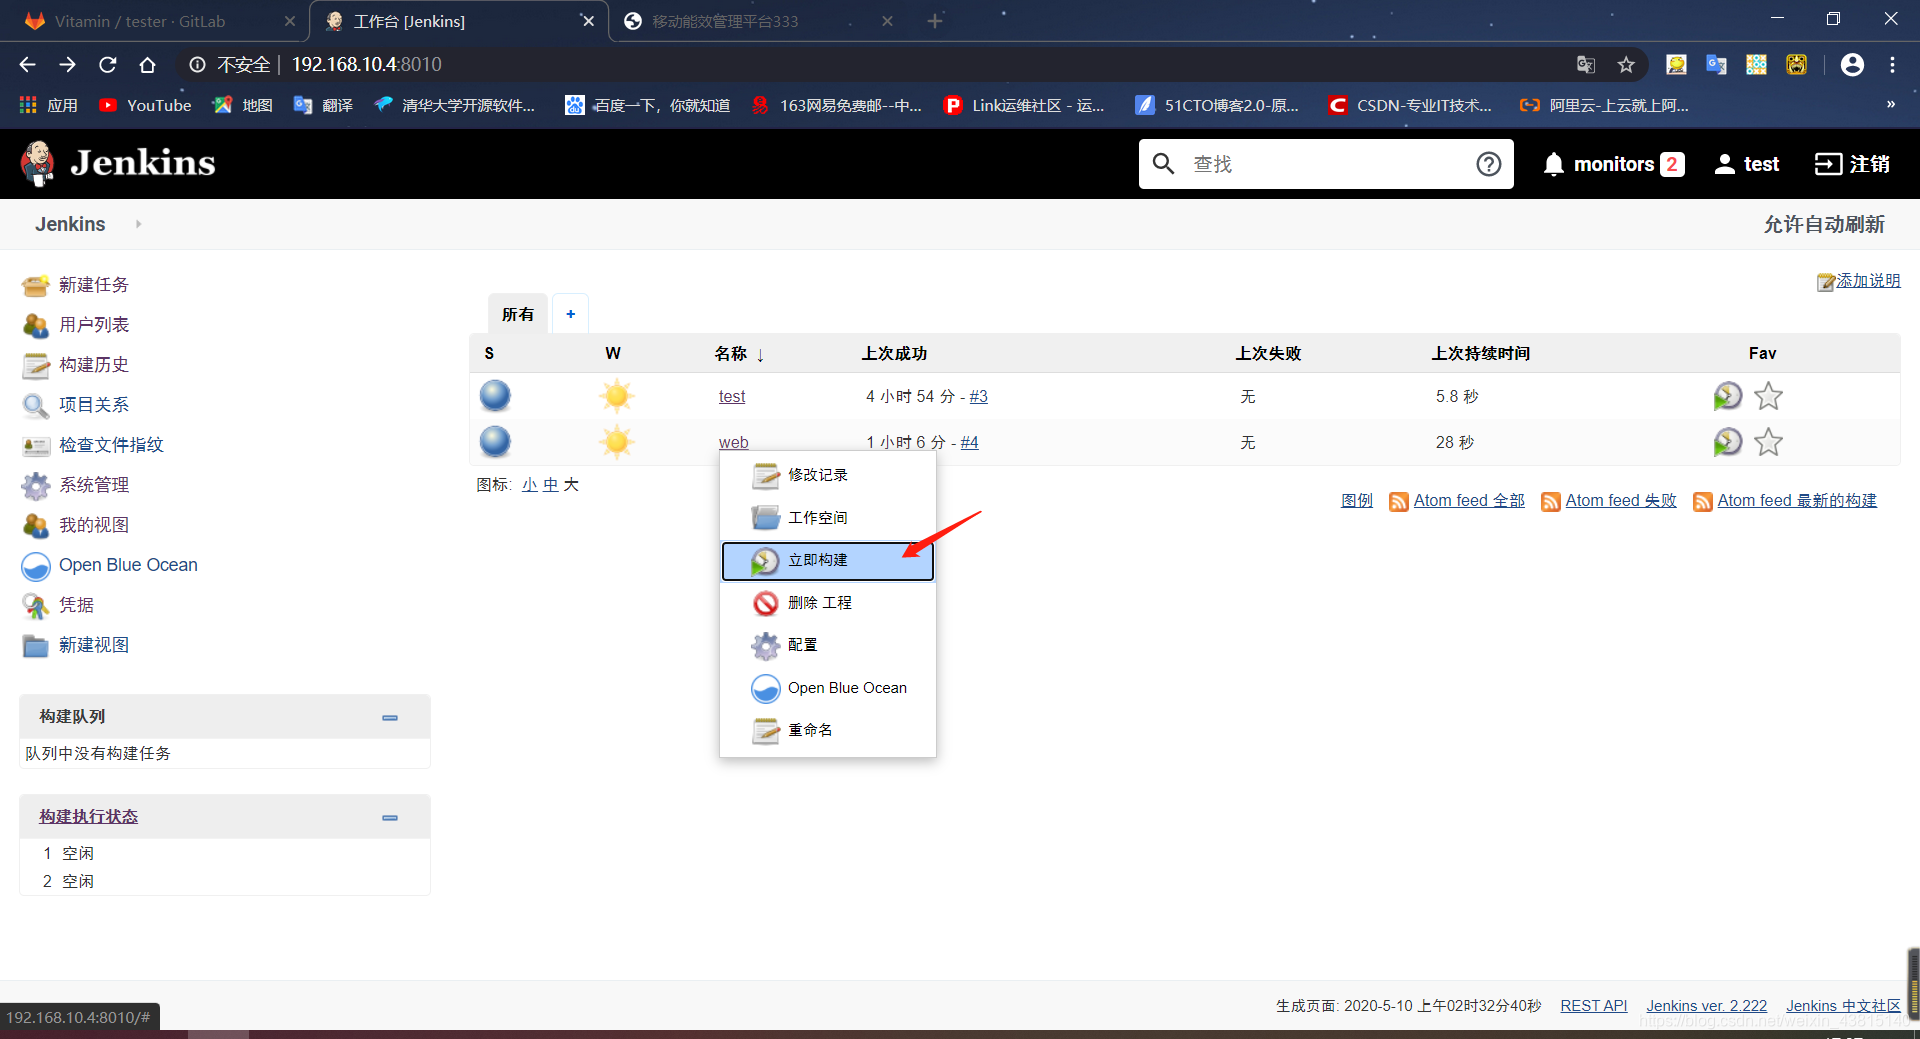
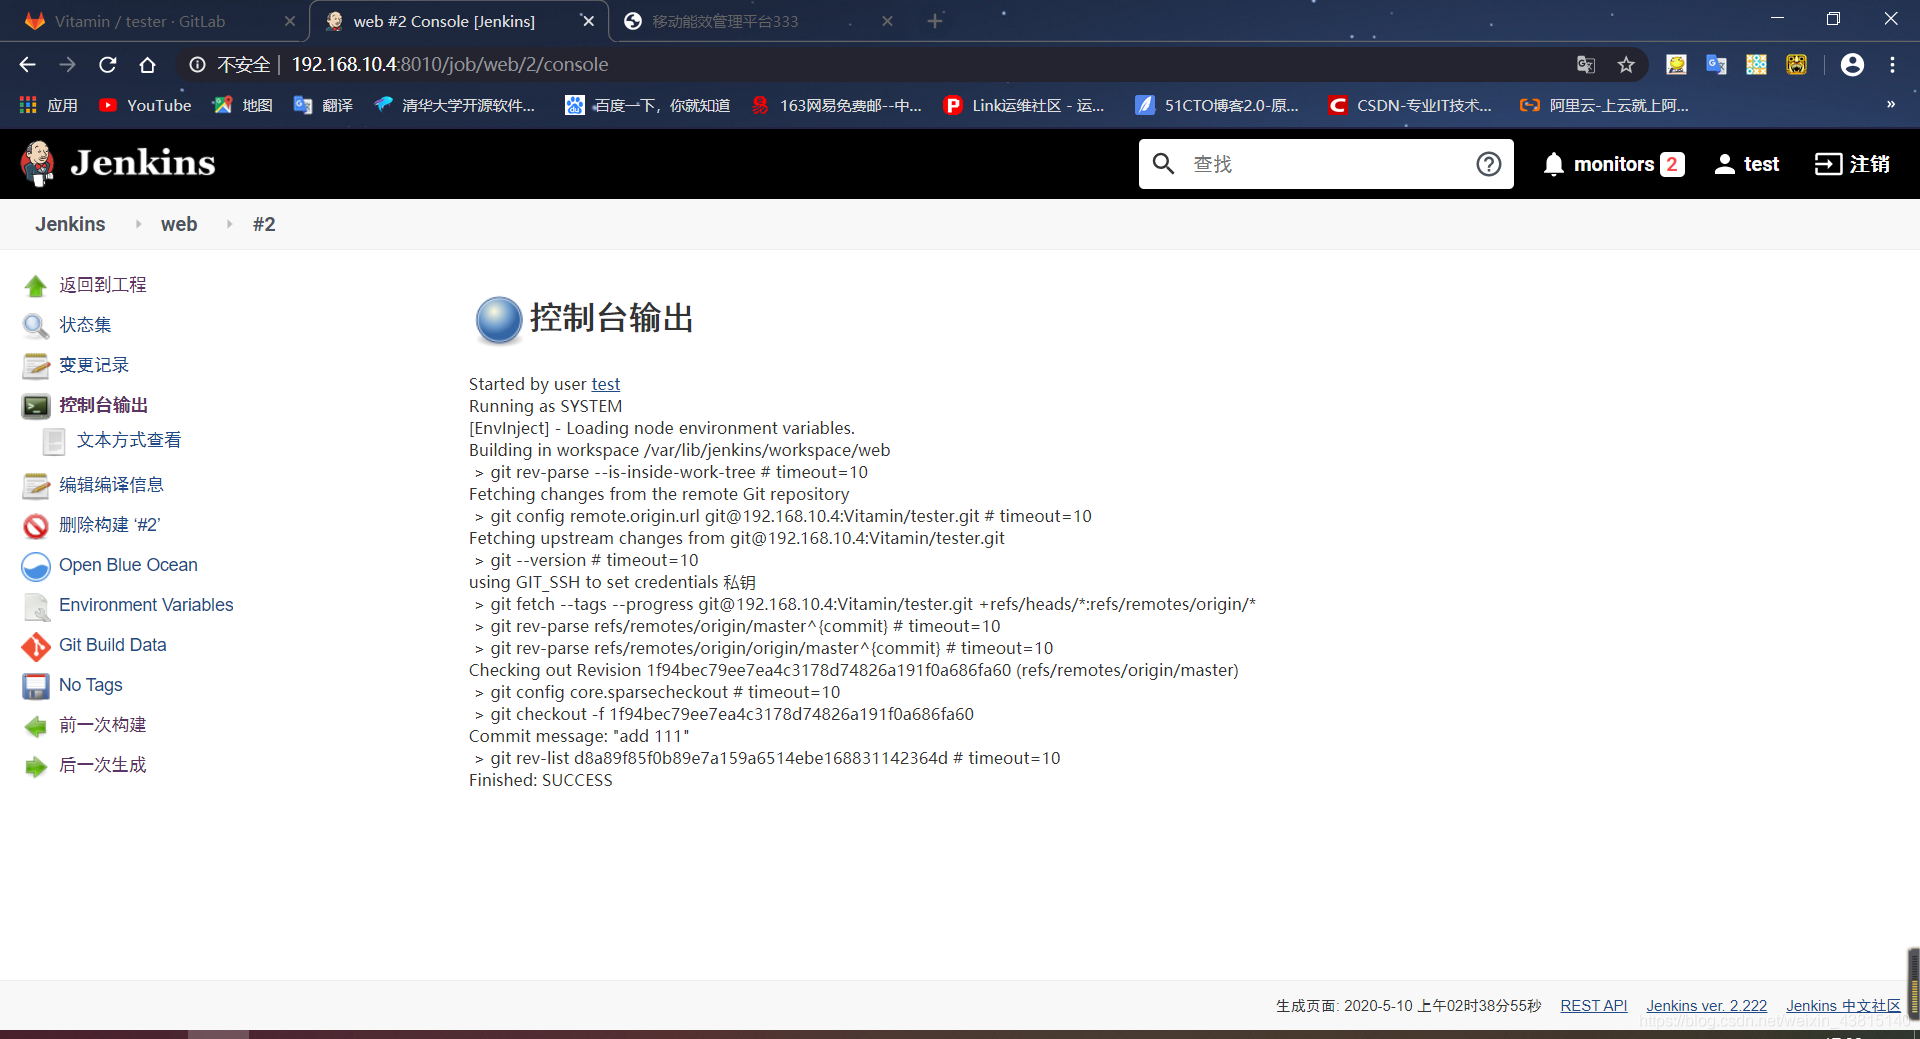
此时,在nginx服务器网站根目录已经发生了改变

访问
解决构建后执行脚本报错没有权限问题
原因:Jenkins在安装时配置文件默认Jenkins用户是Jenkins,只要修改成root,他就会使用本机root身份执行,否则执行脚本就会没有权限
解决办法一:
(1)修改jenkins登录shell,把/bin/false改为/bin/bash
vim /etc/passwd
修改:
	jenkins:x:990:985:Jenkins Automation Server:/var/lib/jenkins:/bin/bash
保存退出
(2)修改jenkins服务器的本地profile
vim /root/.bash_profile
添加:
export PS1='[\u@\h \W]\$'
保存退出
source /root/.bash_profile
(3)赋予jenkins用户sudo权限
isudo
添加:
jenkins ALL=(ALL)       NOPASSWD: ALL
保存退出
方法二:
直接修改Jenkins配置文件,把
JENKINS_USER="Jenkins" 改为 JENKINS_USER="root"
重启服务即可
jenkins关联gitlab,实现自动构建上传代码
实现自动构建的方法有很多,上一篇说过了定时触发,现在是只要gilab上传代码,Jenkins就会触发构建并上传nginx网页根目录
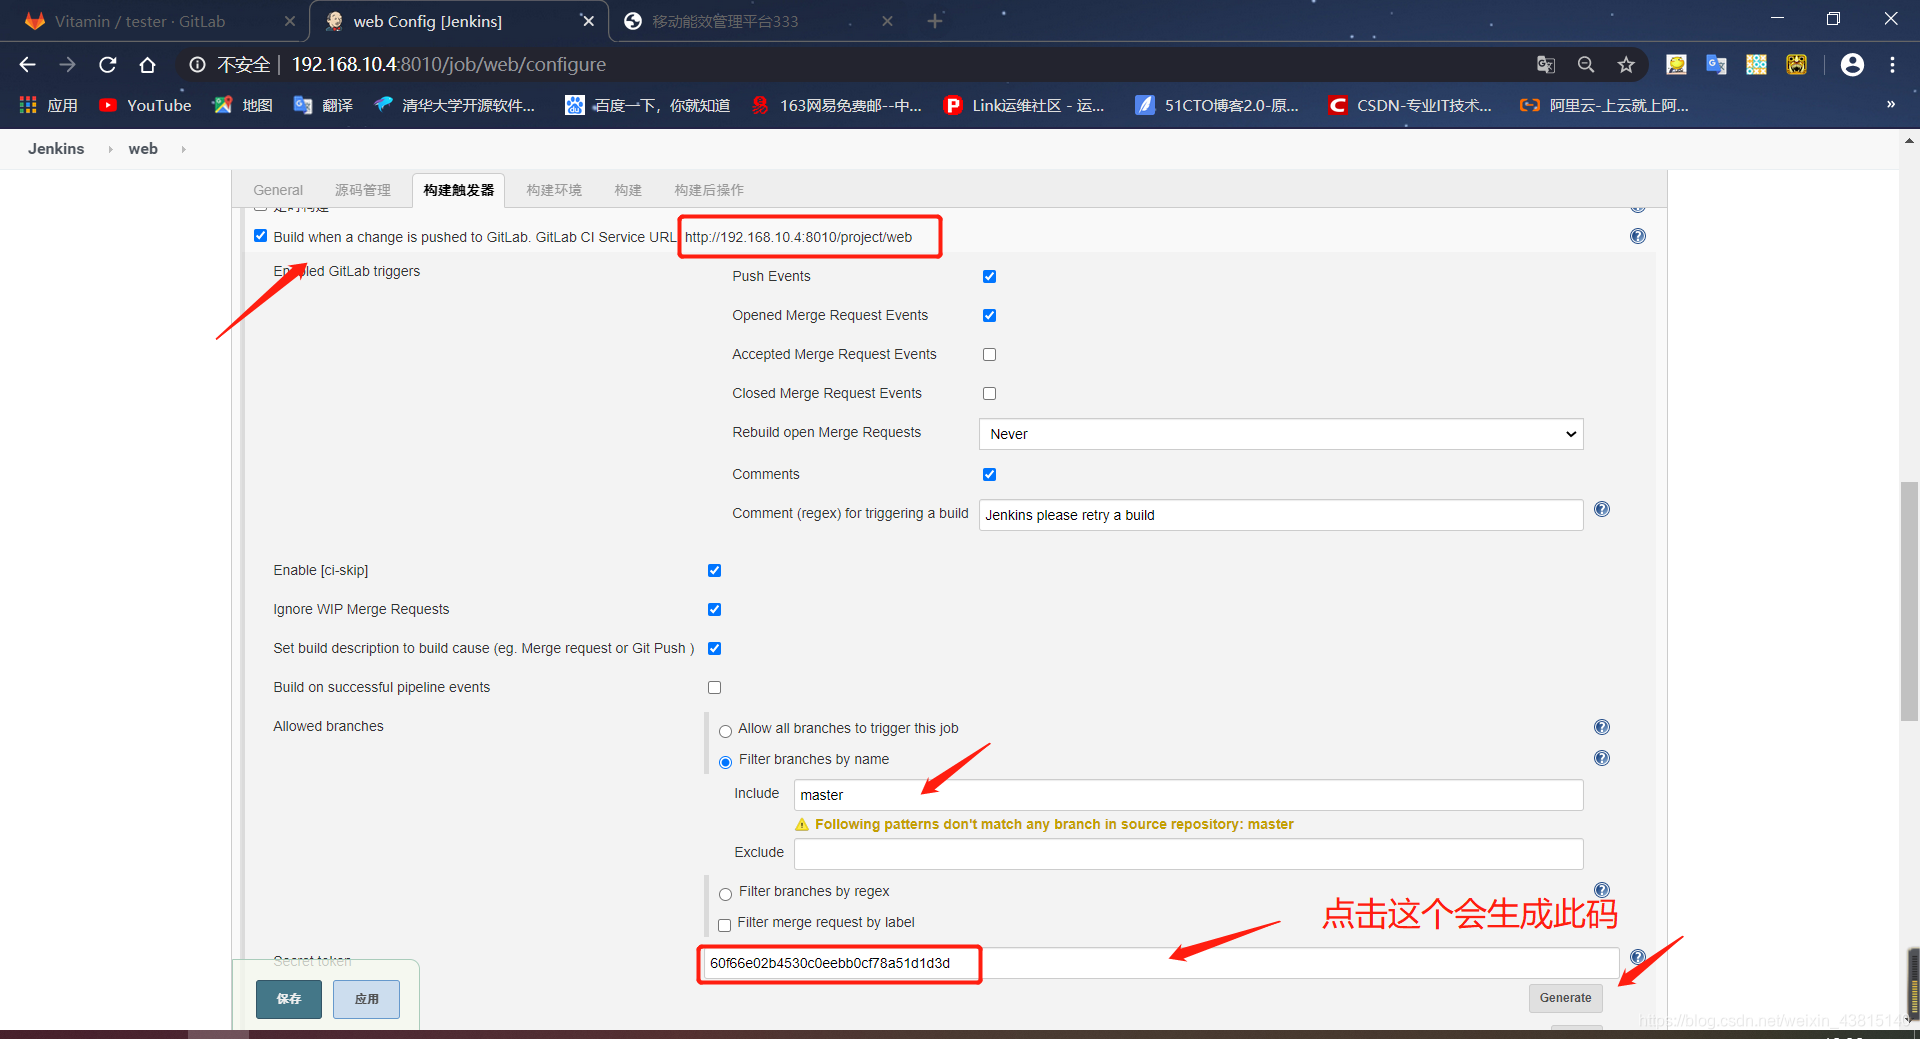
1.Jenkins服务器操作
web项目-- configure – build triggers – 勾选最长选项 – 点击高级advanced
– 选择Filter branches by name – 点击generate生成令牌 – 复制令牌和触发器顶部url路径-- save保存
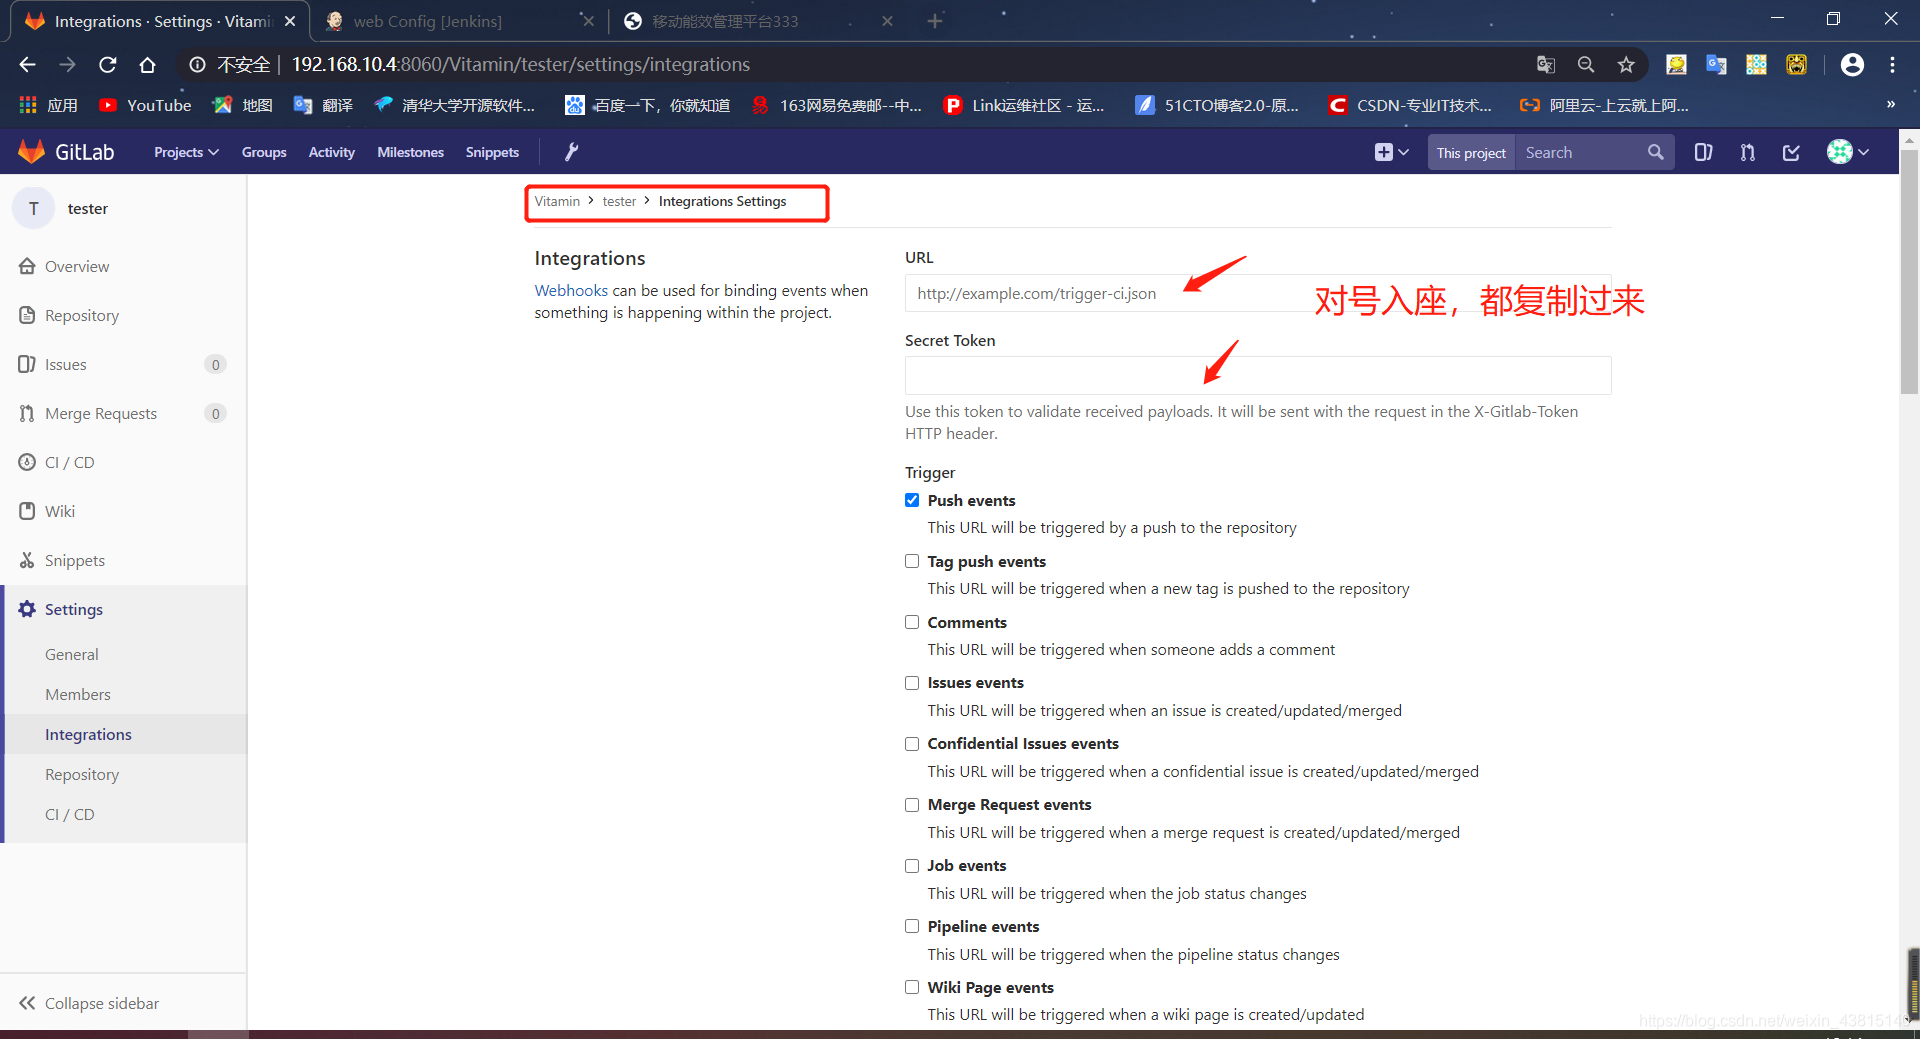
2.gitlab操作
把生成的口令和url路径给gitlab,用与两者之间的连接
web项目 – settings – integrations – 把复制的令牌和url粘贴过来 – add webhook
(3)模拟企业更新push代码,测试自动构建上传。
  vim index.html
  git add --all
  git commit -m 'add 333'
  git push -u tester master
此时,你只需要盯着Jenkins看有没有新项目构建就🆗了
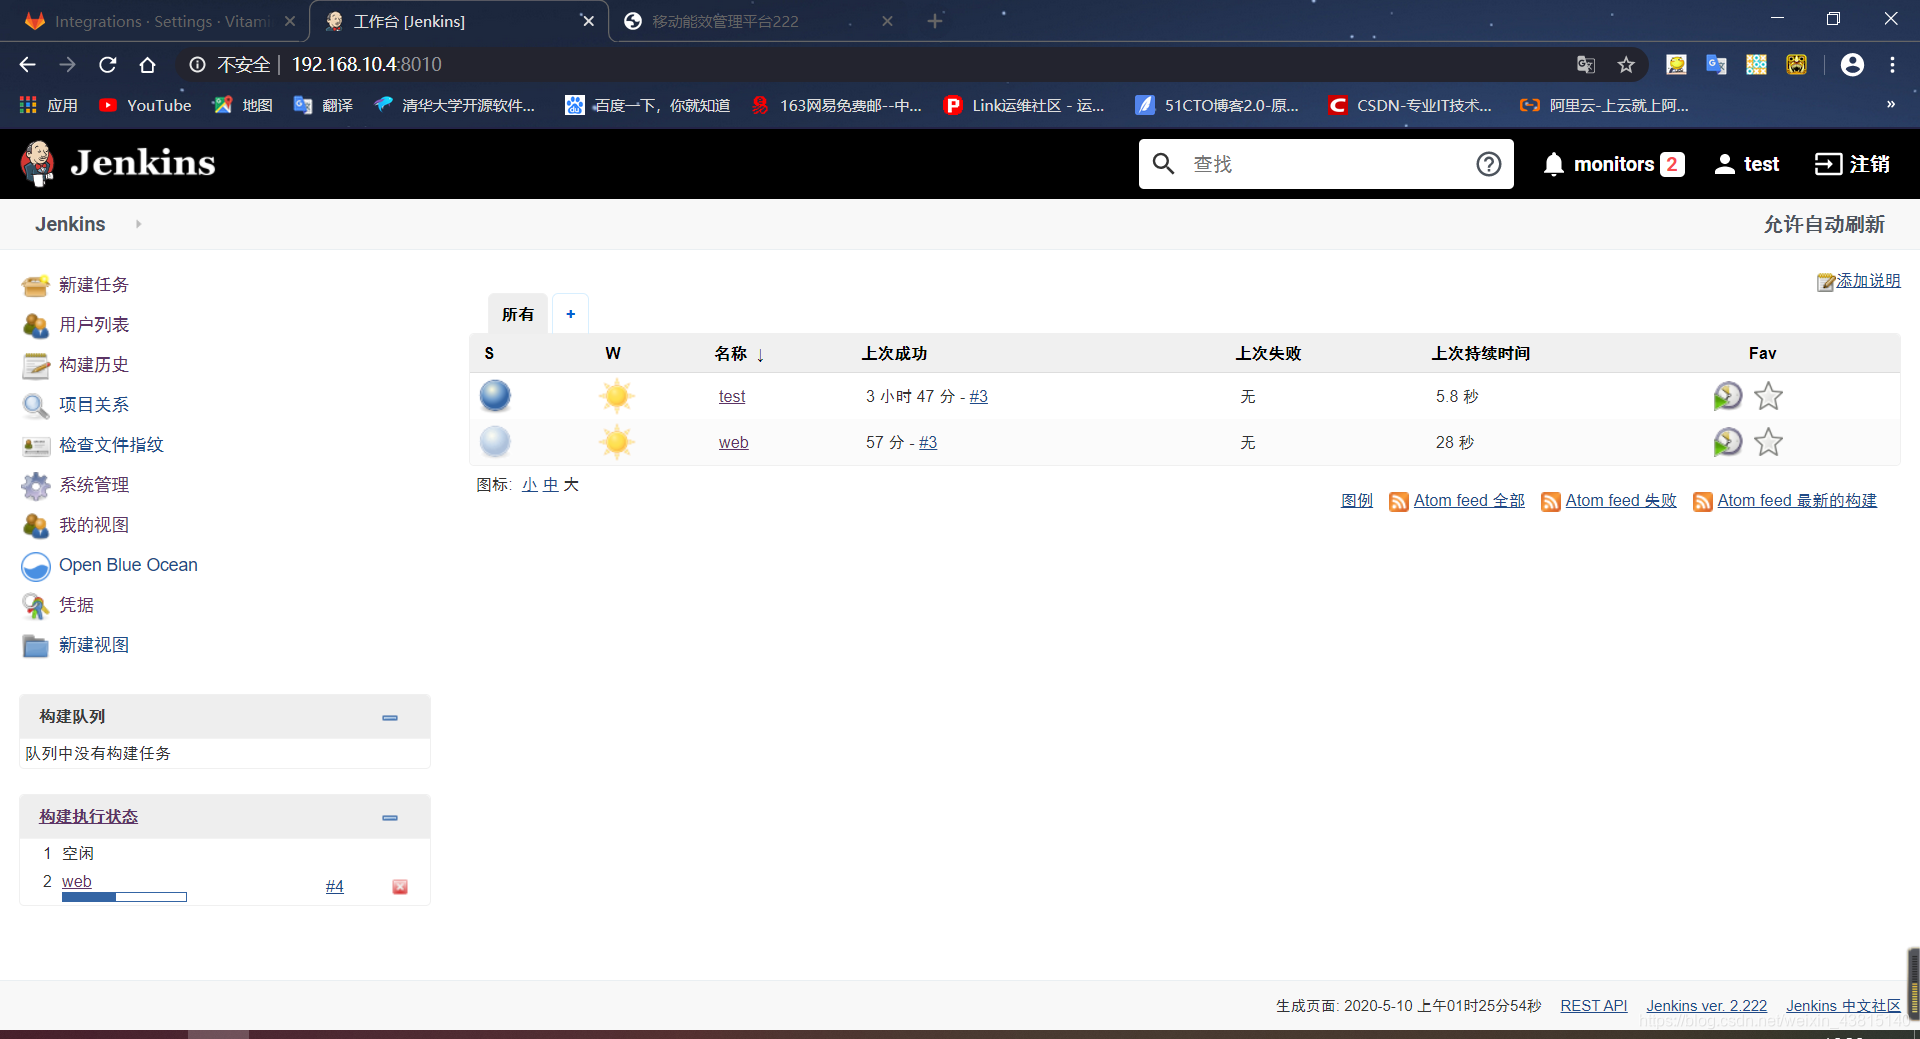
再次访问nginx,标题后也多了333
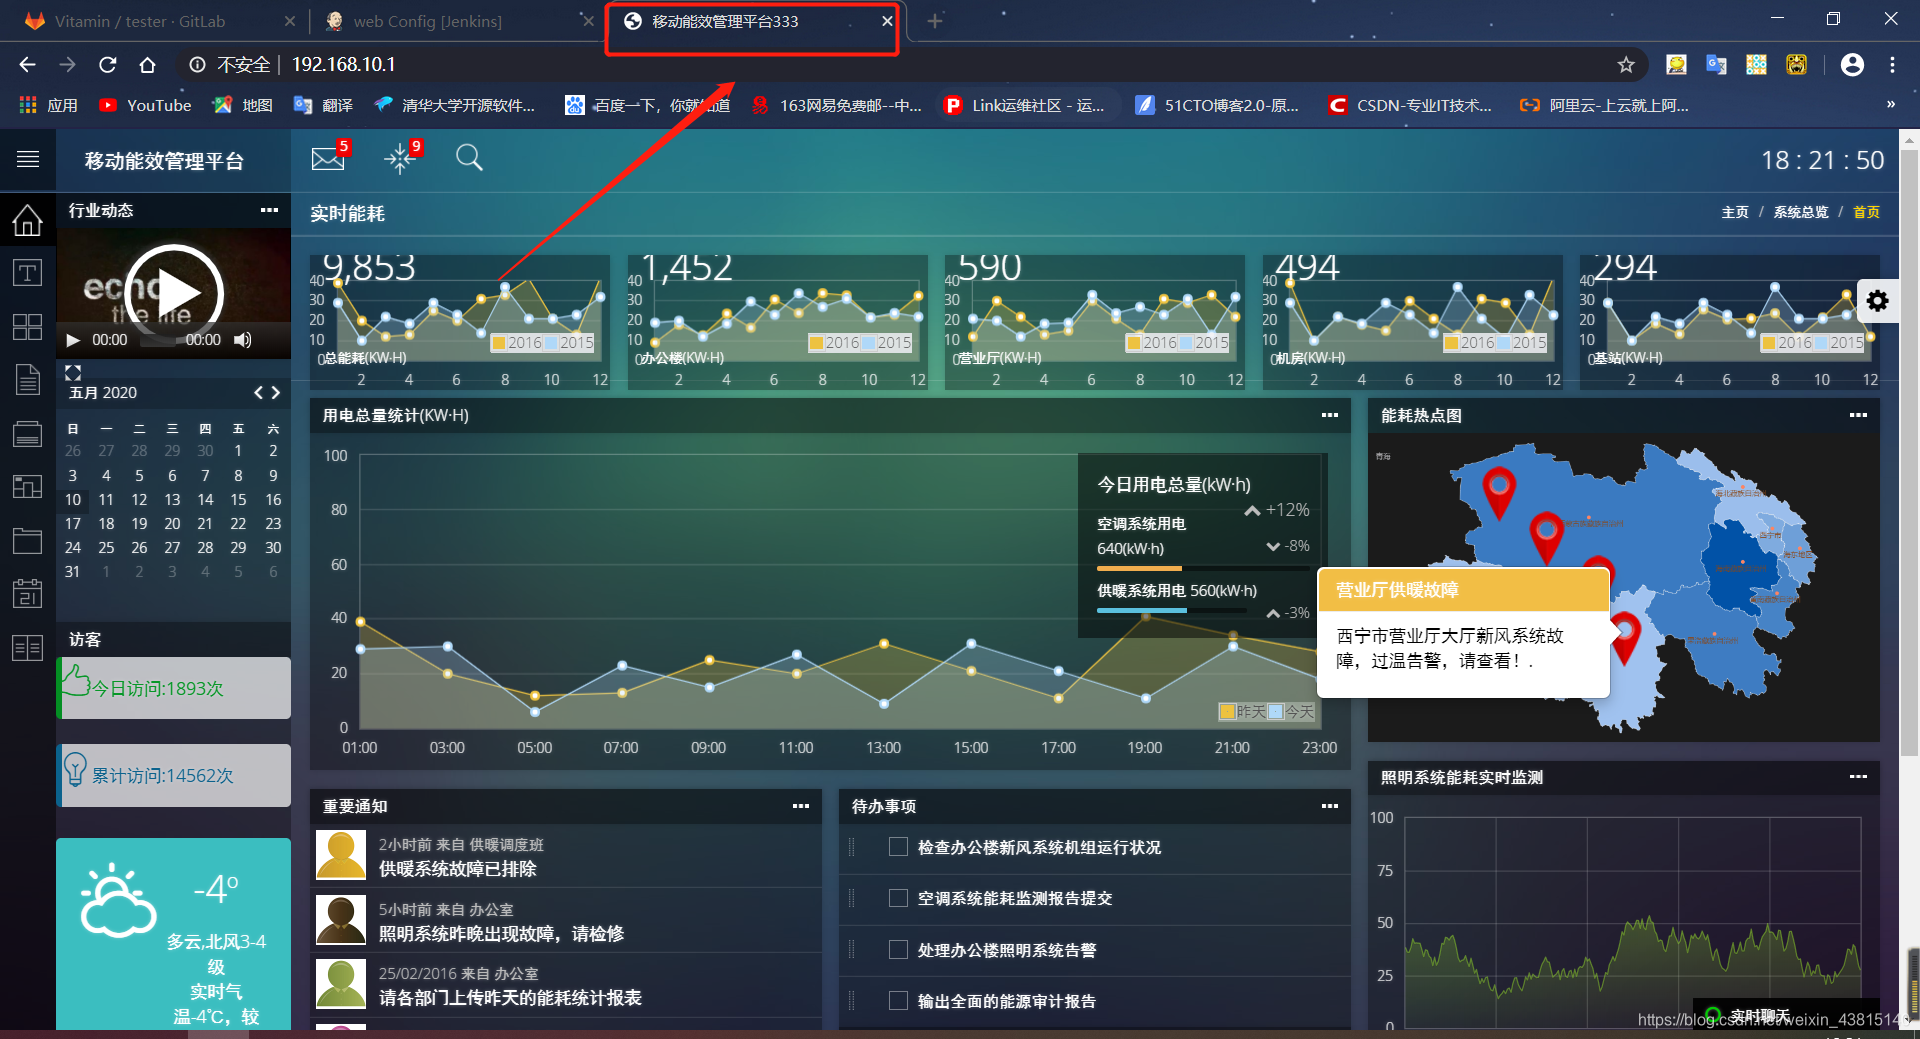
至此,自动上线代码就🆗了


 139
139


 被折叠的 条评论
为什么被折叠?
被折叠的 条评论
为什么被折叠?
 到【灌水乐园】发言


