


相关视频链接
https://www.bilibili.com/video/BV1m84y1w7Tb/?p=34
https://www.bilibili.com/video/BV1m84y1w7Tb/?p=35
提示
黑马JAVA Web 34, 35集后端接口失效了,这里教初学者搭建一个简单的后端(当然大佬也可以省得自己敲代码了),前提有一点python基础(会pip install)。
后端代码
1.创建一个python项目(推荐pycharm)fask_end.py。

2. 在项目目录下,打开终端或命令行工具,执行以下命令安装所需的 Python 包:
pip install Flask Flask-CORS
上述命令会安装 Flask 和 Flask-CORS 两个包,其中 Flask 用于构建 Web 应用,Flask-CORS 用于处理跨域资源共享问题。
3. 在 flask_end.py 文件中编写以下代码:
from flask import Flask, request, jsonify

from flask_cors import CORS

app = Flask(__name__)
CORS(app)  # 启用 CORS

# 模拟一些数据
sample_data = [
    {
        "id": 1,
        "name": "谢逊",
        "image": "https://p1.ssl.qhimg.com/t01c149e00f092a78a5.jpg",
        "gender": 1,
        "job": "班主任",
        "entrydate": "2008-05-09",
        "updatetime": "2022-10-01 12:00:00"
    },
    {
        "id": 2,
        "name": "殷天正",
        "image": "https://so1.360tres.com/t01183a421b66003008.jpg",
        "gender": 1,
        "job": "讲师",
        "entrydate": "2012-05-09",
        "updatetime": "2022-10-01 12:00:00"
    },
    {
        "id": 3,
        "name": "韦一笑",
        "image": "https://img2.baidu.com/it/u=4035769521,1071878604&fm=253&fmt=auto&app=138&f=JPEG?w=616&h=458",
        "gender": 1,
        "job": "讲师",
        "entrydate": "2020-05-09",
        "updatetime": "2022-10-01 12:00:00"
    },
    {
        "id": 4,
        "name": "黛绮丝",
        "image": "https://img2.baidu.com/it/u=389253981,1922163933&fm=253&fmt=auto&app=138&f=JPEG?w=400&h=711",
        "gender": 2,
        "job": "讲师",
        "entrydate": "2018-05-09",
        "updatetime": "2022-10-01 12:00:00"
    }
]

# 处理 GET 请求
@app.route('/api/get_data', methods=['GET'])
def get_data():
    data = {'code': 1, 'message': 'success', 'data': sample_data}
    return jsonify(data)

# 处理 POST 请求
@app.route('/api/post_data', methods=['POST'])
def post_data():
    # 获取 POST 请求中的 JSON 数据
    request_data = request.get_json()

    if request_data is None:
        return jsonify({'code': 0, 'message': 'Invalid JSON in request'})

    # 从请求数据中获取 id 字段
    post_id = request_data.get('id')
    print(post_id)

    if post_id is None:
        return jsonify({'code': 0, 'message': 'Missing id field in request'})

    # 根据 id 查找对应的数据
    result_data = [item for item in sample_data if item['id'] == post_id]

    if not result_data:
        return jsonify({'code': 0, 'message': 'No data found for the given id'})

    # 返回 JSON 响应
    response_data = {'code': 1, 'message': 'success', 'data': result_data}
    return jsonify(response_data)

if __name__ == '__main__':
    # 运行应用在 http://127.0.0.1:5000/
    app.run(debug=True)
其中,http://127.0.0.1:5000/api/get_data用于get请求测试,http://127.0.0.1:5000/api/post_data用于post请求测试。
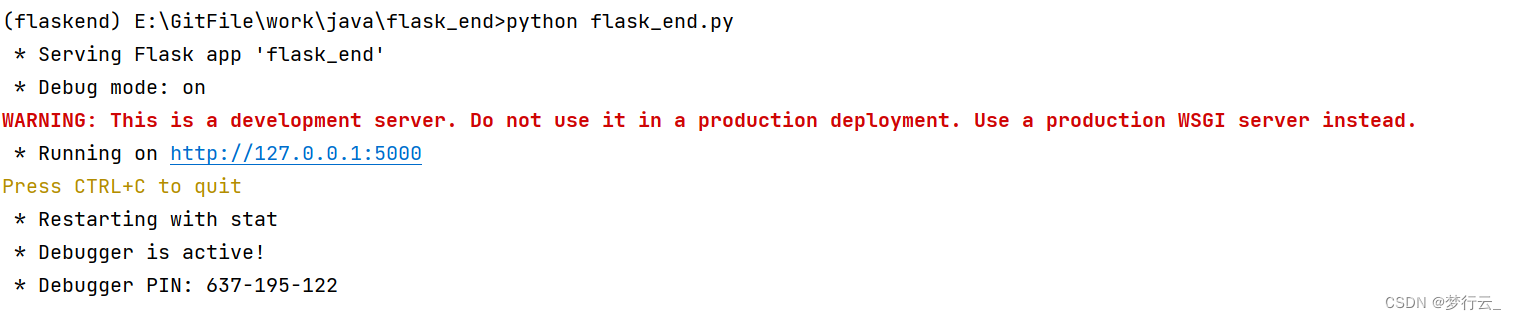
4. 运行该代码,如图就成功了,应该是在5000端口的,如果不成功可能是端口被占用了,你尝试一下换成其它端口。
前端
我只测了35集的axios,ajax理论上也应该没问题。
-
axios测试
<!DOCTYPE html>
<html lang="en">
<head>
    <meta charset="UTF-8">
    <meta name="viewport" content="width=device-width, initial-scale=1.0">
    <title>Axios</title>
    <script src="https://cdn.jsdelivr.net/npm/axios/dist/axios.min.js"></script>
</head>
<body>
    <input type="button" value="获取数据GET" onclick="get()">
    <input type="button" value="获取数据POST" onclick="post()">
</body>

<script>
    function get(){
        axios({
            method: "get",
            url: "http://127.0.0.1:5000/api/get_data"
        }).then(result => {
            console.log(result.data);
        });

        axios.get("http://127.0.0.1:5000/api/get_data").then(res => {
            console.log(res);
        });
    }

    function post(){
        axios({
            method: "post",
            url: "http://127.0.0.1:5000/api/post_data",
            data: { id: 2 }
        }).then(res => {
            console.log(res.data);
        });

        axios.post("http://127.0.0.1:5000/api/post_data", {id: 1}).then(res=>{
            console.log(res);
        });
    }
</script>
</html>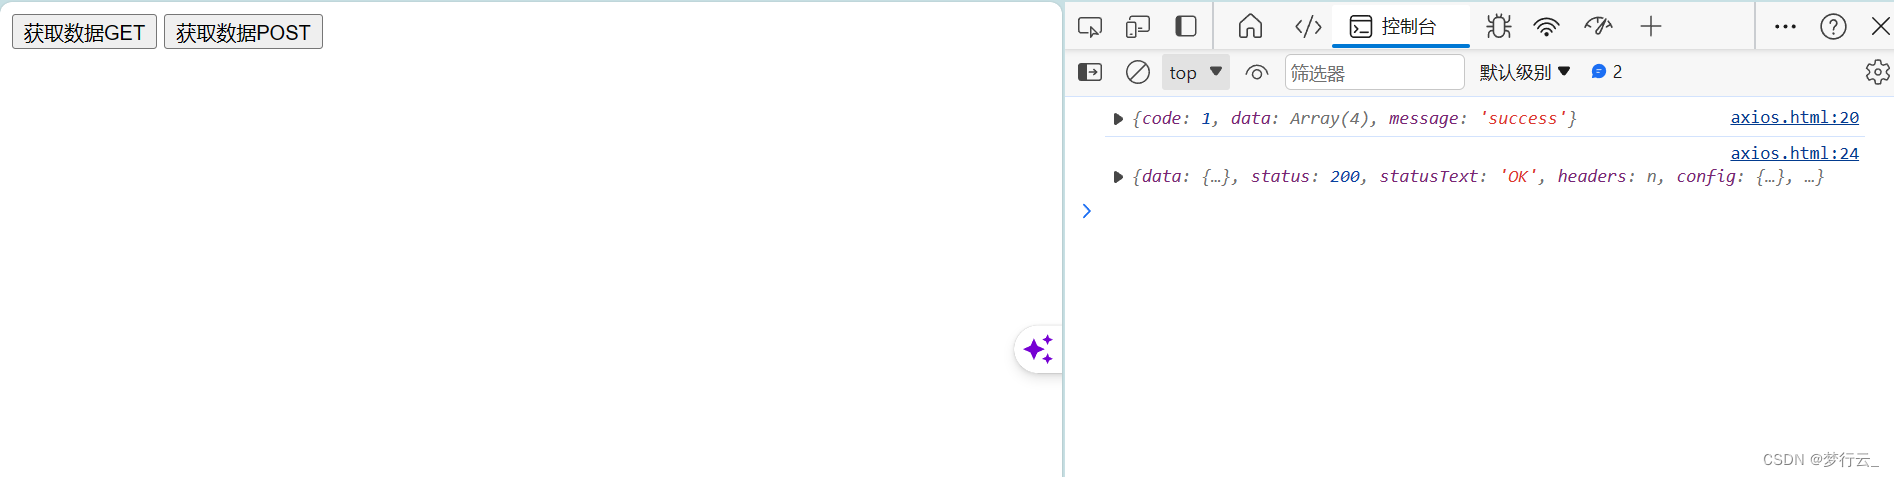
-
axios案例
<!DOCTYPE html>
<html lang="en">
<head>
    <meta charset="UTF-8">
    <meta name="viewport" content="width=device-width, initial-scale=1.0">
    <title>axios-案例</title>
    <script src="https://cdn.jsdelivr.net/npm/vue@2/dist/vue.js"></script>
    <script src="https://cdn.jsdelivr.net/npm/axios/dist/axios.min.js"></script>
</head>
<body>
    <div id="app">
        <table border="1" cellspacing="0" width="60%">
            <tr>
                <th>编号</th>
                <th>姓名</th>
                <th>图像</th>
                <th>性别</th>
                <th>职位</th>
                <th>入职日期</th>
                <th>最后操作时间</th>
            </tr>

            <tr align="center" v-for="(emp, idx) in emps">
                <td>{{ emp.id }}</td>
                <td>{{ emp.name }}</td>
                <td><img v-bind:src="emp.image" style="width: 80px; height: 80px;"></td>
                <td>
                    <span v-if="emp.gender==1">男</span>
                    <span v-if="emp.gender==2">女</span>
                </td>
                <td>{{emp.job}}</td>
                <td>{{emp.entrydate}}</td>
                <td>{{emp.updatetime}}</td>
            </tr>
        </table>
    </div>
</body>

<script>
    new Vue({
        el: "#app",
        data: {
            emps: []
        },
        mounted() {
            axios.get("http://127.0.0.1:5000/api/get_data").then(res => {
                console.log(res.data.data);
                this.emps = res.data.data;
            })
        },
    });
</script>
</html>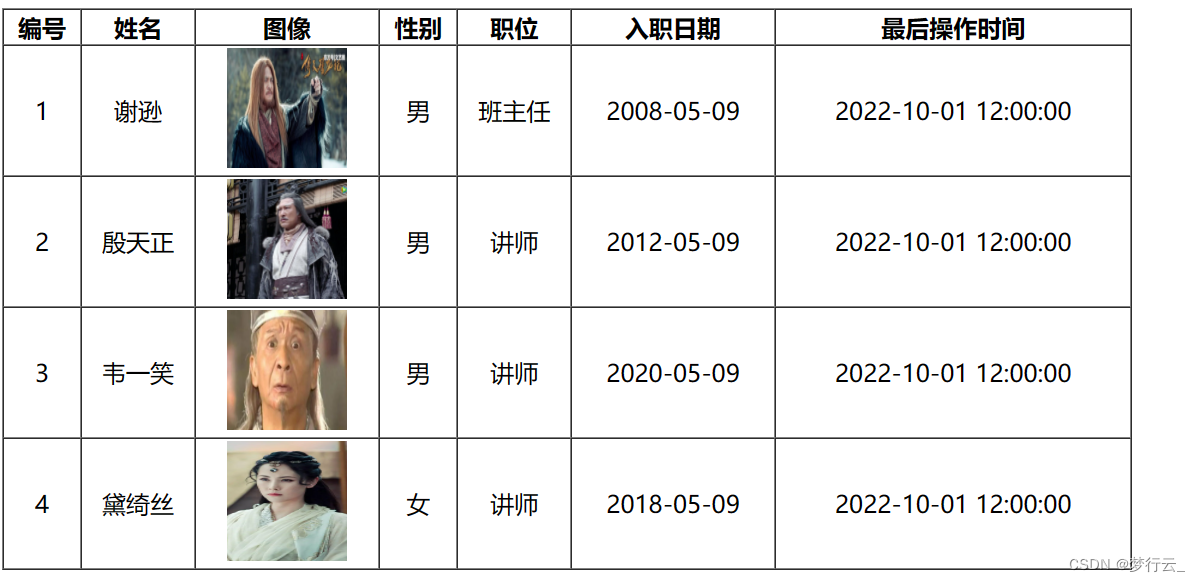


 339
339


 被折叠的 条评论
为什么被折叠?
被折叠的 条评论
为什么被折叠?
 到【灌水乐园】发言


