three.js 之 入门篇
1:使用parcel搭建 three.js 开发环境
parcel
- 项目之中安装:
npm install parcel-bundler --save-dev - 安装之中 配置脚本指令 ( 项目根目录下 src / index,html )
"scripts": {
"dev": "parcel <your entry file>",
"build": "parcel build <your entry file>",
"test": "echo \"Error: no test specified\" && exit 1"
},
- 安装three :
npm install three --save - 文件目录
- src / index.html
<!DOCTYPE html>
<html lang="en">
<head>
  <meta charset="UTF-8">
  <meta http-equiv="X-UA-Compatible" content="IE=edge">
  <meta name="viewport" content="width=device-width, initial-scale=1.0">
  <link rel="stylesheet" href="./assets/css/style.css">
  <title>Document</title>
</head>
<body>
  <script src="./main/main.js" type="module"></script>
</body>
</html>
- src / main / main.js
import * as THREE from "three"
console.log('main.js',THREE);
- 运行项目 :
npm run dev
2:运行一个简单的场景和物体
2.1 main.js
import * as THREE from "three"
const scene = new THREE.Scene()
const camera = new THREE.PerspectiveCamera(75,window.innerWidth/ window.innerHeight,0.1,1000)
camera.position.set(0,0,10)
scene.add( camera );
const geometry = new THREE.BoxGeometry( 1, 1, 1 );
const material = new THREE.MeshBasicMaterial( {color: 0x00ff00} );
const mesh = new THREE.Mesh( geometry, material );
scene.add( mesh );
const renderer = new THREE.WebGL1Renderer()
renderer.setSize(window.innerWidth,window.innerHeight)
console.log('renderer',renderer);
document.body.appendChild(renderer.domElement)
renderer.render(scene,camera)
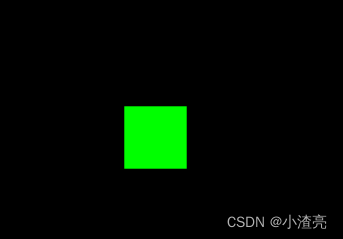
2.2效果
3:轨道控制器和控制物体 mesh
3.1 main.js
import * as THREE from "three"
import { OrbitControls } from "three/examples/jsm/controls/OrbitControls"
const scene = new THREE.Scene()
const camera = new THREE.PerspectiveCamera(75,window.innerWidth/ window.innerHeight,0.1,1000)
camera.position.set(0,0,10)
scene.add( camera );
const geometry = new THREE.BoxGeometry( 1, 1, 1 );
const material = new THREE.MeshBasicMaterial( {color: 0x00ff00} );
const mesh = new THREE.Mesh( geometry, material );
scene.add( mesh );
const renderer = new THREE.WebGL1Renderer()
renderer.setSize(window.innerWidth,window.innerHeight)
console.log('renderer',renderer);
document.body.appendChild(renderer.domElement)
const controls = new OrbitControls(camera,renderer.domElement)
function animate() {
requestAnimationFrame( animate );
controls.update();
renderer.render( scene, camera );
}
animate()
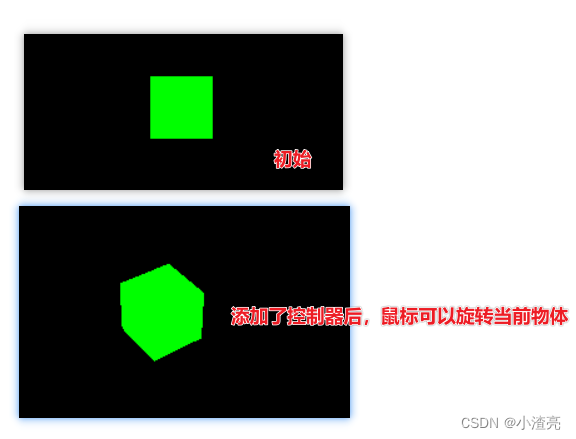
3.2效果
4:添加坐标辅助器 AxesHelper
4.1
import * as THREE from "three"
import { OrbitControls } from "three/examples/jsm/controls/OrbitControls"
const scene = new THREE.Scene()
const camera = new THREE.PerspectiveCamera(75,window.innerWidth/ window.innerHeight,0.1,1000)
camera.position.set(0,0,10)
scene.add( camera );
const geometry = new THREE.BoxGeometry( 1, 1, 1 );
const material = new THREE.MeshBasicMaterial( {color: 0x00ff00} );
const mesh = new THREE.Mesh( geometry, material );
scene.add( mesh );
const renderer = new THREE.WebGL1Renderer()
renderer.setSize(window.innerWidth,window.innerHeight)
document.body.appendChild(renderer.domElement)
const controls = new OrbitControls(camera,renderer.domElement)
const axesHelper = new THREE.AxesHelper( 5 );
scene.add( axesHelper );
function animate() {
requestAnimationFrame( animate );
controls.update();
renderer.render( scene, camera );
}
animate()
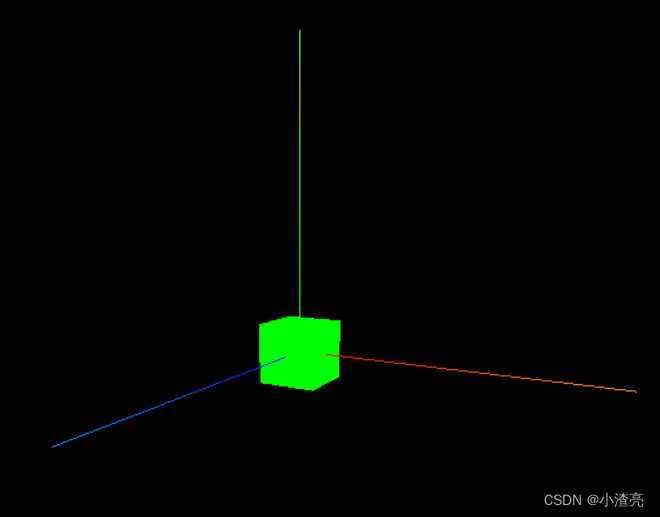
4.2效果
5:设置几何体移动
5.1
import * as THREE from "three"
import { OrbitControls } from "three/examples/jsm/controls/OrbitControls"
const scene = new THREE.Scene()
const camera = new THREE.PerspectiveCamera(75,window.innerWidth/ window.innerHeight,0.1,1000)
camera.position.set(0,0,10)
scene.add( camera );
const geometry = new THREE.BoxGeometry( 1, 1, 1 );
const material = new THREE.MeshBasicMaterial( {color: 0x00ff00} );
const mesh = new THREE.Mesh( geometry, material );
scene.add( mesh );
mesh.position.set(5,0,0)
const renderer = new THREE.WebGL1Renderer()
renderer.setSize(window.innerWidth,window.innerHeight)
document.body.appendChild(renderer.domElement)
const controls = new OrbitControls(camera,renderer.domElement)
const axesHelper = new THREE.AxesHelper( 5 );
scene.add( axesHelper );
function animate() {
mesh.position.x += 0.01
if ( mesh.position.x > 5 ) {
mesh.position.x = 0
}
requestAnimationFrame( animate );
controls.update();
renderer.render( scene, camera );
}
animate()
5.2 效果

6:设置几何体缩放和旋转 mesh下的 rotation
import * as THREE from "three"
import { OrbitControls } from "three/examples/jsm/controls/OrbitControls"
const scene = new THREE.Scene()
const camera = new THREE.PerspectiveCamera(75,window.innerWidth/ window.innerHeight,0.1,1000)
camera.position.set(0,0,10)
scene.add( camera );
const geometry = new THREE.BoxGeometry( 1, 1, 1 );
const material = new THREE.MeshBasicMaterial( {color: 0x00ff00} );
const mesh = new THREE.Mesh( geometry, material );
scene.add( mesh );
mesh.rotation.set( Math.PI / 4 , 0,0,'XYZ')
const renderer = new THREE.WebGL1Renderer()
renderer.setSize(window.innerWidth,window.innerHeight)
document.body.appendChild(renderer.domElement)
const controls = new OrbitControls(camera,renderer.domElement)
const axesHelper = new THREE.AxesHelper( 5 );
scene.add( axesHelper );
function animate() {
mesh.position.x += 0.01
mesh.rotation.x += 0.01
if ( mesh.position.x > 5 ) {
mesh.position.x = 0
}
requestAnimationFrame( animate );
controls.update();
renderer.render( scene, camera );
}
animate()
8:设置基本动画
import * as THREE from "three"
import { OrbitControls } from "three/examples/jsm/controls/OrbitControls"
const scene = new THREE.Scene()
const camera = new THREE.PerspectiveCamera(75,window.innerWidth/ window.innerHeight,0.1,1000)
camera.position.set(0,0,10)
scene.add( camera );
const geometry = new THREE.BoxGeometry( 1, 1, 1 );
const material = new THREE.MeshBasicMaterial( {color: 0x00ff00} );
const mesh = new THREE.Mesh( geometry, material );
scene.add( mesh );
mesh.rotation.set( Math.PI / 4 , 0,0,'XYZ')
const renderer = new THREE.WebGL1Renderer()
renderer.setSize(window.innerWidth,window.innerHeight)
document.body.appendChild(renderer.domElement)
const controls = new OrbitControls(camera,renderer.domElement)
const axesHelper = new THREE.AxesHelper( 5 );
scene.add( axesHelper );
function animate(time) {
let t = time / 1000
mesh.position.x = t * 1;
if ( mesh.position.x > 5 ) {
mesh.position.x = 0
}
requestAnimationFrame( animate );
controls.update();
renderer.render( scene, camera );
}
animate()
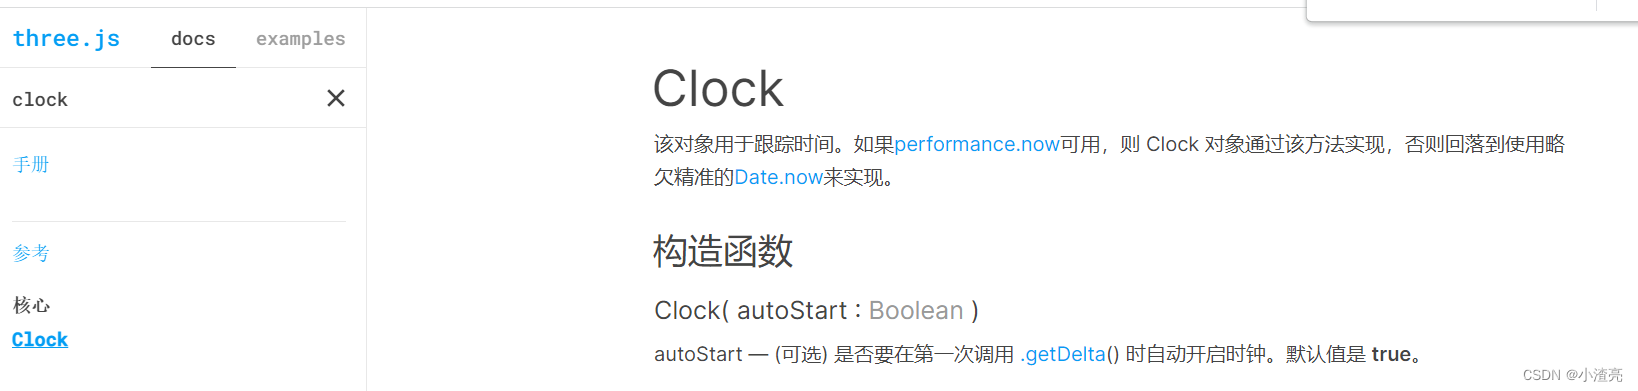
9:通过Clock 跟踪时间处理动画
import * as THREE from "three"
import { OrbitControls } from "three/examples/jsm/controls/OrbitControls"
const scene = new THREE.Scene()
const camera = new THREE.PerspectiveCamera(75,window.innerWidth/ window.innerHeight,0.1,1000)
camera.position.set(0,0,10)
scene.add( camera );
const geometry = new THREE.BoxGeometry( 1, 1, 1 );
const material = new THREE.MeshBasicMaterial( {color: 0x00ff00} );
const mesh = new THREE.Mesh( geometry, material );
scene.add( mesh );
mesh.rotation.set( Math.PI / 4 , 0,0,'XYZ')
const renderer = new THREE.WebGL1Renderer()
renderer.setSize(window.innerWidth,window.innerHeight)
document.body.appendChild(renderer.domElement)
const controls = new OrbitControls(camera,renderer.domElement)
const axesHelper = new THREE.AxesHelper( 5 );
scene.add( axesHelper );
let clock = new THREE.Clock()
function animate() {
let time = clock.getElapsedTime()
let t = time % 5
mesh.position.x = t * 1;
requestAnimationFrame( animate );
controls.update();
renderer.render( scene, camera );
}
animate()


 435
435

 被折叠的 条评论
为什么被折叠?
被折叠的 条评论
为什么被折叠?
 到【灌水乐园】发言


