


1.新建工程
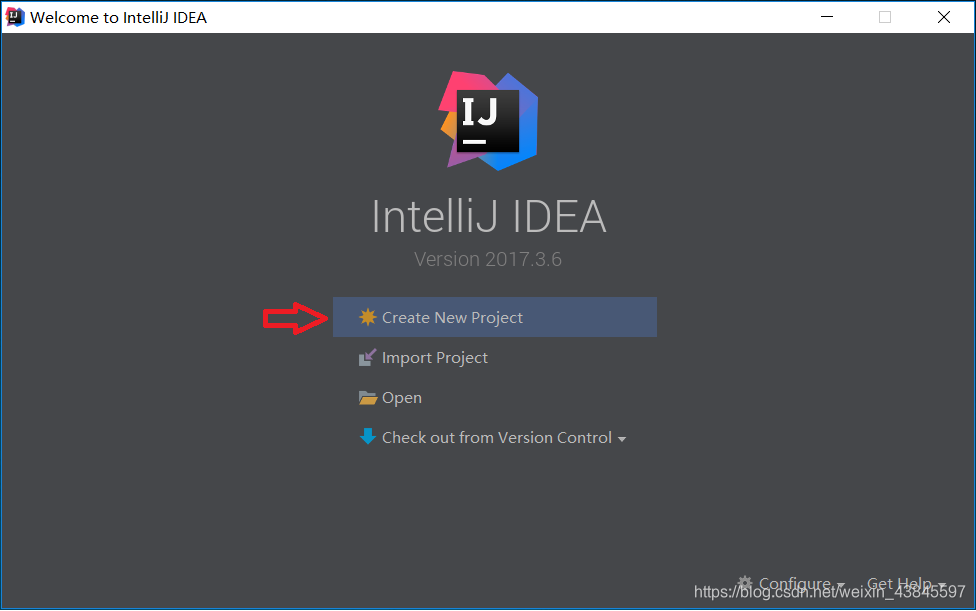
1.打开IntelliJ IDEA,选择Create New Project
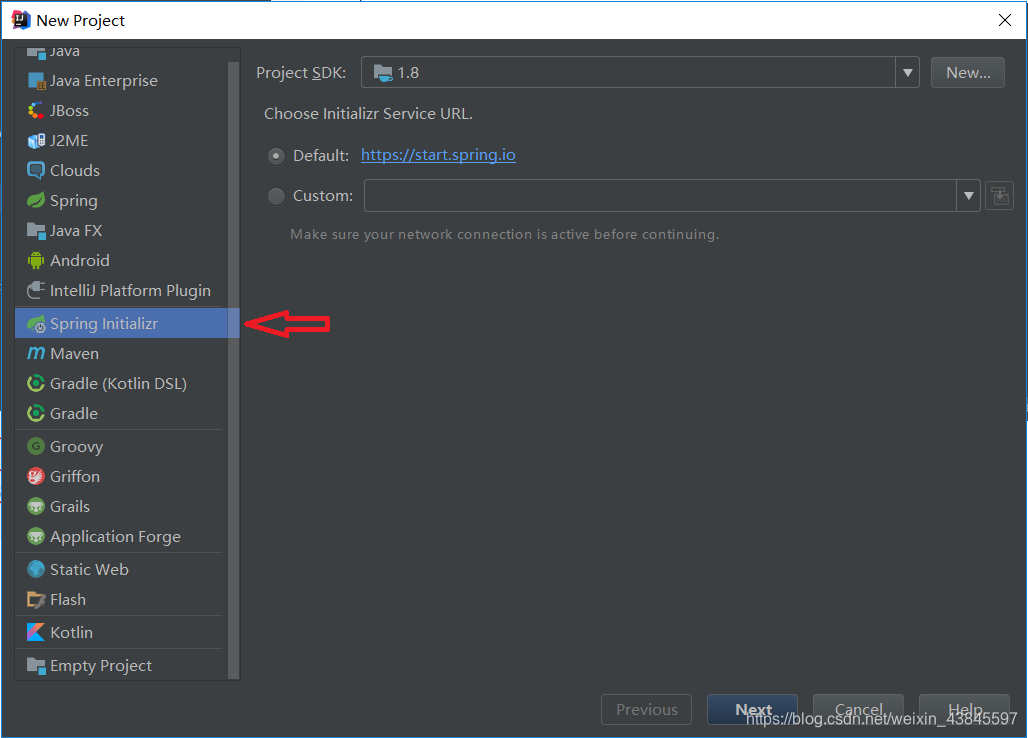
2.之后,回弹出一个对话框,点击左侧的Spring Initializr;
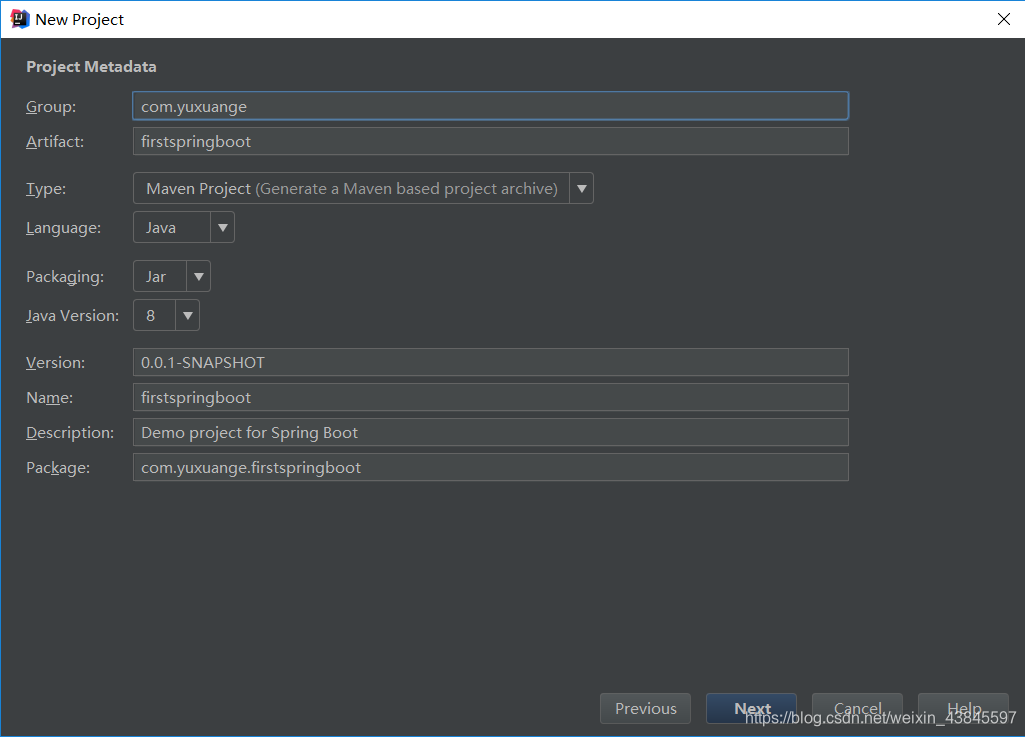
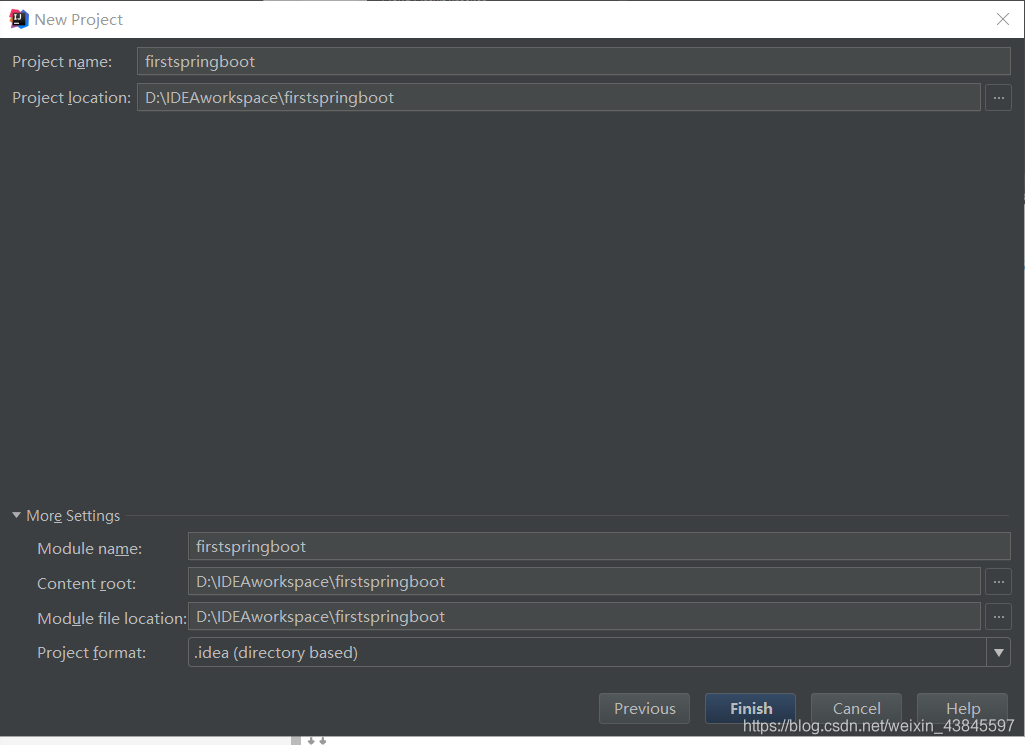
3.点击Next后,弹出对话框后设置工程名。工程名设置为:firstspringboot
4.点击Next后,接下来会初始化下载Maven管理的相关jar包。
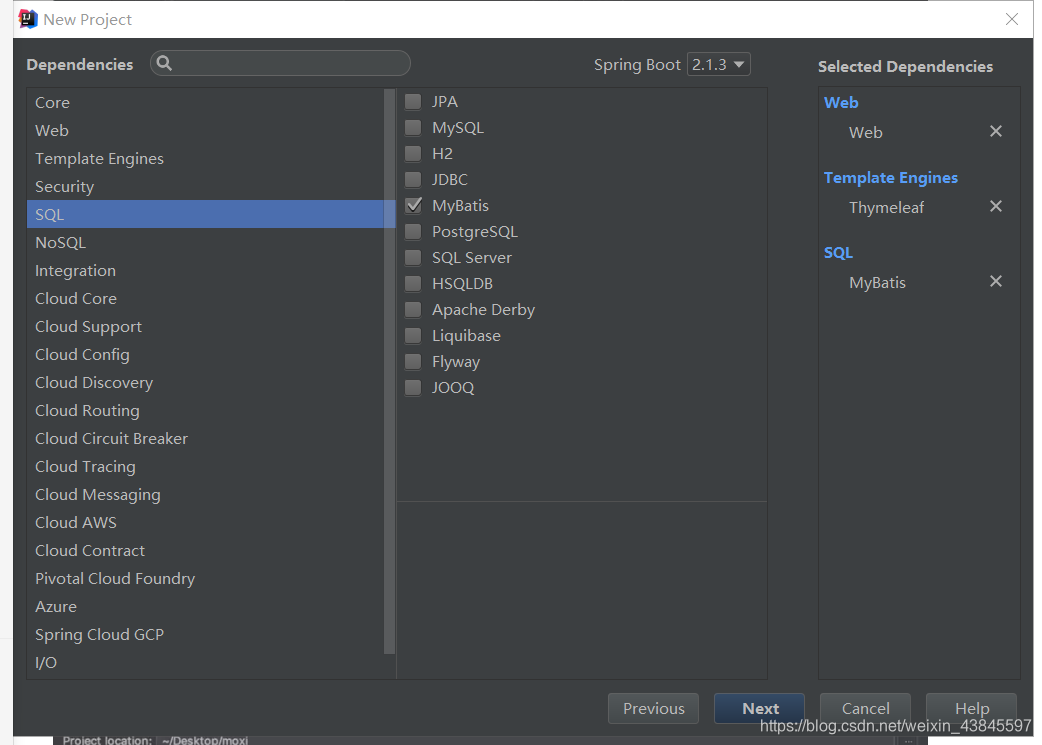
(本工程选择的是Web选项中的Web,Template Engines中的Thymeleaf和SQL中的MyBatis,根据项目选择您所需要的依赖)
5. 选择好自己所需要的依赖后,再次点击Next;
6.点击Finish后,IntelliJ IDEA开始构建我们的开发环境啦!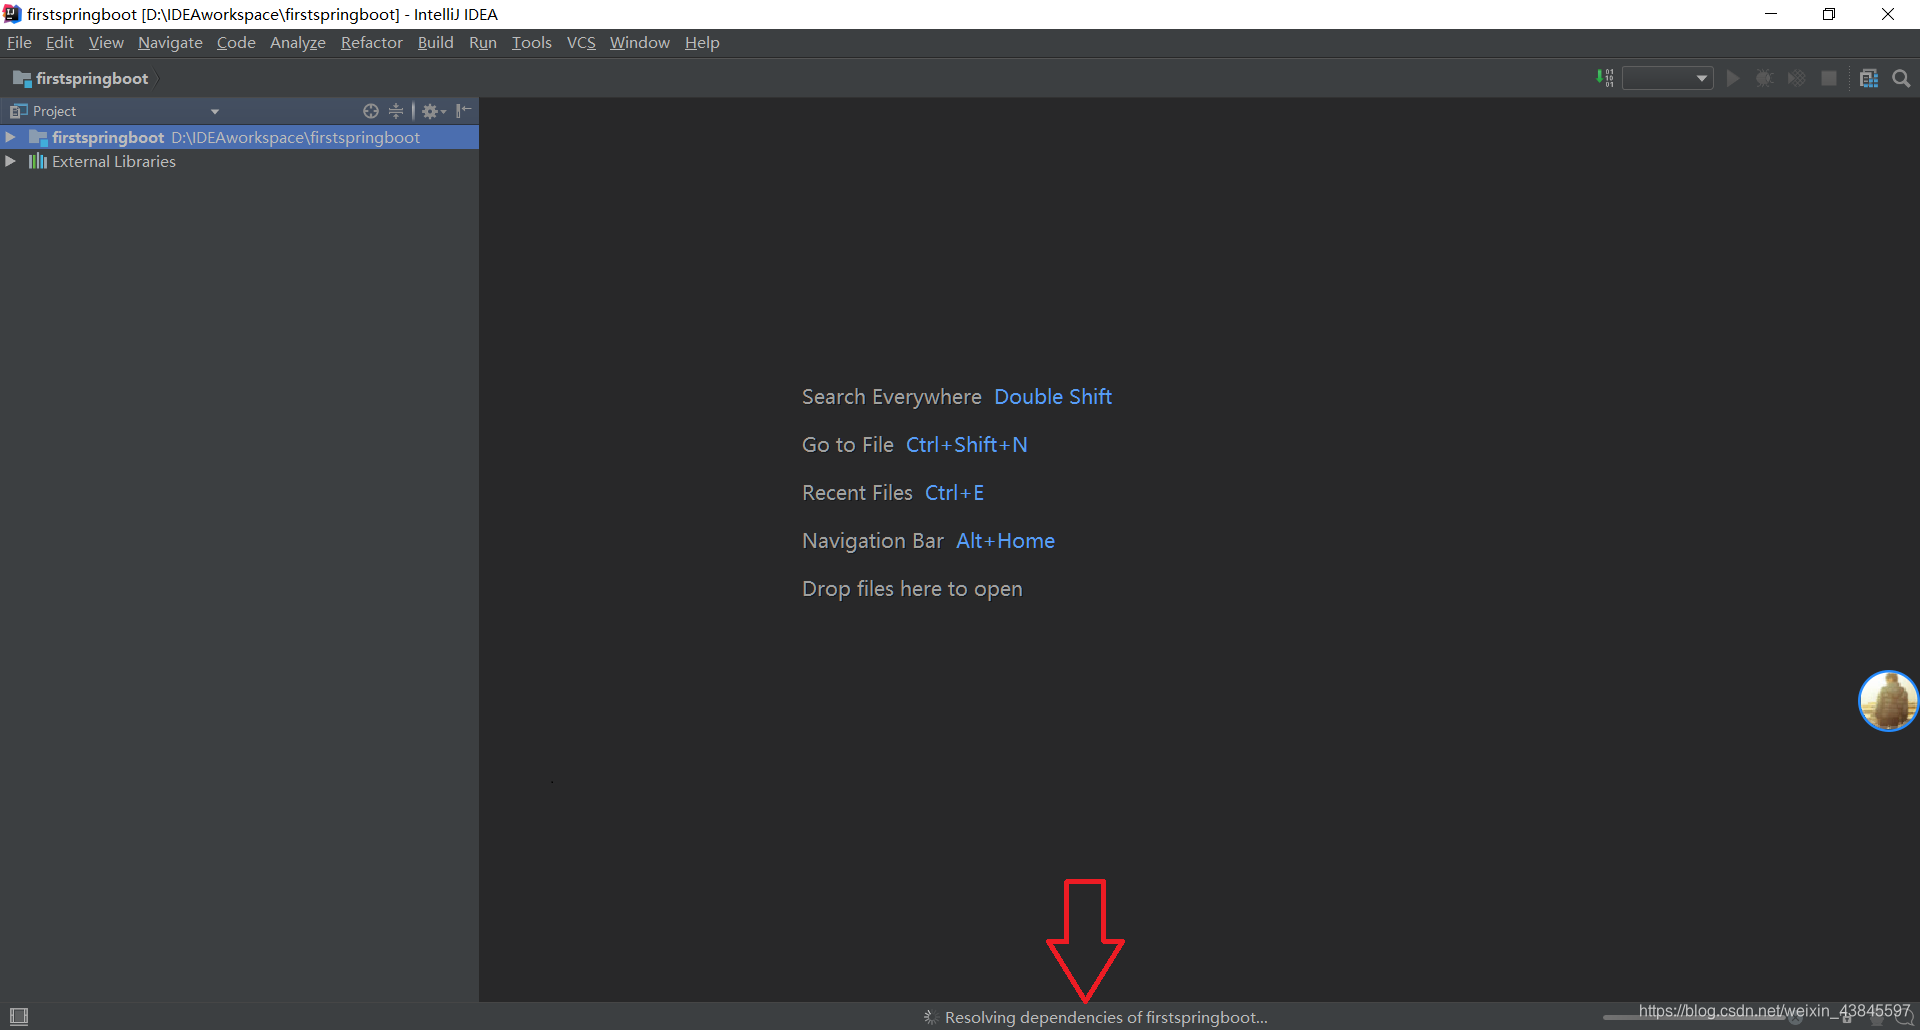
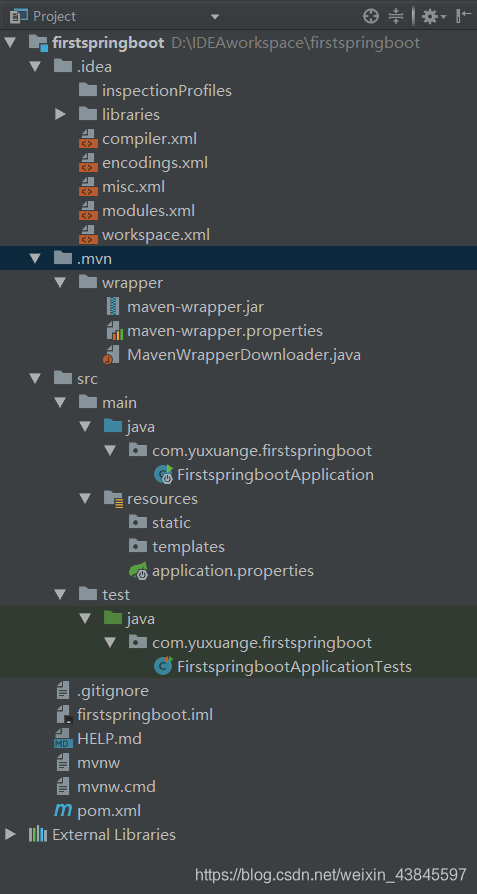
构建完成后,工程目录如下:
2.运行调试
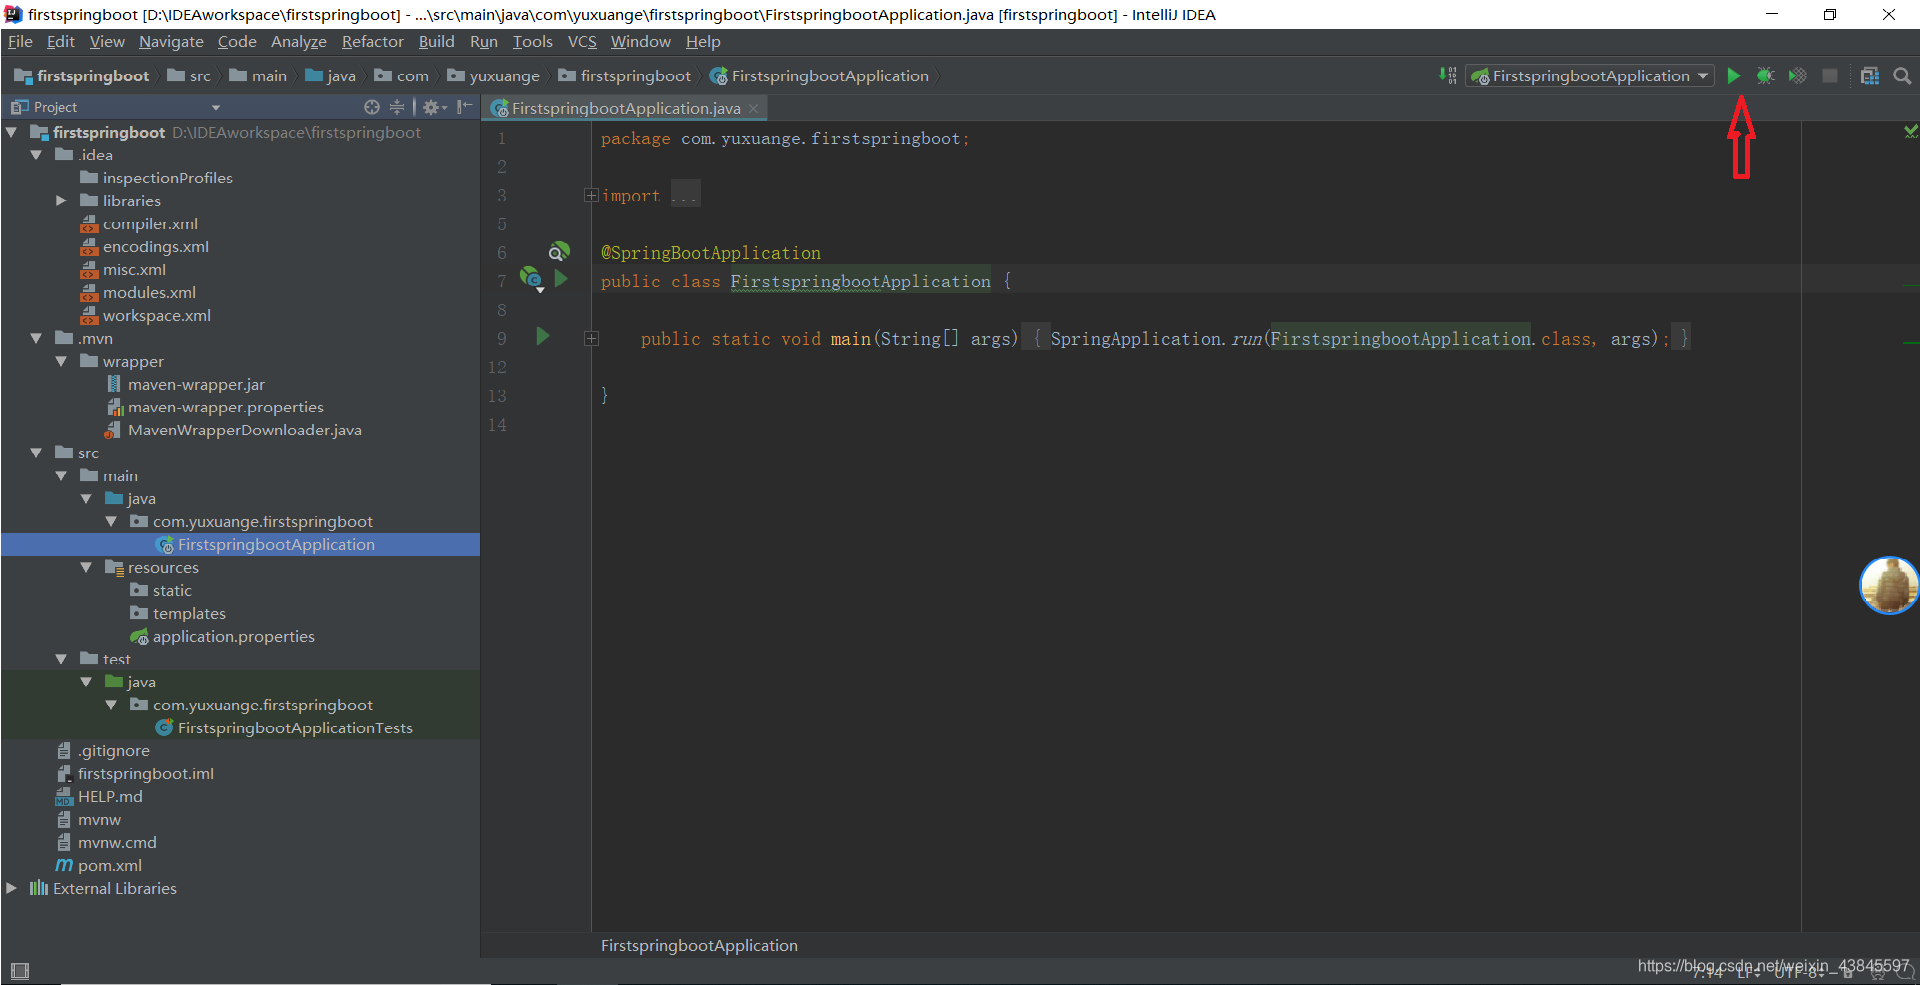
1.在工程下找到src/main/java/包中的启动项,我的工程启动项名字是FirstspringbootAppliccation。
2.启动后,发现错误;
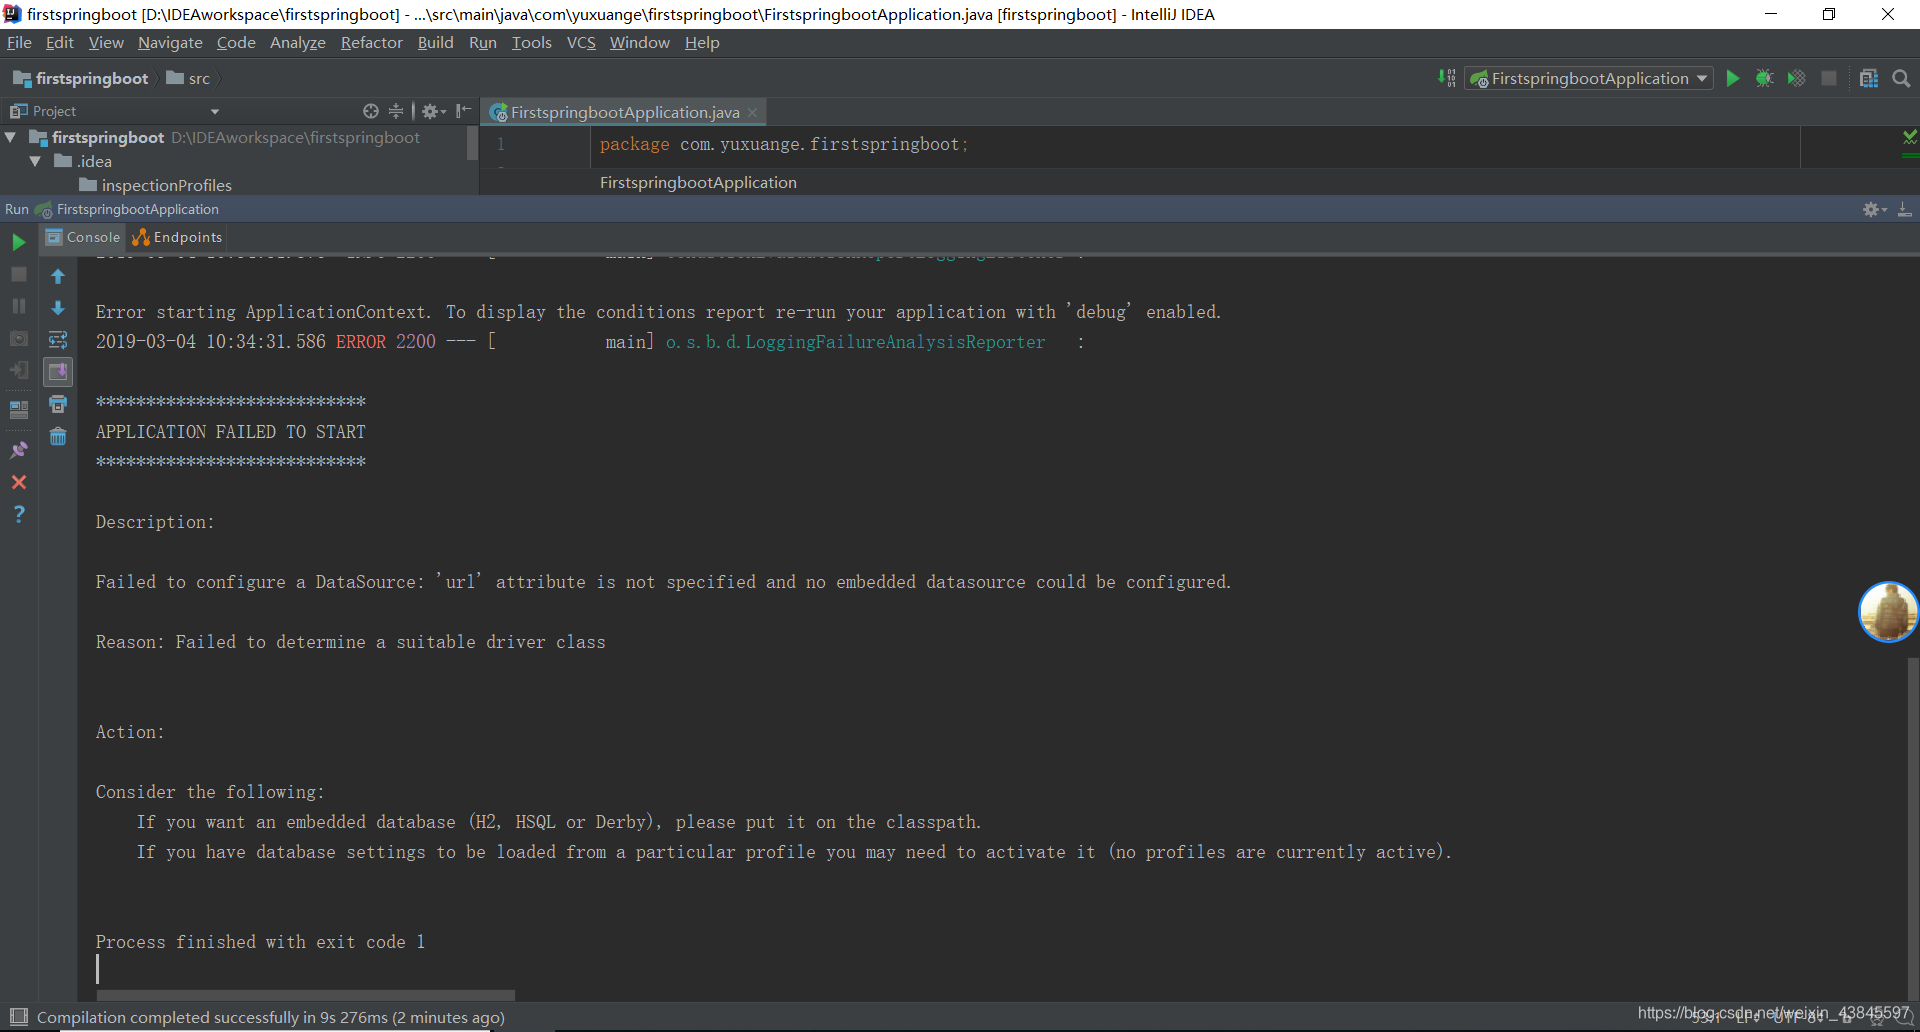
发现错误为:
Description:
Failed to configure a DataSource: ‘url’ attribute is not specified and no embedded datasource could be configured.
Reason: Failed to determine a suitable driver class
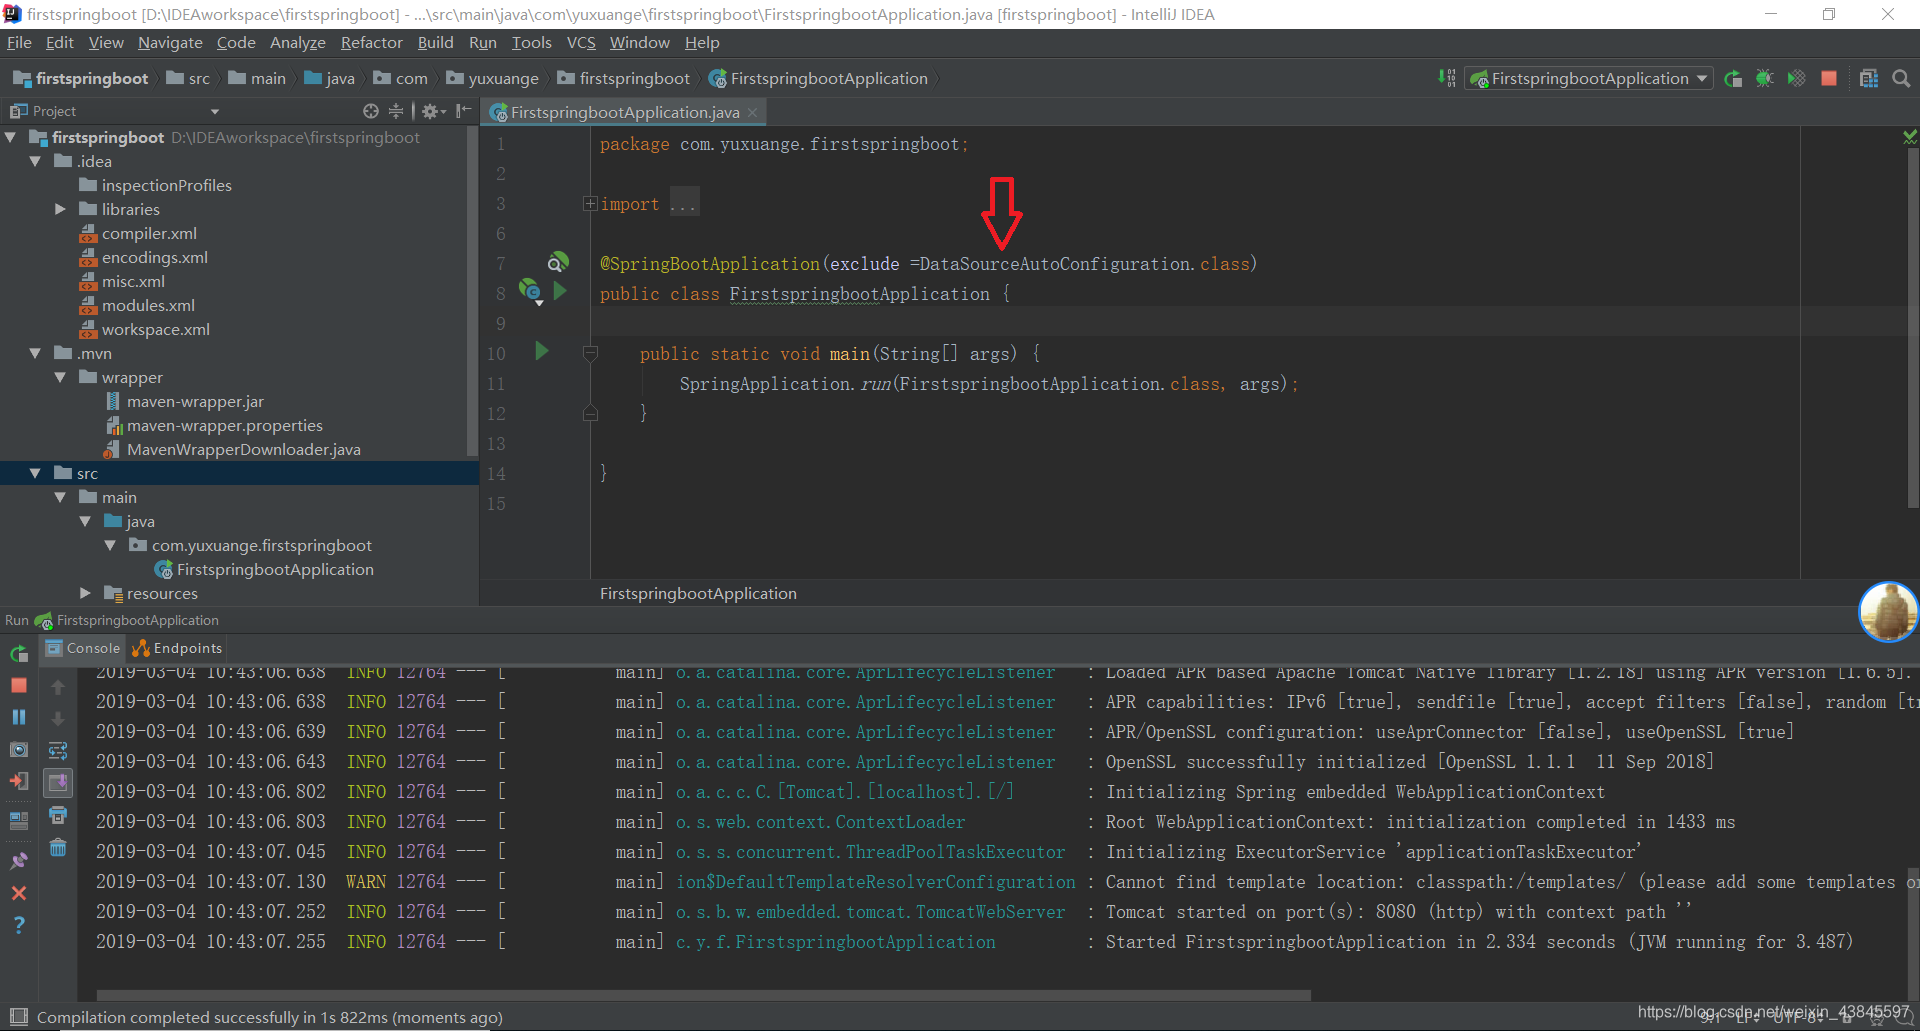
3.在启动类的@SpringBootApplication后添加exclude=(DataSourceAutoConfiguration.class)
3.添加一个Restful的web服务进行测试;
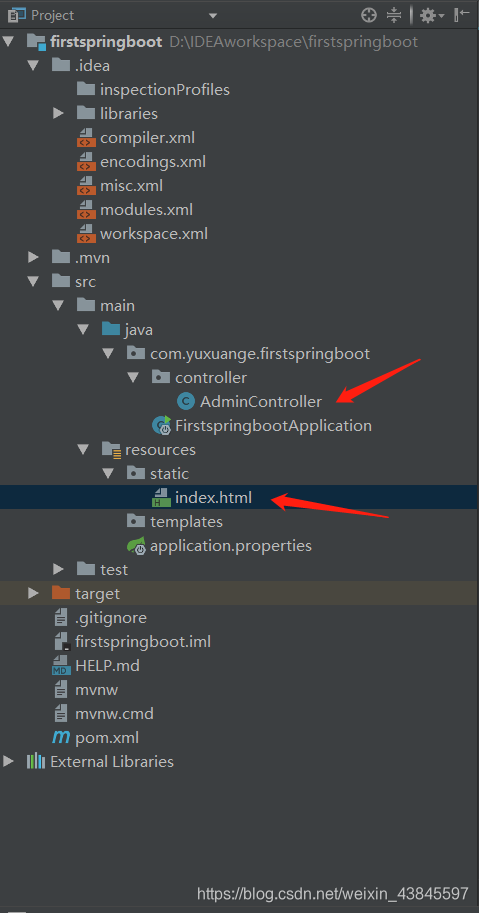
1.分别在java/com.yuxuange.firstspringboot中创建一个controller包在包中创建一个AdminController,在resources/static中创建一个index.html,如图:
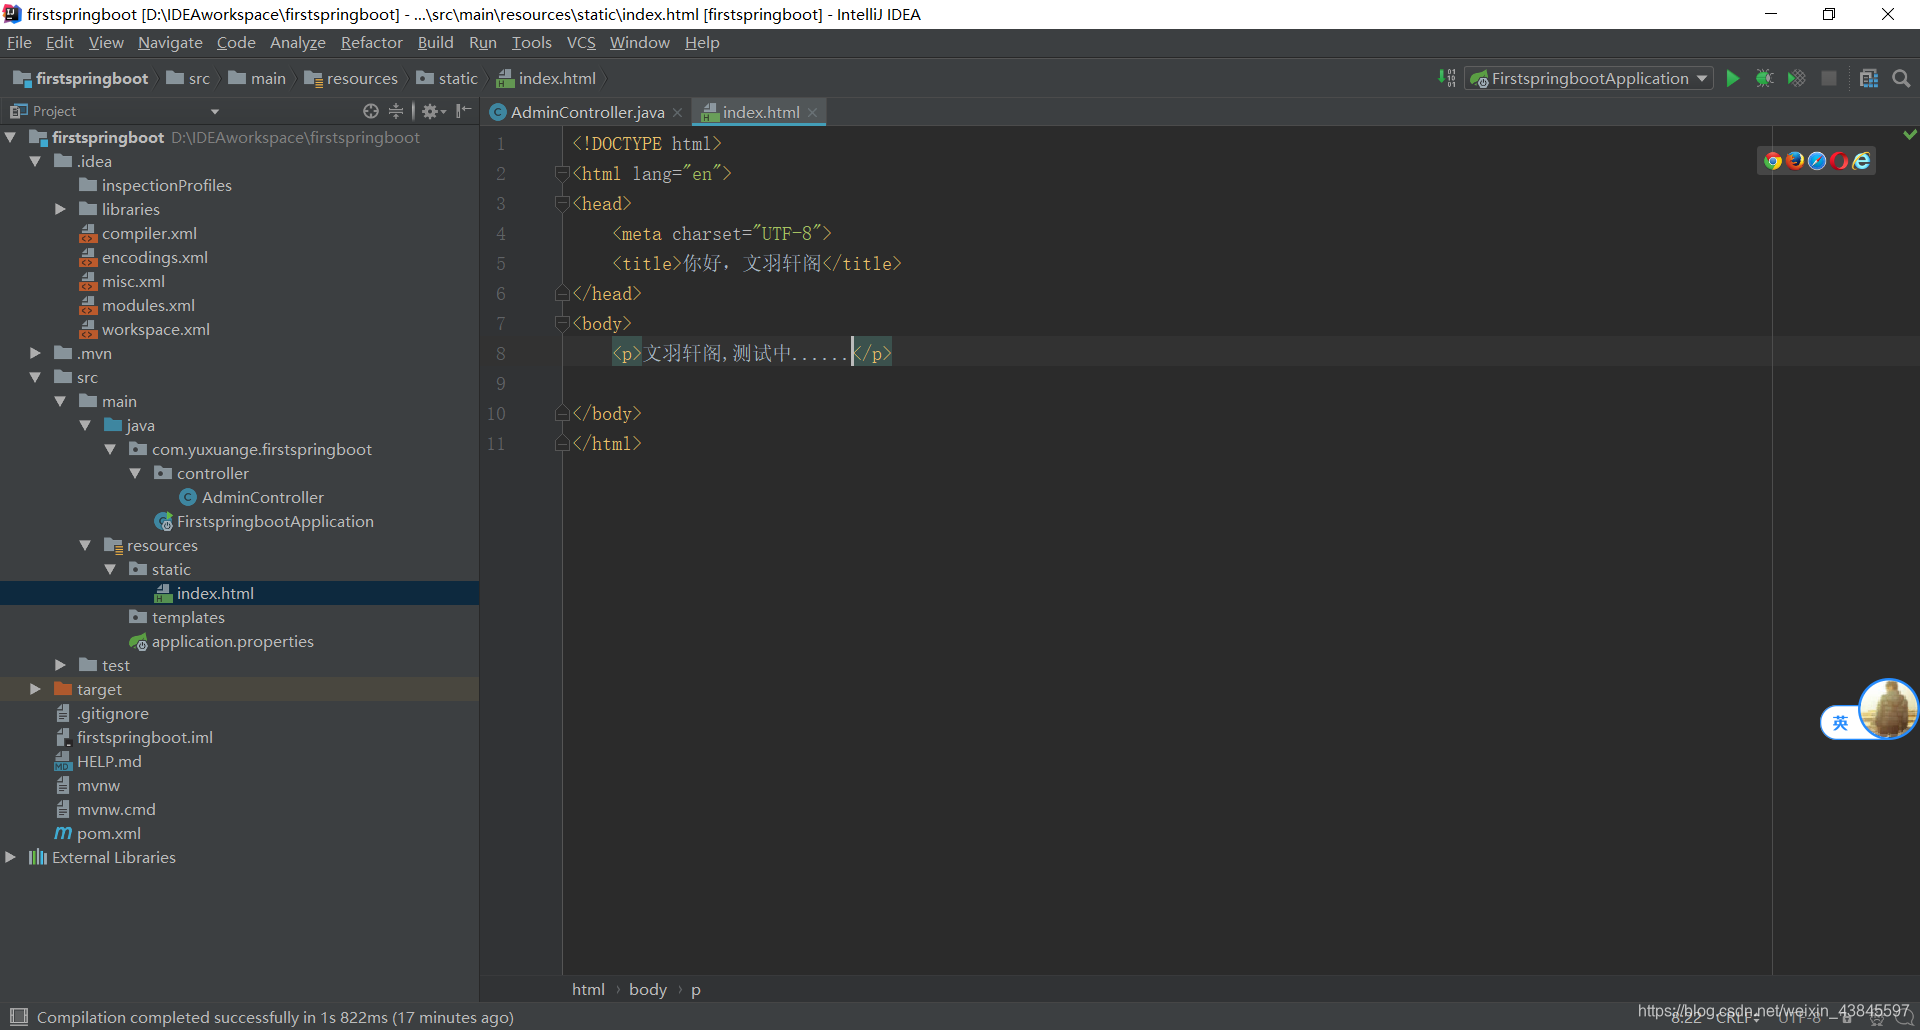
2.在index.html中写入图中代码:
3.在AdminController中的代码:
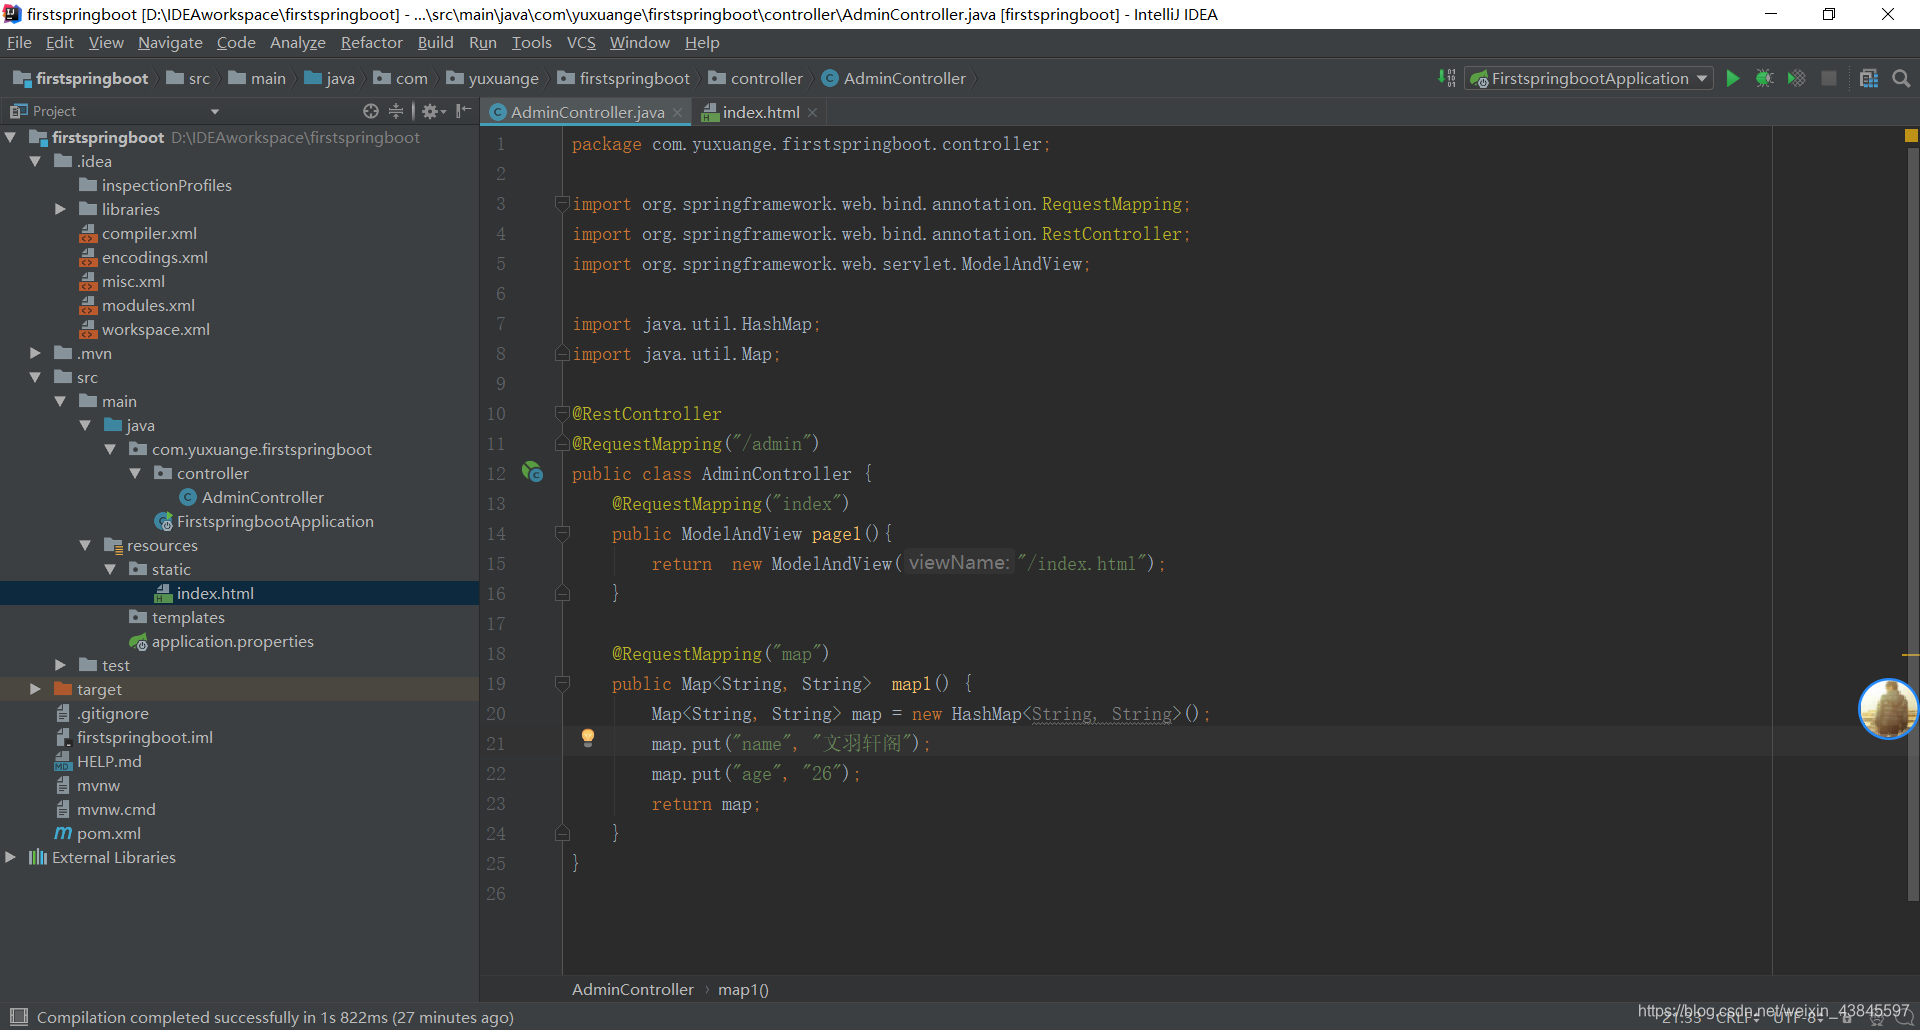
具体代码:
package com.yuxuange.firstspringboot.controller;

import org.springframework.web.bind.annotation.RequestMapping;
import org.springframework.web.bind.annotation.RestController;
import org.springframework.web.servlet.ModelAndView;

import java.util.HashMap;
import java.util.Map;

@RestController
@RequestMapping("/admin")
public class AdminController {
    @RequestMapping("index")
    public ModelAndView page1(){
        return  new ModelAndView("/index.html");
    }

    @RequestMapping("map")
    public Map<String, String>  map1() {
        Map<String, String> map = new HashMap<String, String>();
        map.put("name", "文羽轩阁");
        map.put("age", "26");
        return map;
    }
}
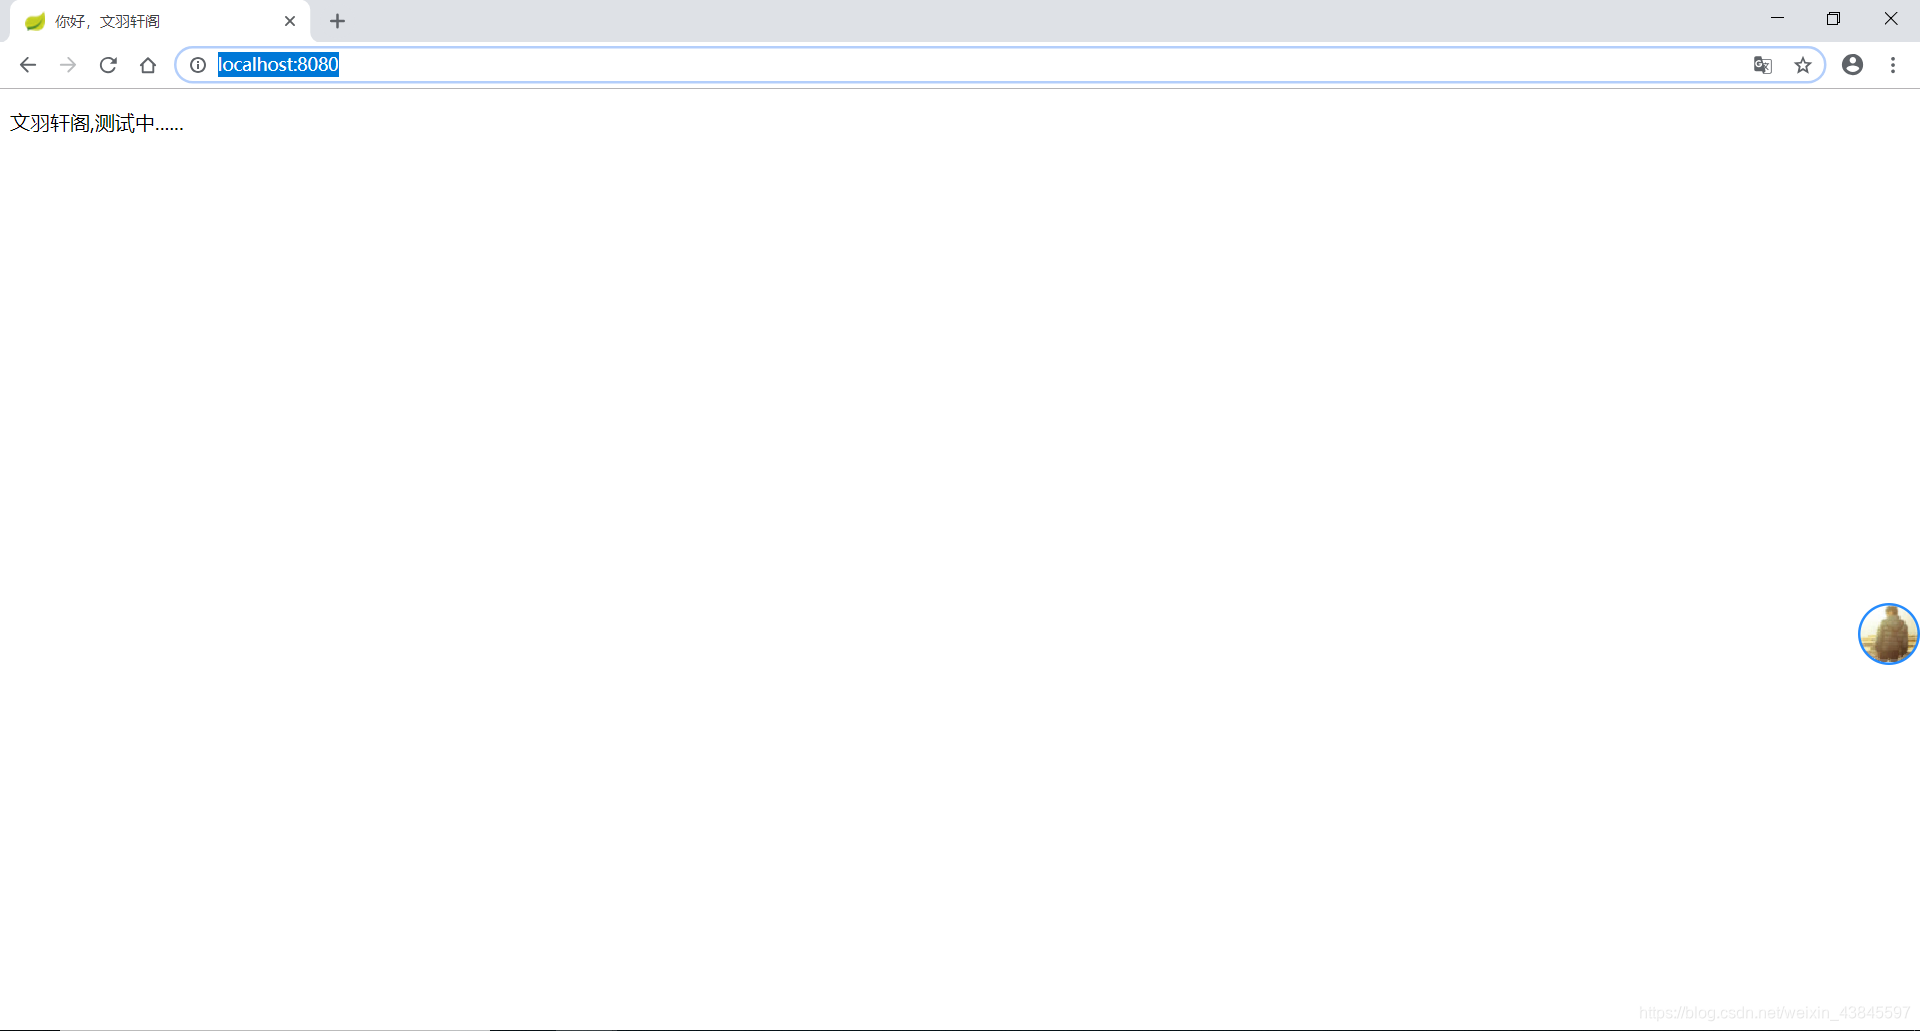
4.使用启动项启动后,在浏览器的地址栏处,输入http://localhost:8080/
如图:
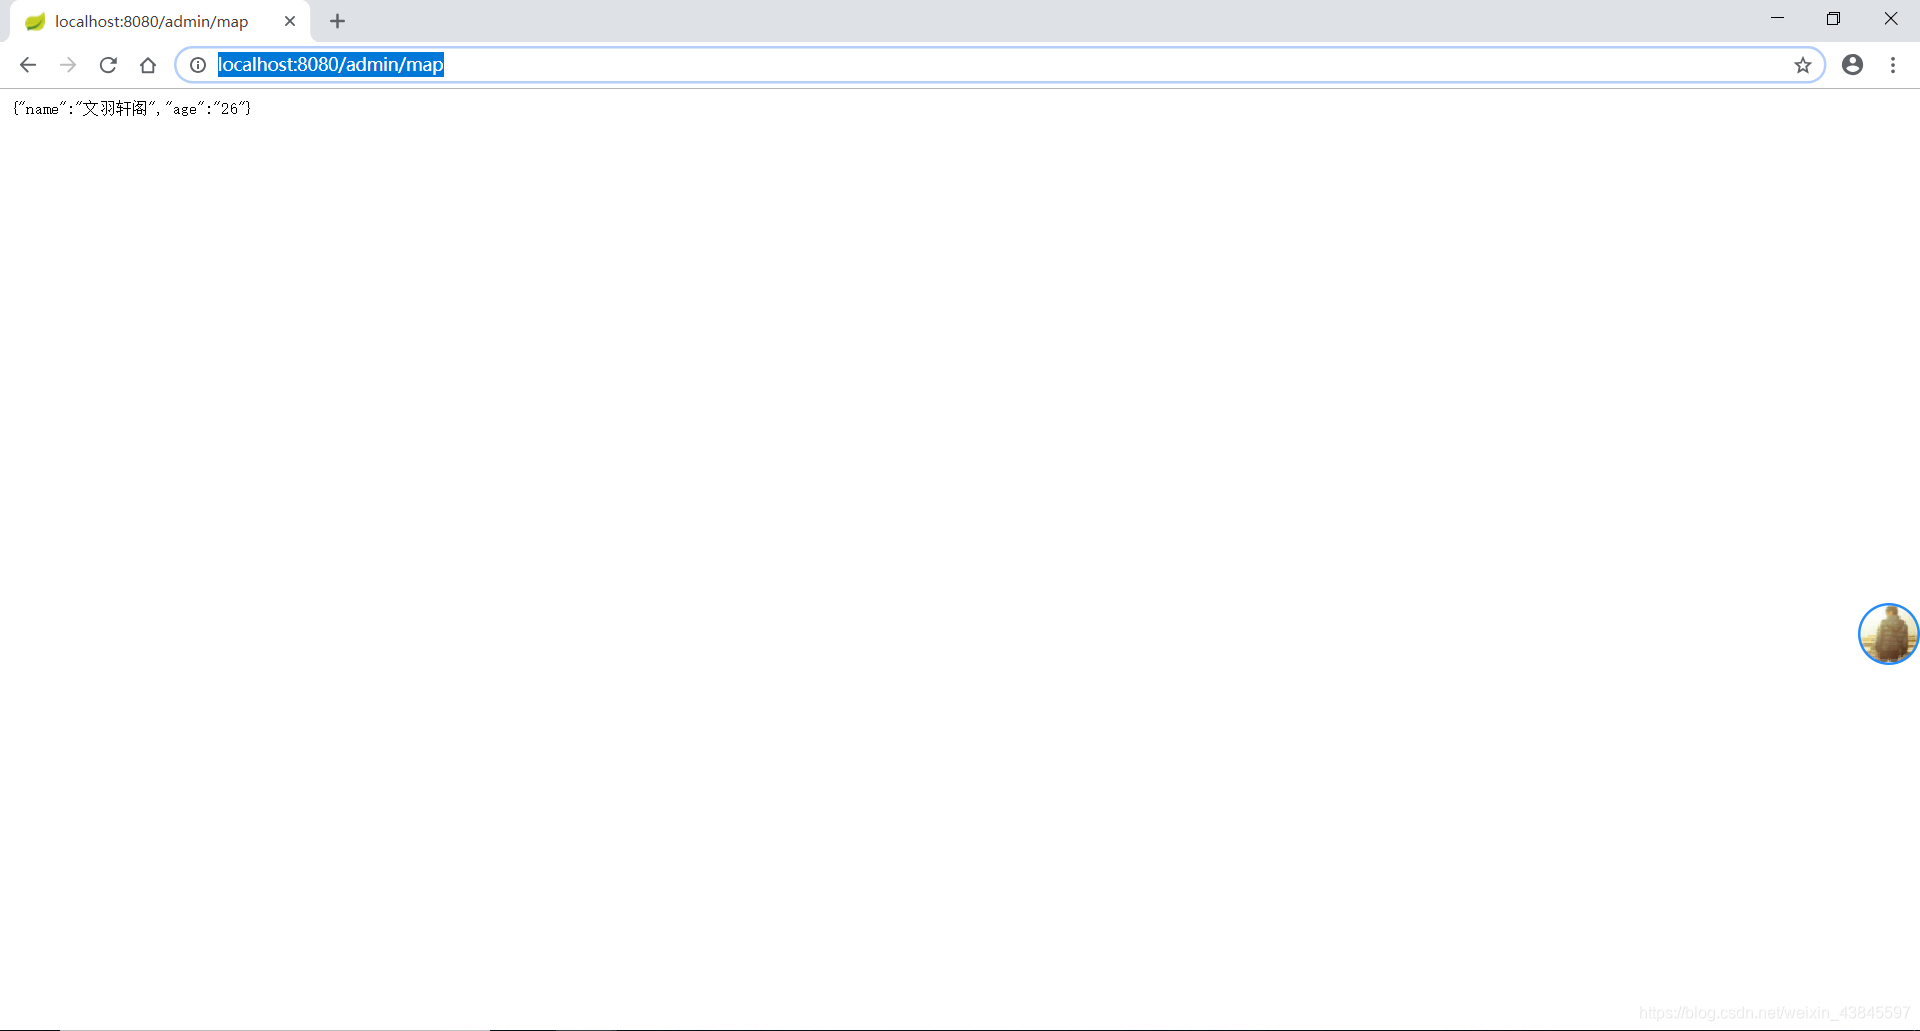
5.在浏览器的地址栏处,输入http://localhost:8080/admin/map
如图:


 307
307


 被折叠的 条评论
为什么被折叠?
被折叠的 条评论
为什么被折叠?
 到【灌水乐园】发言


