


 本文介绍了如何在Android应用中实现调用系统相机拍照和打开相册选择图片的功能。通过隐式Intent,实现了权限检查、图片处理及显示。详细讲解了相关代码实现,包括权限申请、Intent使用以及图片缩放和加边框的处理。适用于Android项目实战,适合初学者参考。
续更,这个系列即将完结了。本篇实现的是一个发布图片的功能案例,调用系统相机拍照、相册实现图片发布模块效果,本来想是实现服务端的贴子和图片DRUD操作发送,但后台接口没时间写,就改为这个简单的图片拍照显示,因为调用系统相机拍照,打开相册这些常规操作基本都是开发app中必知必会的,嗯,所以就这样~,我没话了。直接看下面。
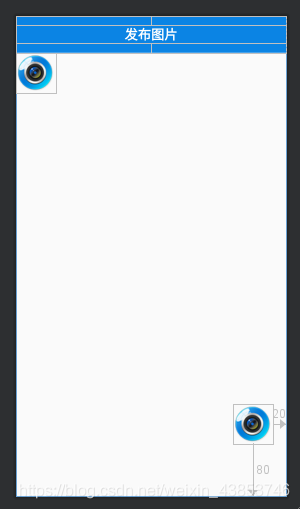
本篇效果
第一次调用会进行访问权限提示,授权后才可以进行调用:
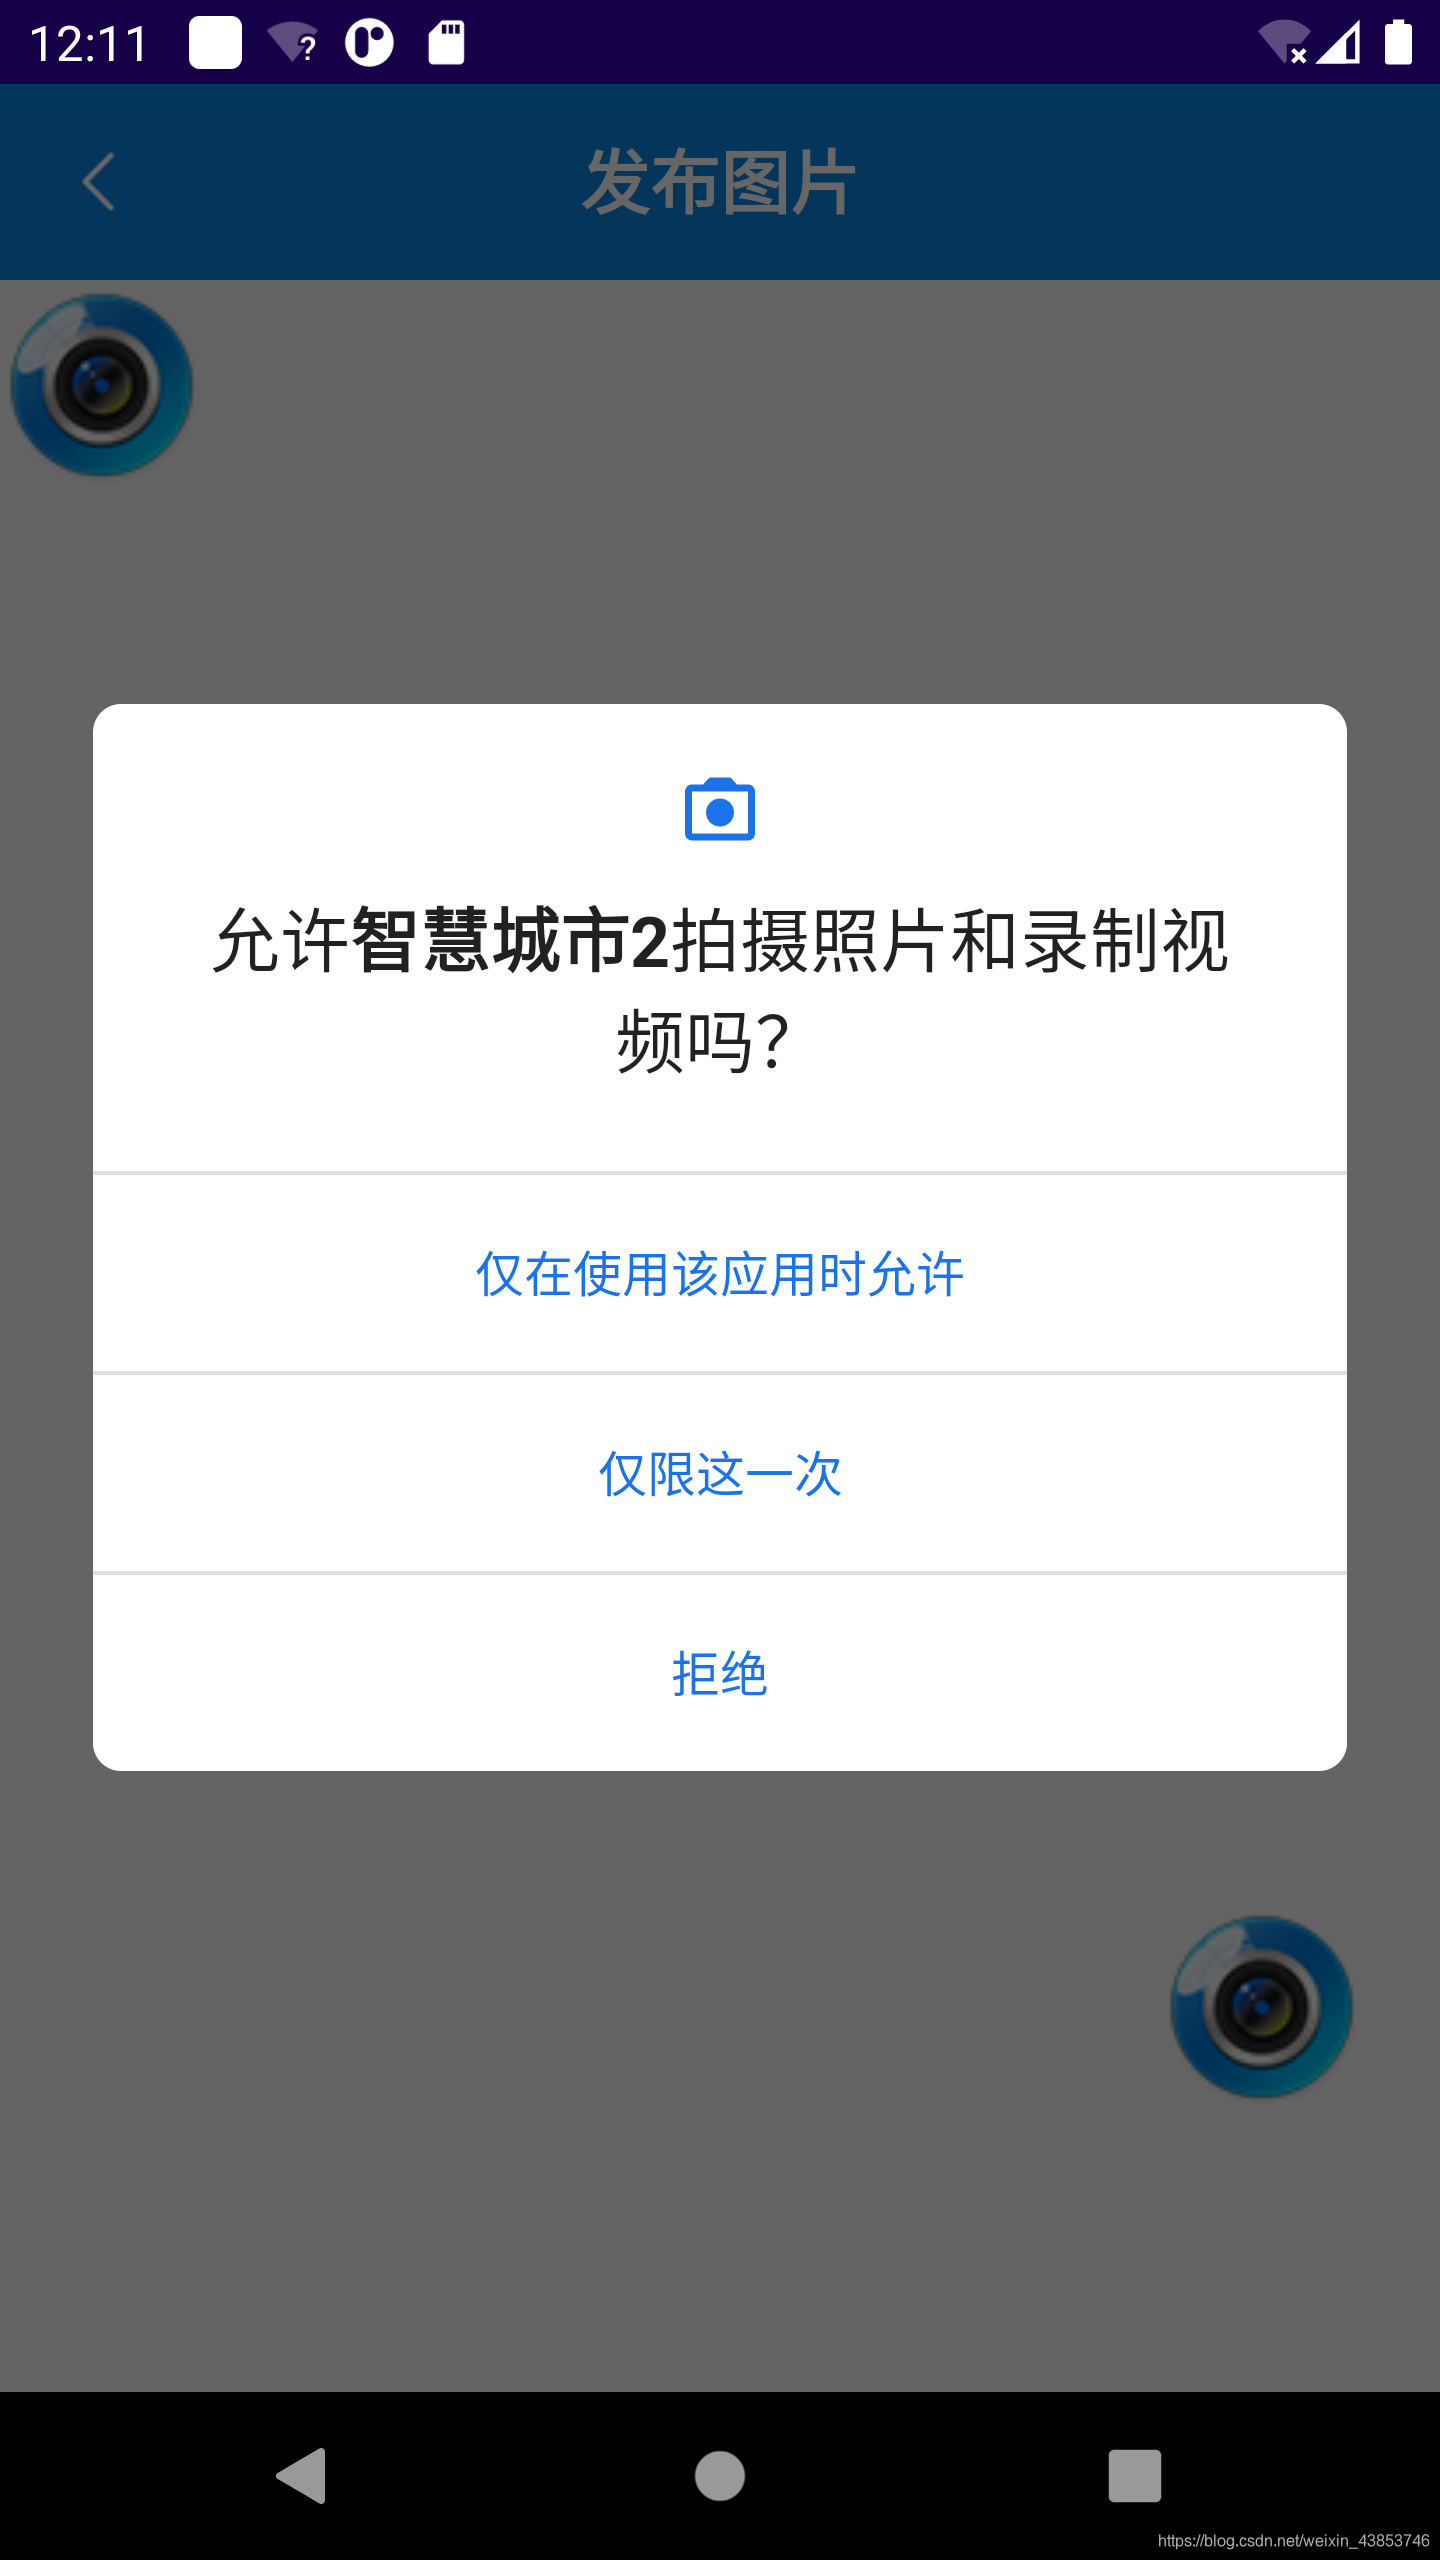
实现Intent隐式意图调用系统相机拍照、打开系统相册并进行图片的处理后实现图片数据的回传。其中用到了AlertDialog对话框,Intent等数据传递等基础知识点。
文章导航
一、【Android项目实战 | 从零开始写app(一)】 创建项目
二、【Android项目实战 | 从零开始写app(二)】实现闪屏页,启动app
三、【Android项目实战 | 从零开始写app(三)】实现引导页,进入登录or主页面
四、【Android项目实战 | 从零开始写app(四)】Okhttp+Gson实现服务端登录验证功能
五、【Android项目实战 | 从零开始写app(五)】okhttp+gson实现服务端注册功能
六、【Android项目实战 | 从零开始写app(六)】用TabLayout+ViewPager搭建App 框架主页面底部导航栏
七、【Android项目实战 | 从零开始写app(七)】优化主页导航栏,禁用主页页面滑动切换效果
八、【Android项目实战 | 从零开始写app(八)】实现app首页广告轮播图切换和搜索跳转
九、【Android项目实战 | 从零开始写app(九)】Tablayout+ViewPager实现页面分类顶部标题页面联动切换
十、【Android项目实战 | 从零开始写app(十)】Okhttp+glide+json+ListView实现新闻模块数据的填充显示
十一、【Android项目实战 | 从零开始写app(十一)】实现app首页智慧服务页面服务分类数据的解析及点击跳转
十二、【Android项目实战 | 从零开始写app(十二)】实现app首页智慧服务&热门推荐&热门主题、新闻
十三、【Android项目实战 | 从零开始写app(十三)】实现用户中心模块清除token退出登录&信息修改等功能
十四、【Android项目实战 | 从零开始写app(十四)】实现图片发布模块 | 必知必会之调用系统相机拍照、相册
十五、【Android项目实战 | 从零开始写app(教程汇总)】Android 项目实战系列汇总、源代码
功能实现
首先,在AndroidManifest.xml清单文件中加入授权权限:
<uses-permission android:name="android.permission.CAMERA" />
<uses-permission android:name="android.permission.WRITE_EXTERNAL_STORAGE" />
TakePhotoActivity:
package com.example.myapp.activity;

import androidx.appcompat.app.AppCompatActivity;
import androidx.appcompat.widget.Toolbar;
import androidx.core.app.ActivityCompat;
import androidx.core.content.ContextCompat;

import android.Manifest;
import android.app.AlertDialog;
import android.content.ContentResolver;
import android.content.DialogInterface;
import android.content.Intent;
import android.content.pm.PackageManager;
import android.graphics.Bitmap;
import android.graphics.BitmapFactory;
import android.graphics.Canvas;
import android.graphics.Color;
import android.graphics.Matrix;
import android.graphics.Paint;
import android.graphics.PaintFlagsDrawFilter;
import android.graphics.Rect;
import android.net.Uri;
import android.os.Build;
import android.os.Bundle;
import android.os.StrictMode;
import android.provider.MediaStore;
import android.view.View;
import android.widget.Button;
import android.widget.ImageView;
import android.widget.TextView;
import android.widget.Toast;

import com.example.myapp.R;

import java.io.FileNotFoundException;
import java.io.IOException;

public class TakePhotoActivity extends AppCompatActivity {
    private Button btn_photo;
    private TextView tv;
    private ImageView img;
    private Toolbar toolbar;
    Intent intent = null;

    @Override
    protected void onCreate(Bundle savedInstanceState) {
        super.onCreate(savedInstanceState);
        setContentView(R.layout.activity_take_photo);
        toolbar = (Toolbar) findViewById(R.id.toolbar);
        btn_photo = findViewById(R.id.btn_photo);
        img = findViewById(R.id.img);

        /**
         * 解决android7调用照相机后直接奔溃问题
         */
        if (Build.VERSION.SDK_INT >= Build.VERSION_CODES.N) {
            StrictMode.VmPolicy.Builder builder = new StrictMode.VmPolicy.Builder();
            StrictMode.setVmPolicy(builder.build());
            builder.detectFileUriExposure();
        }
        checkPermission();
        initListener();
    }

    /**
     * 检查拍照权限,防止权限拒绝
     */
    private void checkPermission() {
        if (ContextCompat.checkSelfPermission(TakePhotoActivity.this, Manifest.permission.CAMERA) != PackageManager.PERMISSION_GRANTED) {
            // 执行到这里表示没有访问权限
            if (ActivityCompat.shouldShowRequestPermissionRationale(TakePhotoActivity.this, Manifest.permission.CAMERA)) {
                Toast.makeText(TakePhotoActivity.this,"禁止访问",Toast.LENGTH_LONG).show();
            } else {
                ActivityCompat.requestPermissions(TakePhotoActivity.this, new String[]{Manifest.permission.CAMERA}, 200);
            }
        } else {
            takePhoto();
        }
    }

    private void initListener() {
        // 顶部返回
        toolbar.setNavigationIcon(R.mipmap.top_bar_left_back);
        toolbar.setNavigationOnClickListener(new View.OnClickListener() {
            @Override
            public void onClick(View view) {
                finish();
            }
        });
        // 按钮点击事件,单击弹出AlertDialog对话框
        btn_photo.setOnClickListener(new View.OnClickListener() {
            @Override
            public void onClick(View v) {
                new AlertDialog.Builder(TakePhotoActivity.this)
                        .setIcon(R.mipmap.picture)
                        .setMessage("插入图片")
                        .setPositiveButton("拍照", new DialogInterface.OnClickListener() {
                            @Override
                            public void onClick(DialogInterface dialog, int which) {
                                takePhoto();
                            }
                        }).setNegativeButton("相册", new DialogInterface.OnClickListener() {
                    @Override
                    public void onClick(DialogInterface dialog, int which) {
                        chooseFromAlbum();
                    }
                }).create().show();
            }
        });
    }

    /**
     * 获取图片
     */
    public void takePhoto() {
        intent = new Intent(MediaStore.ACTION_IMAGE_CAPTURE); // 调用系统相机
        intent.setAction(MediaStore.ACTION_IMAGE_CAPTURE);
        startActivityForResult(intent, 200);   //有数据的返回
    }

    /**
     * 选择相册
     */
    public void chooseFromAlbum() {
        intent = new Intent();
        intent.setType("image/*");   //设定类型为image
        intent.setAction(Intent.ACTION_GET_CONTENT);
        startActivityForResult(intent, 100);//选中相片后返回本Activity
    }


    /**
     * 重写onActivityResult方法:将返回的图片数据设置到ImageView上
     *
     * 参数说明:requestCode值:100 为打开系统相册选择相片,requestCode值:200为调用系统相机拍照
     * @param requestCode
     * @param resultCode
     * @param data
     */
    @Override
    public void onActivityResult(int requestCode, int resultCode, Intent data) {
        super.onActivityResult(requestCode, resultCode, data);
        if (resultCode == RESULT_OK) {
            Uri uri = data.getData();  //获取数据
            ContentResolver contentResolver = getContentResolver();
            Bitmap bitmap = null;
            Bundle extras = null;
            if (requestCode == 100) {
                try {
                    bitmap = BitmapFactory.decodeStream(contentResolver.openInputStream(uri));  //将对象存入Bitmap中
                } catch (FileNotFoundException e) {
                    e.printStackTrace();
                }
            }
            if (requestCode == 200) {
                try {
                    if (uri != null){
                        bitmap = MediaStore.Images.Media.getBitmap(contentResolver, uri);  // 根据Uri获取Bitmap图片
                    } else{  // 从Bundle里面获取Bitmap图片
                        extras = data.getExtras();
                        bitmap = extras.getParcelable("data");
                    }
                } catch (FileNotFoundException e) {
                    e.printStackTrace();
                } catch (IOException e) {
                    e.printStackTrace();
                }
            }
            int imgWidth = bitmap.getWidth();  //获取图片宽度
            int imgHeight = bitmap.getHeight();  // 获取图片高度
            double partion = imgWidth * 1.0 / imgHeight;
            double sqrtLength = Math.sqrt(partion * partion + 1);

            /**
             * 设置图片新的缩略图大小
             */
            double newImgW = 680 * (partion / sqrtLength);
            double newImgH = 680  * (1 / sqrtLength);
            float scaleW = (float) (newImgW / imgWidth);
            float scaleH = (float) (newImgH / imgHeight);
            Matrix mx = new Matrix();

            /**
             * 对原图片进行缩放
             */
            mx.postScale(scaleW, scaleH);
            bitmap = Bitmap.createBitmap(bitmap, 0, 0, imgWidth, imgHeight, mx, true);
            bitmap = getBitmapWidth(bitmap);
            img.setImageBitmap(bitmap);
        }
    }

    /**
     * 给图片加边框,并返回边框后的图片
     * @param bitmap
     * @return
     */
    public Bitmap getBitmapWidth(Bitmap bitmap) {
        float frameSize = 0.2f;
        Matrix matrix = new Matrix();
        // 用来做底图
        Bitmap mbitmap = Bitmap.createBitmap(bitmap.getWidth(),bitmap.getHeight(), Bitmap.Config.ARGB_8888);
        // 设置底图为画布
        Canvas canvas = new Canvas(mbitmap);
        canvas.setDrawFilter(new PaintFlagsDrawFilter(0, Paint.ANTI_ALIAS_FLAG | Paint.FILTER_BITMAP_FLAG));
        float scale_x = (bitmap.getWidth() - 2 * frameSize - 2) * 1f / (bitmap.getWidth());
        float scale_y = (bitmap.getHeight() - 2 * frameSize - 2) * 1f / (bitmap.getHeight());
        matrix.reset();
        matrix.postScale(scale_x, scale_y);

        // 减去边框的大小
        bitmap = Bitmap.createBitmap(bitmap, 0, 0, bitmap.getWidth(),bitmap.getHeight(), matrix, true);

        Paint paint = new Paint();
        paint.setColor(Color.WHITE);
        paint.setStrokeWidth(1);
        paint.setStyle(Paint.Style.FILL);

        // 绘制底图边框
        canvas.drawRect(new Rect(0, 0, mbitmap.getWidth(), mbitmap.getHeight()),paint);
        // 绘制灰色边框
        paint.setColor(Color.GRAY);
        canvas.drawRect(new Rect((int) (frameSize), (int) (frameSize), mbitmap.getWidth() - (int) (frameSize), mbitmap.getHeight() - (int) (frameSize)), paint);
        canvas.drawBitmap(bitmap, frameSize + 2, frameSize + 2, paint);
        return mbitmap;
    }

}
有一点要注意的是Android7及以上调用相机会出现闪退,可以通过StrictMode.VmPolicy.Builder来解决这个问题。
上面的checkPermission()是用来检查权限的,这是因为高版本的如果直接调用拍照会出现闪退奔溃,需要做权限处理:
    private void checkPermission() {
        if (ContextCompat.checkSelfPermission(TakePhotoActivity.this, Manifest.permission.CAMERA) != PackageManager.PERMISSION_GRANTED) {
            // 执行到这里表示没有访问权限
            if (ActivityCompat.shouldShowRequestPermissionRationale(TakePhotoActivity.this, Manifest.permission.CAMERA)) {
                Toast.makeText(TakePhotoActivity.this,"禁止访问",Toast.LENGTH_LONG).show();
            } else {
                ActivityCompat.requestPermissions(TakePhotoActivity.this, new String[]{Manifest.permission.CAMERA}, 200);
            }
        } else {
            takePhoto();
        }
    }
activity_take_photo.xml
简单的页面布局,其他功能,页面想更好看的,可以自己是实现,我这里简单粗糙实现,勿吐槽哈。
<?xml version="1.0" encoding="utf-8"?>
<RelativeLayout
    xmlns:android="http://schemas.android.com/apk/res/android" android:layout_width="match_parent"
    android:orientation="vertical"
    android:layout_height="match_parent">
    <RelativeLayout
        android:layout_width="match_parent"
        android:id="@+id/re"
        android:layout_height="wrap_content">
        <androidx.appcompat.widget.Toolbar
            android:layout_width="match_parent"
            android:layout_height="wrap_content"
            android:id="@+id/toolbar"
            android:background="#0B84E4"/>
        <TextView
            android:layout_width="match_parent"
            android:layout_height="wrap_content"
            android:text="发布图片"
            android:textColor="#fff"
            android:id="@+id/service_name"
            android:textStyle="bold"
            android:textSize="20sp"
            android:gravity="center"
            android:layout_centerVertical="true"/>
    </RelativeLayout>

    <ImageView
        android:layout_width="wrap_content"
        android:layout_height="wrap_content"
        android:layout_below="@id/re"
        android:src="@mipmap/photo"
        android:id="@+id/img"/>
    <Button
        android:layout_width="60dp"
        android:layout_height="60dp"
        android:id="@+id/btn_photo"
        android:layout_alignParentBottom="true"
        android:layout_alignParentRight="true"
        android:layout_marginBottom="80dp"
        android:layout_marginRight="20dp"
        android:background="@mipmap/photo" />


</RelativeLayout>
这里用到一个控件:Toolbar,UI主题用的是NoActionBar,这个设计新版本的Material Desgin布局和设计知识,感兴趣的自己查阅相关文档~
<resources>
    <!-- Base application theme. -->
    <style name="AppTheme" parent="Theme.AppCompat.Light.NoActionBar">
        <!-- Customize your theme here. -->
        <item name="colorPrimary">@color/colorPrimary</item>
        <item name="colorPrimaryDark">@color/colorPrimaryDark</item>
        <item name="colorAccent">@color/colorAccent</item>

    </style>
    <style name="TextStyle">
        <item name="android:layout_width">wrap_content</item>
        <item name="android:layout_height">wrap_content</item>
        <item name="android:drawablePadding">10dp</item>
        <item name="android:gravity">center</item>
        <item name="android:padding">10dp</item>
        <item name="android:textColor">#5d5d5d</item>
    </style>
</resources>


 2320
2320

 被折叠的 条评论
为什么被折叠?
被折叠的 条评论
为什么被折叠?
 到【灌水乐园】发言


