


CentOS体验ttyd(WebSSH)
工作时发现一个有意思的的工具叫ttyd,可以在浏览器上访问终端,使用命令行,今天来体验下
环境
安装过程比较简单,我的环境是CentOS7.3
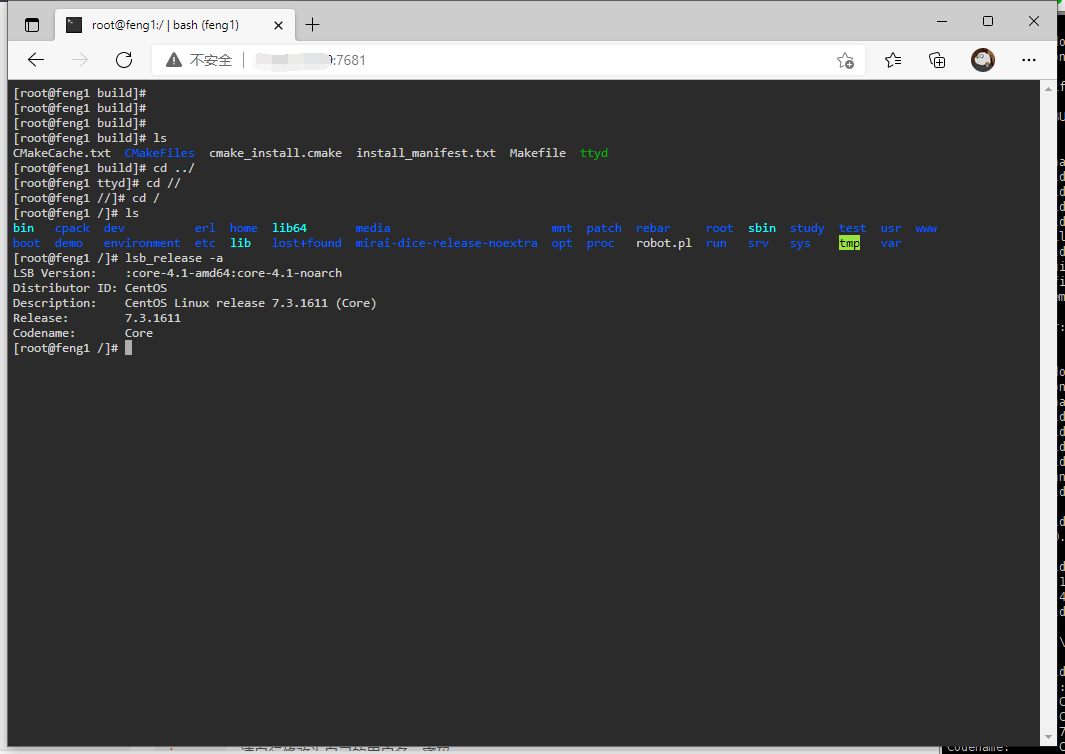
[root@feng1 build]# lsb_release -a
LSB Version:	:core-4.1-amd64:core-4.1-noarch
Distributor ID:	CentOS
Description:	CentOS Linux release 7.3.1611 (Core)
Release:	7.3.1611
Codename:	Core
[root@feng1 build]#
项目地址为 https://github.com/tsl0922/ttyd
安装
sudo apt-get install build-essential cmake git libjson-c-dev libwebsockets-dev
git clone https://github.com/tsl0922/ttyd.git
cd ttyd && mkdir build && cd build
cmake ..
make && sudo make install
注意这里安装了libwebsockets,因为yytd是基于websocket的,而不是传统的ssh,关于libwebsockets安装可能会遇到的问题我前几篇博客都遇到了,也算是都解决了
遇到的问题包括
安装完可以调用 ttyd --help 看看是否安装成功
[root@feng1 build]# ttyd --help
ttyd is a tool for sharing terminal over the web

USAGE:
    ttyd [options] <command> [<arguments...>]

VERSION:
    1.6.3-3e37e33

OPTIONS:
    -p, --port              Port to listen (default: 7681, use `0` for random port)
    -i, --interface         Network interface to bind (eg: eth0), or UNIX domain socket path (eg: /var/run/ttyd.sock)
    -c, --credential        Credential for basic authentication (format: username:password)
    -H, --auth-header       HTTP Header name for auth proxy, this will configure ttyd to let a HTTP reverse proxy handle authentication
    -u, --uid               User id to run with
    -g, --gid               Group id to run with
    -s, --signal            Signal to send to the command when exit it (default: 1, SIGHUP)
    -w, --cwd               Working directory to be set for the child program
    -a, --url-arg           Allow client to send command line arguments in URL (eg: http://localhost:7681?arg=foo&arg=bar)
    -R, --readonly          Do not allow clients to write to the TTY
    -t, --client-option     Send option to client (format: key=value), repeat to add more options
    -T, --terminal-type     Terminal type to report, default: xterm-256color
    -O, --check-origin      Do not allow websocket connection from different origin
    -m, --max-clients       Maximum clients to support (default: 0, no limit)
    -o, --once              Accept only one client and exit on disconnection
    -B, --browser           Open terminal with the default system browser
    -I, --index             Custom index.html path
    -b, --base-path         Expected base path for requests coming from a reverse proxy (eg: /mounted/here, max length: 128)
    -P, --ping-interval     Websocket ping interval(sec) (default: 5)
    -S, --ssl               Enable SSL
    -C, --ssl-cert          SSL certificate file path
    -K, --ssl-key           SSL key file path
    -A, --ssl-ca            SSL CA file path for client certificate verification
    -d, --debug             Set log level (default: 7)
    -v, --version           Print the version and exit
    -h, --help              Print this text and exit

Visit https://github.com/tsl0922/ttyd to get more information and report bugs.
[root@feng1 build]#
见到这个就是安装完成了
体验
[root@feng1 build]# ttyd bash
[2022/01/06 10:08:49:4493] N: ttyd 1.6.3-3e37e33 (libwebsockets 4.3.99-v4.3.0-117-g76355f7)
[2022/01/06 10:08:49:4494] N: tty configuration:
[2022/01/06 10:08:49:4494] N:   start command: bash
[2022/01/06 10:08:49:4494] N:   close signal: SIGHUP (1)
[2022/01/06 10:08:49:4494] N:   terminal type: xterm-256color
[2022/01/06 10:08:49:4504] N:    /usr/local/lib/libwebsockets-evlib_uv.so
[2022/01/06 10:08:49:4504] N: lws_create_context: LWS: 4.3.99-v4.3.0-117-g76355f7, NET CLI SRV H1 H2 WS SS-JSON-POL ConMon IPv6-absent
[2022/01/06 10:08:49:4510] N: elops_init_pt_uv:  Using foreign event loop...
[2022/01/06 10:08:49:4511] N: __lws_lc_tag:  ++ [wsi|0|pipe] (1)
[2022/01/06 10:08:49:4511] N: __lws_lc_tag:  ++ [vh|0|netlink] (1)
[2022/01/06 10:08:49:4512] N: __lws_lc_tag:  ++ [vh|1|default||7681] (2)
[2022/01/06 10:08:49:4512] N: [vh|1|default||7681]: lws_socket_bind: source ads 0.0.0.0
[2022/01/06 10:08:49:4512] N: __lws_lc_tag:  ++ [wsi|1|listen|default||7681] (2)
[2022/01/06 10:08:49:4512] N:  Listening on port: 7681
[2022/01/06 10:09:00:3415] N: __lws_lc_tag:  ++ [wsisrv|0|default|(null)] (1)
[2022/01/06 10:09:00:3425] N: HTTP / - 121.32.54.213
[2022/01/06 10:09:00:3430] N: __lws_lc_tag:  ++ [wsisrv|1|default|(null)] (2)
[2022/01/06 10:09:00:5483] N: HTTP /token - 121.32.54.213
[2022/01/06 10:09:00:6461] N: __lws_lc_tag:  ++ [wsisrv|2|default|(null)] (3)
[2022/01/06 10:09:00:6482] N: WS   /ws - 121.32.54.213, clients: 1
[2022/01/06 10:09:00:6767] N: started process, pid: 15592
[2022/01/06 10:09:05:5489] N: __lws_lc_untag:  -- [wsisrv|0|default|(null)] (2) 5.207s
[2022/01/06 10:09:10:3433] N: __lws_lc_untag:  -- [wsisrv|1|default|(null)] (1) 10.000s
启动成功后我们访问 IP:7681
我设置的是默认的端口号,如果你想指定端口号则可以使用
ttyd -p 8080 bash #指定端口号启动
配置
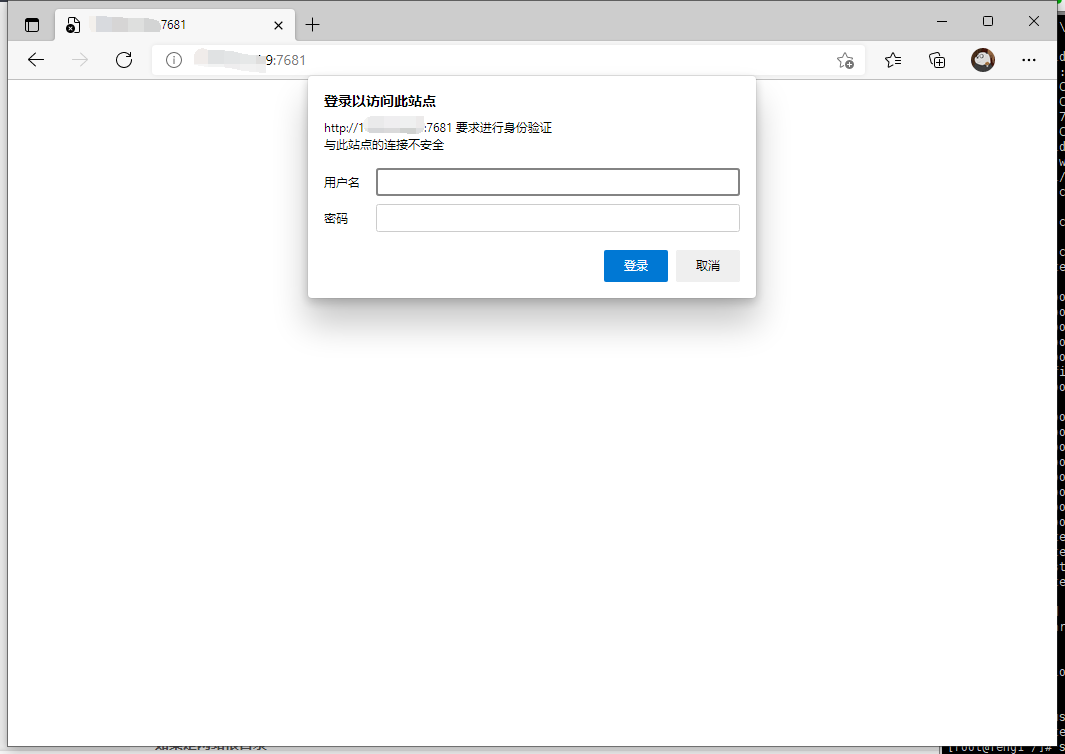
可以发现这样谁都可以访问,放在公网显然不安全,这个时候我们可以设置一个密码
注意我们刚才启动是前台启动,如果在终端Ctrl+C就直接关掉了这个程序也就用不了了,这个时候我们还可以同时将其设置成一个服务
首先记住你的ttyd安装的位置
[root@feng1 build]# whereis ttyd
ttyd: /usr/local/bin/ttyd
[root@feng1 build]#
然后我们在/etc/systemd/system下创建一个叫ttyd.service的文件,内容如下
[Unit]
Description=ttyd
After=network.target

[Service]
ExecStart=/usr/local/bin/ttyd -c feng:feng... bash

[Install]
WantedBy=multi-user.target
注意ExecStart后面的路径就是刚才你的ttyd的路径,-c后面跟着的则是用户名和密码,记住他一会就用上了
登录
然后我们使用服务启动
[root@feng1 /]# systemctl start ttyd
再次启动后要密码了,可以输入刚才设置的账户和密码,是不是安全多了
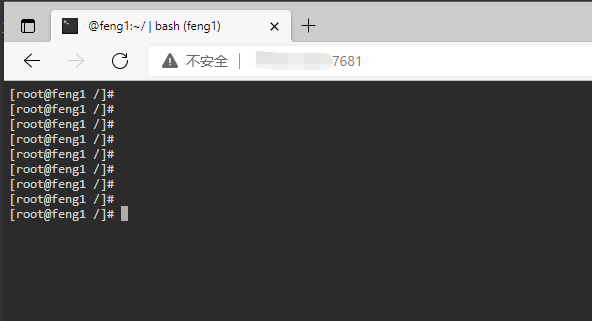
输入密码后也能进入
其他命令
#启动ttyd
systemctl start ttyd
#停止ttyd
systemctl stop ttyd
#重启ttyd
systemctl restart ttyd
#开机启动
systemctl enable ttyd
当然你不想用IP+端口访问的话也可以使用nginx代理到你的域名访问也是可以的,ttyd确实比ssh方便很多,但方便也意味着不安全,自己随便玩玩还是可以的,真正生产环境还是谨慎点。


 489
489


 被折叠的 条评论
为什么被折叠?
被折叠的 条评论
为什么被折叠?
 到【灌水乐园】发言


