


文章目录
1 张量的定义
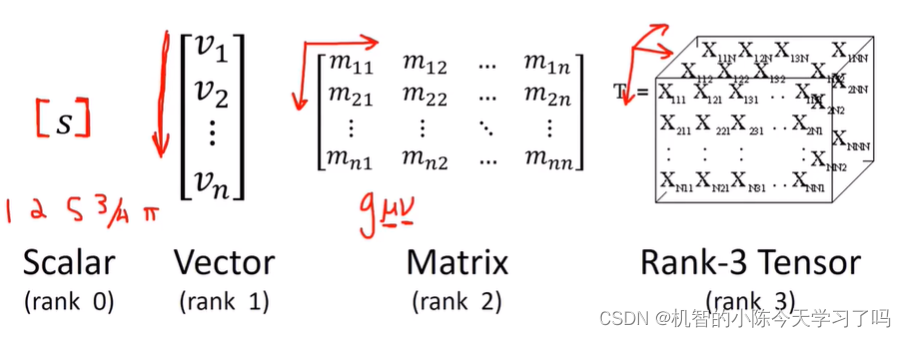
张量是一个多维数组。更正式地说,一个 N 阶张量是 N 个向量空间元素的张量积,每个向量空间都有自己的坐标系
张量的阶数(the order of a tensor)也称为维数(dimensions)、模态(modes)、或方式(ways)
2 张量初始化
2.1 直接生成张量
data = [[1, 2], [3, 4]]
x_data = torch.tensor(data)
2.2 通过numpy数组生成张量
np_array = np.array(data)
x_np = torch.from_numpy(np_array)
2.3通过已有的张量生成新的张量
data = [[1, 2], [3, 4]]
x_data = torch.tensor(data)

# 保留 x_data 的属性
x_ones = torch.ones_like(x_data)
print(f"Ones Tensor: \n {x_ones} \n")

# 重写 x_data 的数据类型int -> float
x_rand = torch.rand_like(x_data, dtype=torch.float)
print(f"Random Tensor: \n {x_rand} \n")
输出: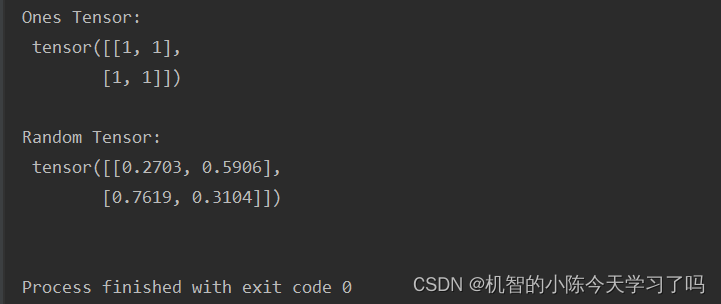
2.4通过指定数组维度来生成张量
# 描述张量的维数
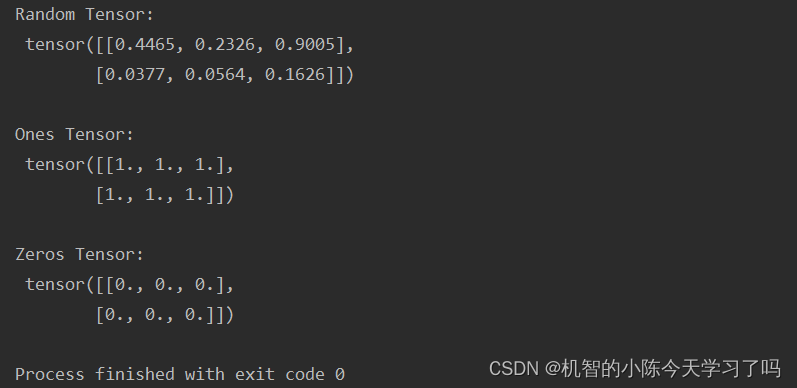
shape = (2, 3,)
# 指定生成张量的维数
rand_tensor = torch.rand(shape)
ones_tensor = torch.ones(shape)
zeros_tensor = torch.zeros(shape)
print(f"Random Tensor: \n {rand_tensor} \n")
print(f"Ones Tensor: \n {ones_tensor} \n")
print(f"Zeros Tensor: \n {zeros_tensor}")
输出:
3 张量的属性
tensor = torch.rand(3, 4)

# 张量的维度
print(f"Shape of tensor: {tensor.shape}")
# 张量的数据类型
print(f"Datatype of tensor: {tensor.dtype}")
# 张量所存储的设备
print(f"Device tensor is stored on: {tensor.device}")
4 张量
4.1 张量的索引和切片
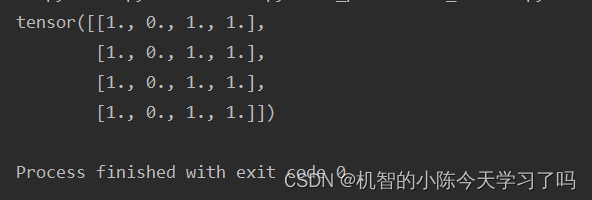
tensor = torch.ones(4, 4)
# 将第1列(从0开始)的数据全部赋值为0
tensor[:, 1] = 0
print(tensor)
输出:
4.2 张量的拼接
4.2.1 torch.cat方法
tensor = torch.ones(4, 4)
# dim 为指定要拼接的维度
t1 = torch.cat([tensor, tensor, tensor], dim=1)
print(t1)
输出:
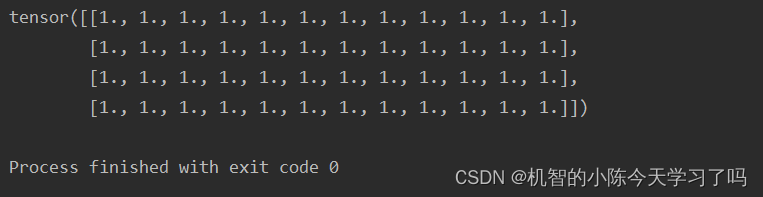
torch.Size([4, 12])
4.2.2 torch.stack方法
tensor = torch.ones(4, 4)

t1 = torch.stack([tensor, tensor, tensor], dim=1)
print(t1)
输出:
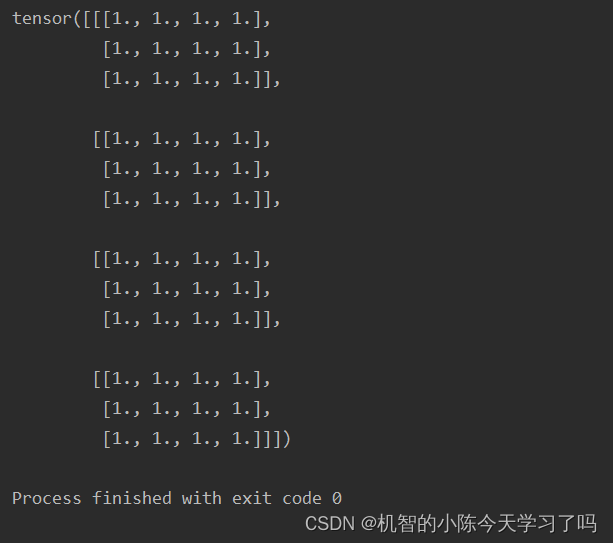
torch.Size([4, 3, 4])
4.2.3 torch.cat 和 torch.stack的区别
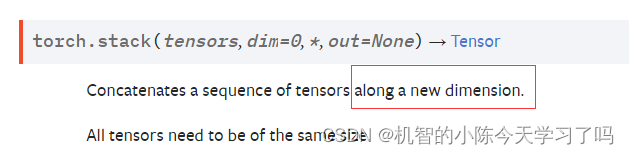

torch.cat方法会增加现有维度的值,可以理解为续接;
torch.stack方法会新加增加一个维度,可以理解为叠加
4.3 张量的乘积和矩阵乘法
乘积:
tensor = torch.ones(4, 2)
tensor[:, 1] = 0

# 逐个元素相乘结果
print(f"tensor.mul(tensor): \n {tensor.mul(tensor)} \n")
# 等价写法:
print(f"tensor * tensor: \n {tensor * tensor}")
输出: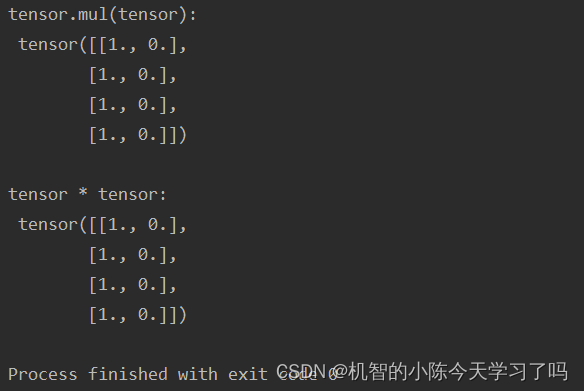
矩阵乘法:
tensor = torch.ones(4, 2)
tensor[:, 1] = 0

print(f"tensor.matmul(tensor.T): \n {tensor.matmul(tensor.T)} \n")
# 等价写法:
print(f"tensor @ tensor.T: \n {tensor @ tensor.T}")
输出: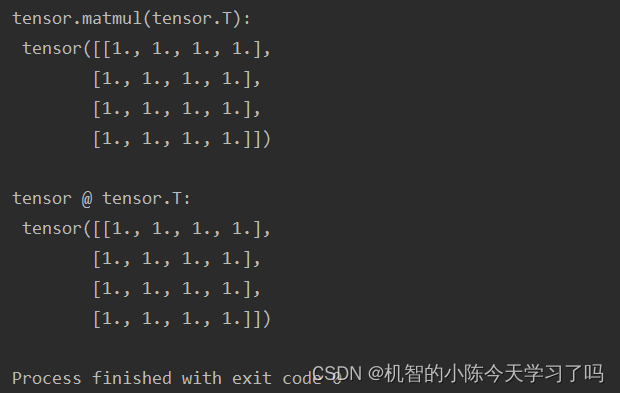
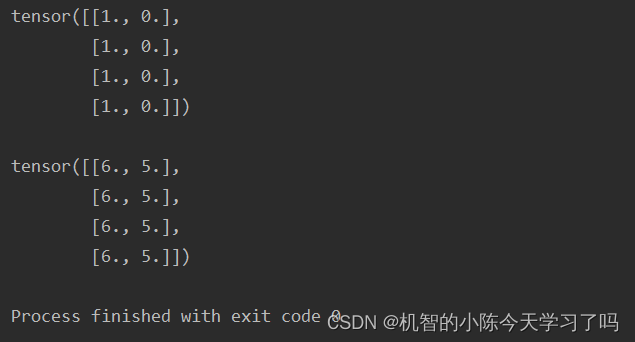
4.4 自动赋值运算
自动赋值运算通常在方法后有 _ 作为后缀, 例如: x.copy_(y), x.t_()操作会改变 x 的取值。
tensor = torch.ones(4, 2)
tensor[:, 1] = 0

print(tensor, "\n")
tensor.add_(5)
print(tensor)
输出:
在求导时会因为丢失了中间过程而导致一些问题
5 Tensor与Numpy的转化
张量和Numpy array数组在CPU上可以共用一块内存区域, 改变其中一个另一个也会随之改变
5.1 由张量变换为Numpy array数组
t = torch.ones(5)
print(f"t: {t}")
n = t.numpy()
print(f"n: {n}")

# 修改张量的值,则Numpy array数组值也会随之改变
t.add_(1)
print(f"t: {t}")
print(f"n: {n}")
输出: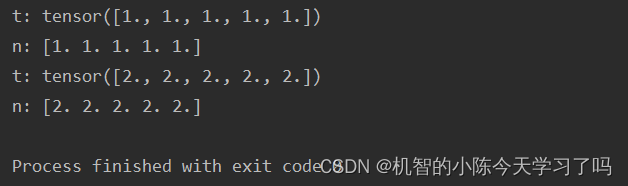
5.2 由Numpy array数组转为张量
# 由np转为tensor
n = np.ones(5)
t = torch.from_numpy(n)
print(f"t:{t}")

# 修改Numpy array数组的值,则张量值也会随之改变
np.add(n, 1, out=n)
print(f"t: {t}")
print(f"n: {n}")
输出: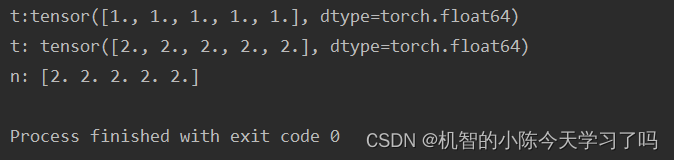
参考:
https://pytorch.apachecn.org/#/docs/1.7/03


 370
370


 被折叠的 条评论
为什么被折叠?
被折叠的 条评论
为什么被折叠?
 到【灌水乐园】发言


