


1. 安装和配置必须的依赖项
sudo yum install -y curl policycoreutils-python openssh-server perl
sudo systemctl enable sshd
sudo systemctl start sshd
sudo firewall-cmd --permanent --add-service=http
sudo firewall-cmd --permanent --add-service=https
sudo systemctl reload firewalld
2.(可选)下一步,安装 Postfix 以发送电子邮件通知。
sudo yum install postfix
sudo systemctl enable postfix
sudo systemctl start postfix
在安装 Postfix 的过程中可能会出现一个配置界面,在该界面中选择“Internet Site”并按下回车。把“mail name”设置为您服务器的外部 DNS 域名并按下回车。如果还有其它配置界面出现,继续按下回车以接受默认配置。
3.下载/安装极狐GitLab
配置极狐GitLab 软件源镜像
curl -fsSL https://packages.gitlab.cn/repository/raw/scripts/setup.sh | /bin/bash
执行如下命令开始安装
sudo EXTERNAL_URL="http://IP:端口号" yum install -y gitlab-jh
除非您在安装过程中指定了自定义密码,否则将随机生成一个密码并存储在 /etc/gitlab/initial_root_password 文件中(出于安全原因,24 小时后,此文件会被第一次 gitlab-ctl reconfigure 自动删除,因此若使用随机密码登录,建议安装成功初始登录成功之后,立即修改初始密码)。使用此密码和用户名 root 登录。
4.修改gitlab端口号
修改配置文件,更改的端口号不可以和上面的端口号相同
vim /etc/gitlab/gitlab.rb
unicorn[‘port’] has been deprecated since 13.10 and was removed in 14.0. Starting with GitLab 14.0, Unicorn is no longer supported and users must switch to Puma
如果gitlab的版本在14.0以上,使用puma[‘port’] 修改端口号,如过在14.0以下使用 unicorn[‘port’] 修改端口号,如果上面配置中使用了端口号,不用修改gitlab自带的nginx端口
放行端口
#放行端口
firewall-cmd --zone=public --add-port=8080/tcp --permanent
#重新载入设置
firewall-cmd --reload
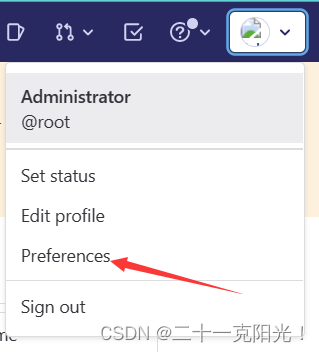
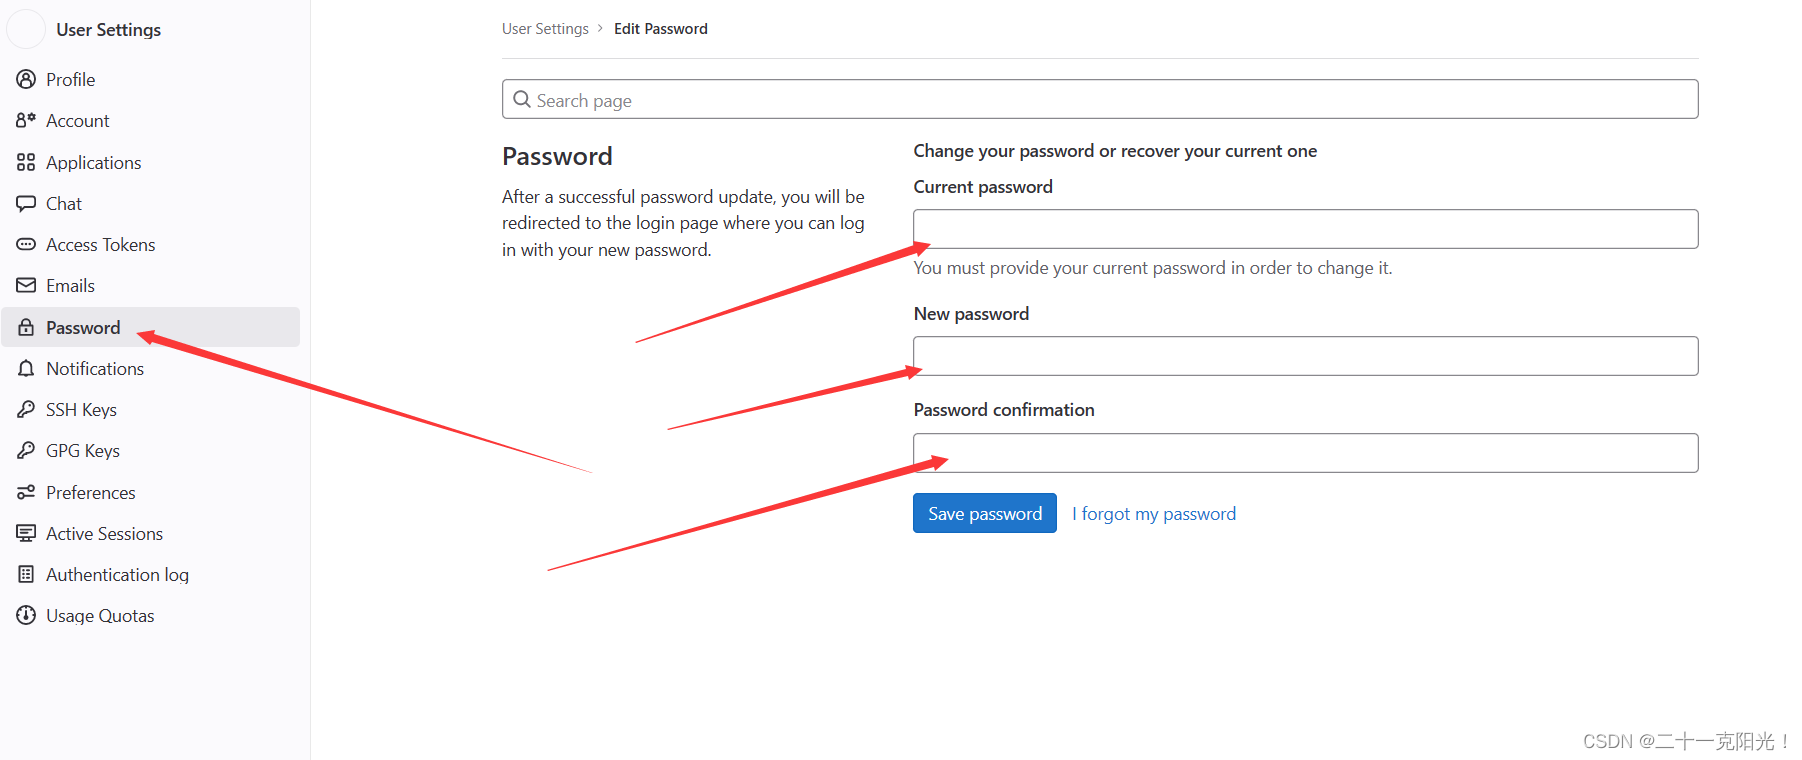
更改gitlab的密码
- 查看原始密码
cat /etc/gitlab/initial_root_password

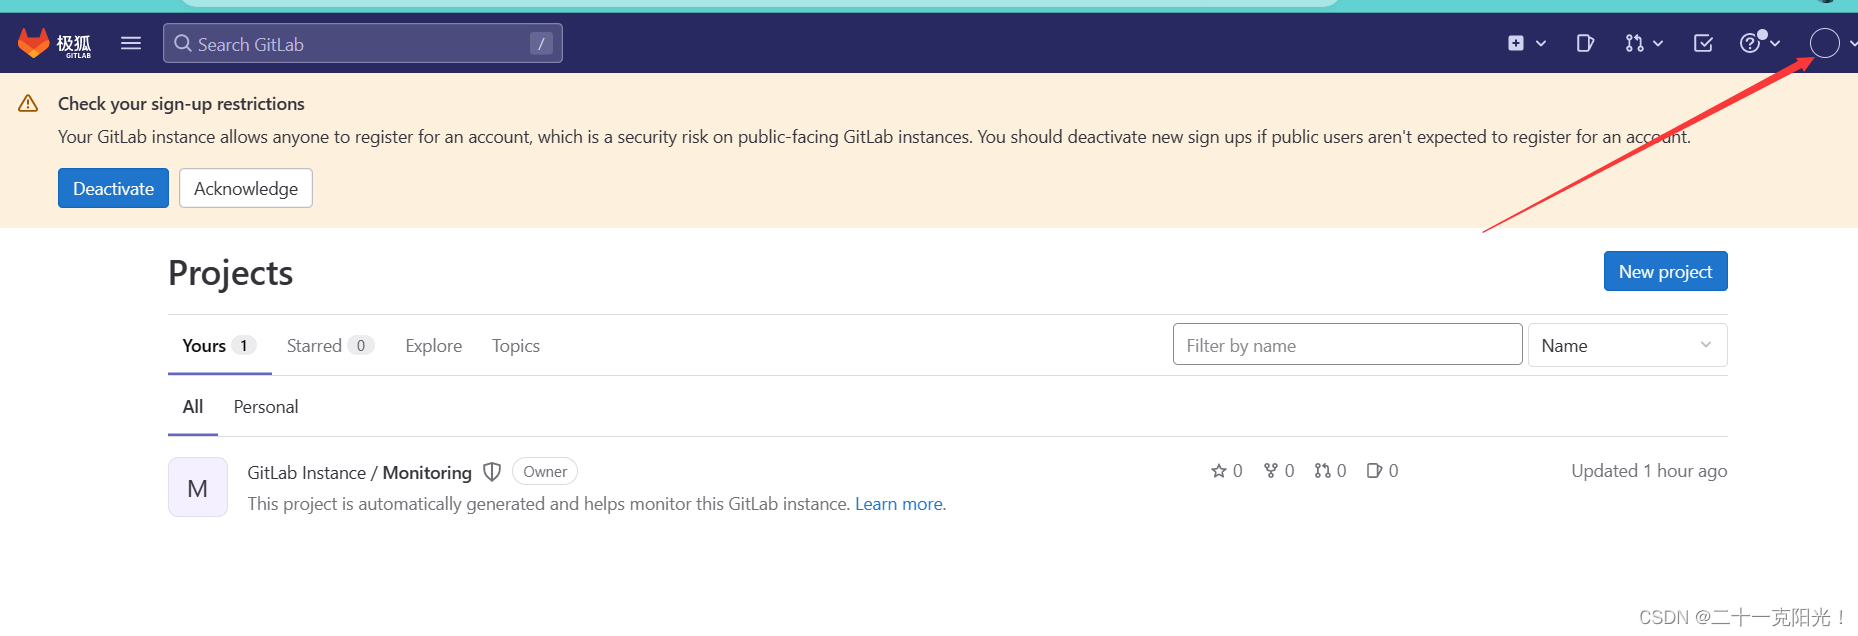
2. 进入gitlab界面
5.更改gitlab为中文
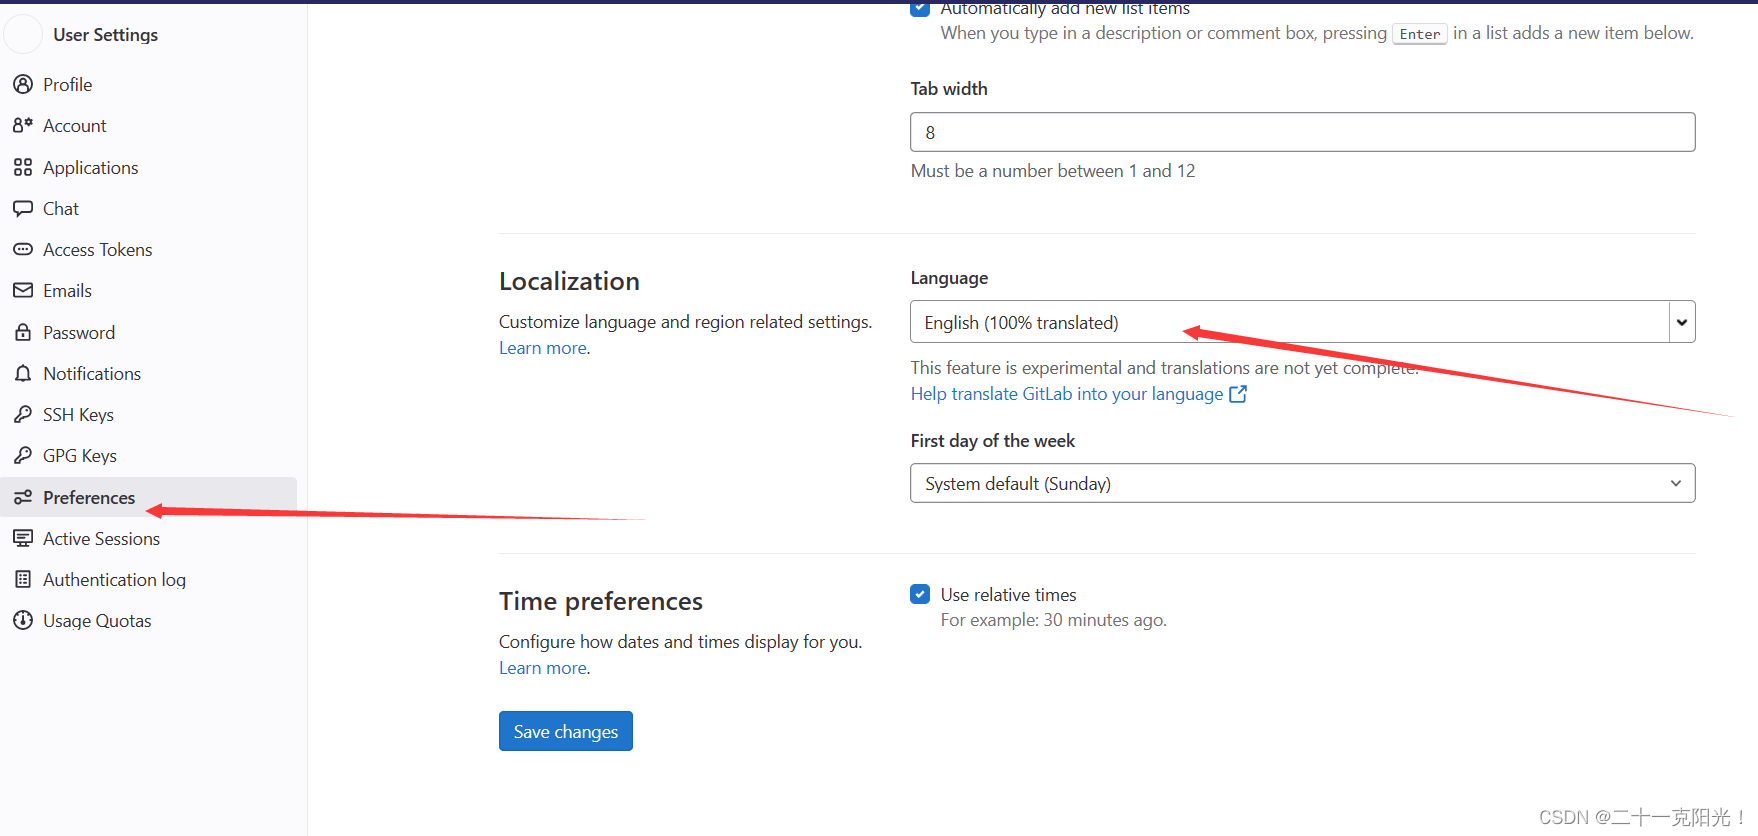
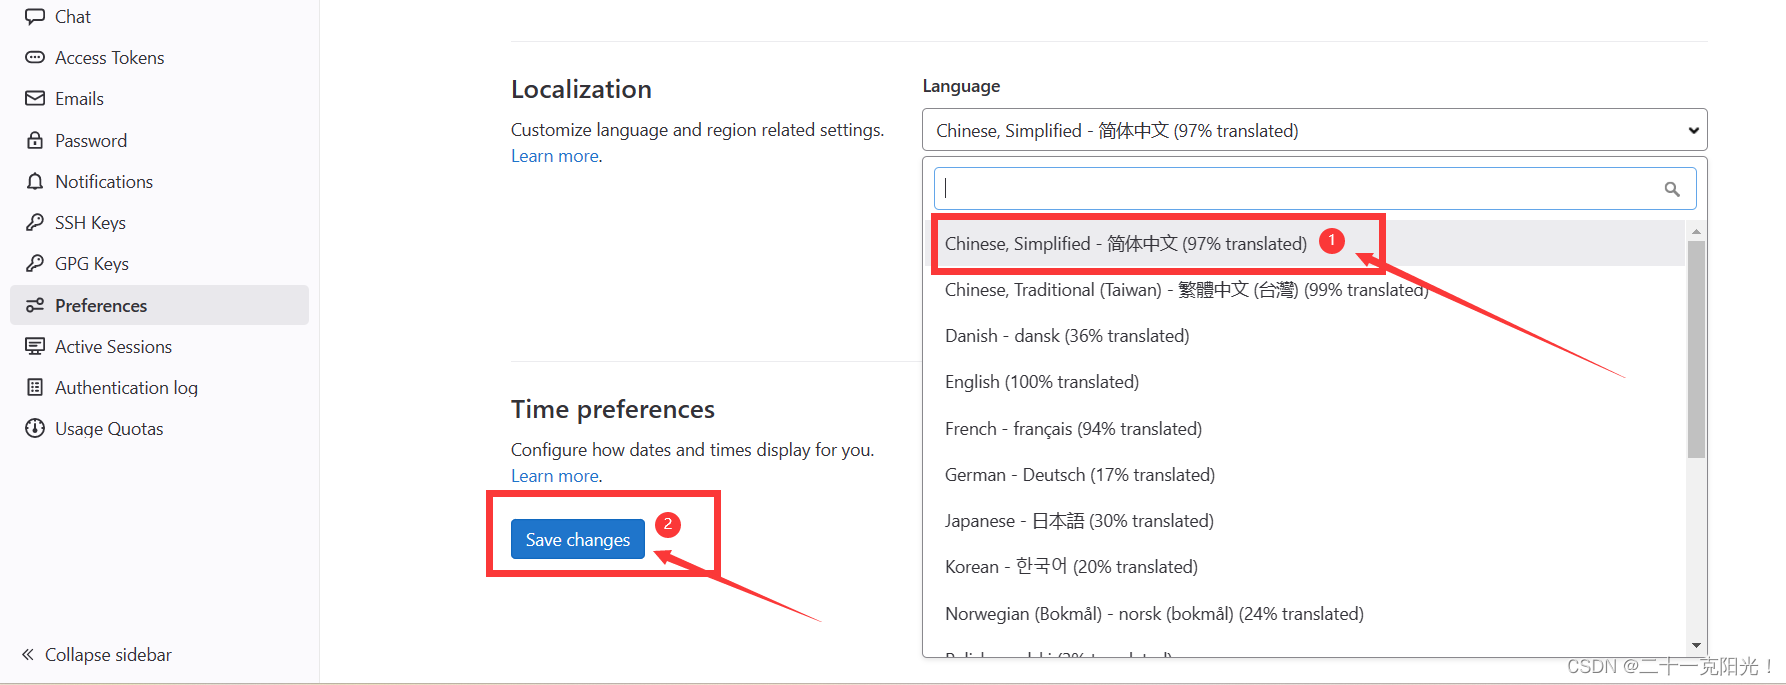
最后刷新页面


 2130
2130


 被折叠的 条评论
为什么被折叠?
被折叠的 条评论
为什么被折叠?
 到【灌水乐园】发言


