


背景:
工作需要,在页面展示关系图,用encharts展示始终达不到领导的期望,所以开始研究三维的关系力导图。THREE-FORCEGRAPH 一个生成Graph插件,但是网上教程也很少几乎找不到,最开始看官方例子最简单,建议初学者先看官方例子熟悉配置,结合threejs之后实现自己想要的效果。
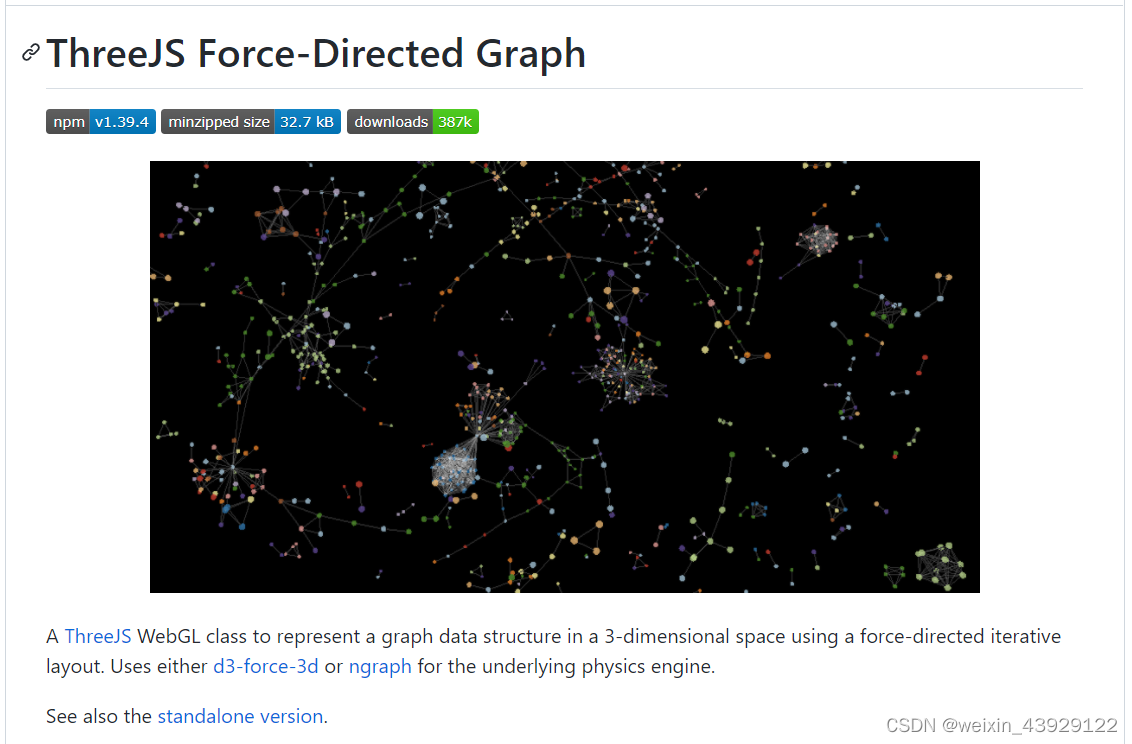
官方示例:
1.代码展示
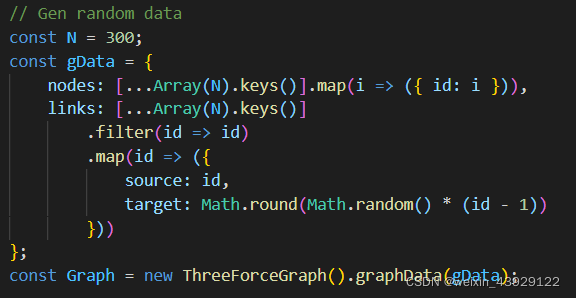
首先要对THREE.js有基本的了解,之后再查看官方例子(只有一个 ),我把代码粘在下方,加了部分注释:
<head>
    <style>
        body {
            margin: 0;
        }
    </style>

    <!-- //unpkg.com 本地访问不到 -->
    <!-- <script src="//unpkg.com/three"></script>
    <script src="//unpkg.com/three/examples/js/controls/TrackballControls.js"></script>
    <script src="//unpkg.com/three-forcegraph"></script> -->

    <!-- 我找了其他threejs -->
    <script src="http://www.yanhuangxueyuan.com/versions/threejsR92/build/three.js"></script>
    <script src="http://www.yanhuangxueyuan.com/threejs/examples/js/controls/TrackballControls.js"></script>
    <script src="../../dist/three-forcegraph.js"></script>
</head>

<body>
    <div id="3d-graph"></div>

    <script>
        // Gen random data
        const N = 300;
        const gData = {
            nodes: [...Array(N).keys()].map(i => ({ id: i })),
            links: [...Array(N).keys()]
                .filter(id => id)
                .map(id => ({
                    source: id,
                    target: Math.round(Math.random() * (id - 1))
                }))
        };
        const Graph = new ThreeForceGraph().graphData(gData);

        // Setup renderer
        const renderer = new THREE.WebGLRenderer();
        renderer.setSize(window.innerWidth, window.innerHeight);
        document.getElementById('3d-graph').appendChild(renderer.domElement);

        // Setup scene
        const scene = new THREE.Scene();
        scene.add(Graph);
        scene.add(new THREE.AmbientLight(0xbbbbbb));

        // Setup camera
        const camera = new THREE.PerspectiveCamera();
        camera.far = 10000;
        camera.aspect = window.innerWidth / window.innerHeight;
        camera.updateProjectionMatrix(); //更新相机对象的投影矩阵属性
        camera.lookAt(Graph.position);
        camera.position.z = Math.cbrt(N) * 180; //给定数字的立方根

        // Add camera controls
        const tbControls = new THREE.TrackballControls(camera, renderer.domElement); //轨迹球控件

        // Kick-off renderer
        (function animate() {
            // IIFE
            Graph.tickFrame();

            // Frame cycle
            tbControls.update();
            renderer.render(scene, camera);
            requestAnimationFrame(animate);
        })();
    </script>
</body>
2.我的理解
其中,threejs要素的初始化不做赘述;关于THREE-FORCEGRAPH的部分很少,如图:
gdata是指有随机生成的 nodes和links的json对象,例如:
{
    "nodes": [
        {
            "id": 0
        },
        {
            "id": 1
        },
        {
            "id": 2
        },
        {
            "id": 3
        },
        {
            "id": 4
        },
        {
            "id": 5
        },
        {
            "id": 6
        },
        {
            "id": 7
        },
        {
            "id": 8
        },
        {
            "id": 9
        }
    ],
    "links": [
        {
            "source":1,
            "target": 0
        },
        {
            "source":2,
            "target": 1
        },
        {
            "source":3,
            "target": 0
        },
        {
            "source":4,
            "target": 1
        },
        {
            "source":5,
            "target": 2
        },
        {
            "source":6,
            "target": 2
        },
        {
            "source":7,
            "target": 4
        },
        {
            "source":8,
            "target": 7
        },
        {
            "source":9,
            "target": 8
        }
    ]
}
graphdata()给gdata添加位置信息等threejs相关的属性,再转化成geometry对象。之后就可以添加到scene里进行展示了。
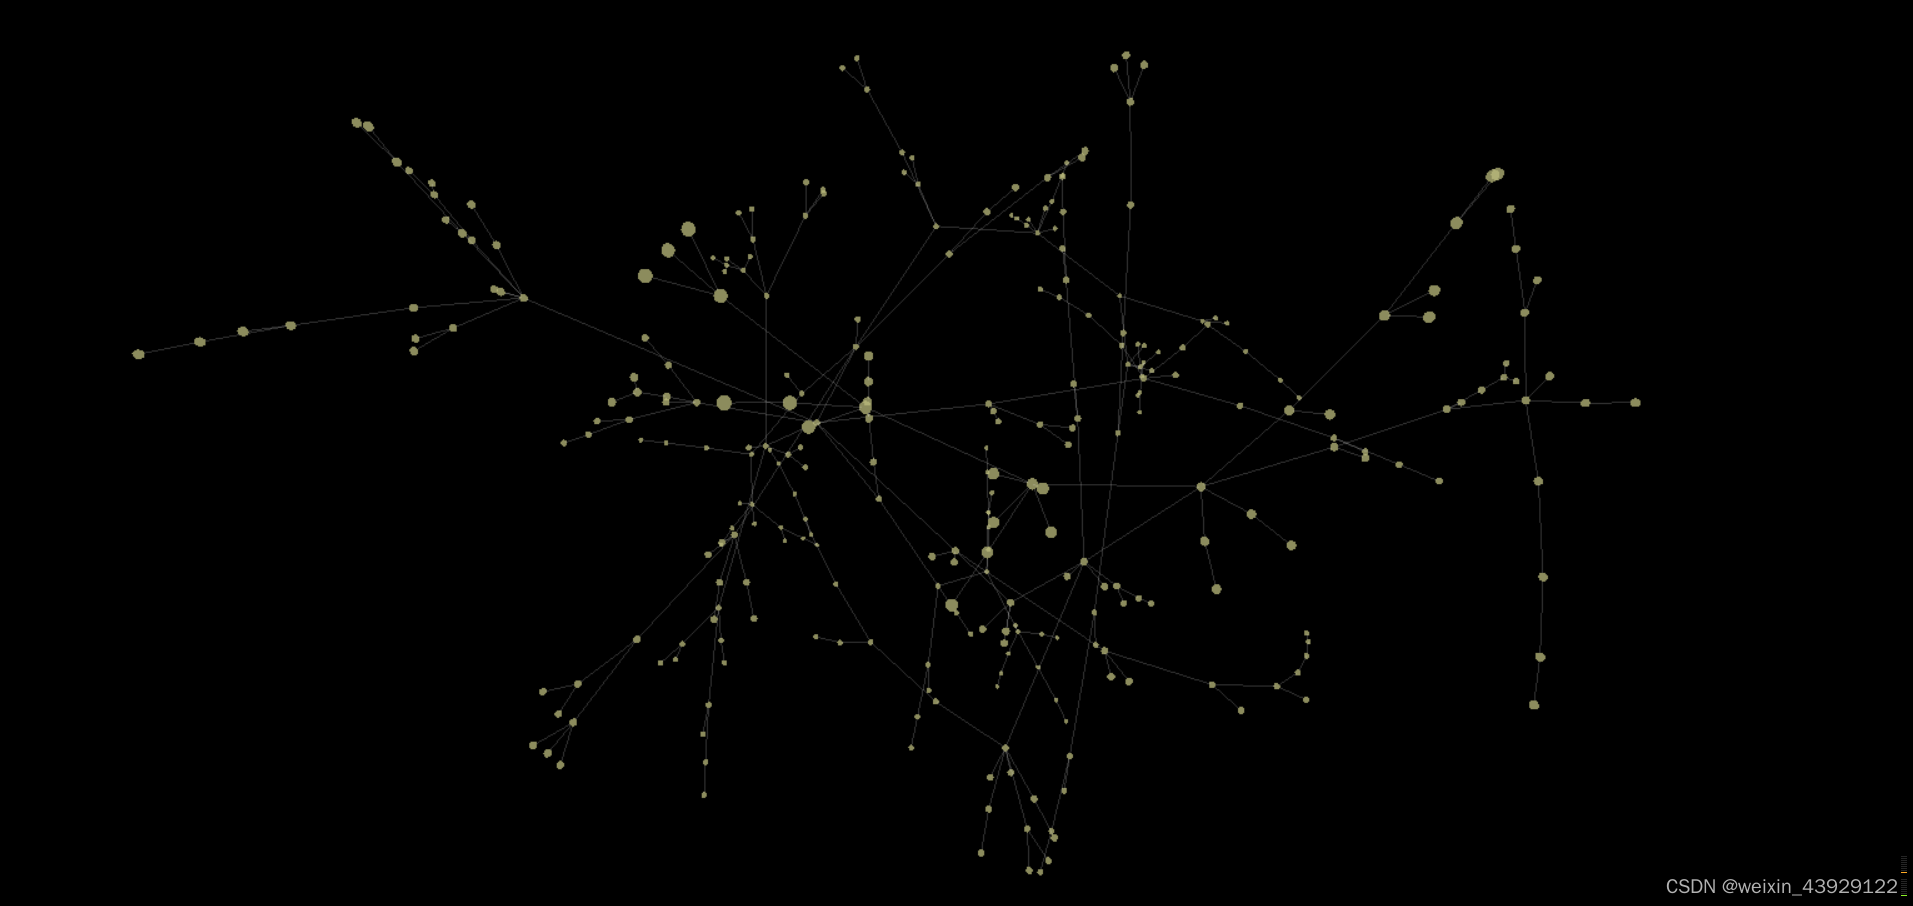
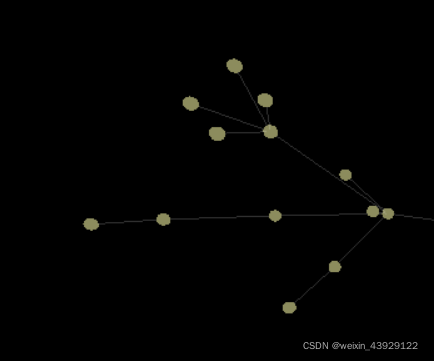
3.渲染结果
Vue+THREE-FORCEGRAPH
1.安装
npm install three-forcegraph2.引入
//threejs的安装这里就不展示了
import * as THREE from 'three';
import ThreeForceGraph from 'three-forcegraph';
import { TrackballControls } from 'three/examples/jsm/controls/TrackballControls.js';
3.完整代码
<template>
    <div>
        <div id="container"></div>
    </div>
</template>
<script>
import * as THREE from 'three';
import ThreeForceGraph from 'three-forcegraph';
import ForceGraph3D from '3d-force-graph';
import { TrackballControls } from 'three/examples/jsm/controls/TrackballControls.js';
export default {
    data() {
        return {
            camera: null,
            scene: null,
            renderer: null,
            controls: null,
            Graph: null
        };
    },
    mounted() {
        //初始化场景
        this.initGraph();
        //添加动画
        this.animate();
    },
    methods: {
        initGraph() {
            // Gen random data
            const N = 300;
            const gData = {
                nodes: [...Array(N).keys()].map(i => ({ id: i })),
                links: [...Array(N).keys()]
                    .filter(id => id)
                    .map(id => ({
                        source: id,
                        target: Math.round(Math.random() * (id - 1))
                    }))
            };

            this.Graph = new ThreeForceGraph().graphData(gData);

            // Setup renderer
            let container = document.getElementById('container');
            this.renderer = new THREE.WebGLRenderer();
            this.renderer.setSize(window.innerWidth, window.innerHeight);
            container.appendChild(this.renderer.domElement);

            // Setup scene
            this.scene = new THREE.Scene();
            this.scene.add(this.Graph);
            this.scene.add(new THREE.AmbientLight(0xbbbbbb));

            // Setup camera
            this.camera = new THREE.PerspectiveCamera();
            this.camera.far = 10000;
            this.camera.aspect = window.innerWidth / window.innerHeight;
            this.camera.updateProjectionMatrix();
            this.camera.lookAt(this.Graph.position);
            this.camera.position.z = Math.cbrt(N) * 180;

            // Add camera controls
            this.controls = new TrackballControls(this.camera, this.renderer.domElement);
        },

        // 动画
        animate: function() {
            // Frame cycle
            this.controls.update();
            requestAnimationFrame(this.animate);
            this.renderer.render(this.scene, this.camera);

            // IIFE
            this.Graph.tickFrame();
        }
    }
};
</script>

<style>
#container {
    position: absolute;
    width: 100%;
    height: 100%;
}
</style>


 1万+
1万+

 被折叠的 条评论
为什么被折叠?
被折叠的 条评论
为什么被折叠?
 到【灌水乐园】发言


