


1、安装zabbix源
#rpm -Uvh https://repo.zabbix.com/zabbix/6.2/rhel/8/x86_64/zabbix-release-6.2-1.el8.noarch.rpm
#dnf clean all

2、为php更改dnf版本
#dnf module switch-to php:7.4

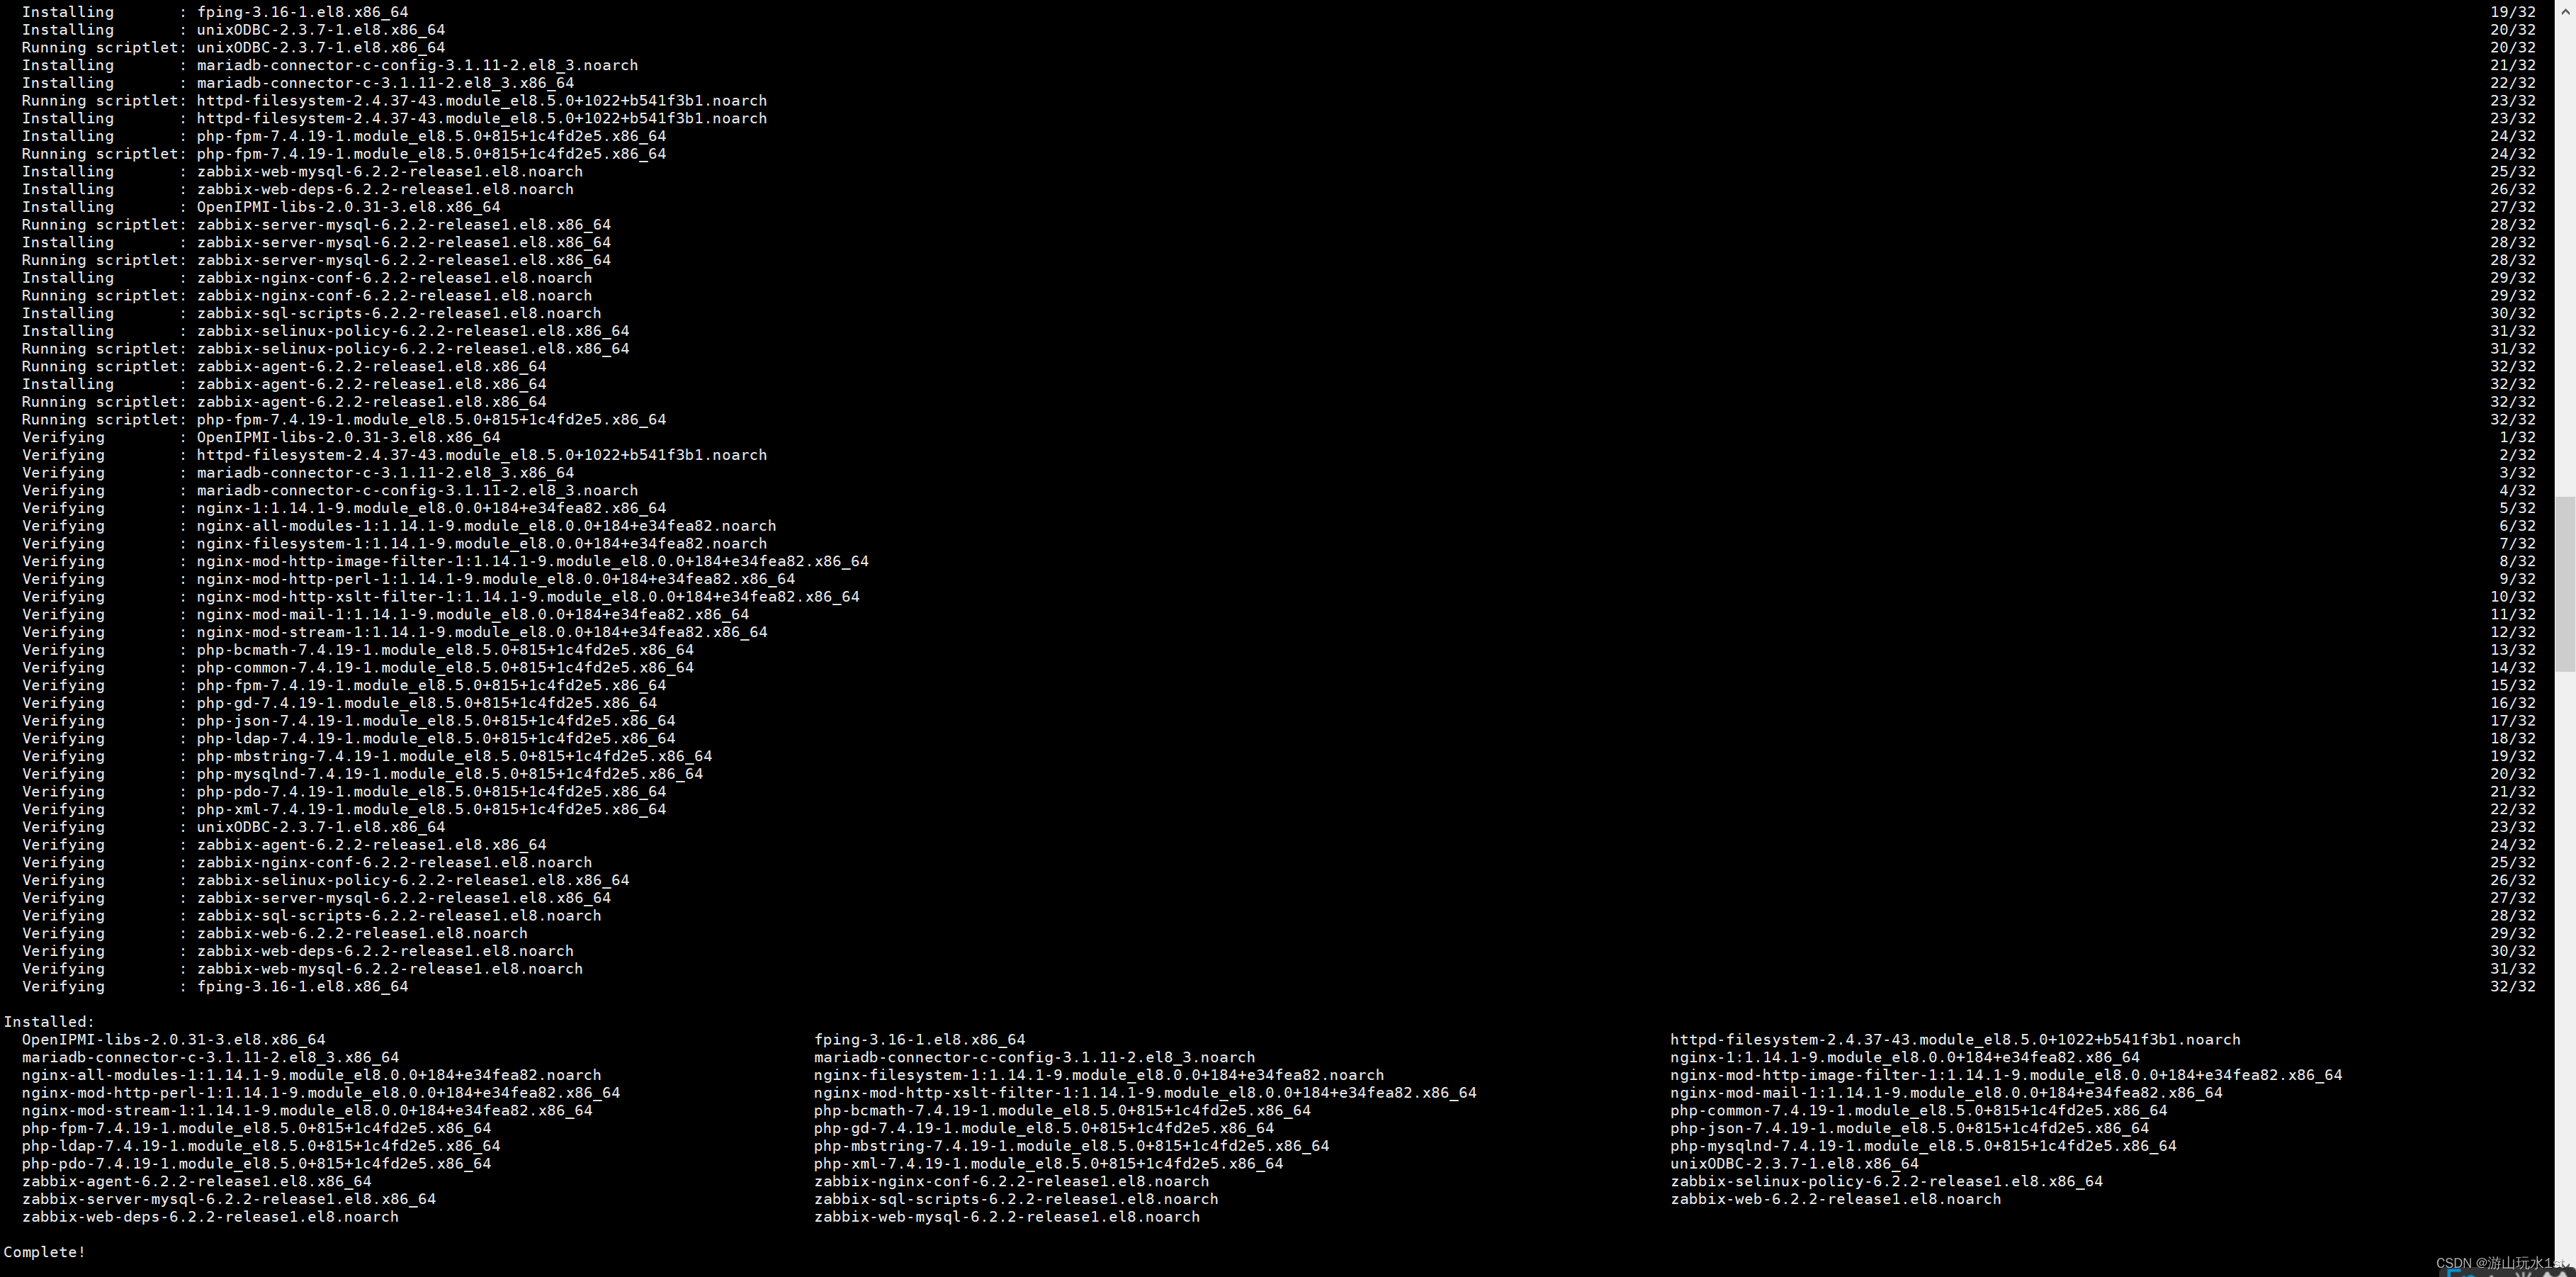
3、安装Zabbix server,Web前端,agent
#dnf install zabbix-server-mysql zabbix-web-mysql zabbix-nginx-conf zabbix-sql-scripts zabbix-selinux-policy zabbix-agent

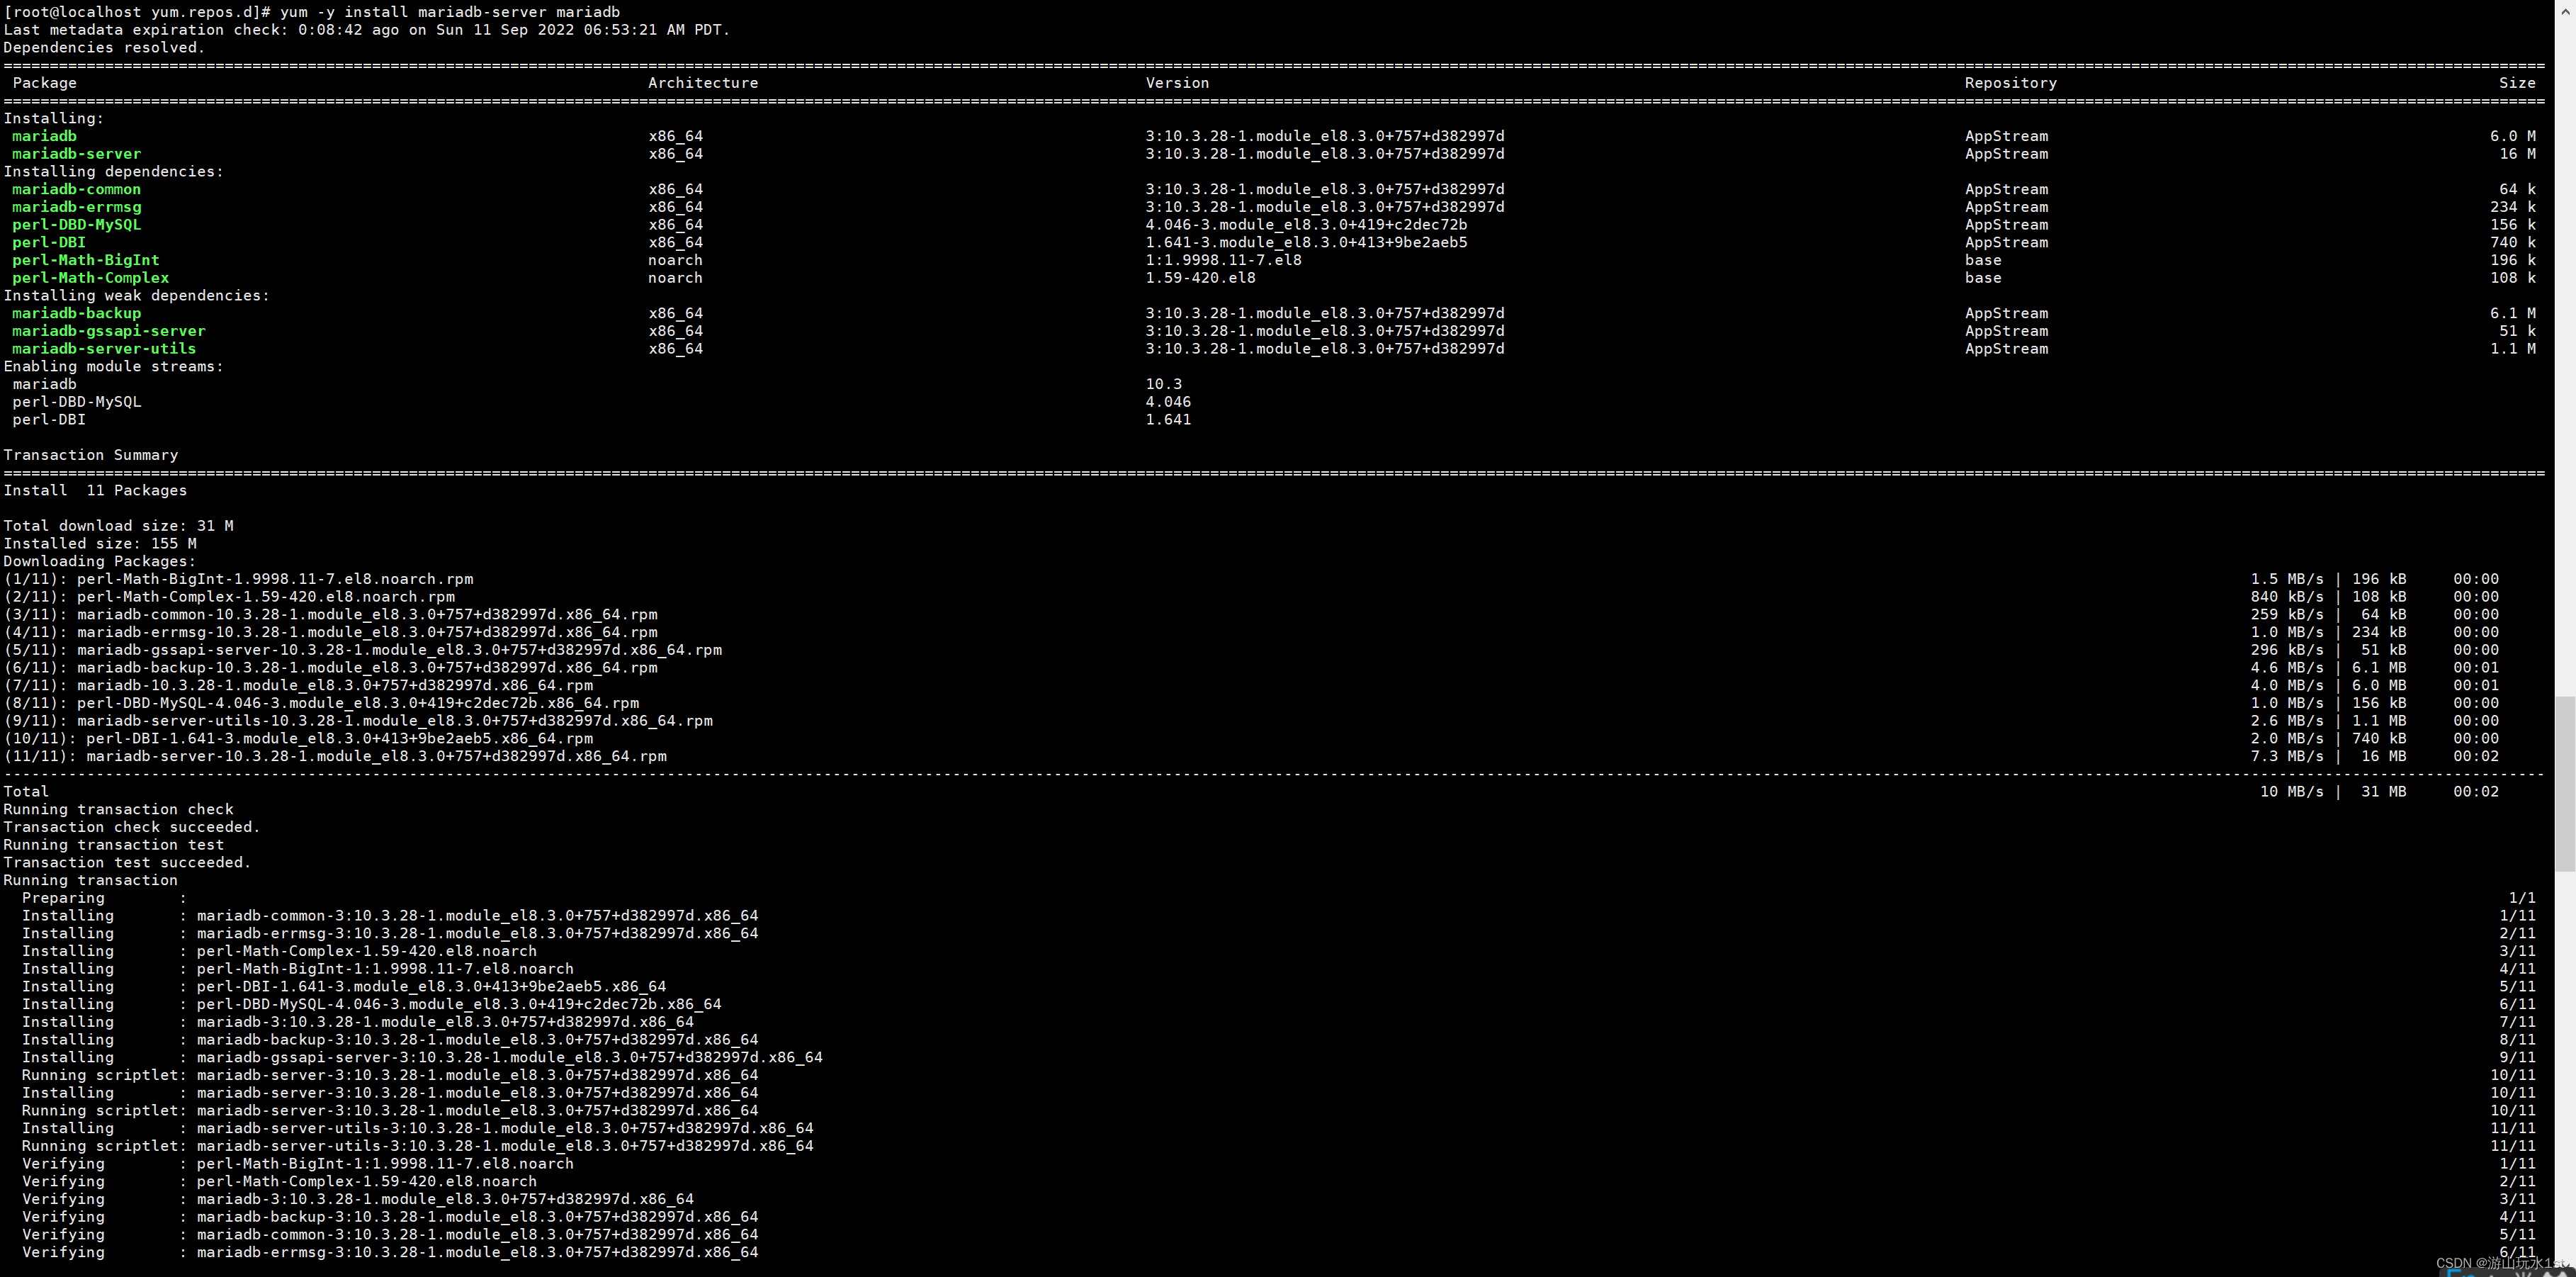
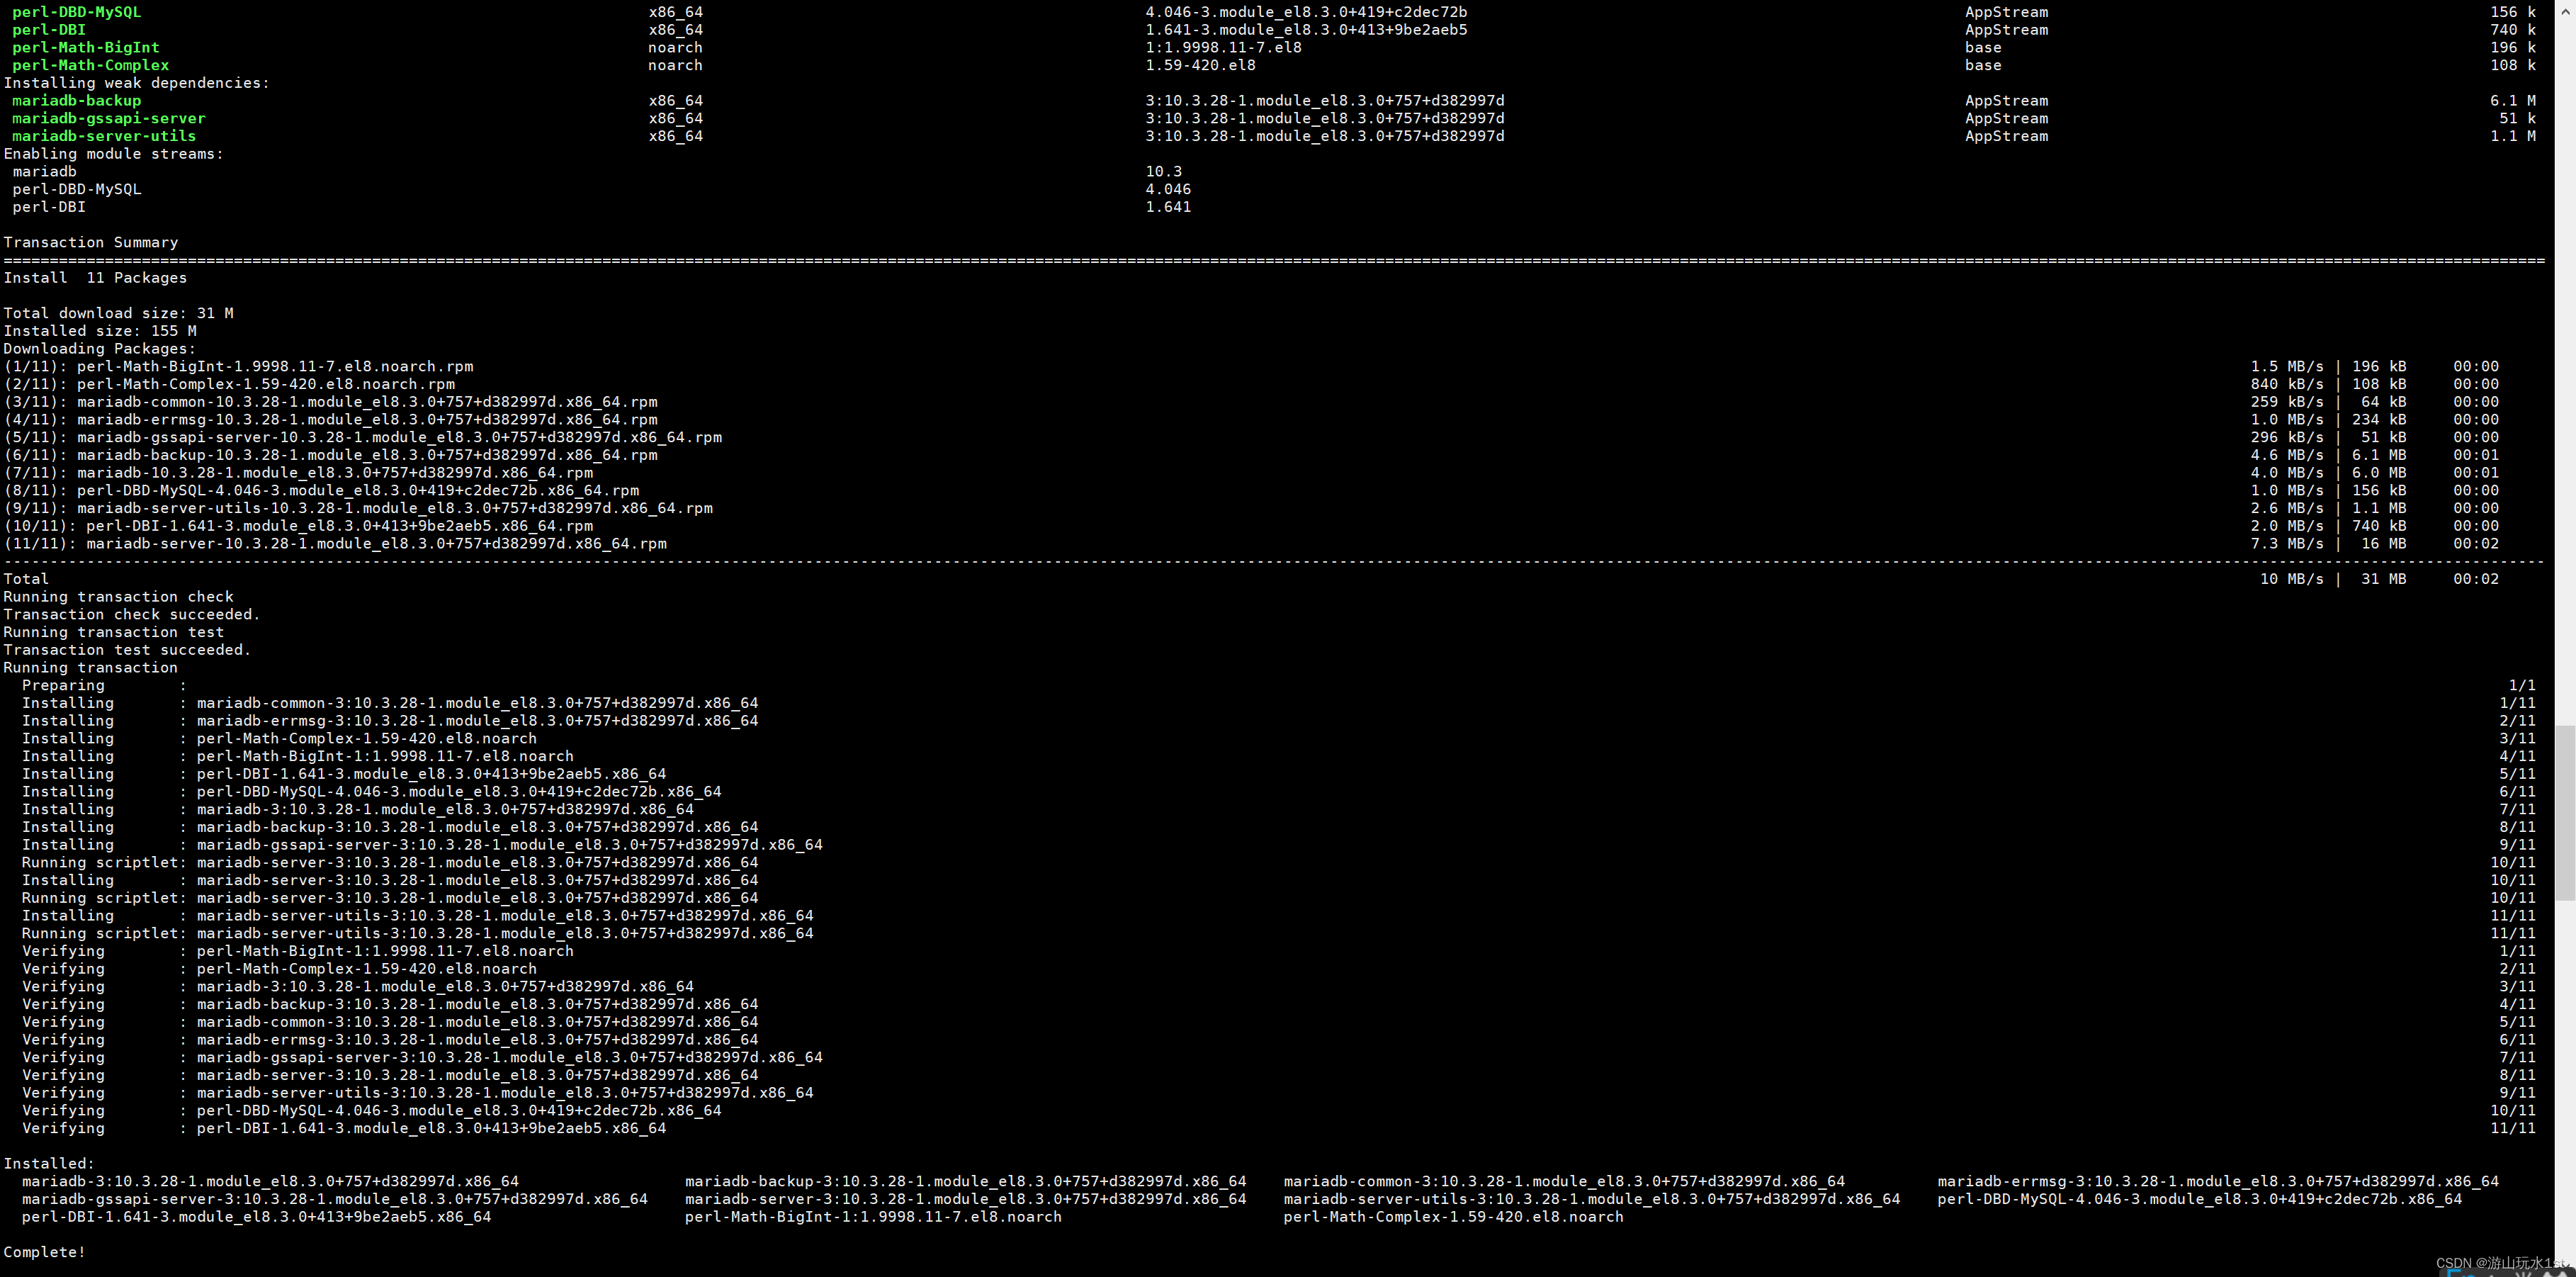
4、安装mariadb
yum -y install mariadb-server mariadb
systemctl start mariadb.service
systemctl enable mariadb.service
netstat -natp | grep 3306

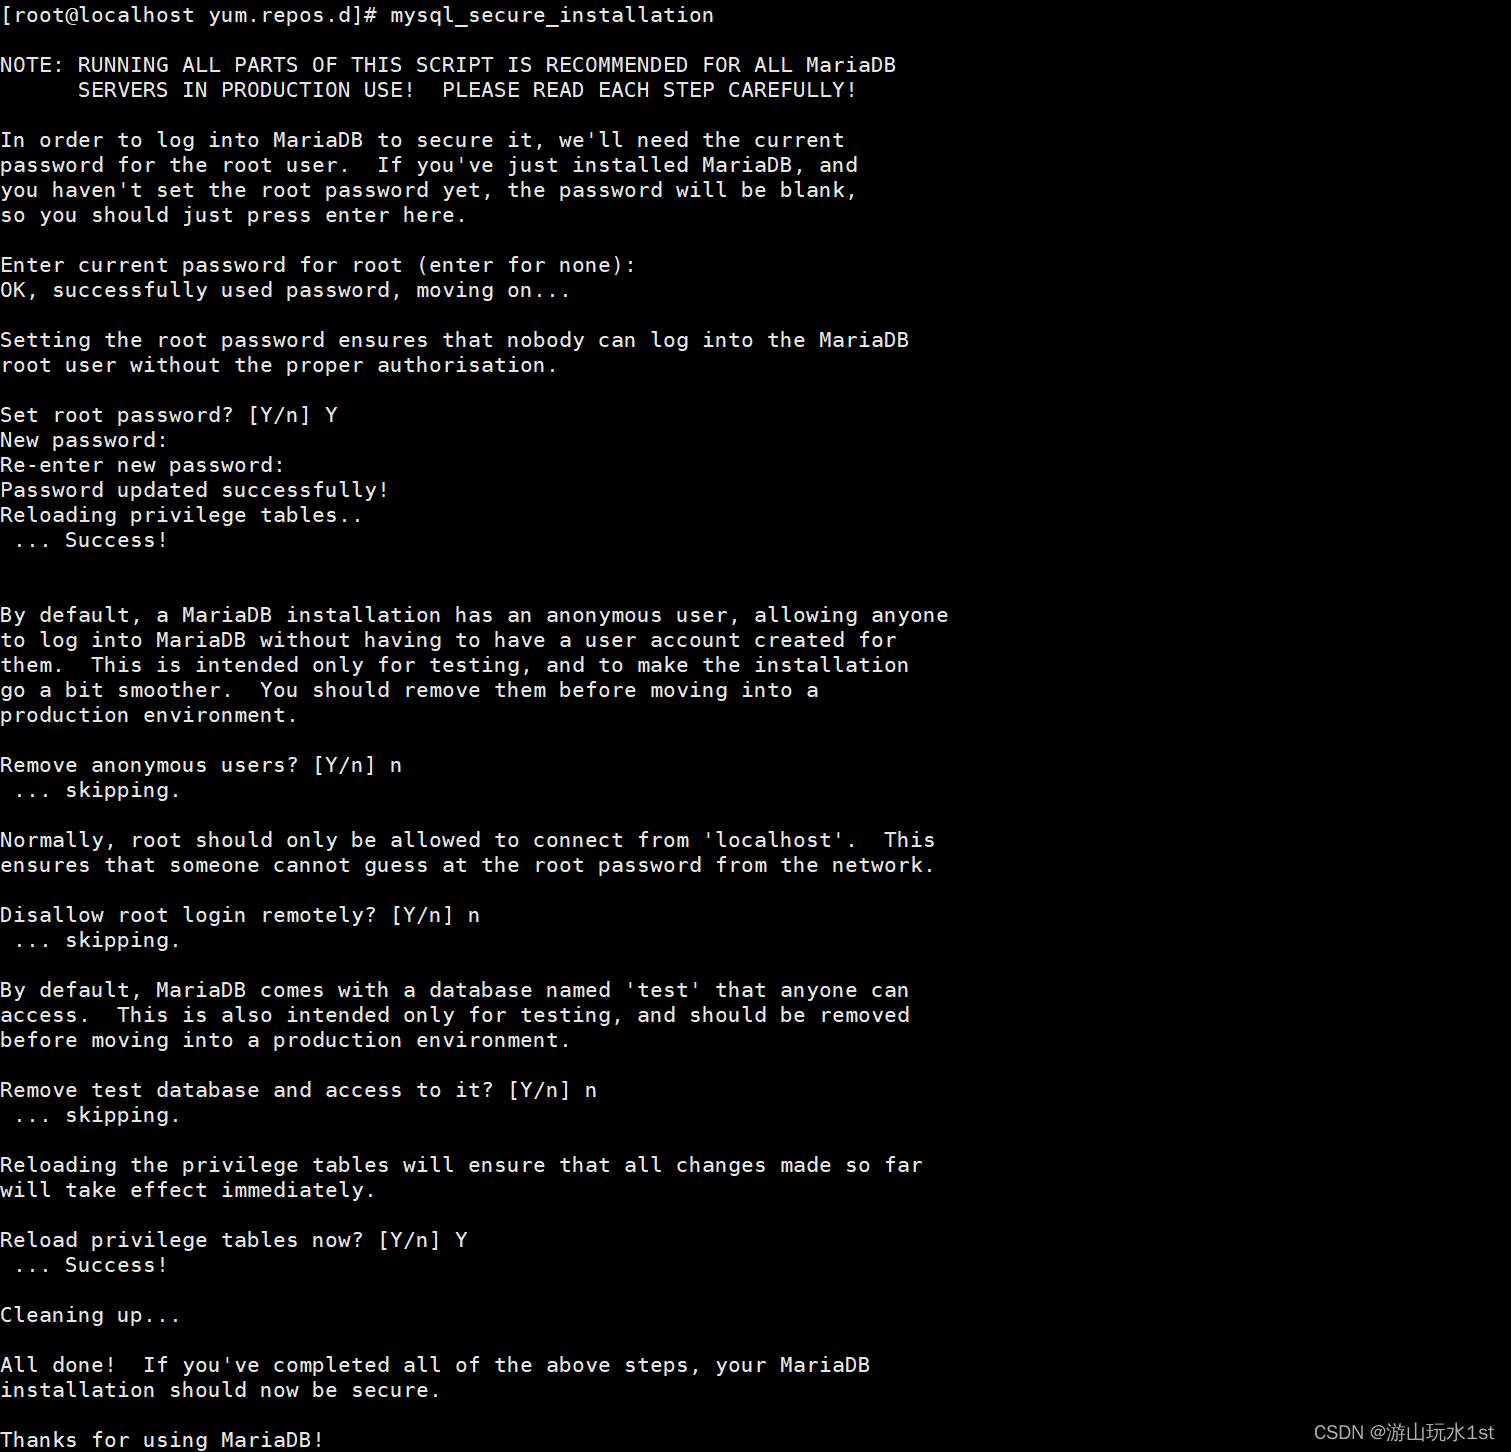
5、配置数据库
mysql_secure_installation
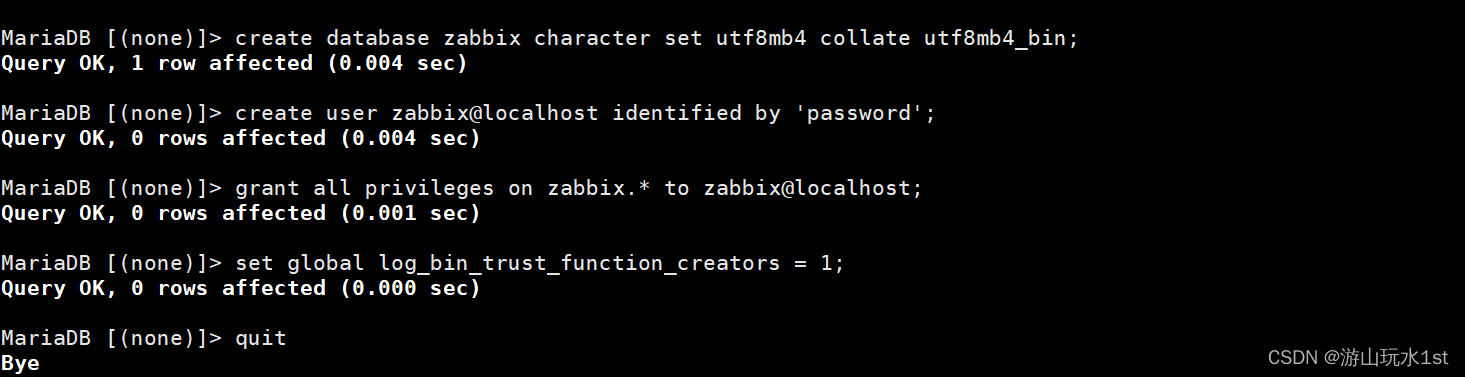
6、在数据库执行如下代码
mysql -uroot -p
MariaDB [(none)]> create database zabbix character set utf8mb4 collate utf8mb4_bin;
MariaDB [(none)]> create user zabbix@localhost identified by ‘password’;
MariaDB [(none)]> grant all privileges on zabbix.* to zabbix@localhost;
MariaDB [(none)]> set global log_bin_trust_function_creators = 1;
MariaDB [(none)]> quit
7、导入初始架构和数据,系统将提示您输入新创建的密码
zcat /usr/share/doc/zabbix-sql-scripts/mysql/server.sql.gz | mysql --default-character-set=utf8mb4 -uzabbix -p zabbix

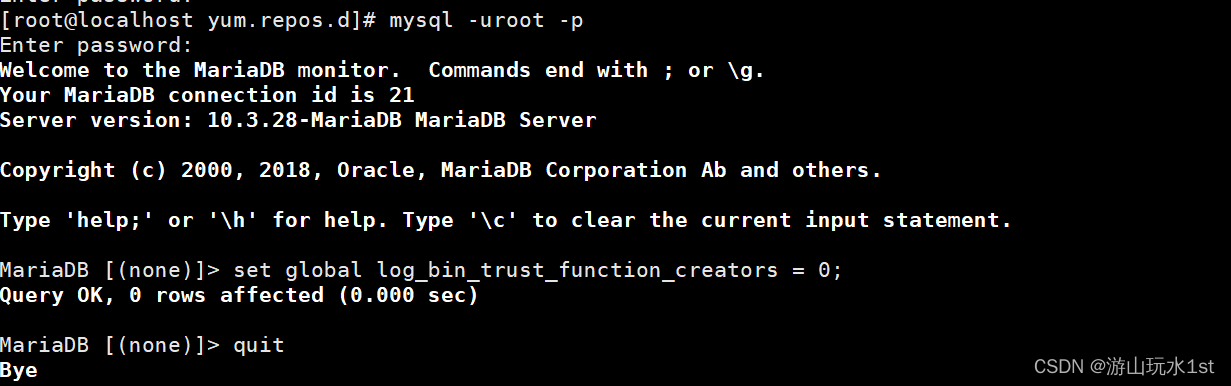
8、导入数据库架构后禁用log_bin_trust_function_creators选项
mysql -uroot -p
MariaDB [(none)]> set global log_bin_trust_function_creators = 0;
MariaDB [(none)]> quit
9、为Zabbix server配置数据库
vim /etc/zabbix/zabbix_server.conf
取消DBPassword=password注释,password改成上面设置的密码
10、为Zabbix前端配置PHP
vim /etc/nginx/conf.d/zabbix.conf
#listen 8080;
#server_name example.com;
取消掉以上两行的注释
11、启动Zabbix server和agent进程
systemctl restart zabbix-server zabbix-agent nginx php-fpm
systemctl enable zabbix-server zabbix-agent nginx php-fpm

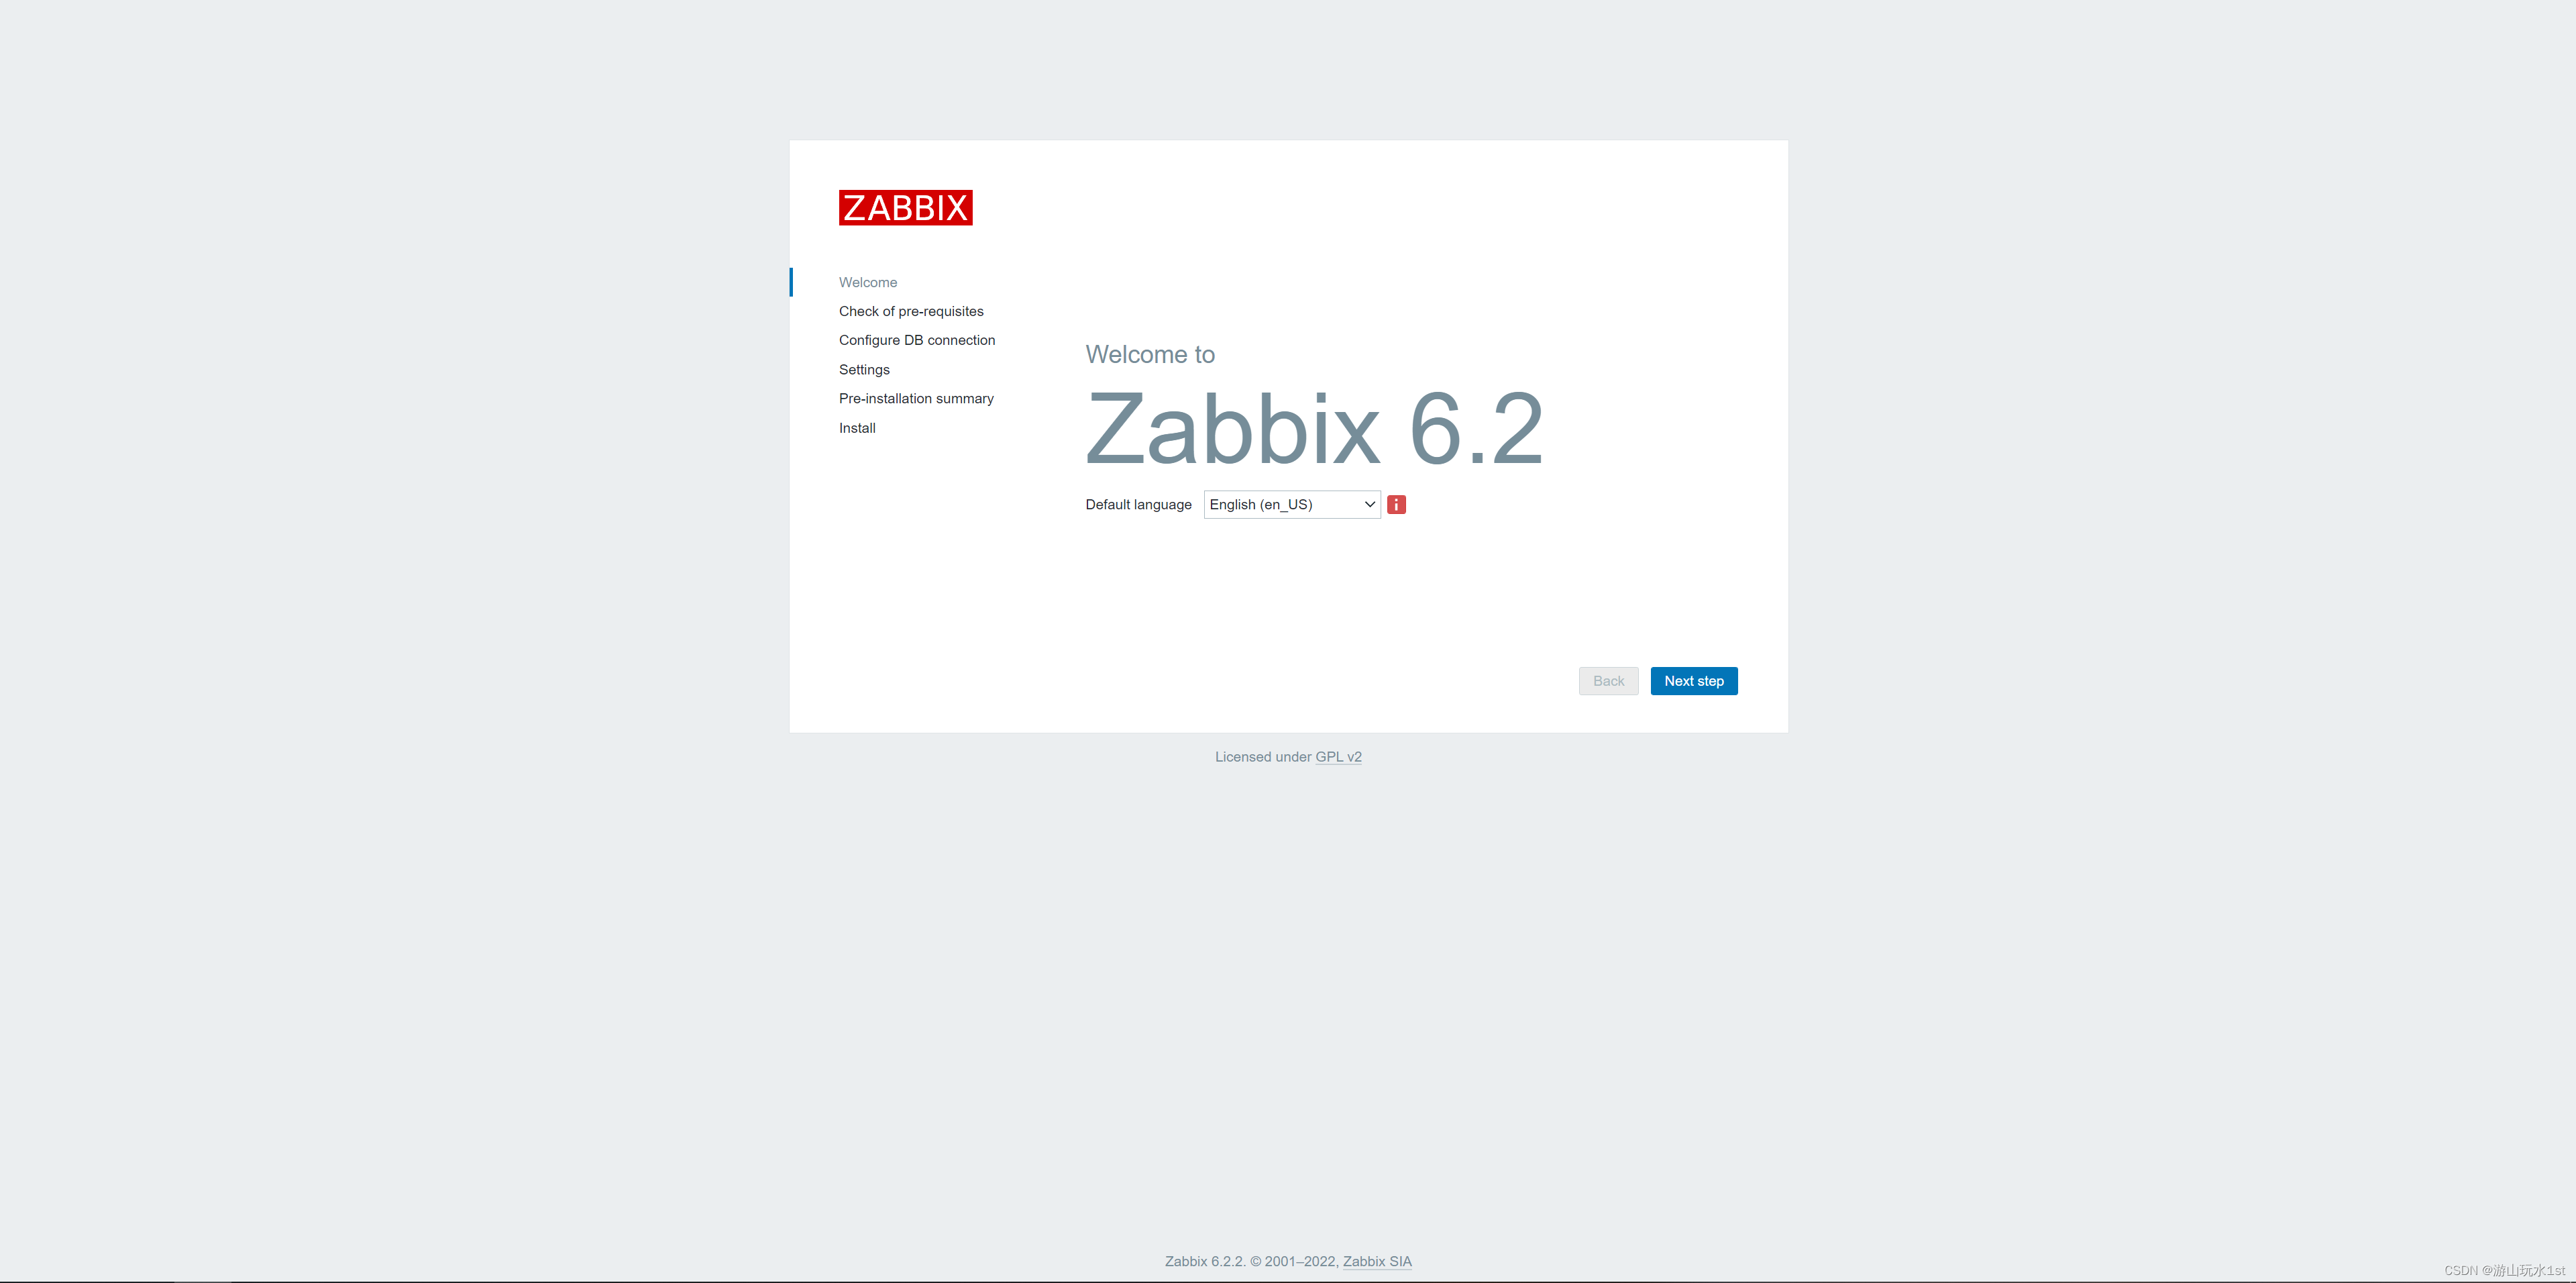
zabbix安装完毕后,浏览器输入http://主机ip/zabbix显示如下:
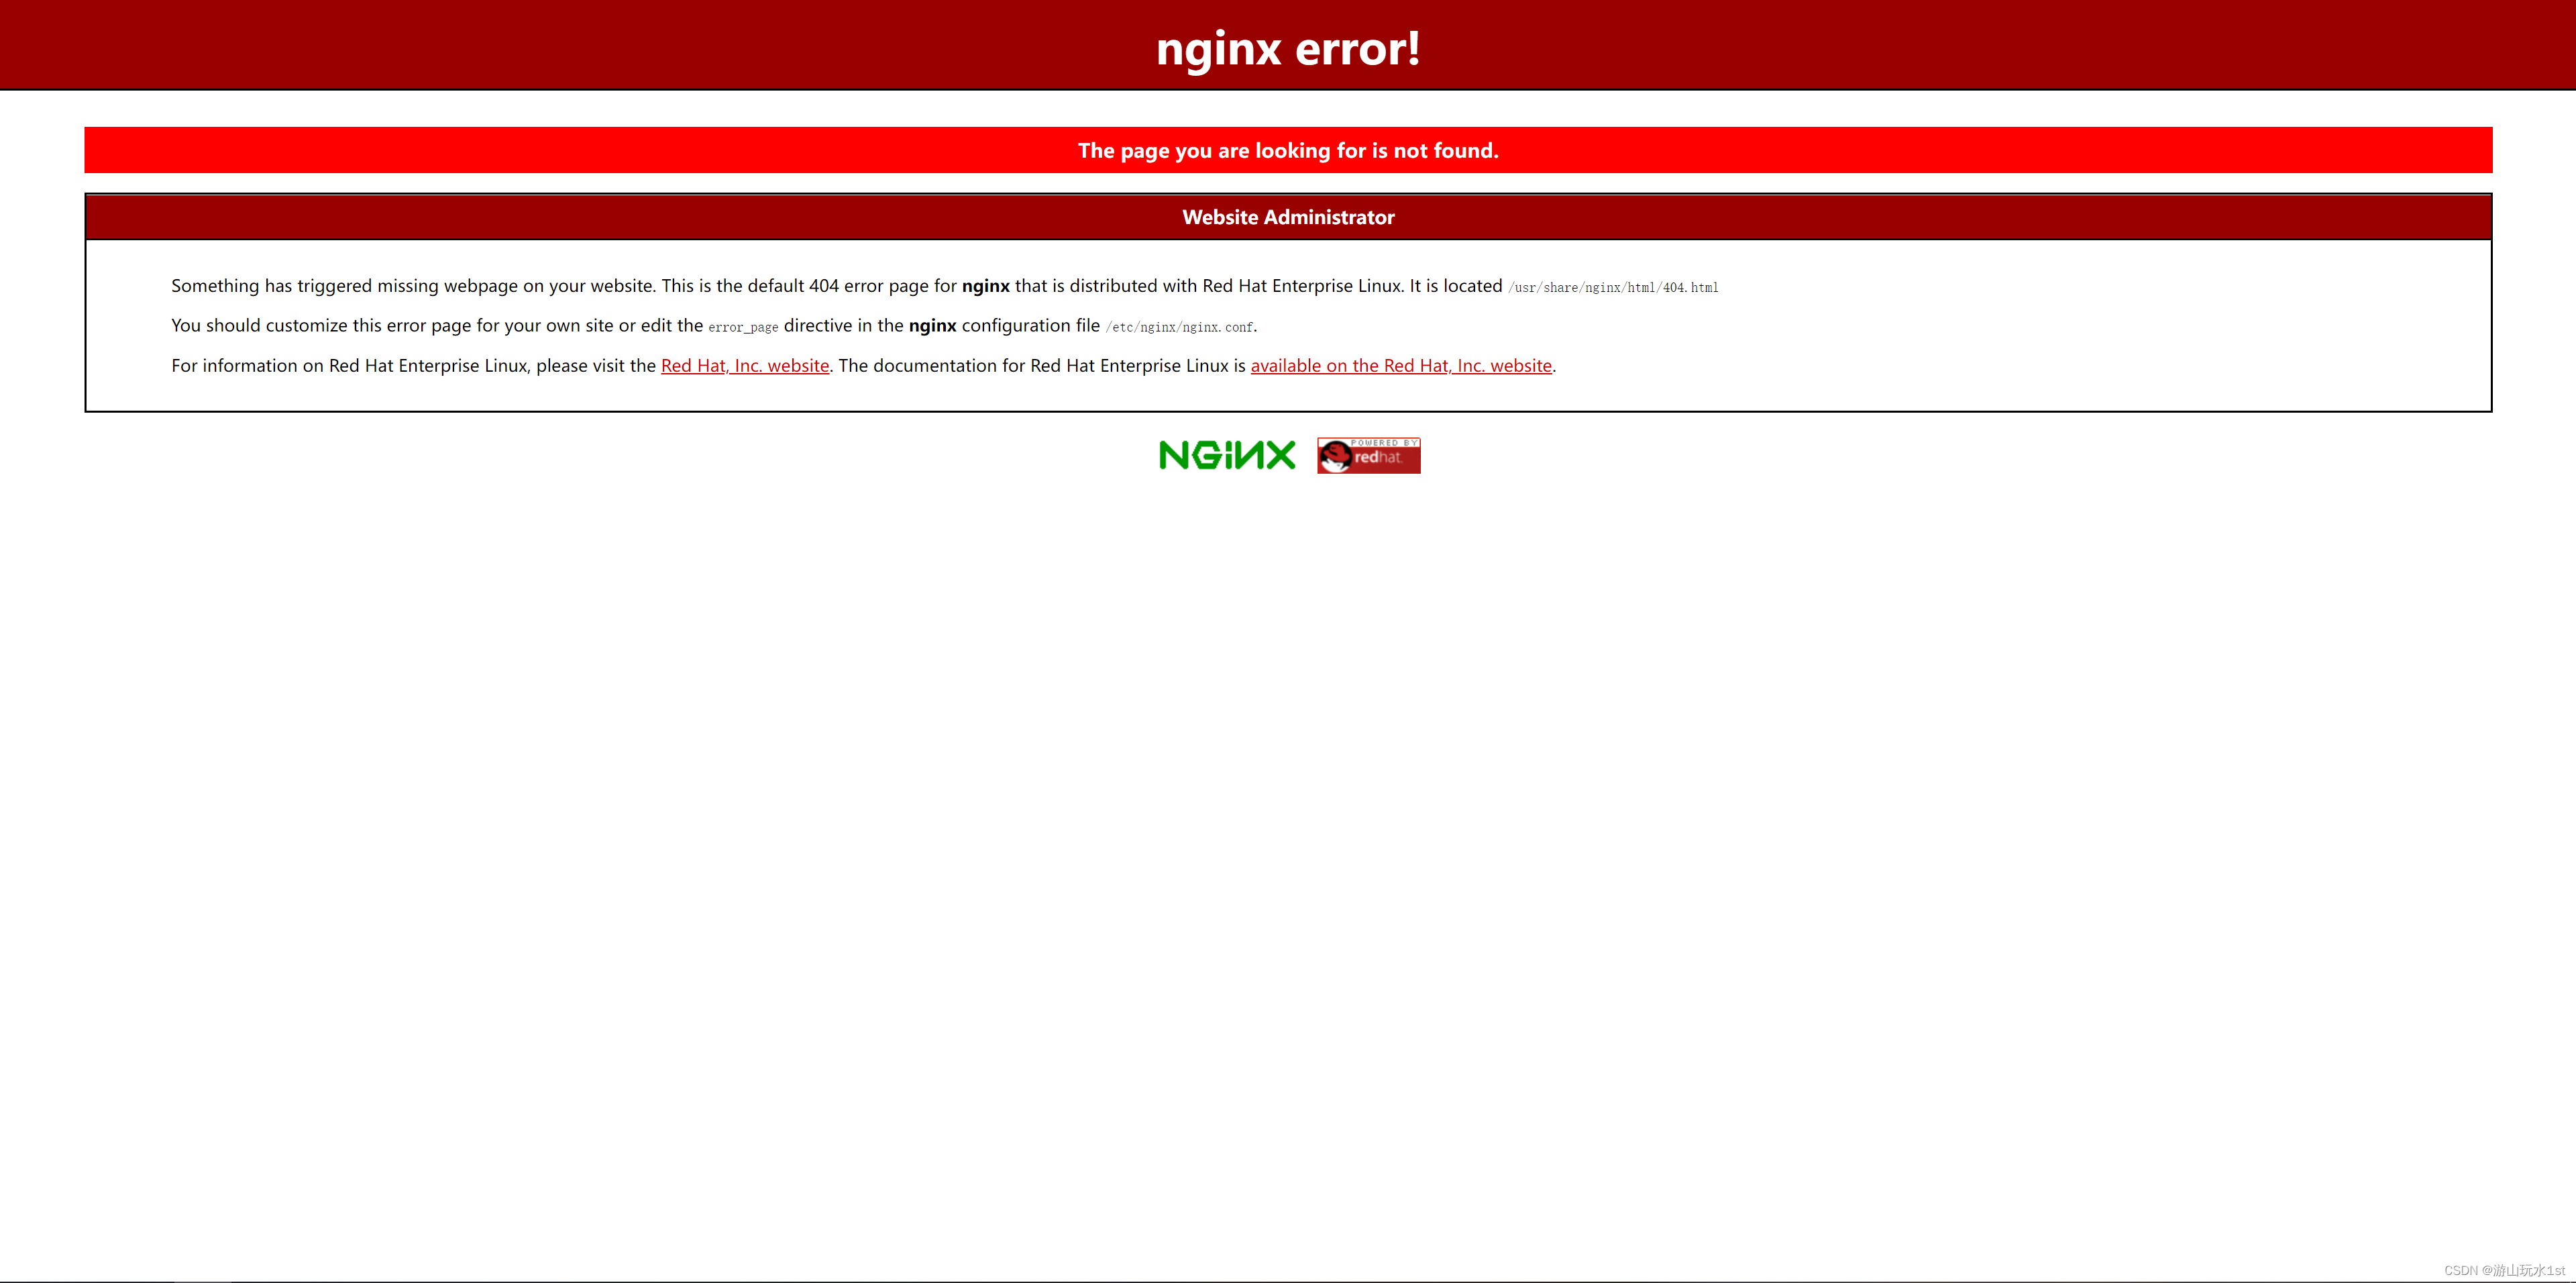
需要输入http://主机ip:8080
PS:记得关闭防火墙和SELINUX


 1360
1360


 被折叠的 条评论
为什么被折叠?
被折叠的 条评论
为什么被折叠?
 到【灌水乐园】发言


