


前言:
最近在做移动端,有个需求是 实现一个浮动球可拖拽,能吸附(吸附到 左右两则,距离哪进就吸附到哪边)。
实现过程:
1. 使用 suspend-button (但是此组件不支持 ts 和pc端)
npm install suspend-button -S
import React, { Component } from 'react'
import ReactDOM from 'react-dom'
import SuspendButton from 'suspend-button'

class App extends Component {
  render() {
    return (
      <SuspendButton></SuspendButton>
    )
  }
}

ReactDOM.render(
  <App />,
  document.getElementById('container')
)
| 属性名 | 类型 | 说明 |
|---|---|---|
| img | String | 图片地址 |
| style | obj | 样式 |
suspend-button npm地址
这个pc端需要 开启审查,切换到移动端才能看到效果
demo 地址
2. 使用 suspend-button-luckytree (这个支持了ts和 pc、移动都能用)
使用方式和 属性同上
npm i suspend-button-luckytree -S

suspend-button-luckytree npm地址
demo
**3.**如果你的定制化需求很大,可以 clone下来代码自己 改造 ,主要代码就是 拖拽吸附 ,他不支持自己传入 一个 ui。只支持一个 img 。所以你可以clone 下来 自己改造一下 。
比如:我自己 需要传入 一个 自定义的dom ,而且 需要传入初始化的位置。
自定义dom 可以利用 props.children,自定义 初始化位置可以 传入style。
完整代码如下:
index.jsx
import React, { Component } from "react"
import "./index.scss"
class suspendButton extends Component {
constructor(props) {
super(props)
this.state = {
oLeft: "",
oTop: ""
}
this.$vm = null // 悬浮按钮
this.moving = false // 移动状态
this.oW = null // 悬钮距离
this.oH = null
this.htmlWidth = null // 页面宽度
this.htmlHeight = null
this.bWidth = null // 悬钮宽度
this.bHeight = null
this.click = false // 是否是点击
}
// 移动触发
onTouchStart(e) {
e = e.touches[0]
this.click = true
this.oW = e.clientX - this.$vm.getBoundingClientRect().left
this.oH = e.clientY - this.$vm.getBoundingClientRect().top
this.htmlWidth = document.documentElement.clientWidth
this.htmlHeight = document.documentElement.clientHeight
this.bWidth = this.$vm.offsetWidth
this.bHeight = this.$vm.offsetHeight
let oLeft = e.clientX - this.oW
let oTop = e.clientY - this.oH
//不加这个点击时会出现 往右移动的情况
this.$vm.bottom=null
this.$vm.right=null
this.setState({
oLeft,
oTop
})
this.moving = true
}
// 移动结束
onTouchEnd(e) {
this.moving = false
this.$vm.className = this.$vm.className + " t-suspend-button-animate"
// 左侧距离
let oLeft = this.state.oLeft
if (oLeft < (this.htmlWidth - this.bWidth) / 2) {
oLeft = 0
} else {
oLeft = this.htmlWidth - this.bWidth
}
if (this.click) {
if (this.props && this.props.onClick) {
this.props.onClick()
}
}
// }
// if(oTop < 0) {
// oTop = 0
// } else if (oTop > this.htmlHeight - this.bHeight) {
// oTop = this.htmlHeight - this.bHeight
// }
this.setState({
oLeft
// oTop
})
}
componentDidMount() {
this.$vm.addEventListener(
"touchmove",
e => {
if (e.cancelable) {
e.preventDefault()
}
},
{
passive: false
}
)
}
// 开始移动
onTouchMove(e) {
this.$vm.className = "t-suspend-button"
this.$vm.bottom=null
this.$vm.right=null
this.moving && this.onMove(e)
}
// 移动中
onMove(e) {
e = e.touches[0]
this.click = false
// 左侧距离
let oLeft = e.clientX - this.oW
let oTop = e.clientY - this.oH
if (oLeft < 0) {
oLeft = 0
} else if (oLeft > this.htmlWidth - this.bWidth) {
oLeft = this.htmlWidth - this.bWidth
}
if (oTop < 0) {
oTop = 0
} else if (oTop > this.htmlHeight - this.bHeight) {
oTop = this.htmlHeight - this.bHeight
}
this.setState({
oLeft,
oTop
})
}
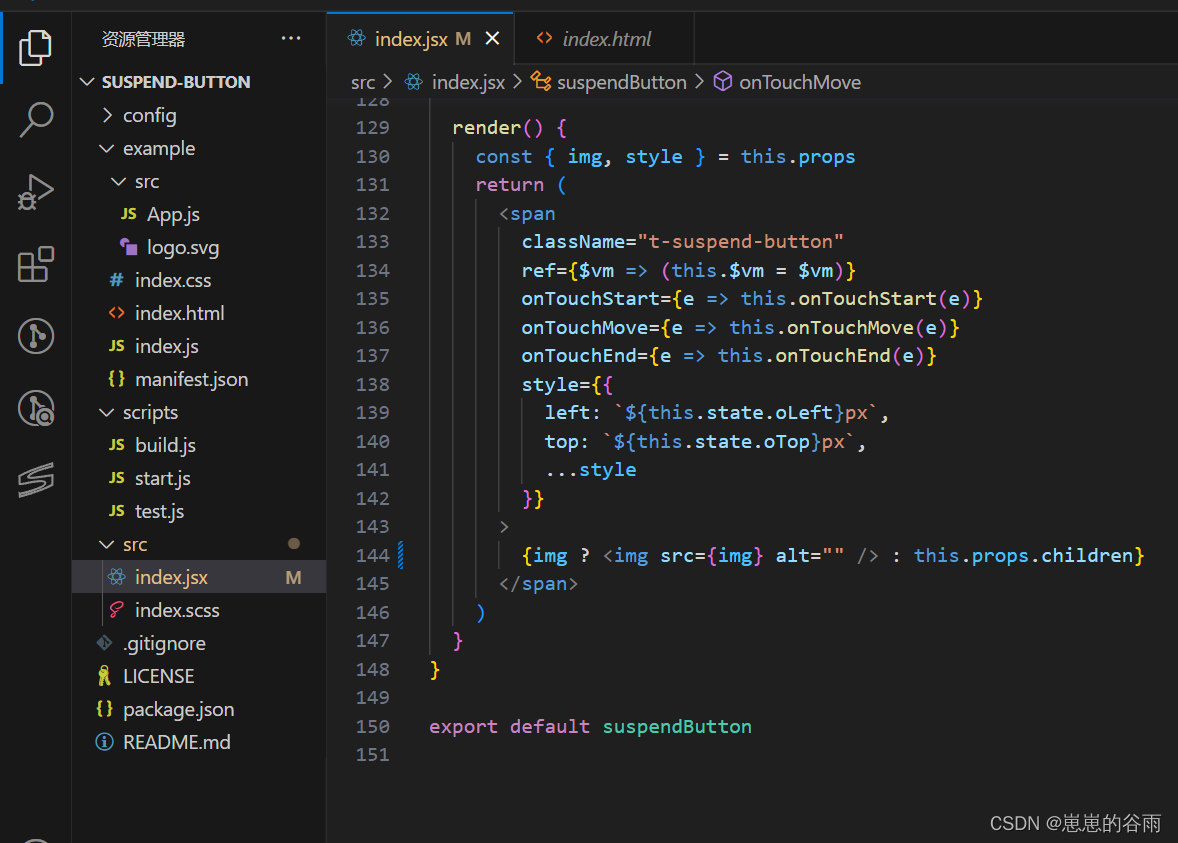
render() {
const { img, style } = this.props
return (
<span
className="t-suspend-button"
ref={$vm => (this.$vm = $vm)}
onTouchStart={e => this.onTouchStart(e)}
onTouchMove={e => this.onTouchMove(e)}
onTouchEnd={e => this.onTouchEnd(e)}
style={{
position:"fixed",
right:"12px",
bottom:"100px",
left: `${this.state.oLeft}px`,
top: `${this.state.oTop}px`,
...style
}}
>
{img ? <img src={img} alt="" /> : this.props.children}
</span>
)
}
}
export default suspendButton
index.scss (css,less都行),我克隆下来 他这个默认的样式不生效
.t-suspend-button {
  //position: fixed;
  //top: 400px;
  //right: 0;
  //width: 4rem;
  //height: 4rem;
  //border-radius: 2rem;
  //box-shadow: 0px 0px 5px rgba(#000000, .4);
}

// .t-suspend-button img {
//   width: 100%;
//   height: 100%;
// }

.t-suspend-button-animate {
  transition-duration: .4s;
}
使用方法:
1.在需要的地方引入组件:
不过具体路径需要根据你自己所放的地方
import SuspendButton from '../components/suspendButton';
2.在组件里使用:
<SuspendButton >
        xxx
 </SuspendButton>
属性
| 属性名 | 类型 | 默认值 | 说明 |
|---|---|---|---|
| img | string | 无 | 图片地址 |
| style | obj | { position:“fixed”,right:“12px”, bottom:“100px”} | 样式 |
| children | reactNode | 无 | 自定义的样式和元素 |
备注:我为什么style 加了默认值呢,是因为我clone下来的代码,放到我的项目里后发现 样式样式不生效。
4. 其实 react-draggable 这种拖拽类的 插件也可以实现,只不过没必要用这种。如果只是像实现简单的拖拽。上面的插件就够用。
5. gtihub上找其实有很多,类似的,甚至悬浮菜单,clone 下来自己修改一下样式
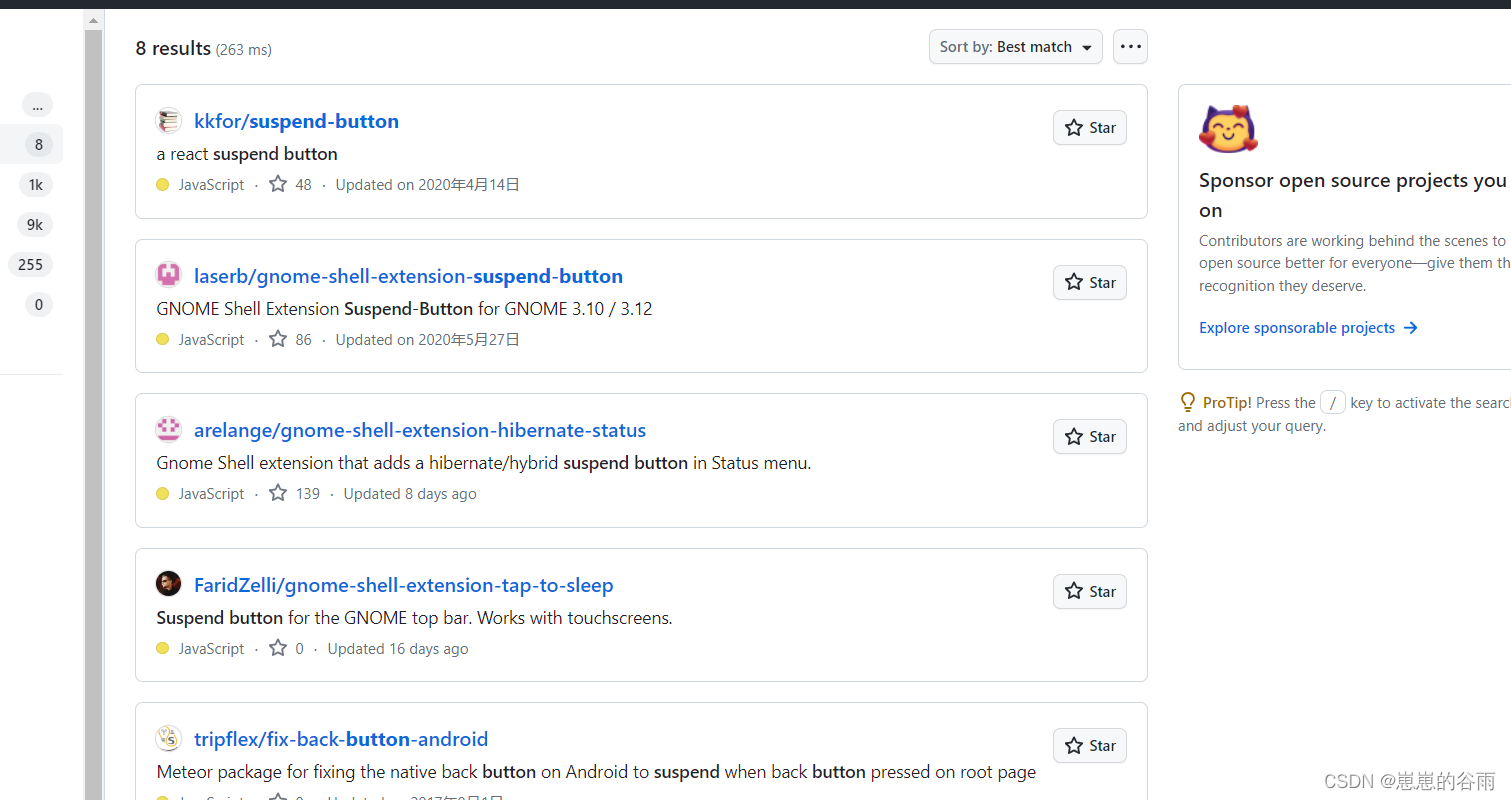
github suspend-button
总结:
我改造的很简单,如果你需要更复杂的效果也可以自己clone下来自己改造。比如:
- 动画可以自己传入
- 点击后 弹出 一个菜单 菜单里能操作
- …
如果需要支持 pc,移动,ts 则可以选其他版本。甚至可以字及编写一个组件,因为核心代码就是拖拽 这个不限于 react,只要 支持 css语法 基本都能用。vue里把主要代码拿出来,改成vue的语法应该也可以。


 8077
8077


 被折叠的 条评论
为什么被折叠?
被折叠的 条评论
为什么被折叠?
 到【灌水乐园】发言


