


本文大概500字,阅读大概需要5分钟
**
一、springboot使用swagger2
1.1、依赖及配置项
mvnrepository。
我们将如下框起来的代码复制到依赖里:

依赖项给出,如下:
<!-- https://mvnrepository.com/artifact/com.github.xiaoymin/knife4j-spring-boot-starter -->
<dependency>
    <groupId>com.github.xiaoymin</groupId>
    <artifactId>knife4j-spring-boot-starter</artifactId>
    <version>2.0.9</version>
</dependency>
在application.properties中加入:
spring.mvc.pathmatch.matching-strategy=ant_path_matcher。
如下图新建Knife4jConfiguration类: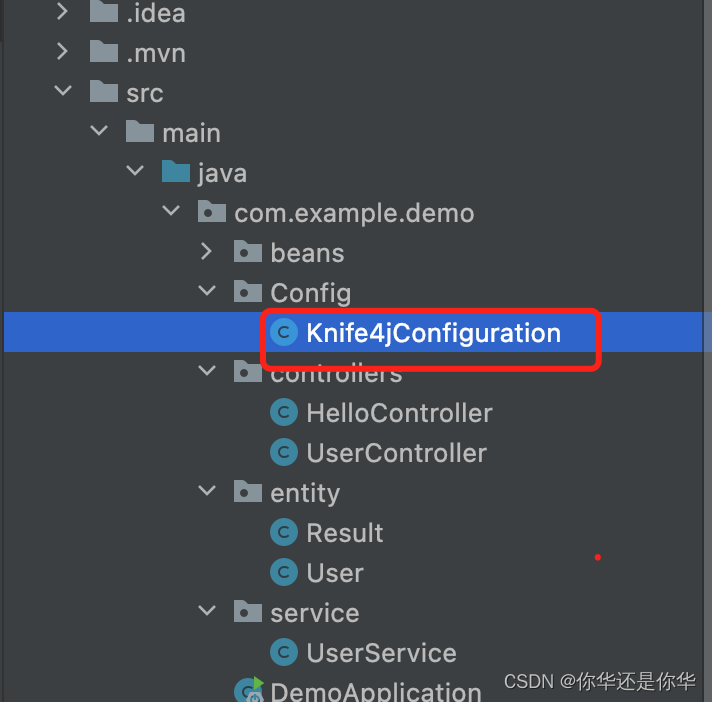
写入配置项:
package com.example.demo.Config;
import org.springframework.context.annotation.Bean;
import org.springframework.context.annotation.Configuration;
import springfox.documentation.builders.ApiInfoBuilder;
import springfox.documentation.builders.PathSelectors;
import springfox.documentation.builders.RequestHandlerSelectors;
import springfox.documentation.spi.DocumentationType;
import springfox.documentation.spring.web.plugins.Docket;
import springfox.documentation.swagger2.annotations.EnableSwagger2WebMvc;

@Configuration
@EnableSwagger2WebMvc
public class Knife4jConfiguration {

    @Bean(value = "dockerBean")
    public Docket dockerBean() {
        //指定使用Swagger2规范
        Docket docket=new Docket(DocumentationType.SWAGGER_2)
                .apiInfo(new ApiInfoBuilder()
                        //描述字段支持Markdown语法
                        .title("demo api")
                        .description("demo RESTful APIs")
                        .termsOfServiceUrl("http://192.168.0.11")
                        .contact("justin")
                        .version("1.0")
                        .build())
                //分组名称
                .groupName("v1.0")
                .select()
                //这里指定Controller扫描包路径
                .apis(RequestHandlerSelectors.basePackage("com.example.demo.controllers"))
                .paths(PathSelectors.any())
                .build();
        return docket;
    }
}
启动服务
访问http://localhost:8089/doc.html:

1.2、控制器配置
@Api(tags = "用户模块"): 模块描述。
@ApiImplicitParam(name = "id",value = "用户id",required = true,dataType="int",paramType = "path"):
name参数名称、value参数说明、required是否必填、dataType数据类型、paramType请求类型
@ApiOperation(value = "查找用户"):侧边栏菜单

更多特性可以点击这里查看。。
在学习springboot的路上,如果你觉得本文对你有所帮助的话,那就请关注点赞评论三连吧,谢谢,你的肯定是我写博的另一个支持。


 1268
1268


 被折叠的 条评论
为什么被折叠?
被折叠的 条评论
为什么被折叠?
 到【灌水乐园】发言


