


引入布局
这里准备在标题栏处引入一个布局文件。
创建title.xml
<?xml version="1.0" encoding="utf-8"?>
<LinearLayout xmlns:android="http://schemas.android.com/apk/res/android"
    android:layout_width="match_parent"
    android:background="@drawable/title_bg"
    android:layout_height="wrap_content">
    <Button
        android:id="@+id/back"
        android:layout_width="wrap_content"
        android:layout_height="wrap_content"
        android:background="@drawable/back_bg"
        android:text="back"
        android:textAllCaps="false"/>
    <TextView
        android:layout_width="0dp"
        android:layout_height="wrap_content"
        android:layout_weight="1"
        android:textAlignment="center"
        android:text="title Text"
        />
    <Button
        android:layout_width="wrap_content"
        android:layout_height="wrap_content"
        android:text="Edit"
        android:textAllCaps="false"
        android:background="@drawable/edit_bg"/>
</LinearLayout>
隐藏ActionBar
由于引入的是标题栏,所以这里要隐藏ActionBar的标题栏。
public class MainActivity extends AppCompatActivity {

    @Override
    protected void onCreate(Bundle savedInstanceState) {
        super.onCreate(savedInstanceState);
        setContentView(R.layout.activity_main);
        ActionBar actionBar=getSupportActionBar();
        if(actionBar!=null){
            actionBar.hide();
        }
    }
}
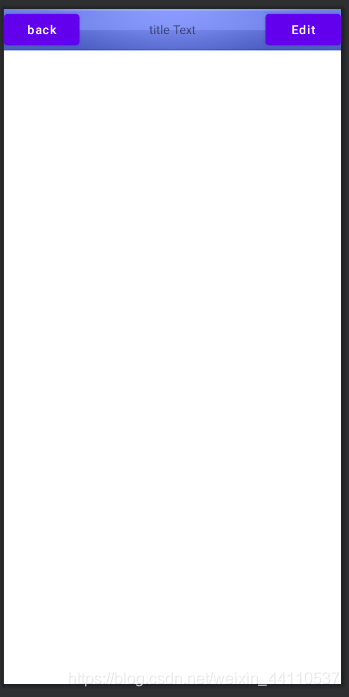
效果:
创建自定义控件
引入布局的技巧可以解决重复编写代码的问题,但是如果我要响应这些布局中的控件的事件的话还是要在Activity中添加事件处理的方法,但是对一些情况,如标题栏中的按钮在所有的Activity中的功能都是一样的(back,edit)。所以为了解决这个问题可以自定义控件。
自定义控件TitleLayout
package com.study.listView;

import android.app.Activity;
import android.content.Context;
import android.util.AttributeSet;
import android.view.LayoutInflater;
import android.view.View;
import android.widget.Button;
import android.widget.LinearLayout;
import android.widget.Toast;

public class TitleLayout extends LinearLayout {

    public TitleLayout(Context context, AttributeSet attrs) {
        super(context);
        LayoutInflater.from(context).inflate(R.layout.title,this);
        Button back=findViewById(R.id.back);
        Button edit=findViewById(R.id.edit);
        back.setOnClickListener(new OnClickListener() {
            @Override
            public void onClick(View v) {
                ((Activity)getContext()).finish();
            }
        });
        edit.setOnClickListener(new OnClickListener() {
            @Override
            public void onClick(View v) {
                Toast.makeText(getContext(),"You clicked Edit button",Toast.LENGTH_SHORT).show();
            }
        });
    }
}
在Xml中用这个控件
<?xml version="1.0" encoding="utf-8"?>
<LinearLayout xmlns:android="http://schemas.android.com/apk/res/android"
    xmlns:tools="http://schemas.android.com/tools"
    android:layout_width="match_parent"
    android:layout_height="match_parent"
    tools:context=".MainActivity">
    <com.study.listView.TitleLayout
        android:layout_width="match_parent"
        android:layout_height="wrap_content"/>
</LinearLayout>
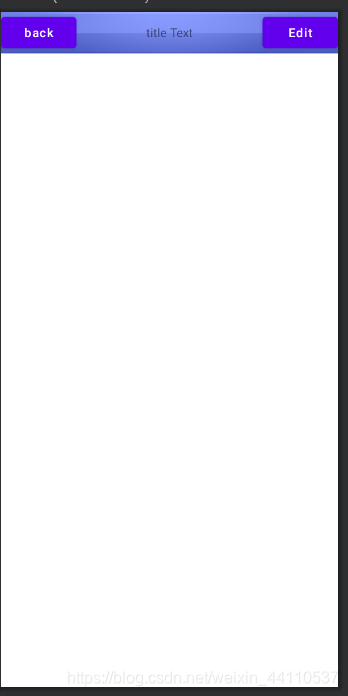
效果:


 1397
1397


 被折叠的 条评论
为什么被折叠?
被折叠的 条评论
为什么被折叠?
 到【灌水乐园】发言


