


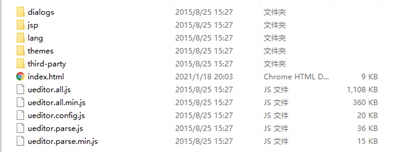
1、下载ueditor的jsp版本
链接:https://pan.baidu.com/s/11Y18nqlCFfdpTnq_I4twWw
提取码:36i7
2、新建项目

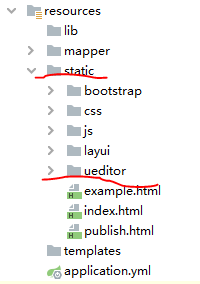
3、把ueditor里面的所有文件复制到项目的static下的新建的ueditor里
4、新建一个ServerController,注意一定要单独写一个Controller不要在其他Controller里面写,写以下内容
@Controller
public class ServerController {
  @RequestMapping(value = "/config")
  public void config(HttpServletRequest request, HttpServletResponse response) {
    response.setContentType("application/json");
    String rootPath = ClassUtils.getDefaultClassLoader().getResource("").getPath() + "static/ueditor/jsp";
    try {
      response.setCharacterEncoding("UTF-8");
      String exec = new ActionEnter(request, rootPath).exec();
      System.out.println(exec);
      PrintWriter writer = response.getWriter();
      //writer.write(new ActionEnter(request, rootPath).exec());//不能这样写,会重复上传图片,虽然图片一样,前后端得到的图片名称不一致
      writer.write(exec);
      writer.flush();
      writer.close();
    } catch (IOException e) {
      e.printStackTrace();
    }
  }
}
5、找到jsp文件夹下的config.json文件修改“imageUrlPrefix”(之前是空)

6、找到ueditor.config.js

找到代码:
var server_url=
window.location.protocol+"//"+window.location.hostname+":"+window.location.port

serverUrl: server_url+"/config"
两处修改后为:

7、之后便可以上传图片了


 1万+
1万+


 被折叠的 条评论
为什么被折叠?
被折叠的 条评论
为什么被折叠?
 到【灌水乐园】发言


