


网关
Zuul:
使用的是阻塞式的 API,不支持长连接,比如 websockets。
底层是servlet,Zuul处理的是http请求
没有提供异步支持,流控等均由hystrix支持。
依赖包spring-cloud-starter-netflix-zuul。
Gateway:
底层依然是servlet,但使用了webflux,多嵌套了一层框架
依赖spring-boot-starter-webflux和/ spring-cloud-starter-gateway
提供了异步支持,提供了抽象负载均衡,提供了抽象流控,并默认实现了RedisRateLimiter。
Gateway与Zuul区别
相同点:
1、底层都是servlet
2、两者均是web网关,处理的是http请求
不同点:
1、内部实现:
gateway对比zuul多依赖了spring-webflux,在spring的支持下,功能更强大,内部实现了限流、负载均衡等,扩展性也更强,但同时也限制了仅适合于Spring Cloud套件
zuul则可以扩展至其他微服务框架中,其内部没有实现限流、负载均衡等。
2、是否支持异步
zuul仅支持同步
gateway支持异步。理论上gateway则更适合于提高系统吞吐量(但不一定能有更好的性能),最终性能还需要通过严密的压测来决定
3、框架设计的角度
gateway具有更好的扩展性,并且其已经发布了2.0.0的RELESE版本,稳定性也是非常好的
4、性能
WebFlux 模块的名称是 spring-webflux,名称中的 Flux 来源于 Reactor 中的类 Flux。Spring webflux 有一个全新的非堵塞的函数式 Reactive Web 框架,可以用来构建异步的、非堵塞的、事件驱动的服务,在伸缩性方面表现非常好。使用非阻塞API。 Websockets得到支持,并且由于它与Spring紧密集成,所以将会是一个更好的 开发 体验。
Zuul 1.x,是一个基于阻塞io的API Gateway。Zuul已经发布了Zuul 2.x,基于Netty,也是非阻塞的,支持长连接,但Spring Cloud暂时还没有整合计划。
最终我们选择gateway作为微服务脚手架的网关服务。
步骤
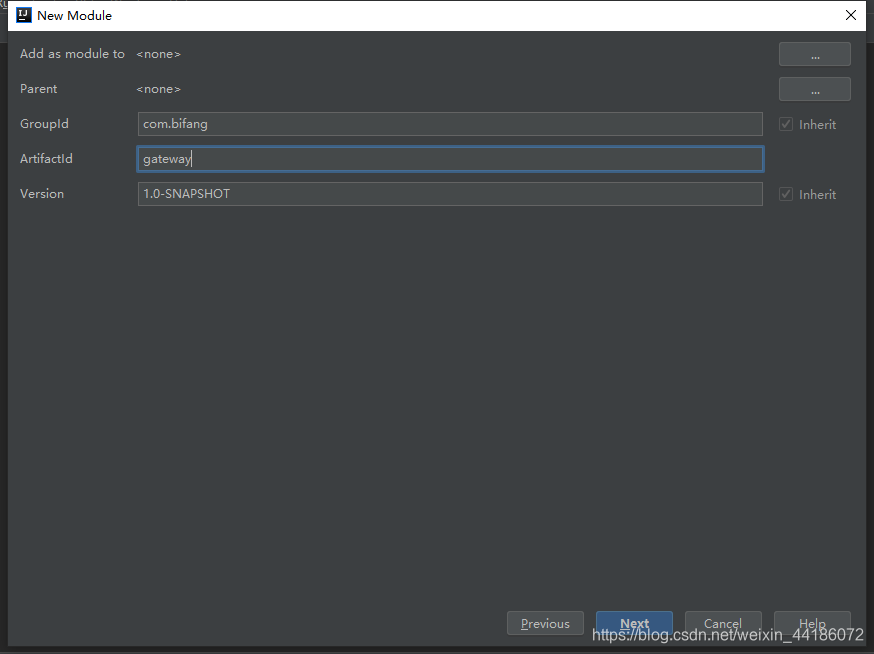
1、创建gateway项目
2、导入pom.xml依赖
<?xml version="1.0" encoding="UTF-8"?>
<project xmlns="http://maven.apache.org/POM/4.0.0" xmlns:xsi="http://www.w3.org/2001/XMLSchema-instance"
         xsi:schemaLocation="http://maven.apache.org/POM/4.0.0 https://maven.apache.org/xsd/maven-4.0.0.xsd">
    <modelVersion>4.0.0</modelVersion>
    <parent>
        <groupId>org.springframework.boot</groupId>
        <artifactId>spring-boot-starter-parent</artifactId>
        <version>2.2.6.RELEASE</version>
        <relativePath/> <!-- lookup parent from repository -->
    </parent>
    <groupId>com.bifang</groupId>
    <artifactId>gateway</artifactId>
    <version>0.0.1-SNAPSHOT</version>
    <name>gateway</name>
    <description>Demo project for Spring Boot</description>

    <properties>
        <java.version>1.8</java.version>
    </properties>

    <dependencies>

        <dependency>
            <groupId>org.springframework.cloud</groupId>
            <artifactId>spring-cloud-starter-gateway</artifactId>
            <version>2.2.2.RELEASE</version>
        </dependency>

        <dependency>
            <groupId>org.springframework.boot</groupId>
            <artifactId>spring-boot-dependencies</artifactId>
            <version>2.2.5.RELEASE</version>
            <type>pom</type>
            <scope>import</scope>
        </dependency>

        <dependency>
            <groupId>org.springframework.cloud</groupId>
            <artifactId>spring-cloud-dependencies</artifactId>
            <version>Hoxton.SR3</version>
            <type>pom</type>
            <scope>import</scope>
        </dependency>

        <dependency>
            <groupId>com.alibaba.cloud</groupId>
            <artifactId>spring-cloud-alibaba-dependencies</artifactId>
            <version>2.2.1.RELEASE</version>
            <type>pom</type>
            <scope>import</scope>
        </dependency>

        <dependency>
            <groupId>org.springframework.cloud</groupId>
            <artifactId>spring-cloud-starter-openfeign</artifactId>
            <version>2.2.2.RELEASE</version>
        </dependency>

        <dependency>
            <groupId>com.alibaba.cloud</groupId>
            <artifactId>spring-cloud-starter-alibaba-nacos-config</artifactId>
            <version>2.2.1.RELEASE</version>
        </dependency>

        <dependency>
            <groupId>com.alibaba.cloud</groupId>
            <artifactId>spring-cloud-starter-alibaba-nacos-discovery</artifactId>
            <version>2.2.1.RELEASE</version>
        </dependency>

        <dependency>
            <groupId>org.springframework.boot</groupId>
            <artifactId>spring-boot-starter</artifactId>
        </dependency>

        <dependency>
            <groupId>org.springframework.boot</groupId>
            <artifactId>spring-boot-starter-test</artifactId>
            <scope>test</scope>
            <exclusions>
                <exclusion>
                    <groupId>org.junit.vintage</groupId>
                    <artifactId>junit-vintage-engine</artifactId>
                </exclusion>
            </exclusions>
        </dependency>
    </dependencies>

    <build>
        <plugins>
            <plugin>
                <groupId>org.springframework.boot</groupId>
                <artifactId>spring-boot-maven-plugin</artifactId>
            </plugin>
        </plugins>
    </build>

</project>
3、编写启动类
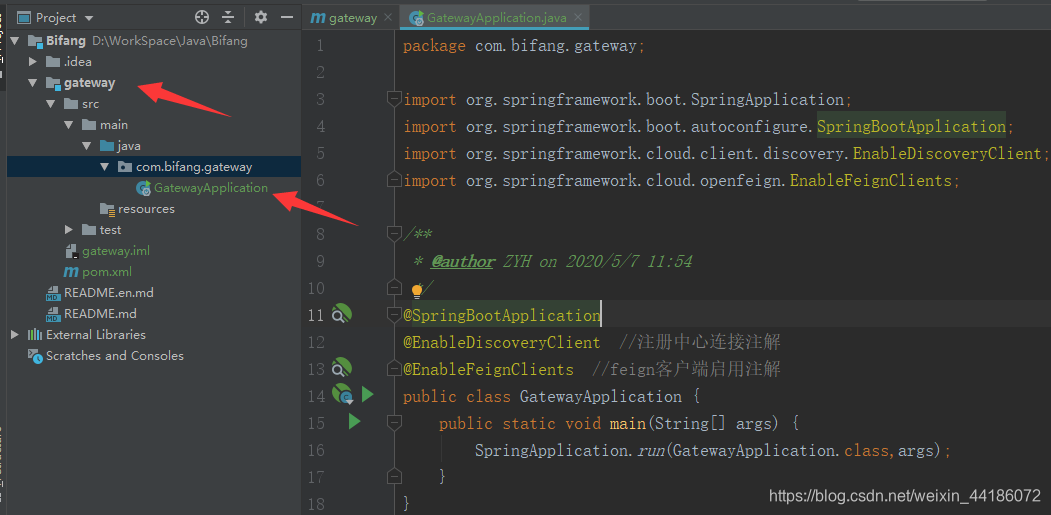
@SpringBootApplication
@EnableDiscoveryClient  //注册中心连接注解
@EnableFeignClients  //feign客户端启用注解
public class GatewayApplication {
    public static void main(String[] args) {
        SpringApplication.run(GatewayApplication.class,args);
    }
}
4、编写yml配置文件
server:
  port: 9000  # 服务端口号
spring:
  application:
    name: bifang-gateway # 服务名
  cloud:
    nacos:
      discovery:
        server-addr: 127.0.0.1:9848 # ,127.0.0.1:9849,127.0.0.1:9850  # Nacos注册中心地址,集群逗号隔开
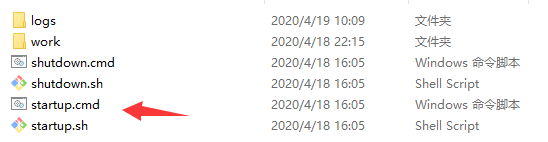
5.启动Nacos服务
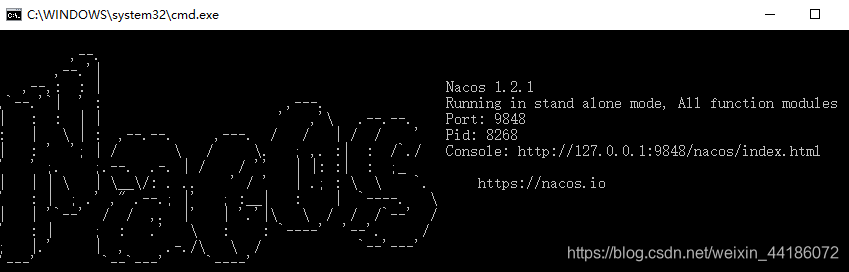
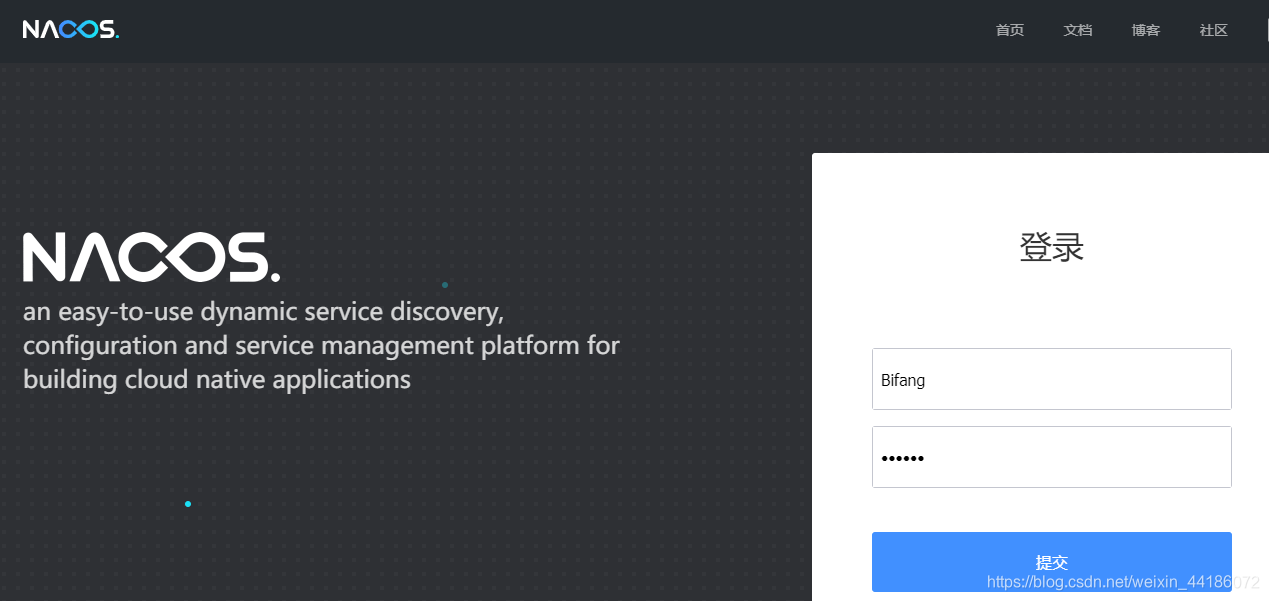
地址栏输入:http://127.0.0.1:9848/nacos/ 访问管理界面,端口默认是8848,我配置文件修改成9848。登陆账号密码默认都是nacos。
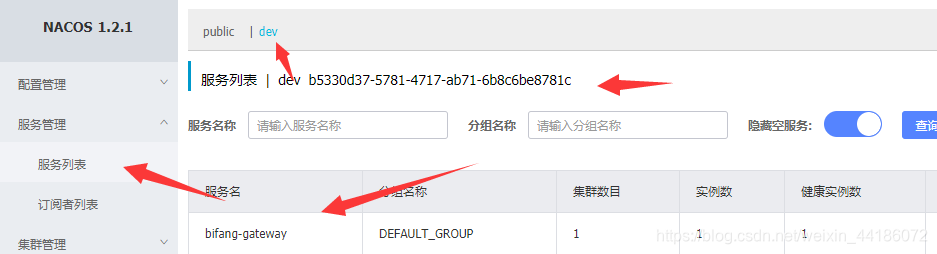
查看服务列表发现注册成功

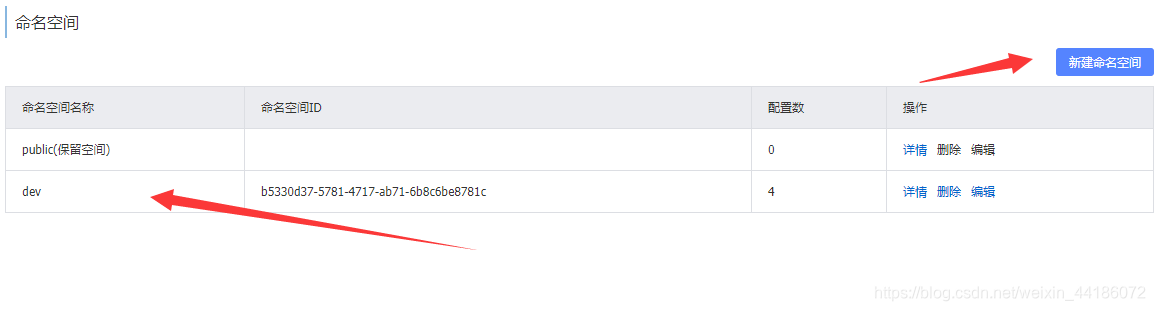
命名空间
命名空间好处是根据不同的环境加载不同配置,比如测试环境test,开发环境dev等等。
配置文件修改

重启网关gateway服务,刷新后


 2282
2282


 被折叠的 条评论
为什么被折叠?
被折叠的 条评论
为什么被折叠?
 到【灌水乐园】发言


