


遥感图像不同于一般的自然图像,由于波段数量、图像位深度等原因,TIF图像数据不能使用简单的格式转换方法。本文以Potsdam数据集为例,制作能够直接用于深度学习的数据集。
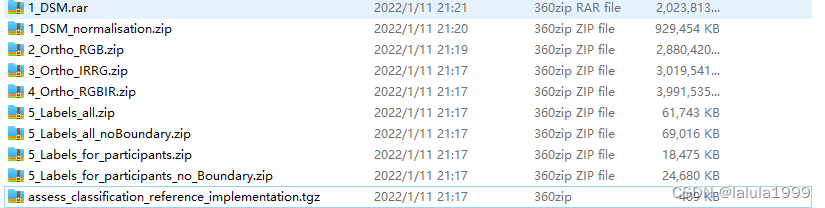
Potsdam数据集的内容如下:
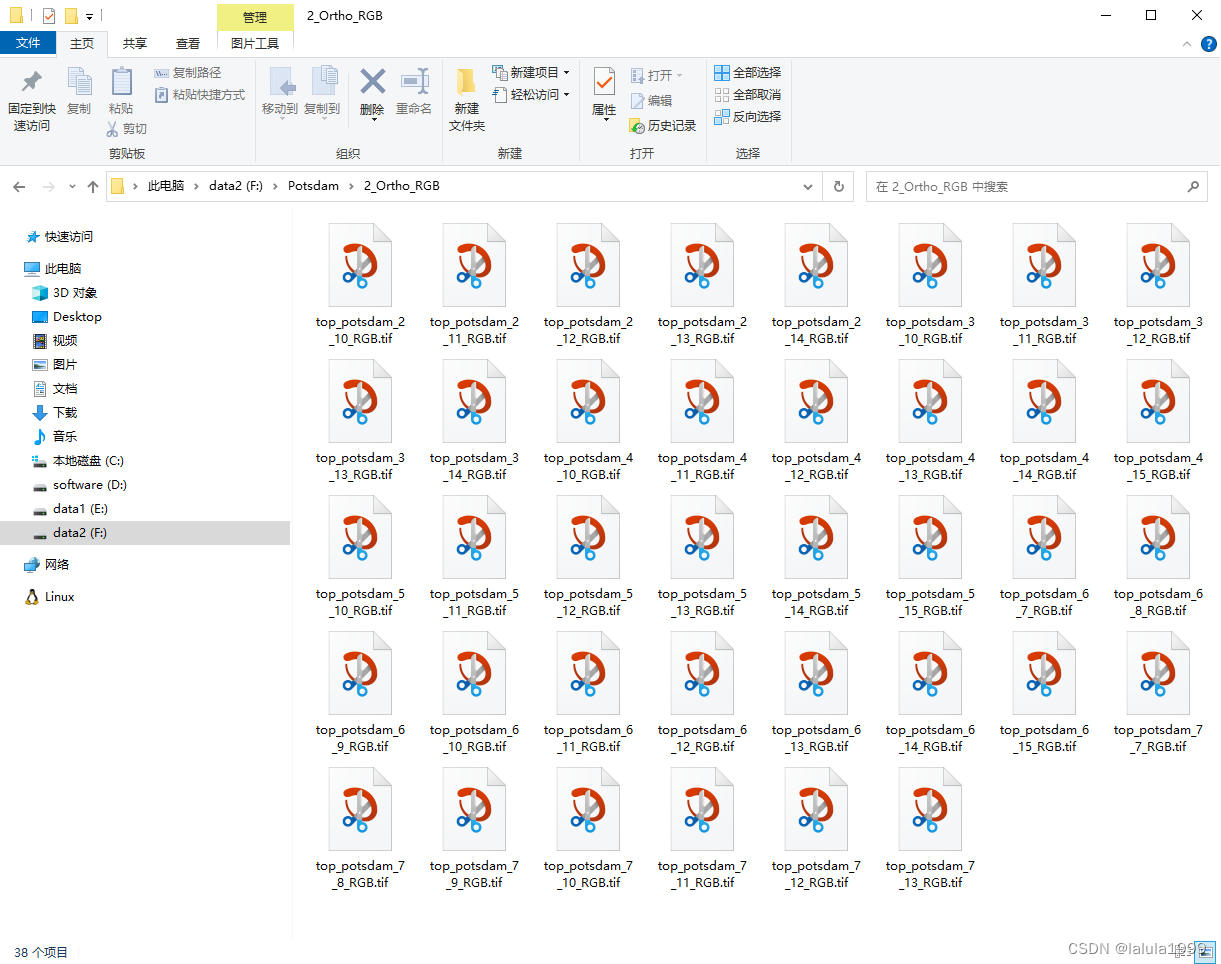
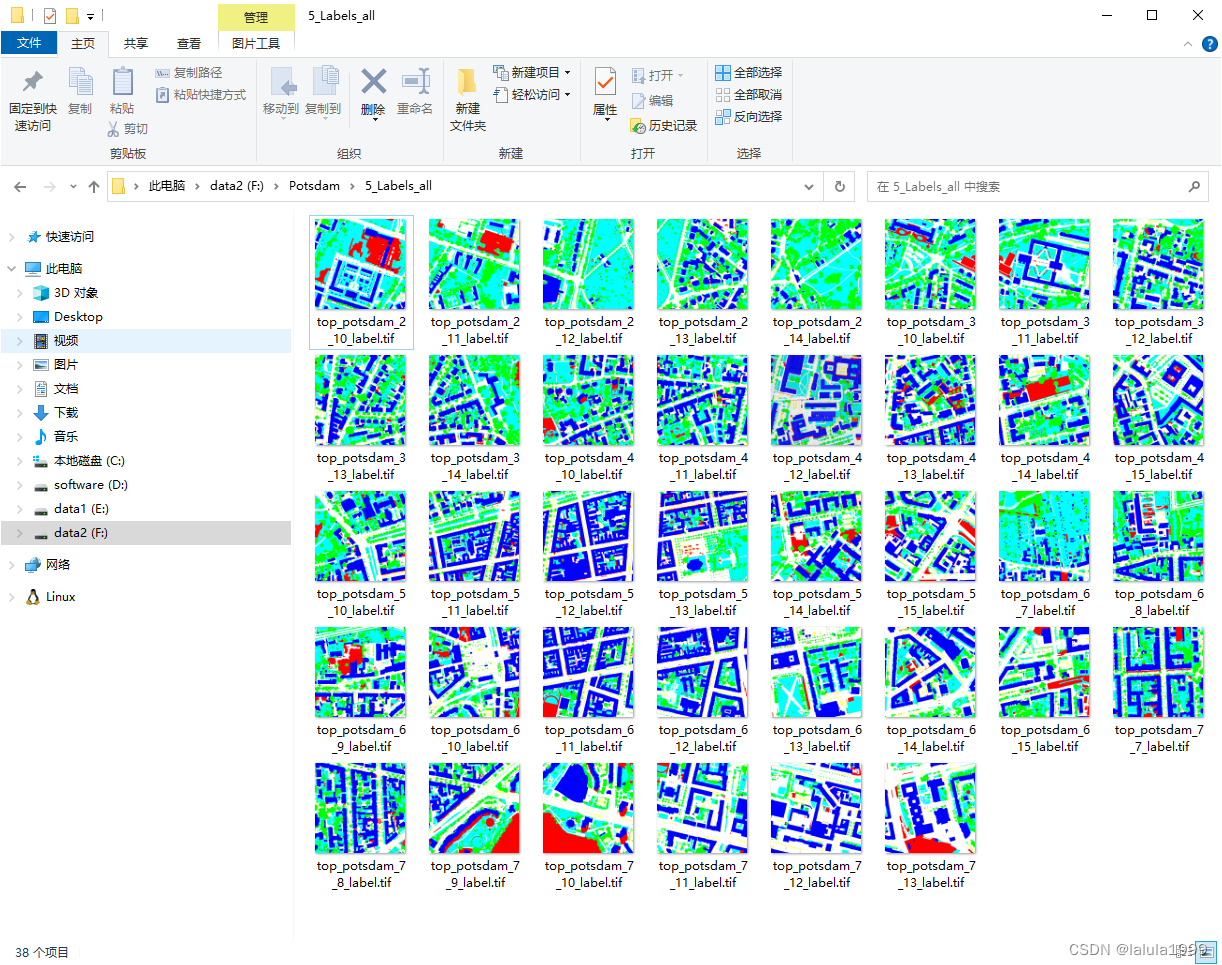
本文使用2_Ortho_RGB(图像数据RGB通道顺序)和5_Labels_all(标签数据)作为示例进行数据集制作。
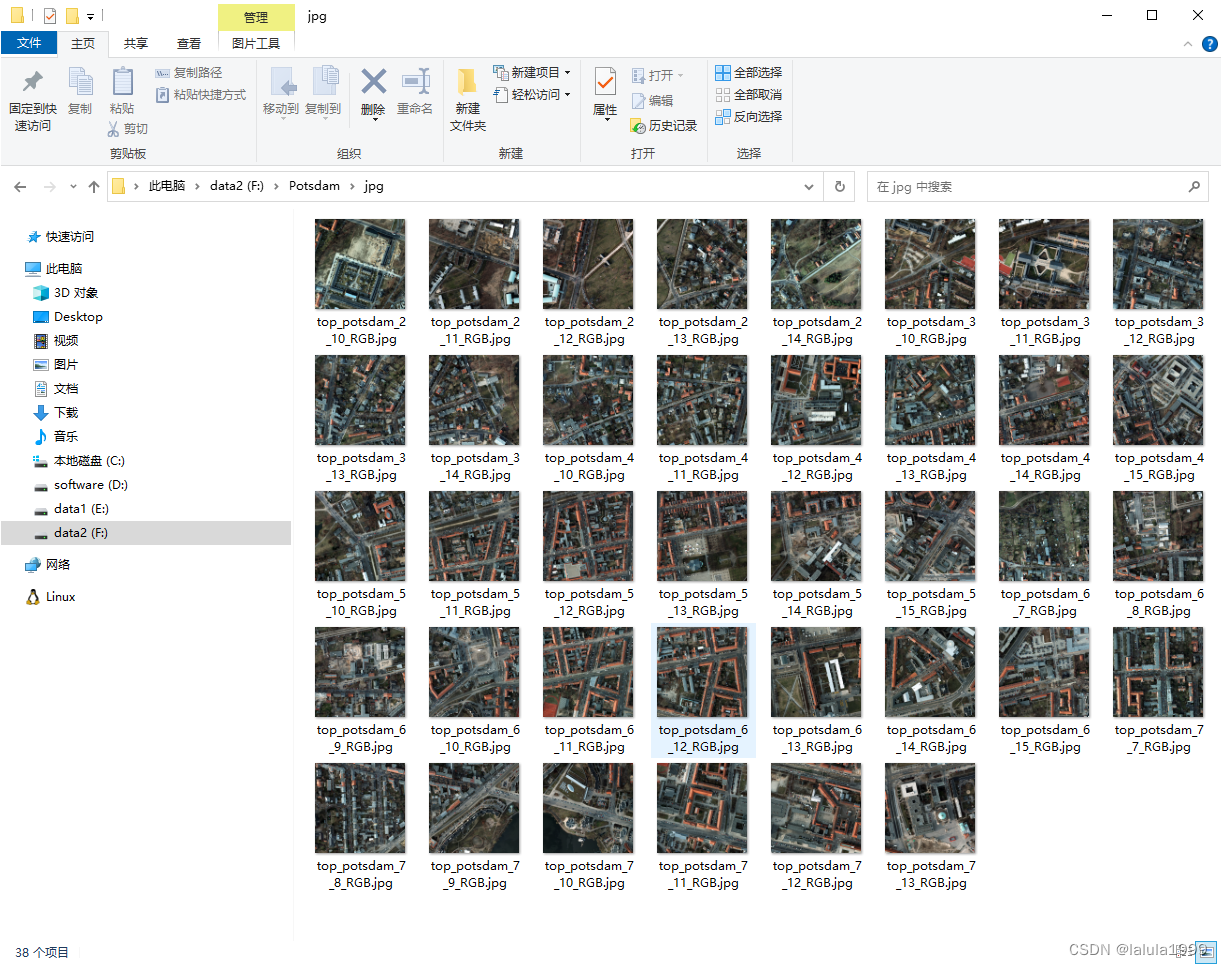
TIF图像转JPG
TIF转JPG借鉴了文章怎么读取tif格式的卫星遥感数据,并将数据输入到神经网络模型中进行训练
# -*- coding: UTF-8 -*-
import numpy as np
import os
from PIL import Image
from osgeo import gdal


def readTif(imgPath, bandsOrder=[1, 2, 3]):
    """
    读取GEO tif影像的前三个波段值,并按照R.G.B顺序存储到形状为【原长*原宽*3】的数组中
    :param imgPath: 图像存储全路径
    :param bandsOrder: RGB对应的波段顺序,如高分二号多光谱包含蓝B,绿g,红R,近红Nir外四个波段,RGB对应的波段为3,2,1
    :return: R.G.B三维数组
    """
    dataset = gdal.Open(imgPath, gdal.GA_ReadOnly)
    cols = dataset.RasterXSize
    rows = dataset.RasterYSize
    data = np.empty([rows, cols, 3], dtype=float)
    for i in range(3):
        band = dataset.GetRasterBand(bandsOrder[i])
        oneband_data = band.ReadAsArray()
        data[:, :, i] = oneband_data
    return data


def stretchImg(imgPath, resultPath, lower_percent=0.5, higher_percent=99.5):
    """
    #将光谱DN值映射至0-255,并保存
    :param imgPath: 需要转换的tif影像路径(***.tif)
    :param resultPath: 转换后的文件存储路径(***.jpg)
    :param lower_percent: 低值拉伸比率
    :param higher_percent: 高值拉伸比率
    :return: 无返回参数,直接输出图片
    """
    RGB_Array = readTif(imgPath)
    band_Num = RGB_Array.shape[2]
    JPG_Array = np.zeros_like(RGB_Array, dtype=np.uint8)
    for i in range(band_Num):
        minValue = 0
        maxValue = 255
        # 获取数组RGB_Array某个百分比分位上的值
        low_value = np.percentile(RGB_Array[:, :, i], lower_percent)
        high_value = np.percentile(RGB_Array[:, :, i], higher_percent)
        temp_value = minValue + (RGB_Array[:, :, i] - low_value) * (maxValue - minValue) / (high_value - low_value)
        temp_value[temp_value < minValue] = minValue
        temp_value[temp_value > maxValue] = maxValue
        JPG_Array[:, :, i] = temp_value
    outputImg = Image.fromarray(np.uint8(JPG_Array))
    outputImg.save(resultPath)


def Batch_Convert_tif_to_jpg(imgdir, savedir):
    # 检查保存目录是否存在,如果不存在则创建
    if not os.path.exists(savedir):
        os.makedirs(savedir)

    # 获取文件夹下所有tif文件名称,并存入列表
    file_name_list = os.listdir(imgdir)
    for name in file_name_list:
        # 获取图片文件全路径
        img_path = os.path.join(imgdir, name)
        # 获取文件名,不包含扩展名
        filename = os.path.splitext(name)[0]
        savefilename = filename + ".jpg"
        # 文件存储全路径
        savepath = os.path.join(savedir, savefilename)
        stretchImg(img_path, savepath)
        print(f"Converted {filename} to jpg format.")
    print("Done!")


# 主函数,首先调用
if __name__ == '__main__':
    imgdir = r"F:\Potsdam\2_Ortho_RGB"  # tif文件所在的【文件夹】
    savedir = r"F:\Potsdam\jpg"  # 转为jpg后存储的【文件夹】
    Batch_Convert_tif_to_jpg(imgdir, savedir)
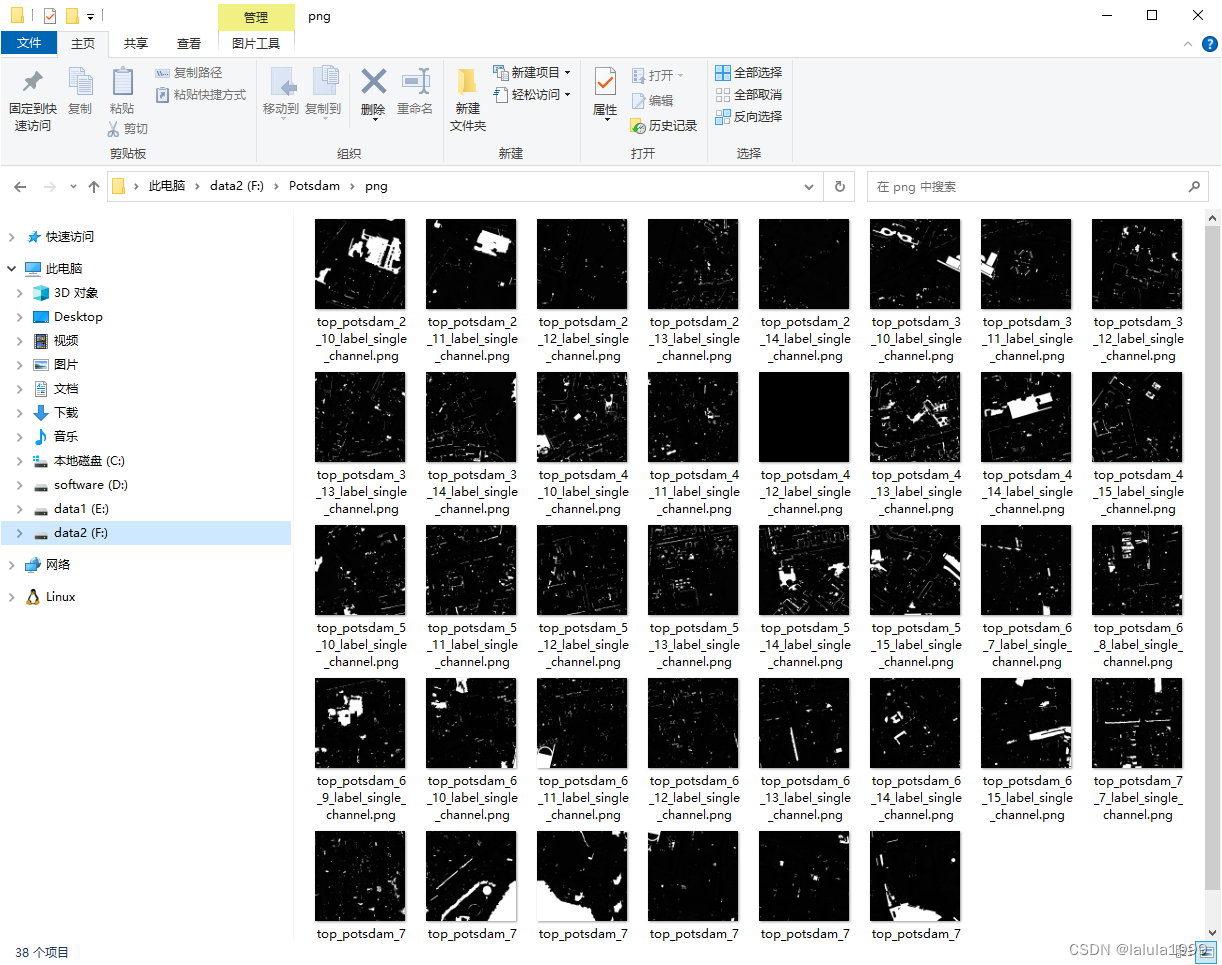
TIF标签转PNG
如果标签图像是单通道的,那么可以简单地进行格式转换以适应深度学习模型的输入要求。然而,当标签图像以RGB格式存在时,则需要使用RGB字典进行映射。
import os
from PIL import Image
import numpy as np

def rgb_to_single_channel(rgb_image_path, output_path, rgb_dict):
    """
    将RGB图像转换为单通道图像,使用指定的RGB字典来映射类别标签。

    :param rgb_image_path: RGB图像的路径
    :param output_path: 转换后图像的保存路径
    :param rgb_dict: RGB字典,键是RGB元组,值是对应的类别标签
    """
    # 读取RGB图像
    rgb_image = Image.open(rgb_image_path)
    # 将图像转换为numpy数组
    rgb_array = np.array(rgb_image)

    # 创建一个空的单通道图像数组
    single_channel_array = np.zeros((rgb_array.shape[0], rgb_array.shape[1]), dtype=np.uint8)

    # 将RGB值转换为单一的标量值
    for rgb, label in rgb_dict.items():
        # 将图像中的每个像素的RGB值与rgb_dict中的RGB元组进行比较
        # 如果匹配,则将对应的类别标签赋给单通道图像的对应像素
        single_channel_array[np.all(rgb_array == rgb, axis=-1)] = label

    # 将单通道数组转换为图像并保存
    single_channel_image = Image.fromarray(single_channel_array, mode='L')
    single_channel_image.save(output_path)

def convert_tif_to_png(image_folder, output_folder, rgb_dict):
    """
    将指定文件夹中的所有TIFF图像转换为PNG格式,并保存到另一个文件夹中。
    如果图像是单通道图像,则直接转换为PNG。如果图像是RGB图像,则使用rgb_to_single_channel函数进行转换。

    :param image_folder: 包含TIFF图像的文件夹路径。
    :param output_folder: 保存转换后的PNG图像的文件夹路径。
    :param rgb_dict: RGB字典,用于rgb_to_single_channel函数。
    """
    # 检查输出文件夹是否存在,如果不存在则创建它
    if not os.path.exists(output_folder):
        os.makedirs(output_folder)

    # 遍历图像文件夹中的所有文件
    for filename in os.listdir(image_folder):
        filepath = os.path.join(image_folder, filename)

        # 检查文件是否为TIFF格式
        if filename.endswith('.tif'):
            try:
                # 打开TIFF图像
                image = Image.open(filepath)

                # 检查图像是否为单通道图像
                if image.mode == 'L':
                    # 如果是单通道图像,直接转换为PNG
                    output_filename = os.path.splitext(filename)[0] + '.png'
                    output_filepath = os.path.join(output_folder, output_filename)
                    image.save(output_filepath, 'PNG')
                    print(f"Converted {filename} to png format.")
                else:
                    # 如果是RGB图像,使用rgb_to_single_channel函数进行转换
                    output_filename = os.path.splitext(filename)[0] + '_single_channel.png'
                    output_filepath = os.path.join(output_folder, output_filename)
                    rgb_to_single_channel(filepath, output_filepath, rgb_dict)
                    print(f"Converted {filename} to single channel png format.")

            except Exception as e:
                print(f"Error converting {filename}: {str(e)}")

# 指定图像文件夹和输出文件夹
image_folder = r"F:\Potsdam\5_Labels_all"
output_folder = r"F:\Potsdam\png"

# 定义RGB字典
rgb_dict = {
    (255, 255, 255): 1,  # 不透水路面 Impervious surfaces (RGB: 255, 255, 255)
    (0, 0, 255): 2,      # 建筑物 Building (RGB: 0, 0, 255)
    (0, 255, 255): 3,    # 低植被 Low vegetation (RGB: 0, 255, 255)
    (0, 255, 0): 4,      # 树木 Tree (RGB: 0, 255, 0)
    (255, 255, 0): 5,    # 汽车 Car (RGB: 255, 255, 0)
    (255, 0, 0): 255       # 背景 Clutter/background (RGB: 255, 0, 0)
}

# 调用函数进行转换
convert_tif_to_png(image_folder, output_folder, rgb_dict)
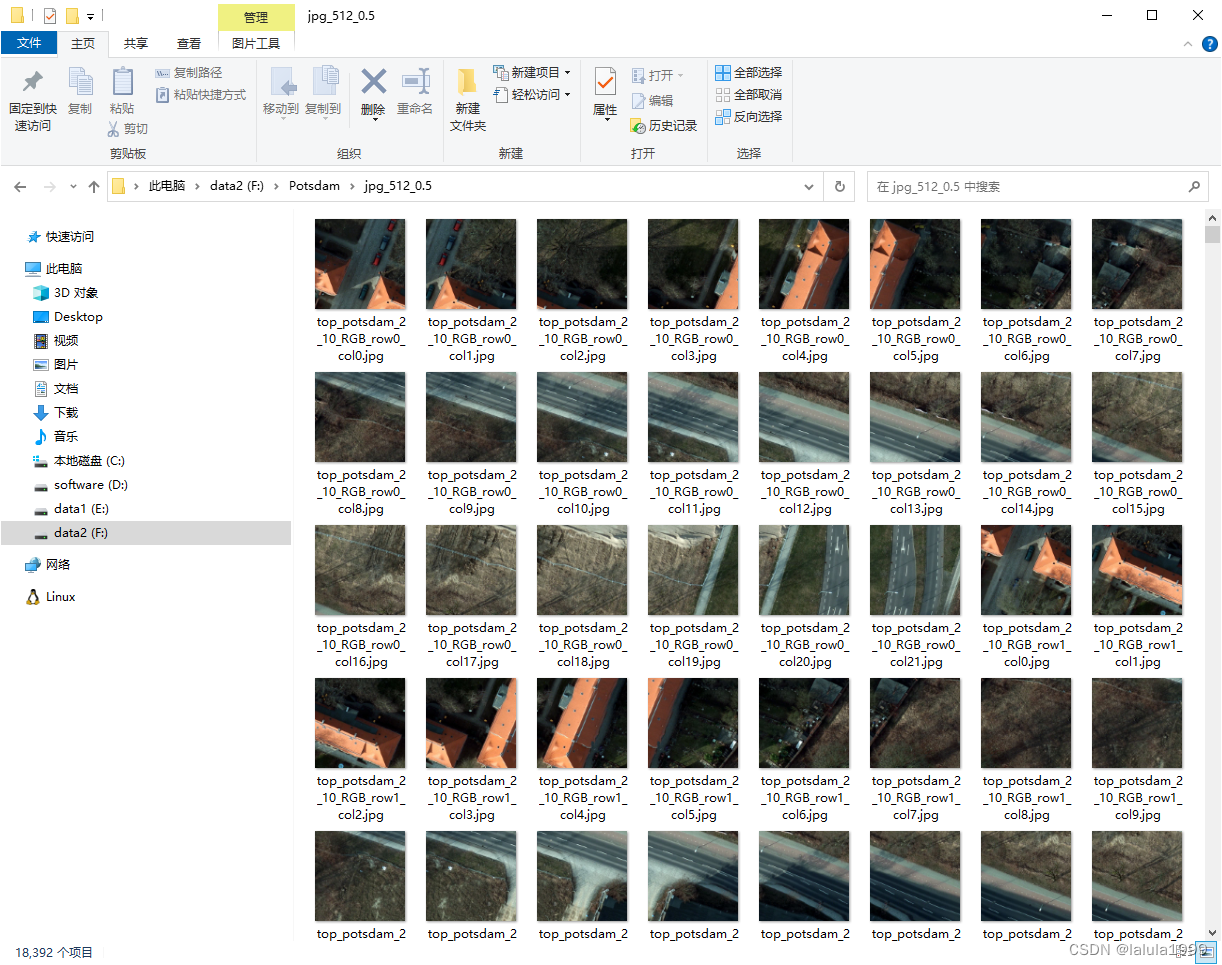
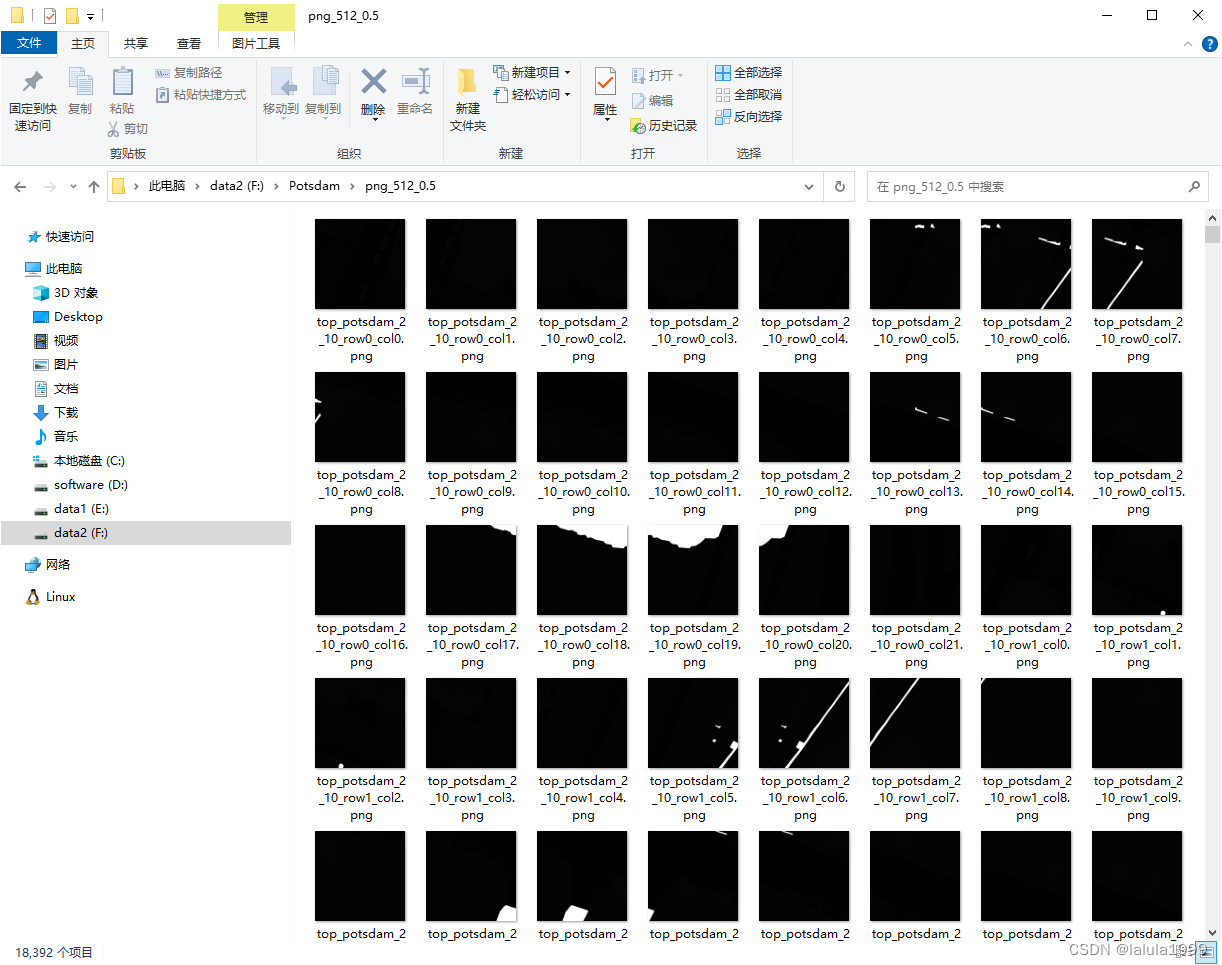
图像重叠裁剪
由于遥感图像数据集的珍贵性,我们可以使用重叠裁剪的方式扩充数据集数量,当然也可以设置为0不重叠。
import os
from PIL import Image

def crop_images(image_path, save_path, subimage_size, overlap_ratio):
    """
    将图像裁剪成指定大小的子图像,并允许设置子图像之间的重叠比例。
    只有完全覆盖原始图像的子图像才会被保存。

    :param image_path: 原始图像路径
    :param save_path: 保存子图像的路径
    :param subimage_size: 子图像大小(宽度和高度)
    :param overlap_ratio: 子图像之间的重叠比例,范围在0到1之间
    """
    # 确保保存路径存在
    os.makedirs(save_path, exist_ok=True)

    # 遍历图像路径中的所有文件
    for filename in os.listdir(image_path):
        # 检查文件是否为图像格式
        if filename.lower().endswith(('.png', '.jpg', '.jpeg', '.bmp', '.tif')):
            # 打开图像
            img = Image.open(os.path.join(image_path, filename))
            width, height = img.size

            # 计算子图像的步长,包括重叠部分
            step = int(subimage_size * (1 - overlap_ratio))

            # 计算需要划分的行列数
            num_rows = (height // step) + (1 if height % step > 0 else 0)
            num_cols = (width // step) + (1 if width % step > 0 else 0)

            # 遍历并保存每个子图片
            for row in range(num_rows):
                for col in range(num_cols):
                    # 计算子图像的左上角和右下角坐标
                    left = col * step
                    top = row * step
                    right = left + subimage_size
                    bottom = top + subimage_size

                    # 检查子图像是否完全覆盖原始图像
                    if right <= width and bottom <= height:
                        # 裁剪子图像
                        sub_img = img.crop((left, top, right, bottom))

                        # 构建子图像的文件名
                        base_name, ext = os.path.splitext(filename)
                        sub_filename = f"{base_name}_row{row}_col{col}{ext}"

                        # 保存子图像
                        sub_img.save(os.path.join(save_path, sub_filename))
        print(f"{filename} cropping complete.")


crop_images(r'F:\Potsdam\jpg',
            r'F:\Potsdam\jpg_512_0.5',
            512, 0.5)

crop_images(r'F:\Potsdam\png',
            r'F:\Potsdam\png_512_0.5',
            512, 0.5)
图像重命名
在构建遥感图像数据集的过程中,会遇到图像集和相应的标签集在文件命名上的不一致问题。这种不一致性会导致无法直接将数据集用于深度学习模型的训练,因为模型通常需要图像和标签数据具有完全匹配的文件名,以确保它们可以正确地配对。
import os

def rename(directory, str):
    # 检查目录是否存在
    if not os.path.exists(directory):
        print("path error!")
        return

    # 获取目录下所有文件
    files = os.listdir(directory)

    # 循环处理每个文件
    for file in files:
        if file.endswith(('.png', '.jpg', '.jpeg', '.bmp', '.tif')):
            # 检查文件名中是否包含
            if str in file:
                # 构建新的文件名
                new_file_name = file.replace(str, '')

                # 旧文件路径
                old_file_path = os.path.join(directory, file)
                # 新文件路径
                new_file_path = os.path.join(directory, new_file_name)

                try:
                    # 重命名文件
                    os.rename(old_file_path, new_file_path)
                    print(f" {file} rename {new_file_name}")
                except Exception as e:
                    print(f" {file} error:{e}")


# 指定路径
jpg_directory_path = r"F:\Potsdam\jpg_512_0.5"
png_directory_path = r"F:\Potsdam\png_512_0.5"
jpg_str="_RGB"
png_str="_label_single_channel"

# 执行重命名操作
rename(jpg_directory_path, jpg_str)
rename(png_directory_path, png_str)
数据集转COCO格式
某些深度学习模型是根据公共自然图像数据集格式进行数据集格式处理,这里给出COCO数据集的格式转化。
import os
import json
import shutil
import random
from PIL import Image

# 原始JPG图片路径
jpg_path = r'F:\Five-Billion-Pixels\jpg_512'
# 原始PNG标签路径
png_path = r'F:\Five-Billion-Pixels\png_24_512'
# COCO数据集路径
coco_path = r'F:\Five-Billion-Pixels\coco-stuff'

# 确保COCO数据集路径存在
if not os.path.exists(coco_path):
    os.makedirs(coco_path)

# 创建COCO数据集的目录结构
annotations_path = os.path.join(coco_path, 'annotations')
images_path = os.path.join(coco_path, 'images')
train_images_path = os.path.join(images_path, 'train2017')
val_images_path = os.path.join(images_path, 'val2017')
train_annotations_path = os.path.join(annotations_path, 'train2017')
val_annotations_path = os.path.join(annotations_path, 'val2017')

os.makedirs(annotations_path, exist_ok=True)
os.makedirs(images_path, exist_ok=True)
os.makedirs(train_images_path, exist_ok=True)
os.makedirs(val_images_path, exist_ok=True)
os.makedirs(train_annotations_path, exist_ok=True)
os.makedirs(val_annotations_path, exist_ok=True)

# 获取JPG图片列表
jpg_images = [f for f in os.listdir(jpg_path) if f.lower().endswith('.jpg')]

# 随机划分数据集
random.shuffle(jpg_images)
split_index = int(len(jpg_images) * 0.8)  # 80%的数据用于训练,20%的数据用于验证
train_images = jpg_images[:split_index]
val_images = jpg_images[split_index:]

# 复制图像和标签到对应的目录
def copy_images_and_labels(image_list, src_image_path, src_label_path, dst_image_path, dst_label_path):
    for image_name in image_list:
        # 复制图像
        shutil.copy(os.path.join(src_image_path, image_name), os.path.join(dst_image_path, image_name))
        # 复制标签
        label_name = image_name.replace('.jpg', '.png')
        shutil.copy(os.path.join(src_label_path, label_name), os.path.join(dst_label_path, label_name))

# 复制训练集图像和标签
copy_images_and_labels(train_images, jpg_path, png_path, train_images_path, train_annotations_path)

# 复制验证集图像和标签
copy_images_and_labels(val_images, jpg_path, png_path, val_images_path, val_annotations_path)
数据集转VOC格式
某些深度学习模型是根据公共自然图像数据集格式进行数据集格式处理,这里给出VOC数据集的格式转化。
import os
import shutil
import random

def create_voc_dataset(image_folder, label_folder):
    # 定义 VOC 数据集的主目录和子目录
    voc_root = 'VOCdevkit'
    voc_dataset = 'VOC2012'
    voc_images = os.path.join(voc_root, voc_dataset, 'JPEGImages')
    voc_labels = os.path.join(voc_root, voc_dataset, 'SegmentationClassAug')
    voc_image_sets = os.path.join(voc_root, voc_dataset, 'ImageSets', 'Segmentation')

    # 创建 VOC 数据集所需的目录结构
    os.makedirs(voc_images, exist_ok=True)
    os.makedirs(voc_labels, exist_ok=True)
    os.makedirs(voc_image_sets, exist_ok=True)

    # 遍历图像文件夹中的所有图像文件
    for root, dirs, files in os.walk(image_folder):
        for filename in files:
            if filename.endswith('.jpg'):
                # 构建图像文件的完整路径
                image_path = os.path.join(root, filename)
                # 构建 VOC 数据集中的图像路径
                voc_image_path = os.path.join(voc_images, filename)
                # 将图像复制到 VOC 数据集目录
                shutil.copy(image_path, voc_image_path)
    print('图像已复制')

    # 遍历标签文件夹中的所有标签文件
    for root, dirs, files in os.walk(label_folder):
        for filename in files:
            if filename.endswith('.png'):
                # 构建标签文件的完整路径
                label_path = os.path.join(root, filename)
                # 构建 VOC 数据集中的标签路径
                voc_label_path = os.path.join(voc_labels, filename)
                # 将标签复制到 VOC 数据集目录
                shutil.copy(label_path, voc_label_path)
    print('标签已复制')

    # 获取图像文件夹中的所有文件名(不含扩展名)
    image_filenames = [os.path.splitext(filename)[0] for root, dirs, files in os.walk(image_folder) for filename in files if filename.endswith('.jpg')]
    # 随机打乱文件名列表
    random.shuffle(image_filenames)

    # 计算训练集和验证集的分割点
    split_index = int(len(image_filenames) * 0.8)

    # 分割训练集和验证集
    train_files = image_filenames[:split_index]
    val_files = image_filenames[split_index:]

    # 生成 train.txt 文件
    train_file_path = os.path.join(voc_image_sets, 'train.txt')
    with open(train_file_path, 'w') as train_file:
        for filename in train_files:
            train_file.write(filename + '\n')

    # 生成 val.txt 文件
    val_file_path = os.path.join(voc_image_sets, 'val.txt')
    with open(val_file_path, 'w') as val_file:
        for filename in val_files:
            val_file.write(filename + '\n')

    # 打印成功提示信息
    print('train.txt 和 val.txt 已成功创建。')

# 提供图像文件夹和标签文件夹的路径
image_folder = r'F:\WHDLD\Images'
label_folder = r'F:\WHDLD\Labels'

# 调用函数创建 VOC 数据集
create_voc_dataset(image_folder, label_folder)


 1684
1684

 被折叠的 条评论
为什么被折叠?
被折叠的 条评论
为什么被折叠?
 到【灌水乐园】发言


