


一、Java怎么启动一个线程?
在 Java 中提供了两种方式去创建一个线程,但是不管那种方式,都需要调 start() 方法去启动一个线程。也有很多同学说 Java 有三种创建线程的方式,那么我们先看下 Thread 类上面的部分注释。
/**
* There are two ways to create a new thread of execution. One is to
* declare a class to be a subclass of <code>Thread</code>. This
* subclass should override the <code>run</code> method of class
* <code>Thread</code>. An instance of the subclass can then be
* allocated and started. For example, a thread that computes primes
* larger than a stated value could be written as follows:
* <hr><blockquote><pre>
* class PrimeThread extends Thread {
* long minPrime;
* PrimeThread(long minPrime) {
* this.minPrime = minPrime;
* }
*
* public void run() {
* // compute primes larger than minPrime
* . . .
* }
* }
* </pre></blockquote><hr>
* <p>
* The following code would then create a thread and start it running:
* <blockquote><pre>
* PrimeThread p = new PrimeThread(143);
* p.start();
* </pre></blockquote>
* <p>
* The other way to create a thread is to declare a class that
* implements the <code>Runnable</code> interface. That class then
* implements the <code>run</code> method. An instance of the class can
* then be allocated, passed as an argument when creating
* <code>Thread</code>, and started. The same example in this other
* style looks like the following:
* <hr><blockquote><pre>
* class PrimeRun implements Runnable {
* long minPrime;
* PrimeRun(long minPrime) {
* this.minPrime = minPrime;
* }
*
* public void run() {
* // compute primes larger than minPrime
* . . .
* }
* }
* </pre></blockquote><hr>
* <p>
* The following code would then create a thread and start it running:
* <blockquote><pre>
* PrimeRun p = new PrimeRun(143);
* new Thread(p).start();
* </pre></blockquote>
* <p>
*/
官方注释明确说明有两种方式创建一个线程,一种是继承 Thread 类,一种是实现 Runnable 接口,并且都给出了相应的代码示例。接下来我们看下 start() 的源码(删除了部分注释)。
    /**
     * Causes this thread to begin execution; the Java Virtual Machine
     * calls the <code>run</code> method of this thread.
     * <p>
     * The result is that two threads are running concurrently: the
     * current thread (which returns from the call to the
     * <code>start</code> method) and the other thread (which executes its
     * <code>run</code> method).
     * <p>
     * It is never legal to start a thread more than once.
     * In particular, a thread may not be restarted once it has completed
     * execution.
     *
     * @exception  IllegalThreadStateException  if the thread was already
     *               started.
     */
    public synchronized void start() {

        if (threadStatus != 0)
            throw new IllegalThreadStateException();
        group.add(this);

        boolean started = false;
        try {
            start0();
            started = true;
        } finally {
            try {
                if (!started) {
                    group.threadStartFailed(this);
                }
            } catch (Throwable ignore) {
            }
        }
    }
首先从方法的注释可以看出,该方法启动线程,然后 JVM 运行 run() 方法,并且该方法只能执行一次,重复执行会抛 IllegalThreadStateException 异常。
二、本地方法 start0()
进入方法的内部,可以看出执行了一个 start0() 方法,那么我们点开这个方法。
private native void start0();
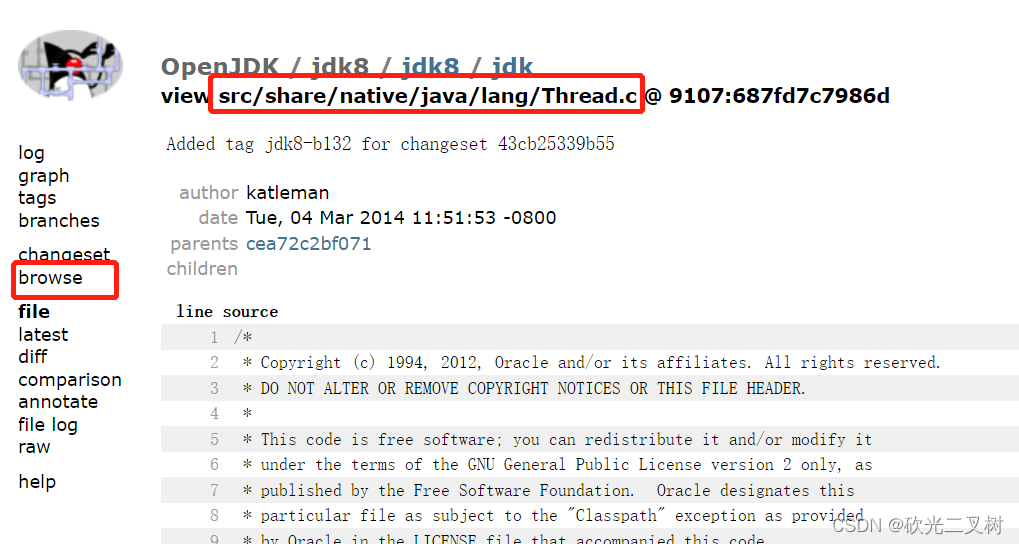
该方法通过 native 修饰,是一个本地方法,那么我打开 JDK 官网去看下源码(官网地址)。选择 jdk8 之后选择 jdk, 然后点击Browse,在 src/share/native/java/lang 目录下找到 Thread.c 。
static JNINativeMethod methods[] = {
    {"start0",           "()V",        (void *)&JVM_StartThread},
    {"stop0",            "(" OBJ ")V", (void *)&JVM_StopThread},
    {"isAlive",          "()Z",        (void *)&JVM_IsThreadAlive},
    {"suspend0",         "()V",        (void *)&JVM_SuspendThread},
    {"resume0",          "()V",        (void *)&JVM_ResumeThread},
    {"setPriority0",     "(I)V",       (void *)&JVM_SetThreadPriority},
    {"yield",            "()V",        (void *)&JVM_Yield},
    {"sleep",            "(J)V",       (void *)&JVM_Sleep},
    {"currentThread",    "()" THD,     (void *)&JVM_CurrentThread},
    {"countStackFrames", "()I",        (void *)&JVM_CountStackFrames},
    {"interrupt0",       "()V",        (void *)&JVM_Interrupt},
    {"isInterrupted",    "(Z)Z",       (void *)&JVM_IsInterrupted},
    {"holdsLock",        "(" OBJ ")Z", (void *)&JVM_HoldsLock},
    {"getThreads",        "()[" THD,   (void *)&JVM_GetAllThreads},
    {"dumpThreads",      "([" THD ")[[" STE, (void *)&JVM_DumpThreads},
    {"setNativeName",    "(" STR ")V", (void *)&JVM_SetNativeThreadName},
};
三、虚拟机函数 JVM_StartThread
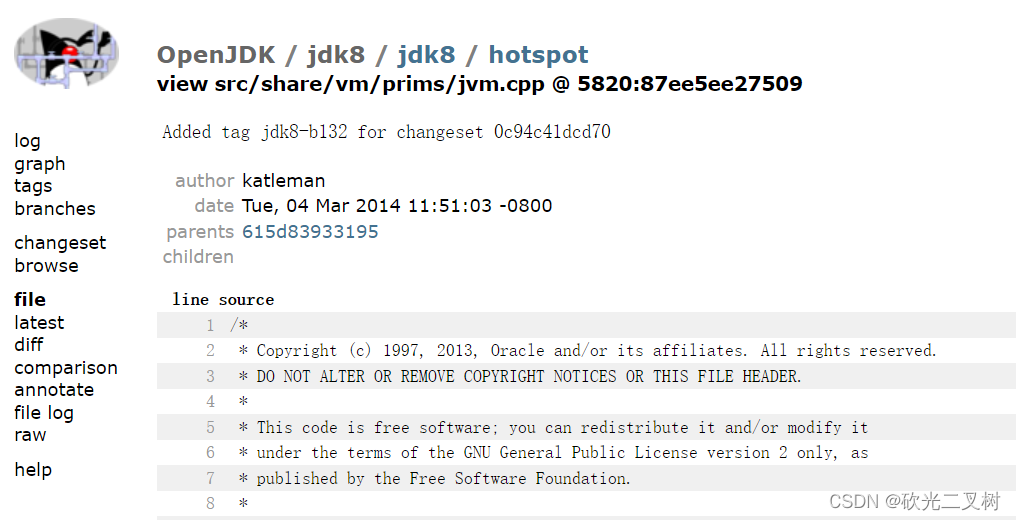
通过源码可以看出,start0 方法调用了 JVM_StartThread 方法,很明显这是一个 JVM 提供的函数,那么我们看下这个函数,同样的步骤选择 jdk8 之后选择 hotspot, 然后点击Browse,在 src/share/vm/prims 目录下找到 jvm.cpp 。
JVM_ENTRY(void, JVM_StartThread(JNIEnv* env, jobject jthread))
  JVMWrapper("JVM_StartThread");
  JavaThread *native_thread = NULL;

  bool throw_illegal_thread_state = false;

  {
    MutexLocker mu(Threads_lock);
    if (java_lang_Thread::thread(JNIHandles::resolve_non_null(jthread)) != NULL) {
      throw_illegal_thread_state = true;
    } else {
      jlong size =
             java_lang_Thread::stackSize(JNIHandles::resolve_non_null(jthread));
      size_t sz = size > 0 ? (size_t) size : 0;
      native_thread = new JavaThread(&thread_entry, sz);

      if (native_thread->osthread() != NULL) {
        native_thread->prepare(jthread);
      }
    }
  }

  if (throw_illegal_thread_state) {
    THROW(vmSymbols::java_lang_IllegalThreadStateException());
  }

  assert(native_thread != NULL, "Starting null thread?");

  if (native_thread->osthread() == NULL) {
    delete native_thread;
    if (JvmtiExport::should_post_resource_exhausted()) {
      JvmtiExport::post_resource_exhausted(
        JVMTI_RESOURCE_EXHAUSTED_OOM_ERROR | JVMTI_RESOURCE_EXHAUSTED_THREADS,
        "unable to create new native thread");
    }
    THROW_MSG(vmSymbols::java_lang_OutOfMemoryError(),
              "unable to create new native thread");
  }

  Thread::start(native_thread);
JVM_END
我们可以看到两行重点代码:
- native_thread = new JavaThread(&thread_entry, sz), 创建线程;
- Thread::start(native_thread),启动线程。
那么我们在 src/share/vm/runtime 下找到 thread.cpp,点进去看下 JavaThread 的构造函数 new JavaThread(&thread_entry, sz) 和启动函数 Thread::start(native_thread) 。
JavaThread::JavaThread(ThreadFunction entry_point, size_t stack_sz) :
  Thread()
#if INCLUDE_ALL_GCS
  , _satb_mark_queue(&_satb_mark_queue_set),
  _dirty_card_queue(&_dirty_card_queue_set)
#endif // INCLUDE_ALL_GCS
{
  if (TraceThreadEvents) {
    tty->print_cr("creating thread %p", this);
  }
  initialize();
  _jni_attach_state = _not_attaching_via_jni;
  set_entry_point(entry_point);
  // Create the native thread itself.
  // %note runtime_23
  os::ThreadType thr_type = os::java_thread;
  thr_type = entry_point == &compiler_thread_entry ? os::compiler_thread :
                                                     os::java_thread;
  os::create_thread(this, thr_type, stack_sz);
  _safepoint_visible = false;
}

void Thread::start(Thread* thread) {
  trace("start", thread);
  if (!DisableStartThread) {
    if (thread->is_Java_thread()) {
      java_lang_Thread::set_thread_status(((JavaThread*)thread)->threadObj(),
                                          java_lang_Thread::RUNNABLE);
    }
    os::start_thread(thread);
  }
}
四、总结
通过 os::create_thread 可以看出最终调用操作系统提供的 create_thread 创建线程,通过 os::start_thread 可以看出最终调用操作系统提供的 start_thread 启动线程。由此可得出结论:Java 线程和操作系统线程一一对应!


 776
776


 被折叠的 条评论
为什么被折叠?
被折叠的 条评论
为什么被折叠?
 到【灌水乐园】发言


