


rm -r dp-203 -f
git clone https://github.com/MicrosoftLearning/dp-203-azure-data-engineer dp-203
cd dp-203/Allfiles/labs/10
./setup.ps1


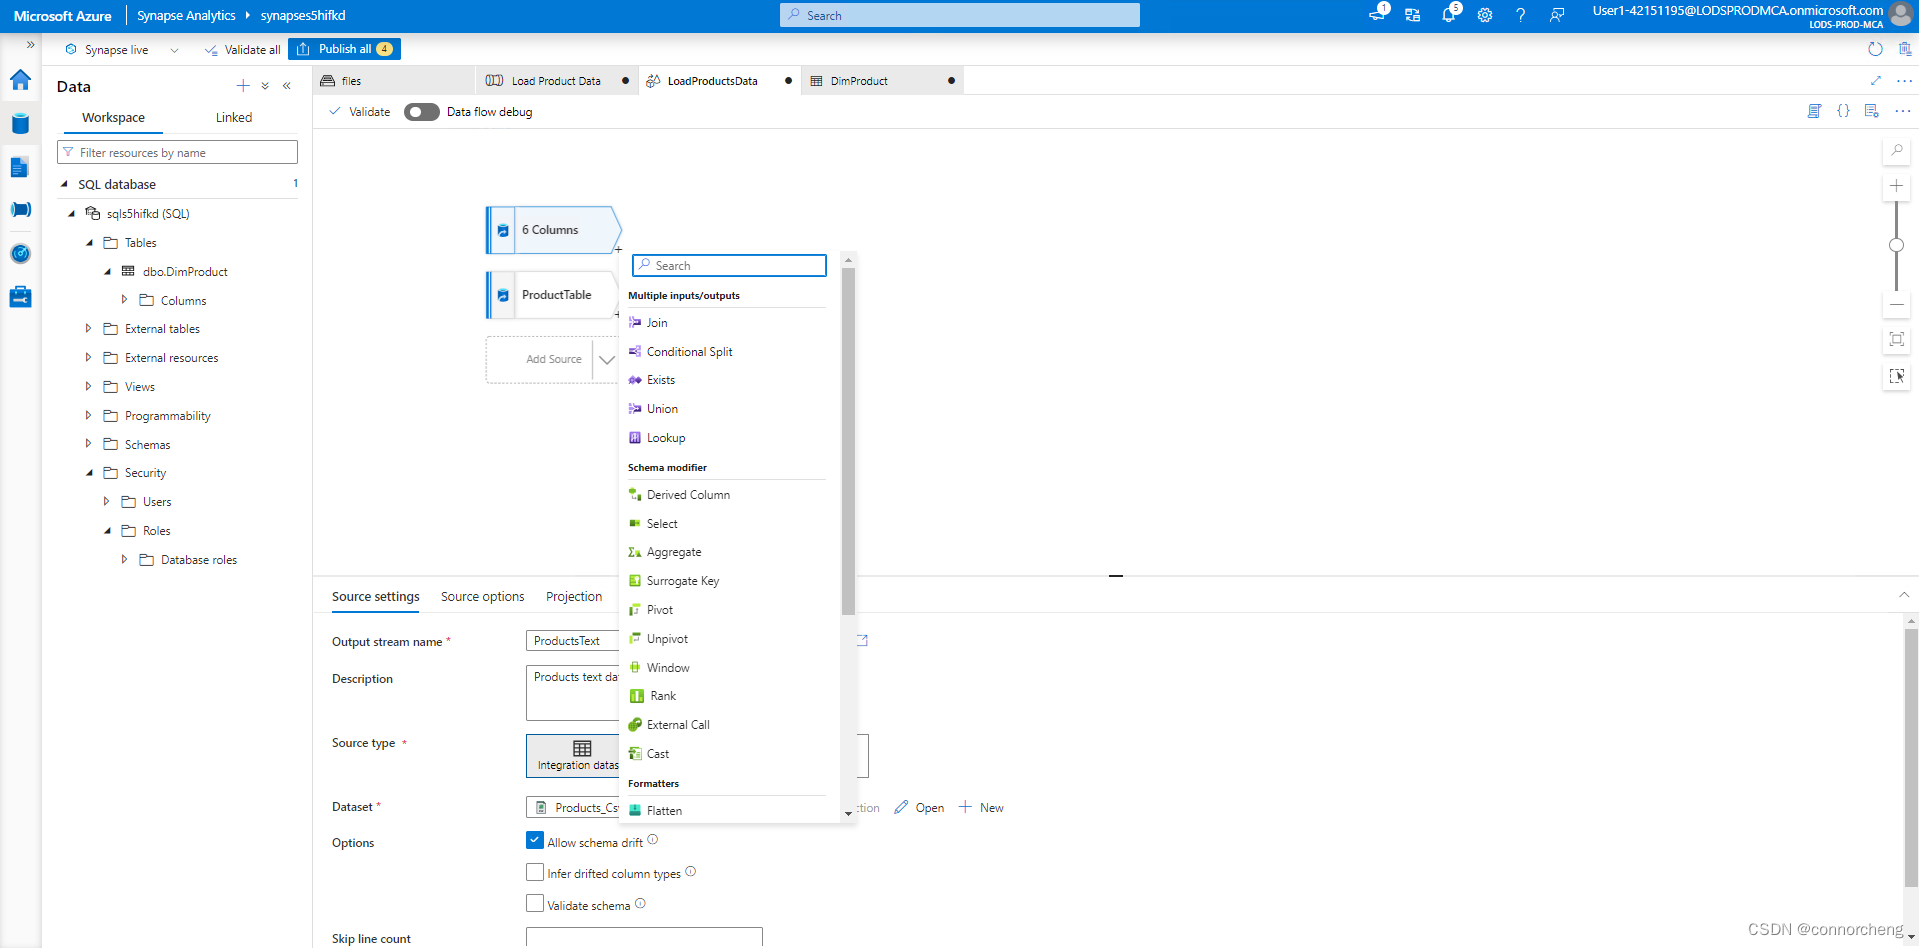
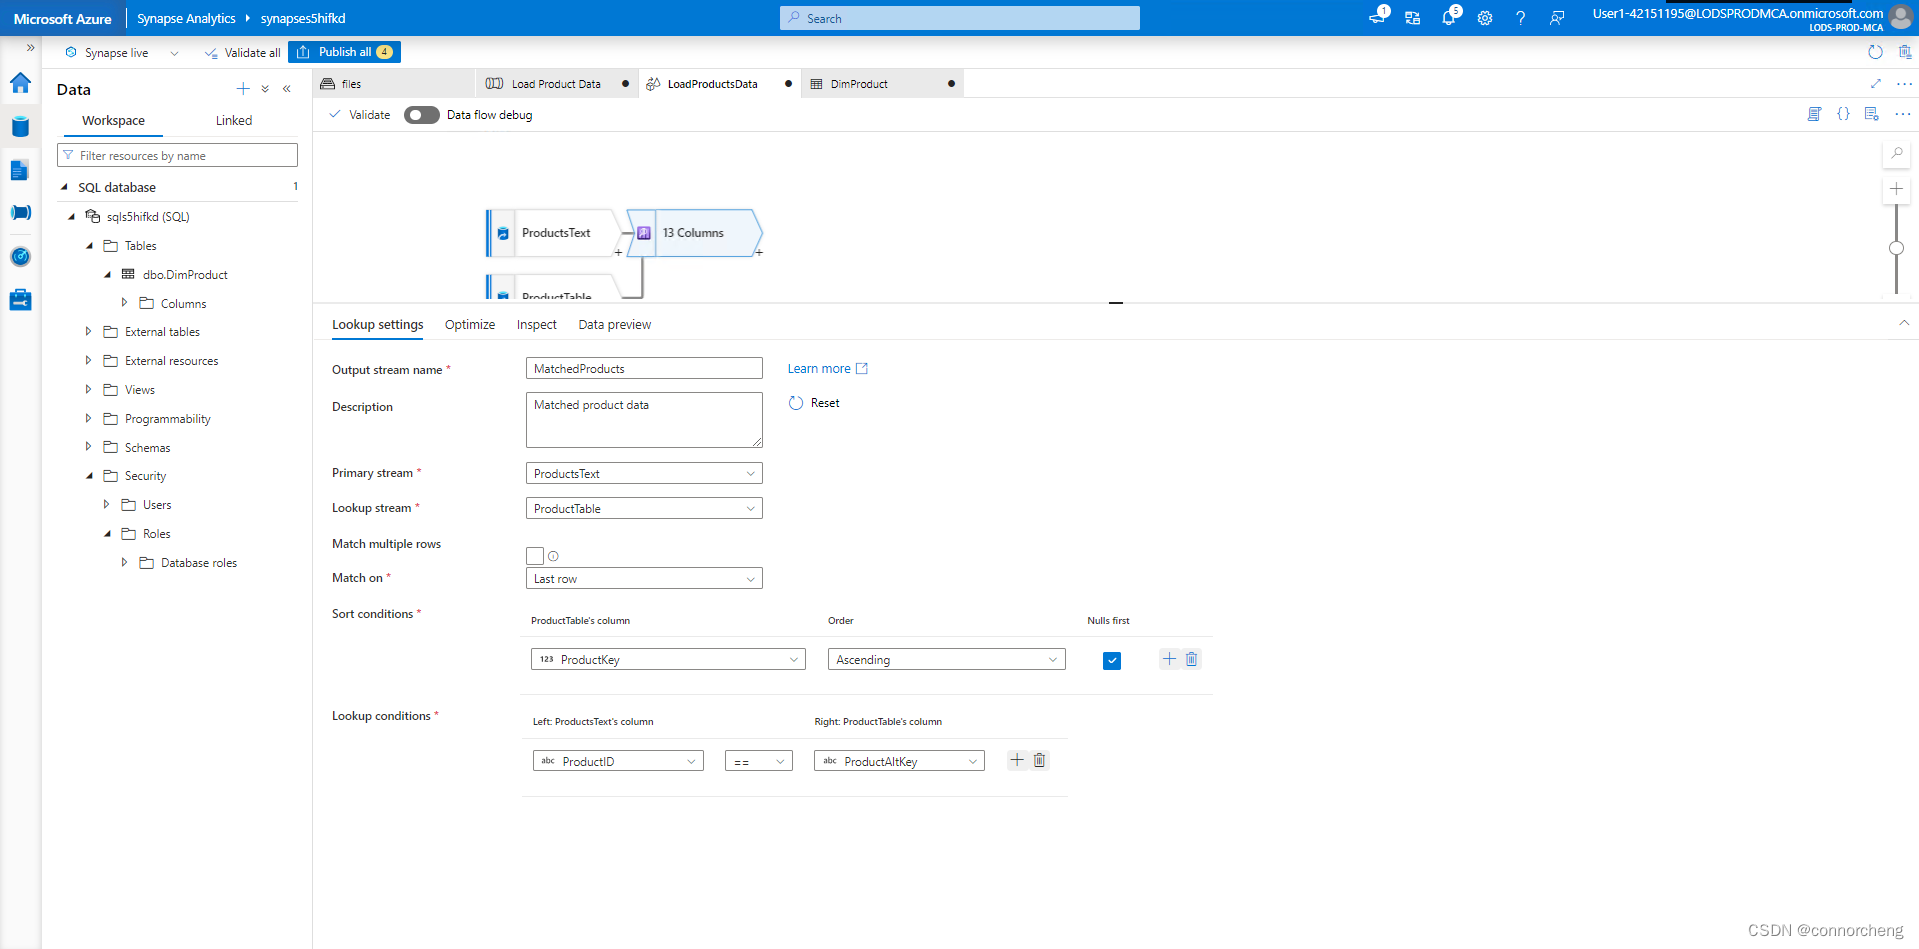
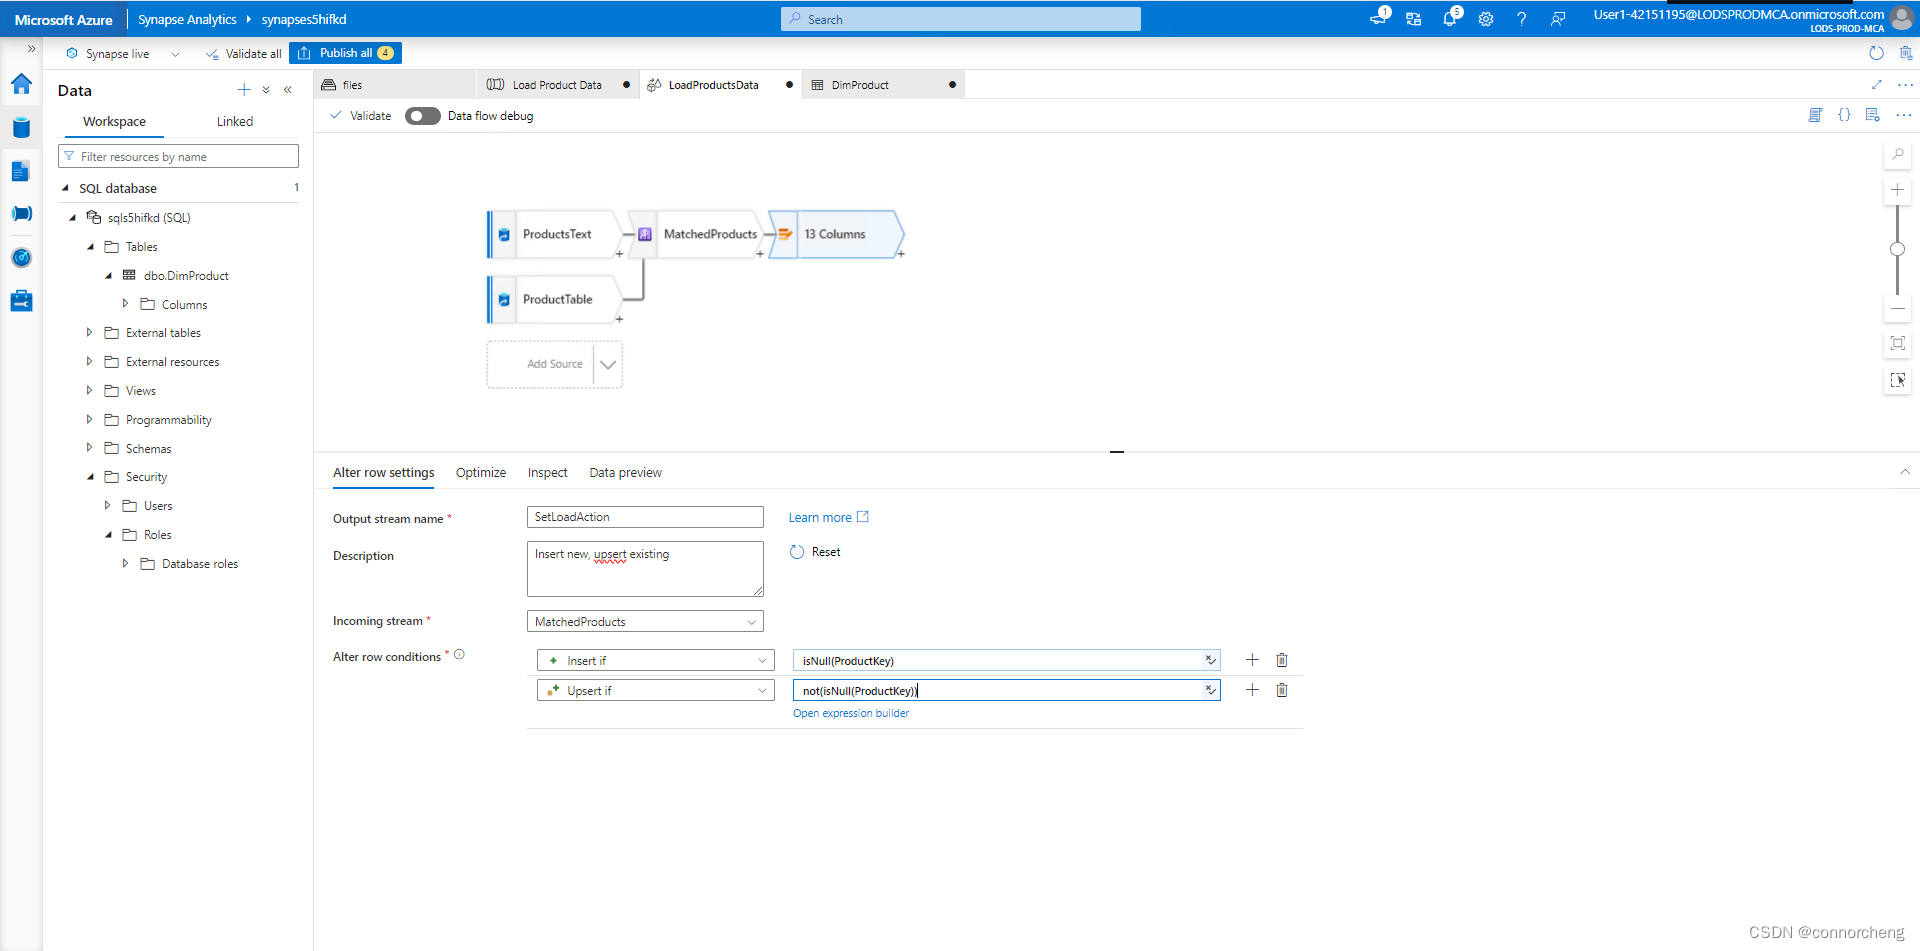
Debug the Data Flow
Now that you've built a data flow in a pipeline, you can debug it before publishing.
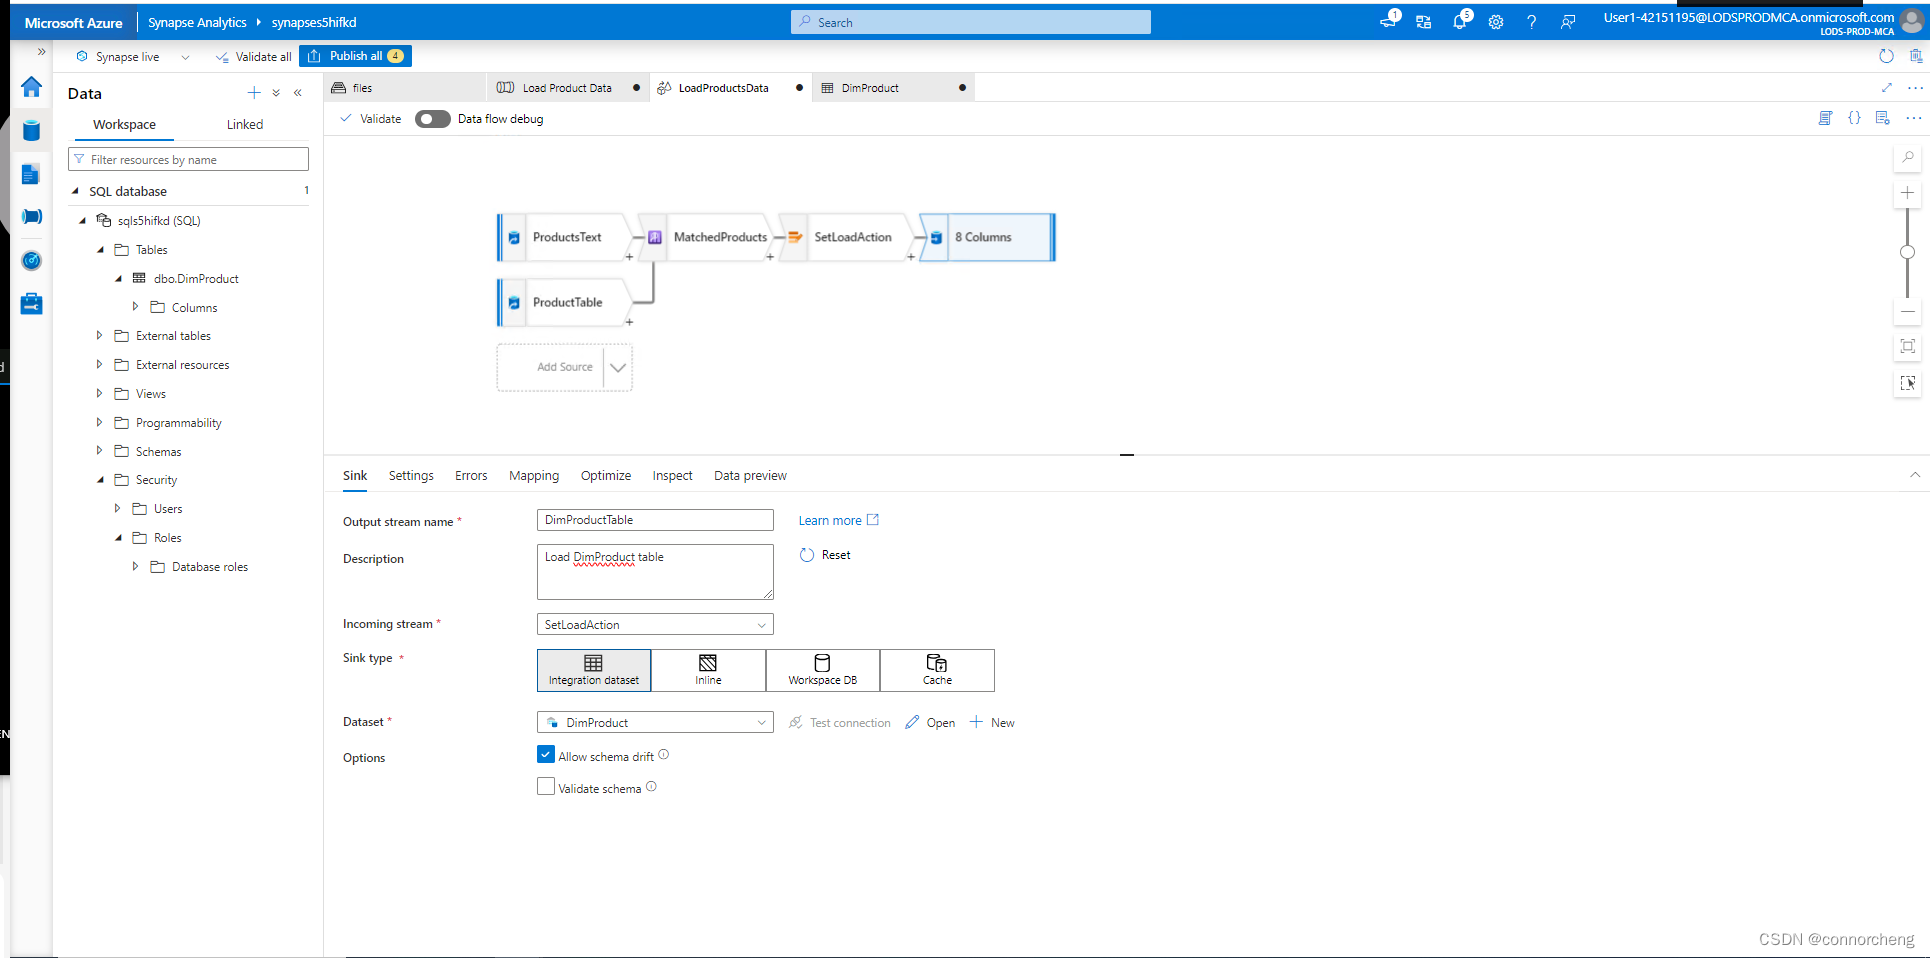
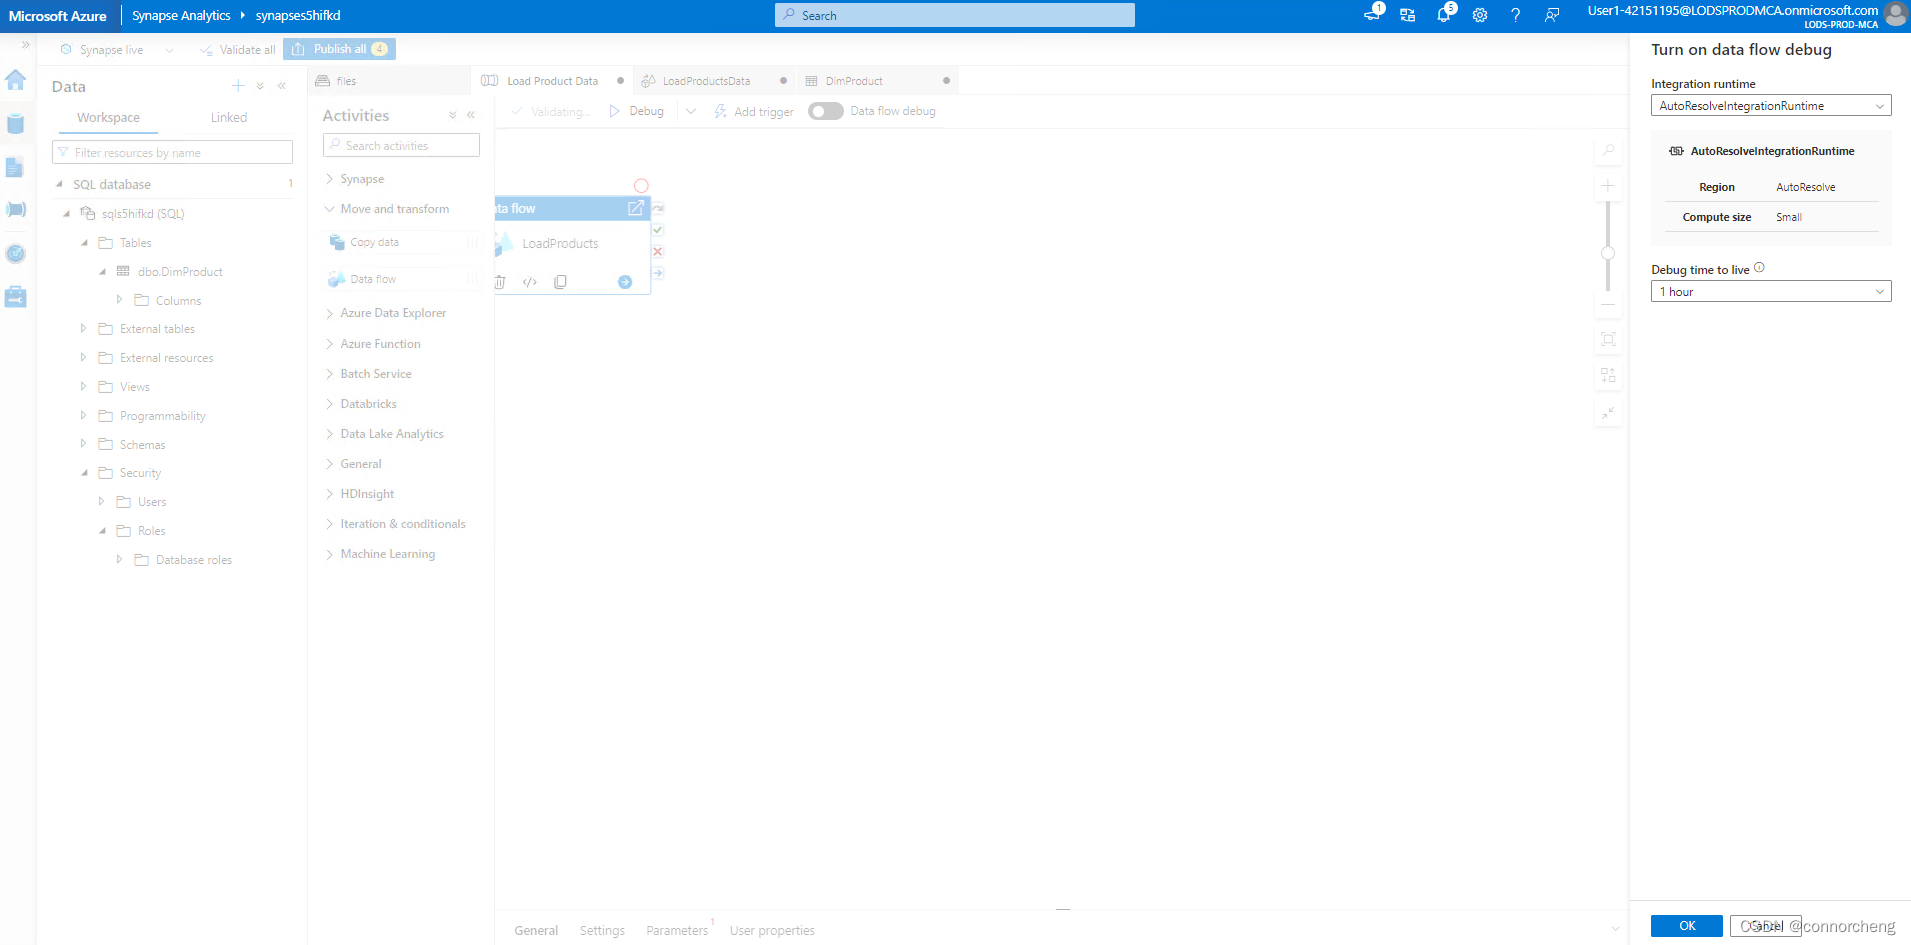
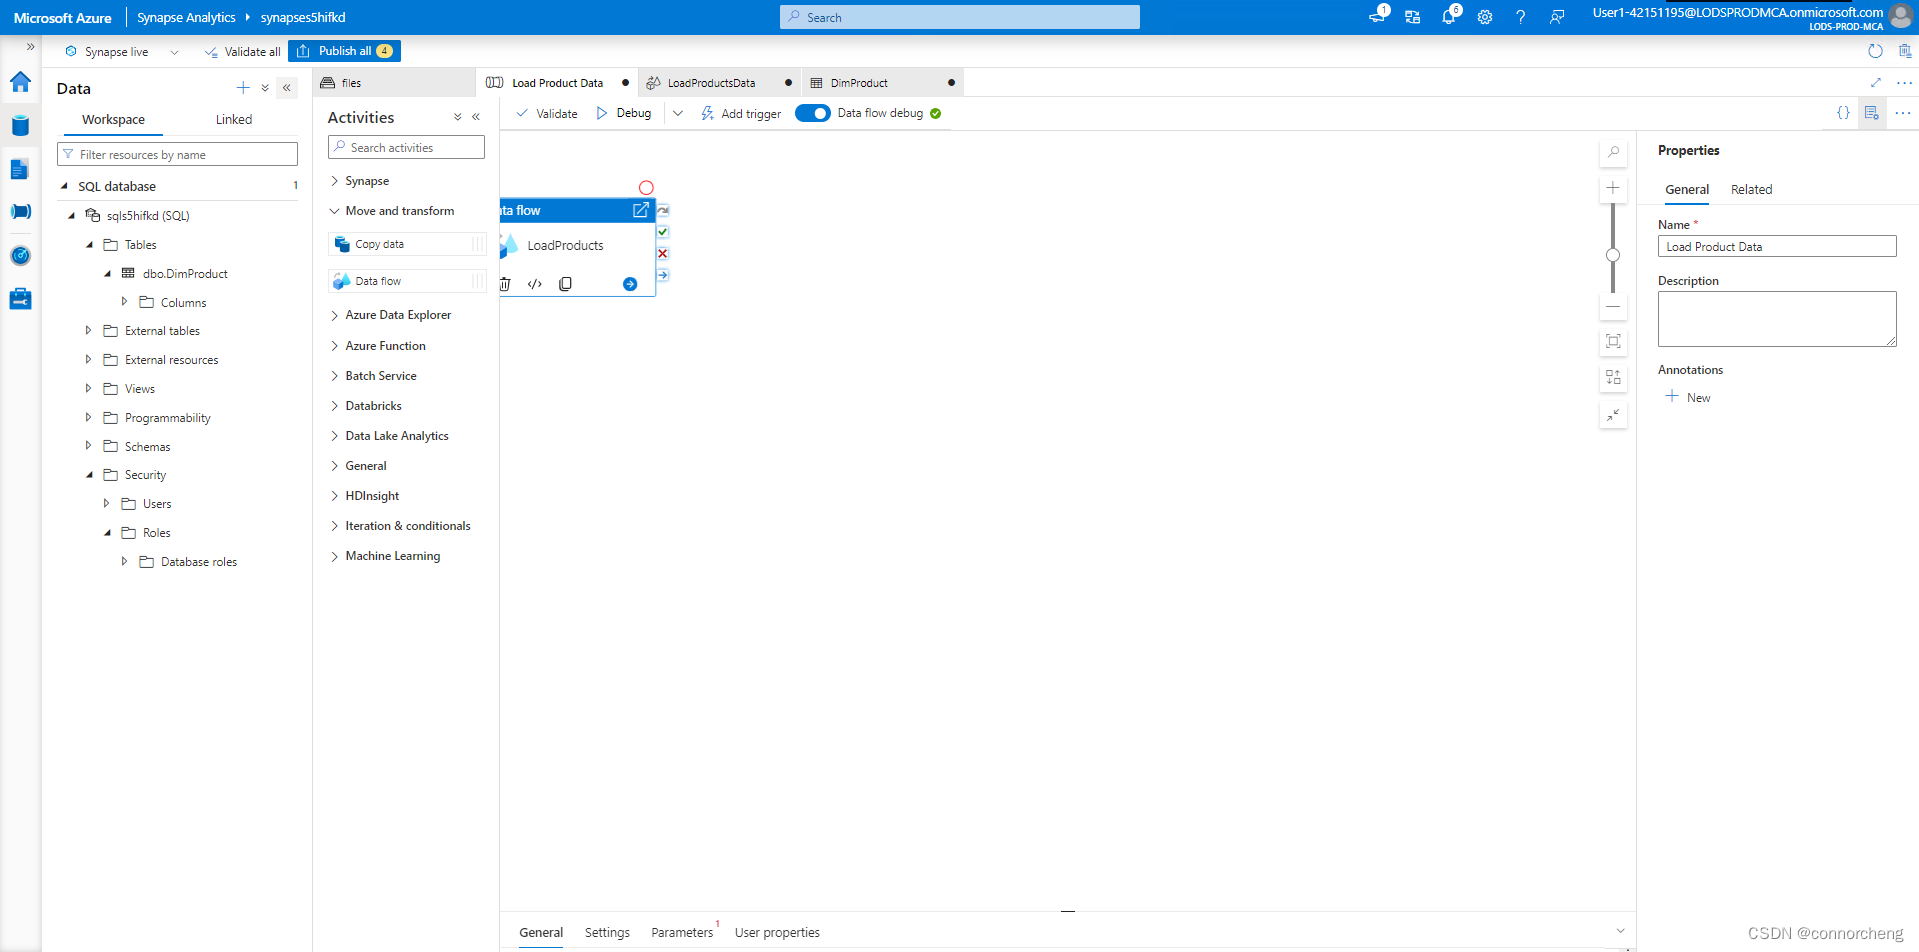
- At the top of the data flow designer, enabled Data flow debug. Review the default configuration and select OK, then wait for the debug cluster to start (which may take a few minutes).
- In the data flow designer, select the DimProductTable sink and view its Data preview tab.
- Use the ↻ Refresh button to refresh the preview, which has the effect of running data through the data flow to debug it.
- Review the preview data, noting that it indicates one upserted row (for the existing AR5381 product), indicated by a *+ icon; and ten inserted rows, indicated by a + icon.
Publish and run the pipeline
Now you're ready to publish and run the pipeline.
-
Use the Publish all button to publish the pipeline (and any other unsaved assets).
-
When publishing is complete, close the LoadProductsData data flow pane and return to the Load Product Data pipeline pane.
-
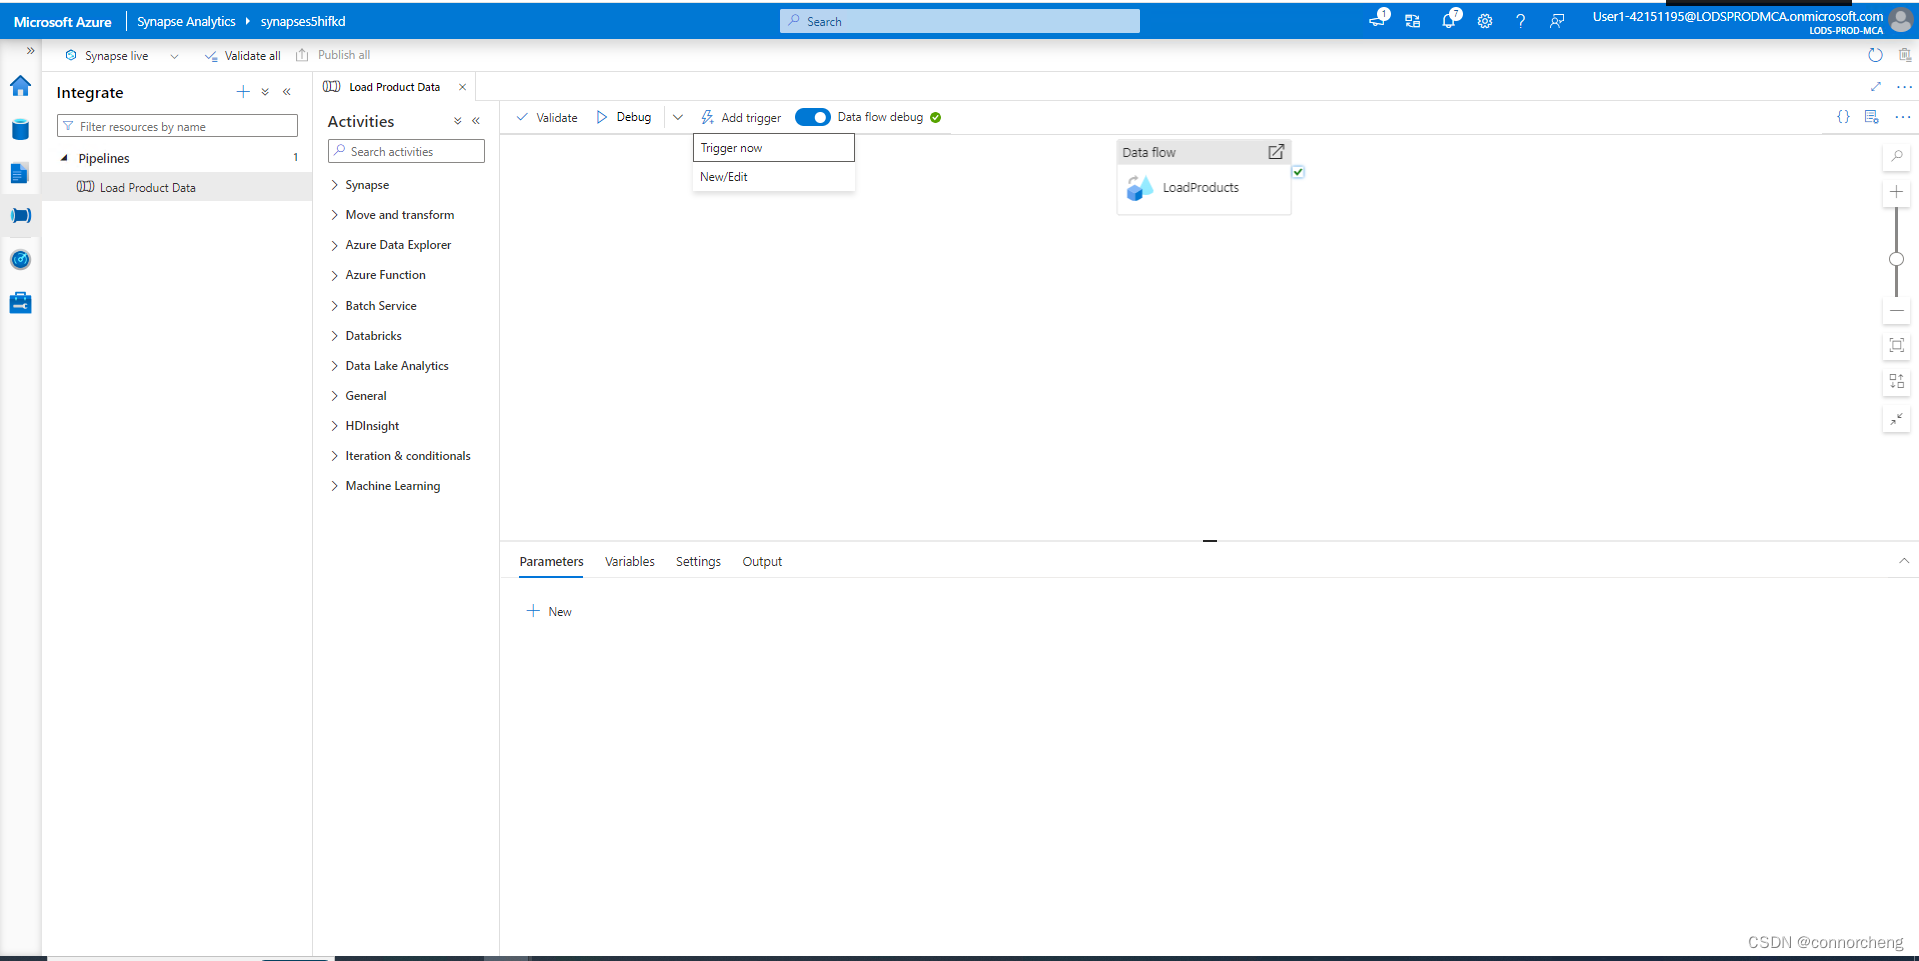
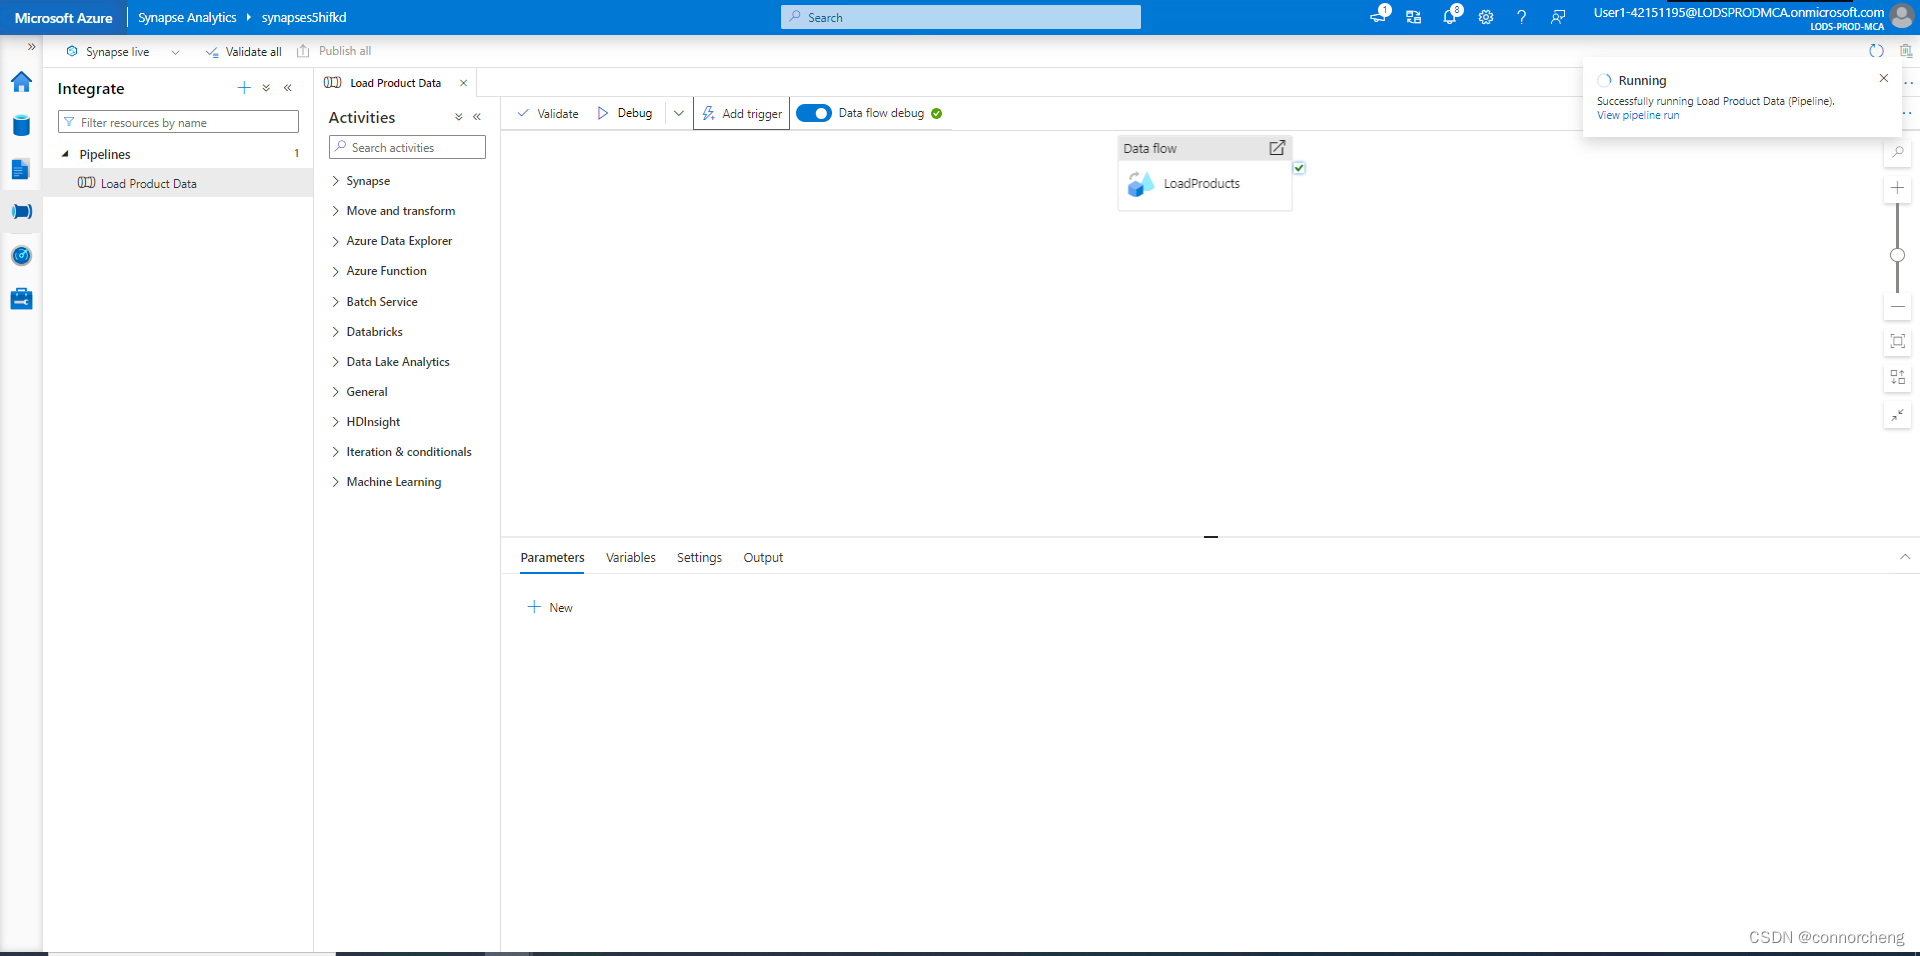
At the top of the pipeline designer pane, in the Add trigger menu, select Trigger now. Then select OK to confirm you want to run the pipeline.
Note: You can also create a trigger to run the pipeline at a scheduled time or in response to a specific event.
-
When the pipeline has started running, on the Monitor page, view the Pipeline runs tab and review the status of the Load Product Data pipeline.
The pipeline may take five minutes or longer to complete. You can use the ↻ Refresh button on the toolbar to check its status.
-
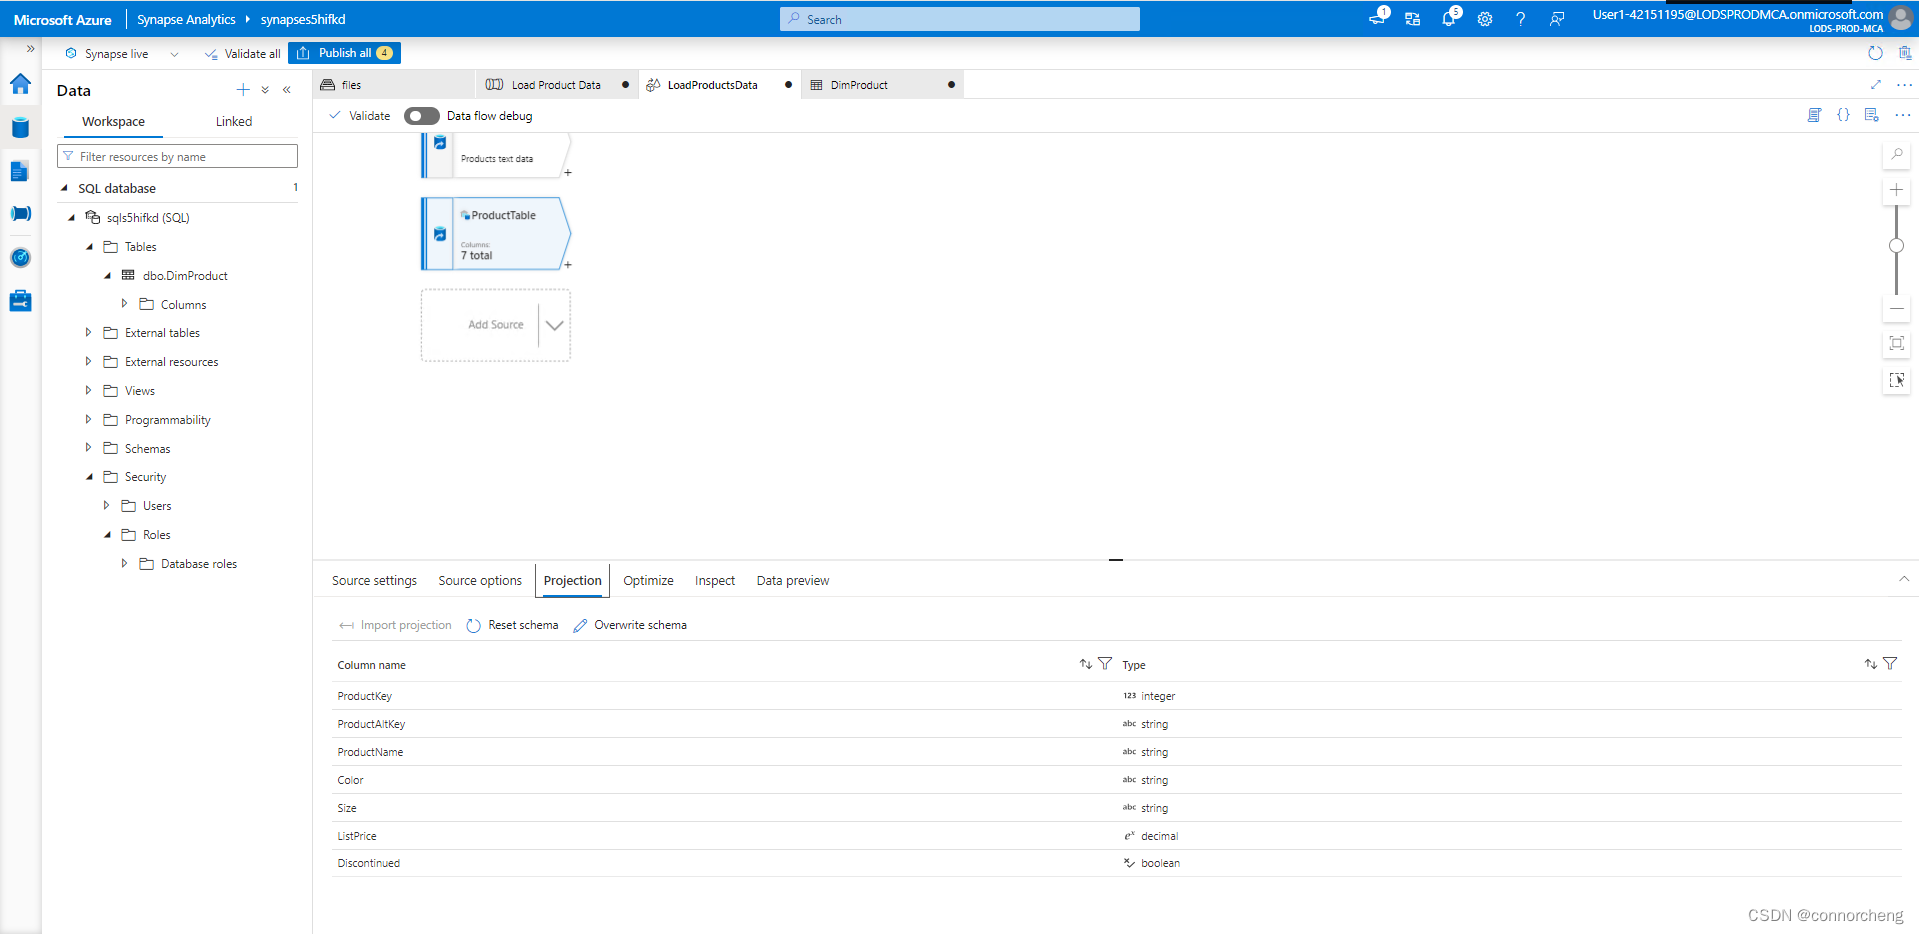
When the pipeline run has succeeded, on the Data page, use the … menu for the dbo.DimProduct table in your SQL database to run a query that selects the top 100 rows. The table should contain the data loaded by the pipeline.


 924
924

 被折叠的 条评论
为什么被折叠?
被折叠的 条评论
为什么被折叠?
 到【灌水乐园】发言


