


C++: SDL2 开发环境配置(Mac+CLion)
文章目录
正文
今天给大家介绍如何在 C++ 中使用 SDL2 图形库
1. 环境配置
对于 SDL 是什么库就不多做解释了,基本上就是一个相对底层的图形化库,针对不同平台的系统调用接口都有实现,并对上层提供统一的图形化接口
本篇要使用的环境是 MacOS(M1 芯片) + CLion 的配置方式。由于使用 CLion 加上自己下载并进行链接,所以实际上是不是 M1 芯片关系并不大。下面我们就来看看如何配置使用 SDL 图形库
2. 安装依赖
2.1 使用 Homebrew 安装 SDL2
关于 SDL2 库的源代码我们使用 Homebrew 进行安装
brew info sdl2 # 查看包信息
brew install sdl2 # 安装代码
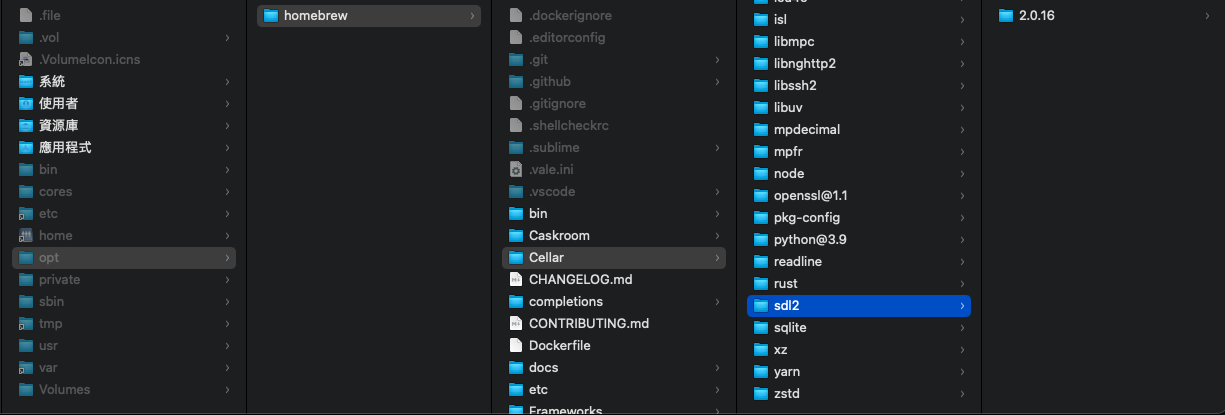
安装好了之后应该就能够在 Homebrew 的安装目录下看到(较新版本的 Mac 会安装到 /opt/homebrew/Cellar 目录下)
2.2 项目 CMakeLists.txt 配置文件
接下来要想使用这个库则要在 CMakeLists.txt 进行配置
CMakeLists.txt
cmake_minimum_required(VERSION 3.20)
project(cpp_sdl2)

set(CMAKE_CXX_STANDARD 11)

set(SDL_H /opt/homebrew/Cellar/sdl2/2.0.16/include) # 这个SDL开发包的路径,可以通过brew info sdl2查出来
include_directories(${SDL_H}) # 添加SDL头文件搜索路径

set(SDL_LIB /opt/homebrew/Cellar/sdl2/2.0.16/lib/libSDL2-2.0.0.dylib)
link_libraries(${SDL_LIB}) # 增加SDL链接库目录

add_executable(cpp_sdl2 main.cpp App.cpp App.h)
使用 include_directories 加入头文件目录,然后使用 link_libraries 链接动态链接库
3. SDL2 初试
下面我们就可以开始写核心的 SDL 代码了
3.1 App 类声明
首先我们上来就封装一下官方教程推荐的 App 类
App.h
#include <iostream>
#include <SDL2/SDL.h>

#ifndef CPP_SDL2_APP_H
#define CPP_SDL2_APP_H

class App {
private:
    static App Instance;

    bool Running = true;
    SDL_Window *Window = NULL;
    SDL_Renderer *Renderer = NULL;

    const int WIDTH = 1024;
    const int HEIGHT = 768;

    int R = 0xff;
    int G = 0xff;
    int B = 0xff;
    int A = 0xff;

private:
    App();

    // Capture SDL Events
    void OnEvent(SDL_Event *Event);

    // Initialize our SDL game / app
    bool Init();

    // Logic loop
    void Loop();

    // Render loop (draw)
    void Render();

    // Free up resources
    void Cleanup();

public:
    int Execute(int argc, char *argv[]);

public:
    static App *GetInstance();

    int GetWindowWidth();

    int GetWindowHeight();
};

#endif //CPP_SDL2_APP_H
外部方法只有一个 Execute,而内部方法 Init 则是初始化方法
3.2 Init 实现
初始化代码我们需要进行 SDL 初始化,然后创建 Window 视窗以及渲染器 Renderer
App.cpp
bool App::Init() {
    if (SDL_Init(SDL_INIT_EVERYTHING) < 0) { // 初始化SDL
        cout << "SDL_Init error: " << SDL_GetError() << endl;
        return false;
    }

    Window = SDL_CreateWindow("Hello SDL world!", SDL_WINDOWPOS_CENTERED, SDL_WINDOWPOS_CENTERED, WIDTH,
                              HEIGHT, SDL_WINDOW_ALLOW_HIGHDPI); // 创建SDL窗口
    if (NULL == Window) {
        cout << "SDL_CreateWindow error: " << SDL_GetError() << endl;
        return false;
    }

    Renderer = SDL_CreateRenderer(Window, -1, SDL_RENDERER_ACCELERATED);
    if (NULL == Renderer) {
        cout << "SDL_CreateRenderer error: " << SDL_GetError() << endl;
        return false;
    }

    return true;
}
3.3 Execute 实现
接下来则是运行 App 的 Execute 方法
App.cpp
int App::Execute(int argc, char **argv) {
    if (!Init()) {
        return 1;
    }

    SDL_Event event;
    while (Running) {
        while (SDL_PollEvent(&event) != 0) {
            OnEvent(&event);
        }

        Loop();
        Render();

        SDL_Delay(1);
    }

    Cleanup();
    return 0;
}
首先调用 Init 初始化,然后运行中不断循环 SDL_PollEvent 拉取事件、Loop 循环事件、Render 重新渲染,最后程序结束的时候 Cleanup 退出
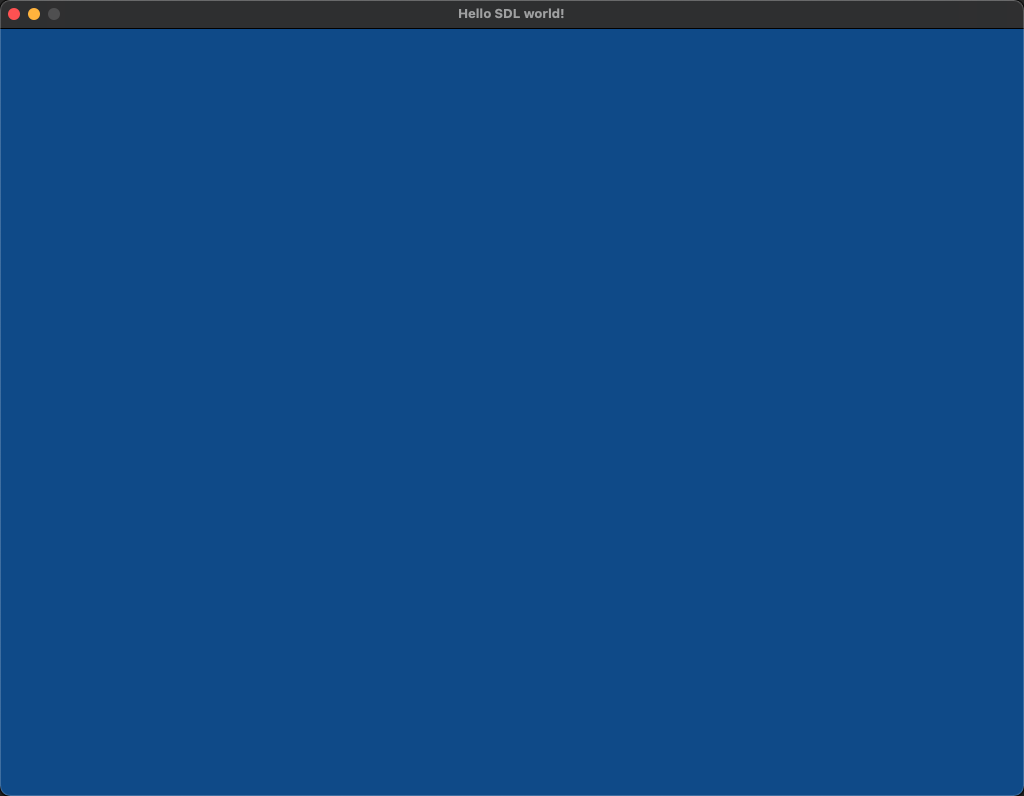
3.4 主函数 & 运行截图
主函数的部分就是获取唯一实例并运行
main.cpp
#include "App.h"

int main(int argc, char **argv) {
    App::GetInstance()->Execute(argc, argv);
}
其他资源
参考连接
| Title | Link |
|---|---|
| SDL | https://www.libsdl.org/ |
| SDL Wiki | https://wiki.libsdl.org/ |
| SDL Tutorials | http://www.sdltutorials.com/category/sdl-tutorials |
| SDL Mac (Including M1) Setup with Simple OpenGL Application | Introduction to SDL2 |
| 【使用CMake组织C++工程】2:CMake 常用命令和变量 | https://elloop.github.io/tools/2016-04-10/learning-cmake-2-commands |
完整代码示例
https://github.com/superfreeeee/Blog-code/tree/main/back_end/cpp/cpp_sdl2


 4万+
4万+

 被折叠的 条评论
为什么被折叠?
被折叠的 条评论
为什么被折叠?
 到【灌水乐园】发言


