


神卓互联-liunx 搭建香橙派教程
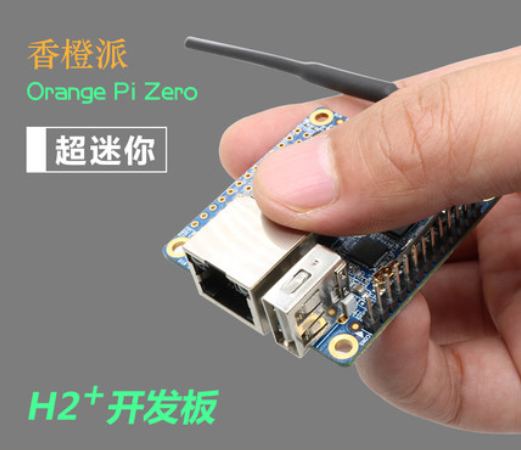
大家好,今天示范一下,在香橙派上安装神卓互联,给家里,弄一个固定公网地址、是不是很帅,给可以家里,NAS 、网盘、存储等设备,配一个固定的外网访问地址,在外面,随时想连就连,为什么要选用香橙派呢! 没错,香橙派,性价比高,几十块钱,就可以搞定,主要是非常省电,耗电量非常的小,适合长时间待机。
下面准备,硬件。 y=元
1、香橙派开发版 x1 块 市场指导价大约:50y左右。
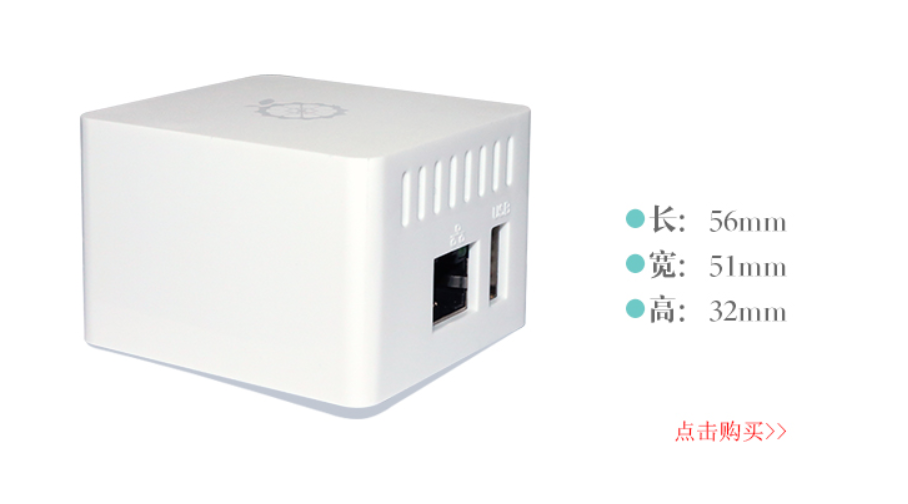
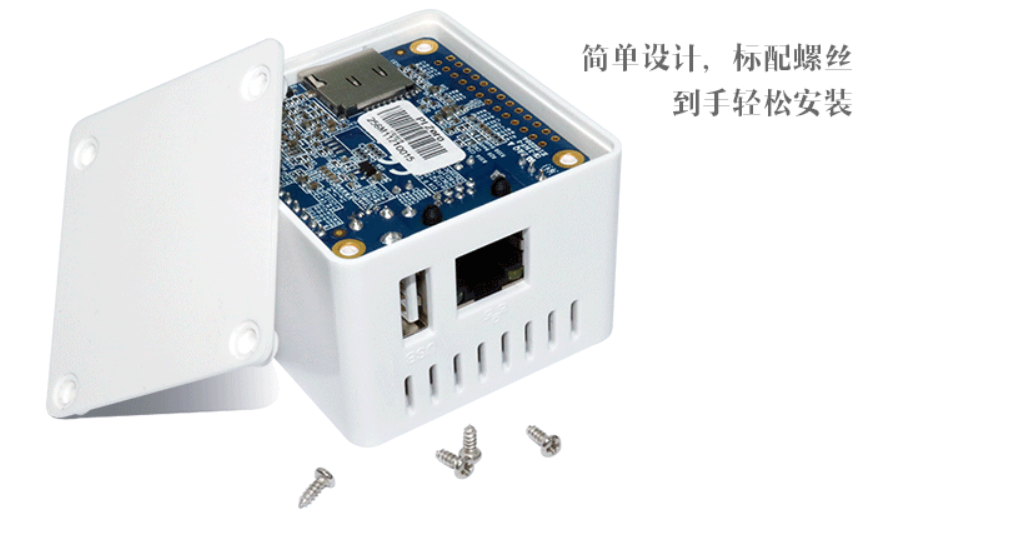
2、香橙派、外壳 x 1 个 市场指导价大约:5y
3、内存卡一张、可根据自己喜爱,购买大小容量。 一般30y
4、手机电源线一根、
刷一个系统,登录香橙派官网,有很多镜像,下载,具体操作网上有很多教程,很简单。
以上,物料准备完成,下面连接香橙派。
----------------------------------------------------------------------------------------------------------------
插上存储卡,网线连接,香橙派,给香橙派通电,自己制作的香橙派,运行效果,比那些什么盒子的要好很多,系统随时可以更换。
系统点亮以后,用 CRT 工具进行,连接。
安装神卓互联方法和,安装
ubuntu 使用方法,基本一样。安装教程:内网穿透_神卓互联Ubuntu客户端使用教程
注意下载的安装包是不一样的,需要下载 ARM 版本: wget http://neiwangchuantou.oss-cn-shanghai.aliyuncs.com/linux/neiwangchuantou/linux/2.1.5/shenzhuo_arm
class MainWindow : public QMainWindow
{
    Q_OBJECT

public:
    MainWindow(QWidget *parent = nullptr);
    ~MainWindow();

private slots:
    void on_connectButton_clicked();

private:
    Ui::MainWindow *ui;
};

MainWindow::MainWindow(QWidget *parent)
    : QMainWindow(parent)
    , ui(new Ui::MainWindow)
{
    ui->setupUi(this);
}

MainWindow::~MainWindow()
{
    delete ui;
}

void MainWindow::on_connectButton_clicked()
{
    QString ipAddress = ui->ipAddressEdit->text();
    RemoteDesktopWidget *remoteDesktopWidget = new RemoteDesktopWidget(ipAddress, this);
    remoteDesktopWidget->show();
}
class RemoteDesktopWidget : public QWidget
{
    Q_OBJECT

public:
    RemoteDesktopWidget(QString ipAddress, QWidget *parent = nullptr);
    ~RemoteDesktopWidget();

signals:
    void imageDataReady(QByteArray imageData);

private slots:
    void onConnected();
    void onReadyRead();
    void onError(QAbstractSocket::SocketError error);

private:
    QTcpSocket *m_socket;
    QImage m_image;
};

RemoteDesktopWidget::RemoteDesktopWidget(QString ipAddress, QWidget *parent)
    : QWidget(parent)
{
    m_socket = new QTcpSocket(this);
    connect(m_socket, &QTcpSocket::connected, this, &RemoteDesktopWidget::onConnected);
    connect(m_socket, &QTcpSocket::readyRead, this, &RemoteDesktopWidget::onReadyRead);
    connect(m_socket, static_cast<void (QTcpSocket::*)(QAbstractSocket::SocketError)>(&QTcpSocket::error), this, &RemoteDesktopWidget::onError);

    m_socket->connectToHost
接下来,我们创建RemoteDesktopWidget作为远程桌面的UI界面。该界面使用QImage对象存储远程桌面的图像数据,并通过Qt的信号和槽机制接收远程桌面的图像数据。在构造函数中,我们创建一个QTcpSocket对象用于与远程主机建立TCP连接,然后发送连接请求。连接成功后,我们使用QTcpSocket的readyRead()信号接收远程桌面的图像数据,然后通过QImage对象将其渲染到UI界面上
class RemoteDesktopWidget : public QWidget
{
    Q_OBJECT

public:
    RemoteDesktopWidget(QString ipAddress, QWidget *parent = nullptr);
    ~RemoteDesktopWidget();

signals:
    void imageDataReady(QByteArray imageData);

private slots:
    void onConnected();
    void onReadyRead();
    void onError(QAbstractSocket::SocketError error);

private:
    QTcpSocket *m_socket;
    QImage m_image;
};

RemoteDesktopWidget::RemoteDesktopWidget(QString ipAddress, QWidget *parent)
    : QWidget(parent)
{
    m_socket = new QTcpSocket(this);
    connect(m_socket, &QTcpSocket::connected, this, &RemoteDesktopWidget::onConnected);
    connect(m_socket, &QTcpSocket::readyRead, this, &RemoteDesktopWidget::onReadyRead);
    connect(m_socket, static_cast<void (QTcpSocket::*)(QAbstractSocket::SocketError)>(&QTcpSocket::error), this, &RemoteDesktopWidget::onError);

    m_socket->connectToHost(ipAddress, 1234);
}

RemoteDesktopWidget::~RemoteDesktopWidget()
{
    m_socket->close();
}

void RemoteDesktopWidget::onConnected()
{
    // Connected to remote host
}

void RemoteDesktopWidget::onReadyRead()
{
    QByteArray imageData = m_socket->readAll();
    emit imageDataReady(imageData);
}

void RemoteDesktopWidget::onError(QAbstractSocket::SocketError error)
{
    // Handle socket error
}


 4144
4144

 被折叠的 条评论
为什么被折叠?
被折叠的 条评论
为什么被折叠?
 到【灌水乐园】发言


